Publishing Workflows
Publishing lets you share your workflow in the Marketplace so other people can use it as a template.
After you publish, others can browse it, import it, and adapt it to their own needs.
Why publish a workflow?
Section titled “Why publish a workflow?”- Showcase your workflow skills and ideas.
- Help others by sharing a ready-made automation.
- Encourage reuse of proven solutions rather than reinventing from scratch.
- Receive feedback, contributions, or improvements from the community.
Before you publish
Section titled “Before you publish”Make sure your workflow meets these key conditions:
- It’s saved, stable and tested (run it a few times to confirm it works). See Full and Partial Executions Inside the Designer.
- Nodes are clearly named and organized.
- Sticky Notes or documentation are added to explain the workflow logic. (See Sticky Notes)
- Sensitive credentials or data are removed—replace them with placeholders or variables.
- If your workflow uses browser nodes, ensure the selectors and paths are generic or documented.
- Exported workflow JSON works as a standalone template when imported.
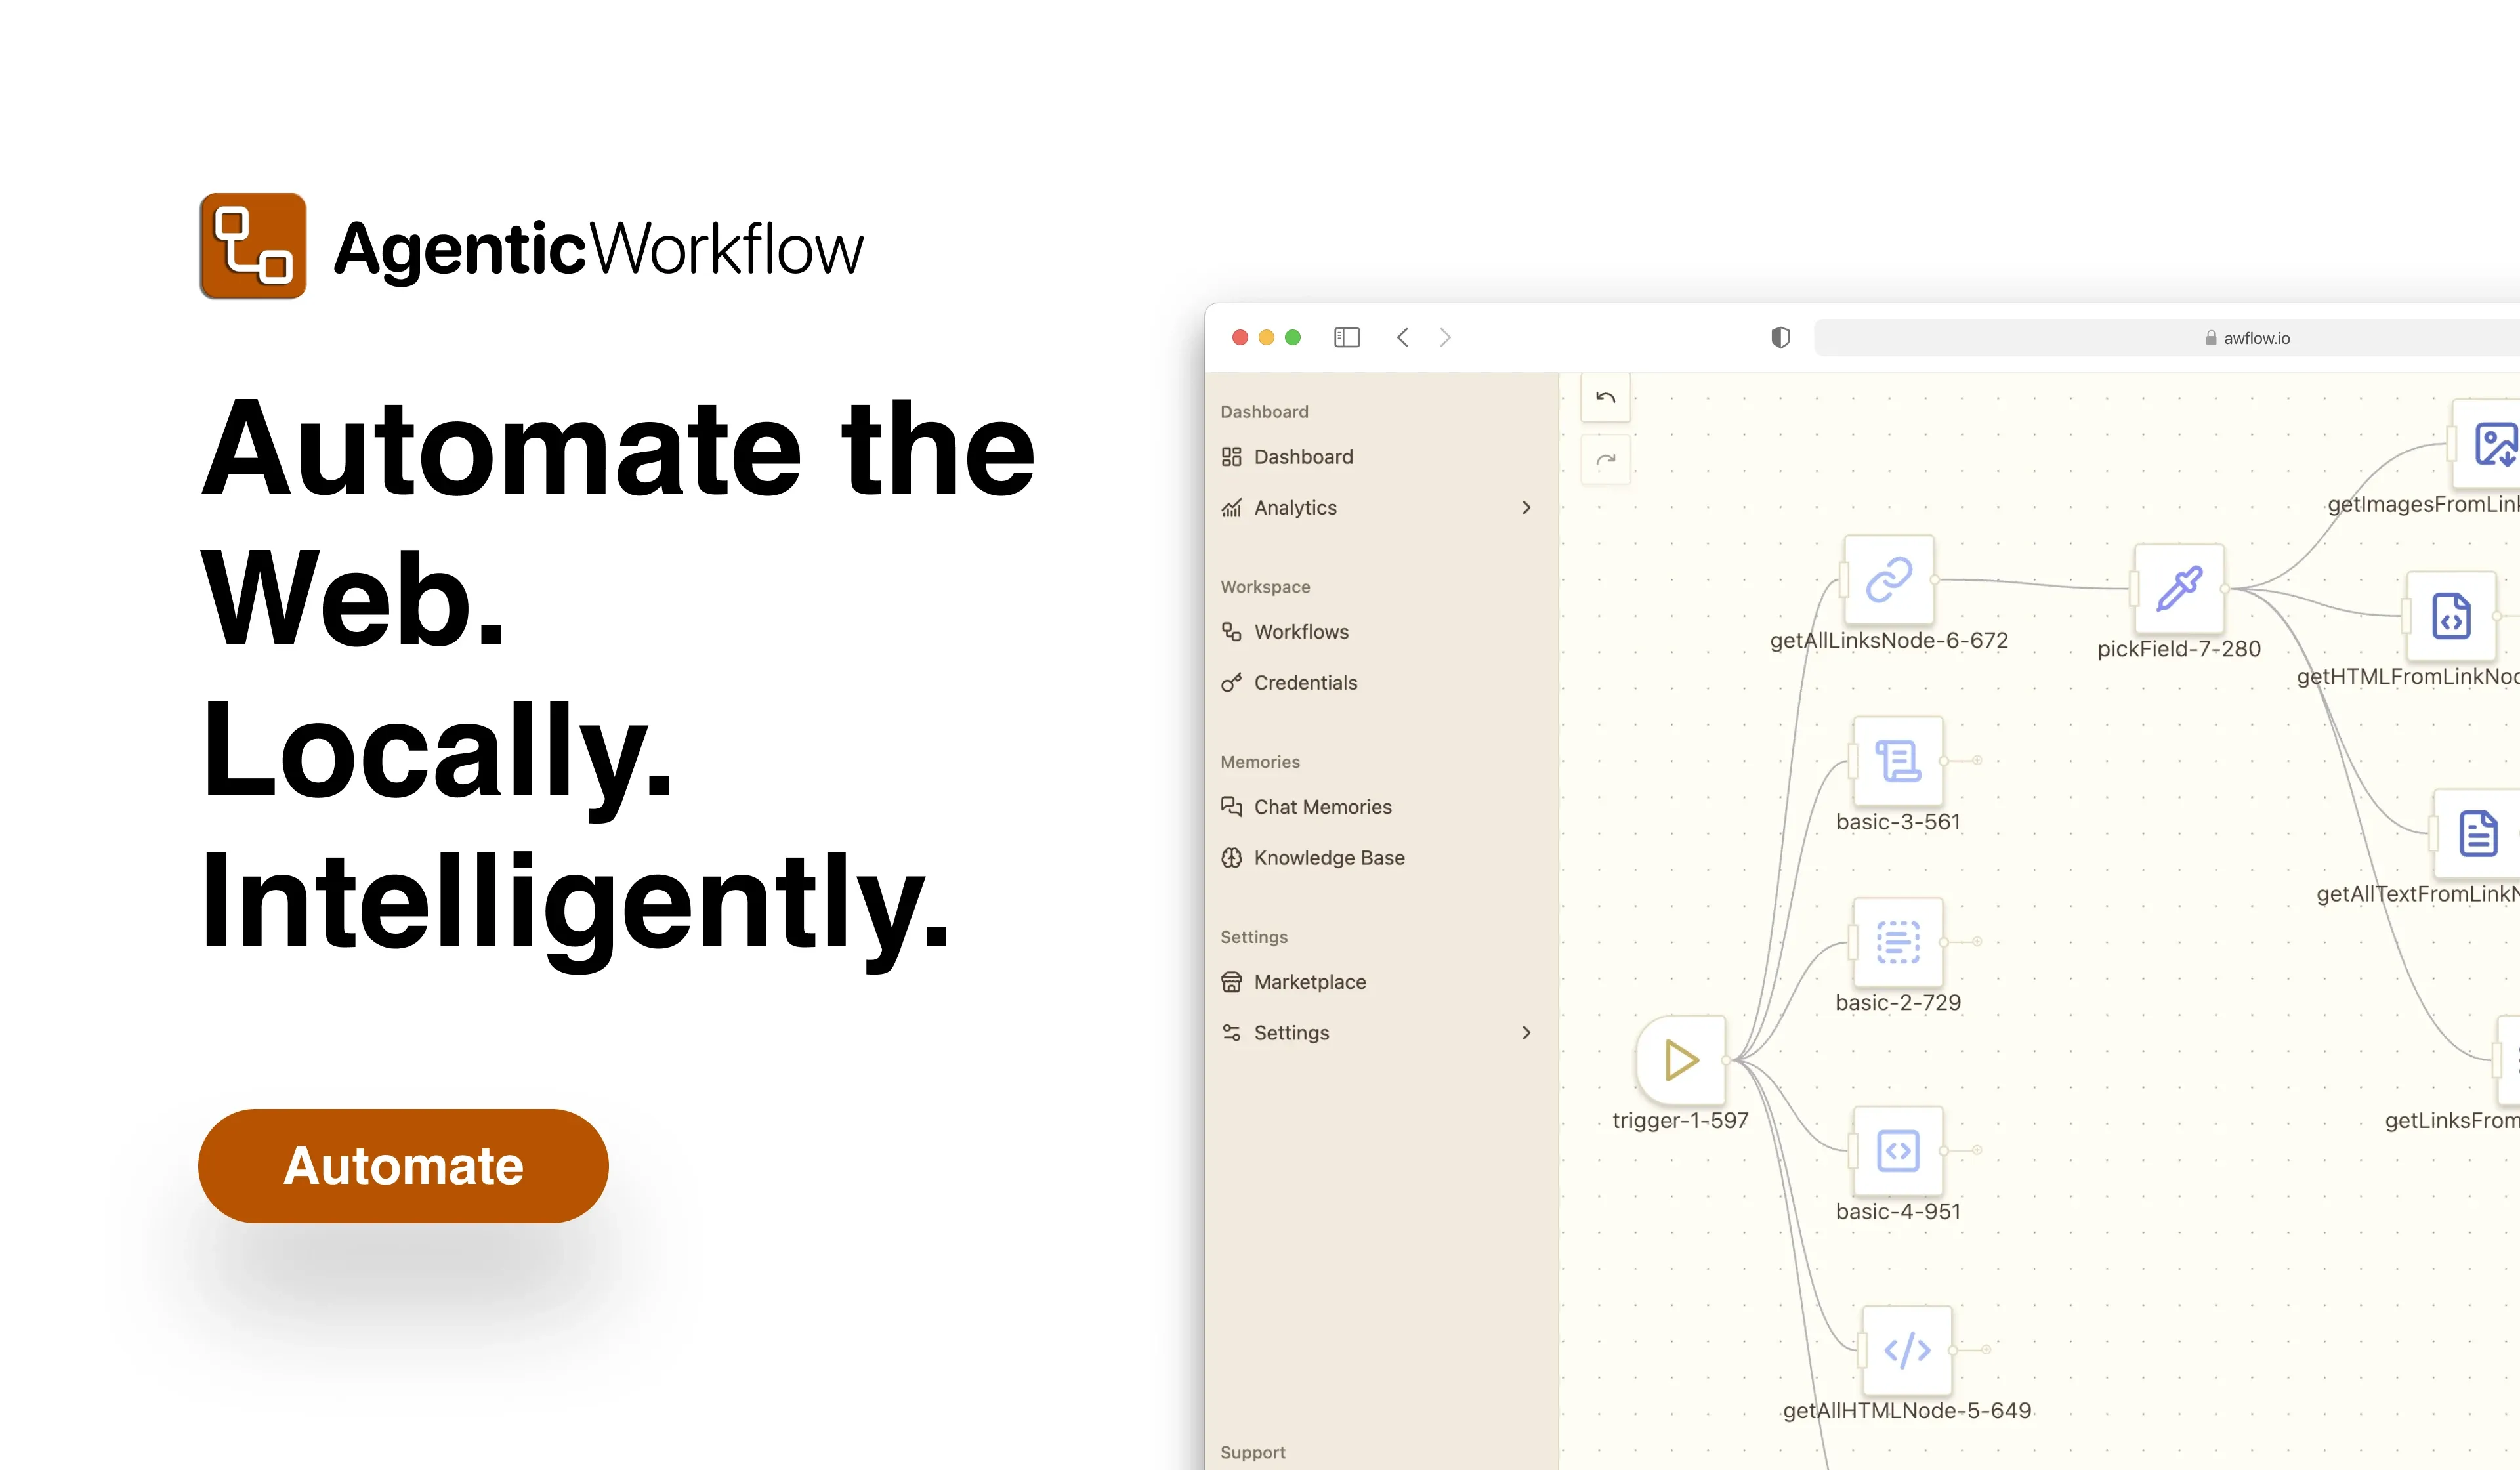
How to publish
Section titled “How to publish”- Go to your Workflows Library in the extension.
- Find the workflow you wish to publish.
- Click Publish (or similar UI button).
- Fill out publishing details:
- Workflow name
- Description
- Categories/tags
- Thumbnail or preview image
- Agree to any sharing terms and click Publish.
- Your workflow is now listed in the Marketplace and available for others to import.
After publishing
Section titled “After publishing”- Your workflow version is visible in the Marketplace.
- Maintain versions: if you update the workflow, publish a new version or update existing listing. For it you will use the Release button.
- Monitor user feedback or questions on your workflow.
- Consider updating documentation or adding more details based on usage.
Using shared workflows
Section titled “Using shared workflows”When you import a published workflow from the Marketplace:
- Go to the Marketplace listing and click Use.
- After import, review it: set your own credentials, check browser node selectors, and test it manually.