Zum Inhalt springen
Agentic Workflowdocs
v0.8.2Kostenlos installieren

erste schritte

Your first workflow

Build a two-step workflow on the canvas: read the text you select on a page, reshape it, and check each step's output.

Dieser Inhalt ist noch nicht in deiner Sprache verfügbar.

Lektion 2 von 5· 6 Min. · Stufe 1 Funktioniert auf dem Gerät
Sie werden
  • Create a workflow on the canvas
  • Add a trigger and two steps
  • Run it and read each step's output
Bevor Sie beginnen

A workflow is a chain of steps, called nodes. A trigger starts it, and each node passes its output to the next one. You’ll build the smallest useful workflow: read the text you select on a page, and turn it into a small report.

Workflow · first-workflow.awf 3 Schritte

My first workflow: ein Workflow mit 3 Schritten, beginnend mit When Started und endend mit Edit Fields.

In AWFlow öffnen
What you'll build: When Started → Get Selected Text → Edit Fields.

Schritt 1: Create a blank workflow

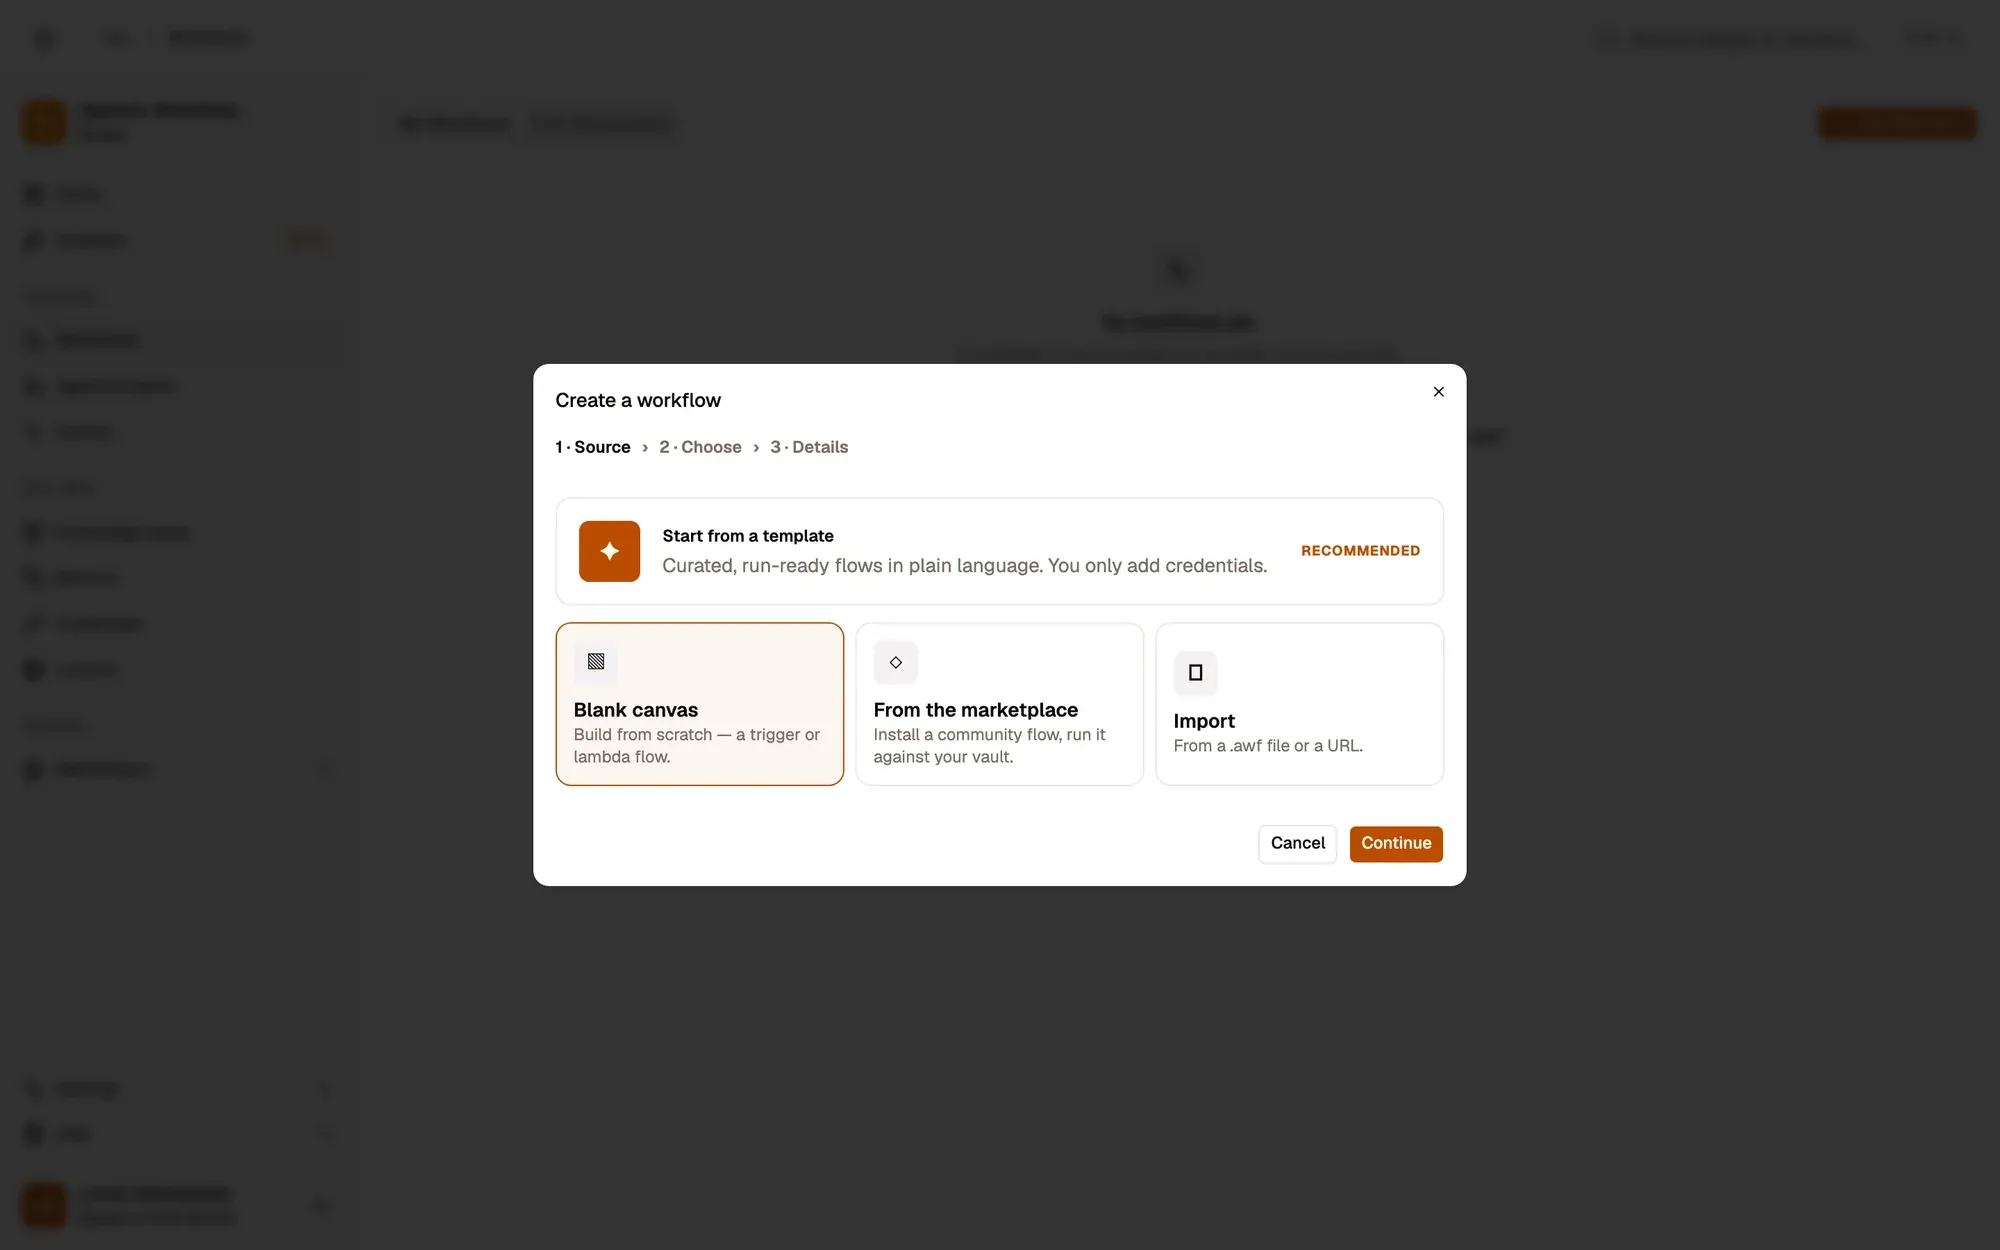
In the AWFlow side panel, open Workflows and click Add Workflow. In Create a workflow, choose Blank canvas, then Triggered. Name it My first workflow and click Create & open.
Blank canvas
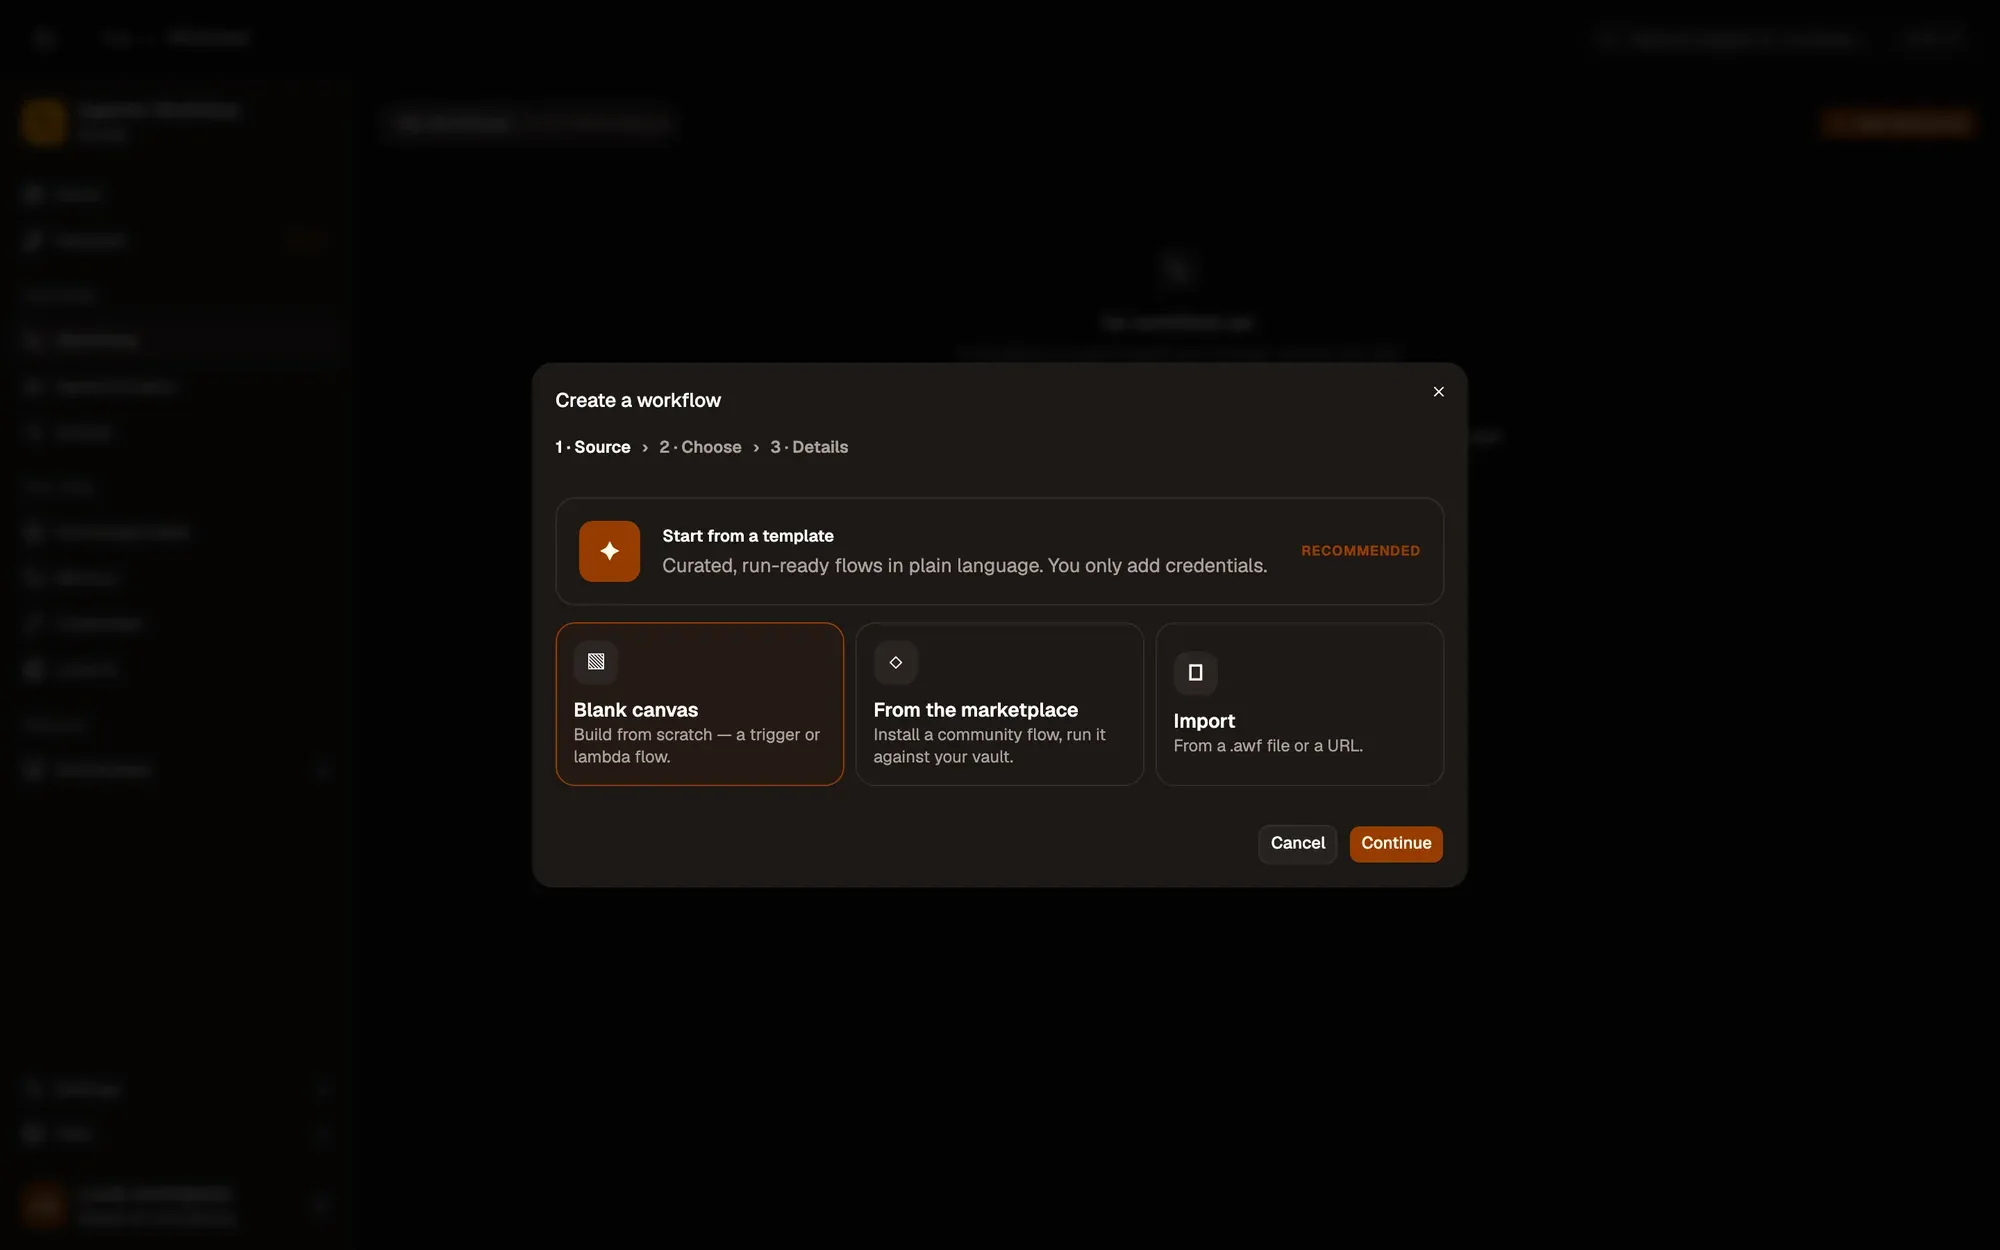
The Create a workflow dialog, step 1 of 3 (Source, Choose, Details): Start from a template (recommended) at the top, then Blank canvas, which is selected, From the marketplace and Import, with Cancel and Continue buttons.The Create a workflow dialog, step 1 of 3 (Source, Choose, Details): Start from a template (recommended) at the top, then Blank canvas, which is selected, From the marketplace and Import, with Cancel and Continue buttons.

Prüfen: an empty canvas opens with an Add Trigger button.

Schritt 2: Add a trigger

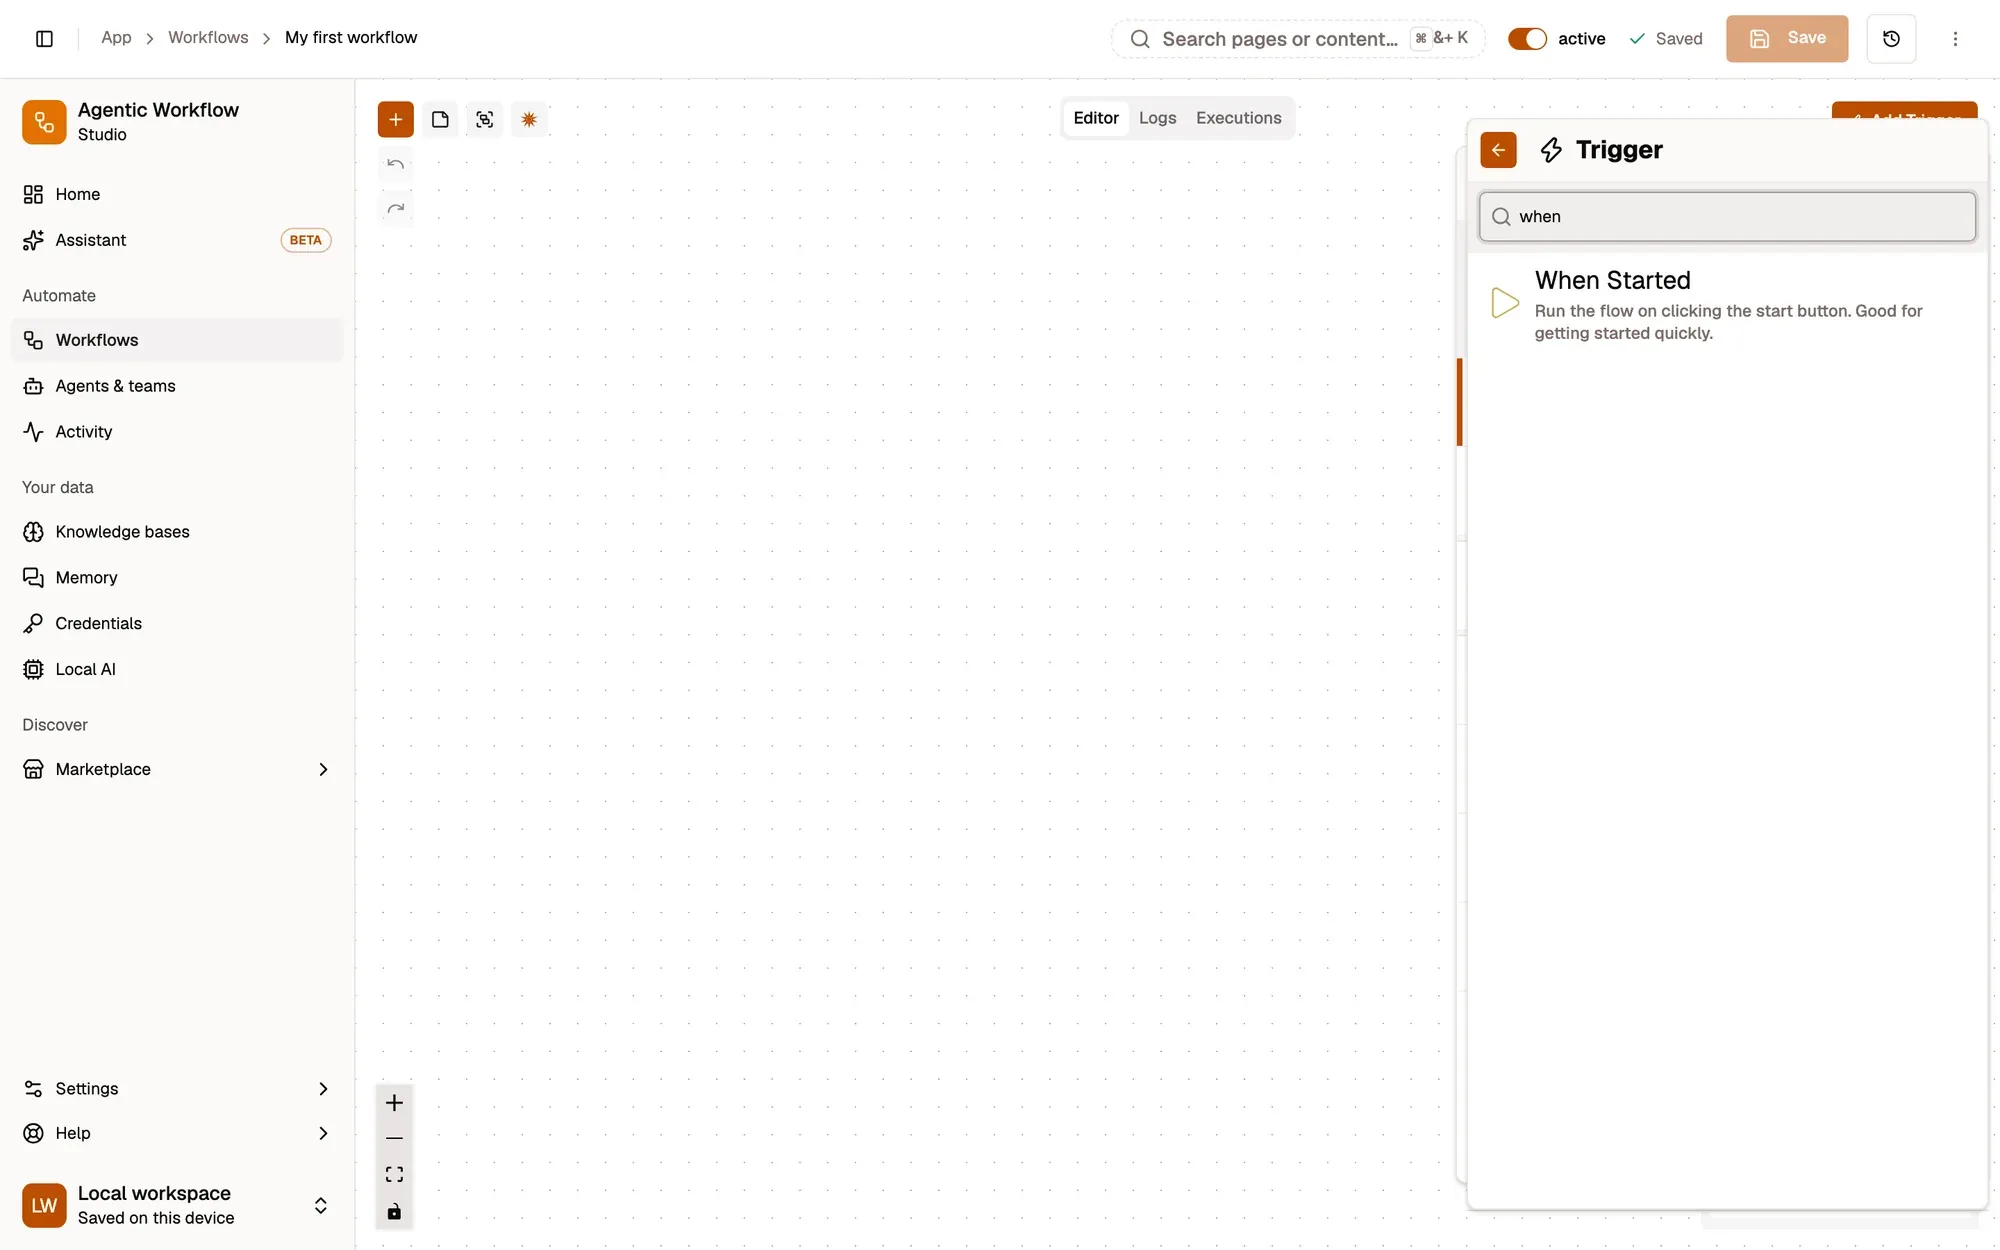
Click Add Trigger (in a narrow panel: Add trigger in the middle of the canvas). The Trigger panel opens: type when in its search box and pick When Started. It starts the workflow when you press Test Workflow.
When Started
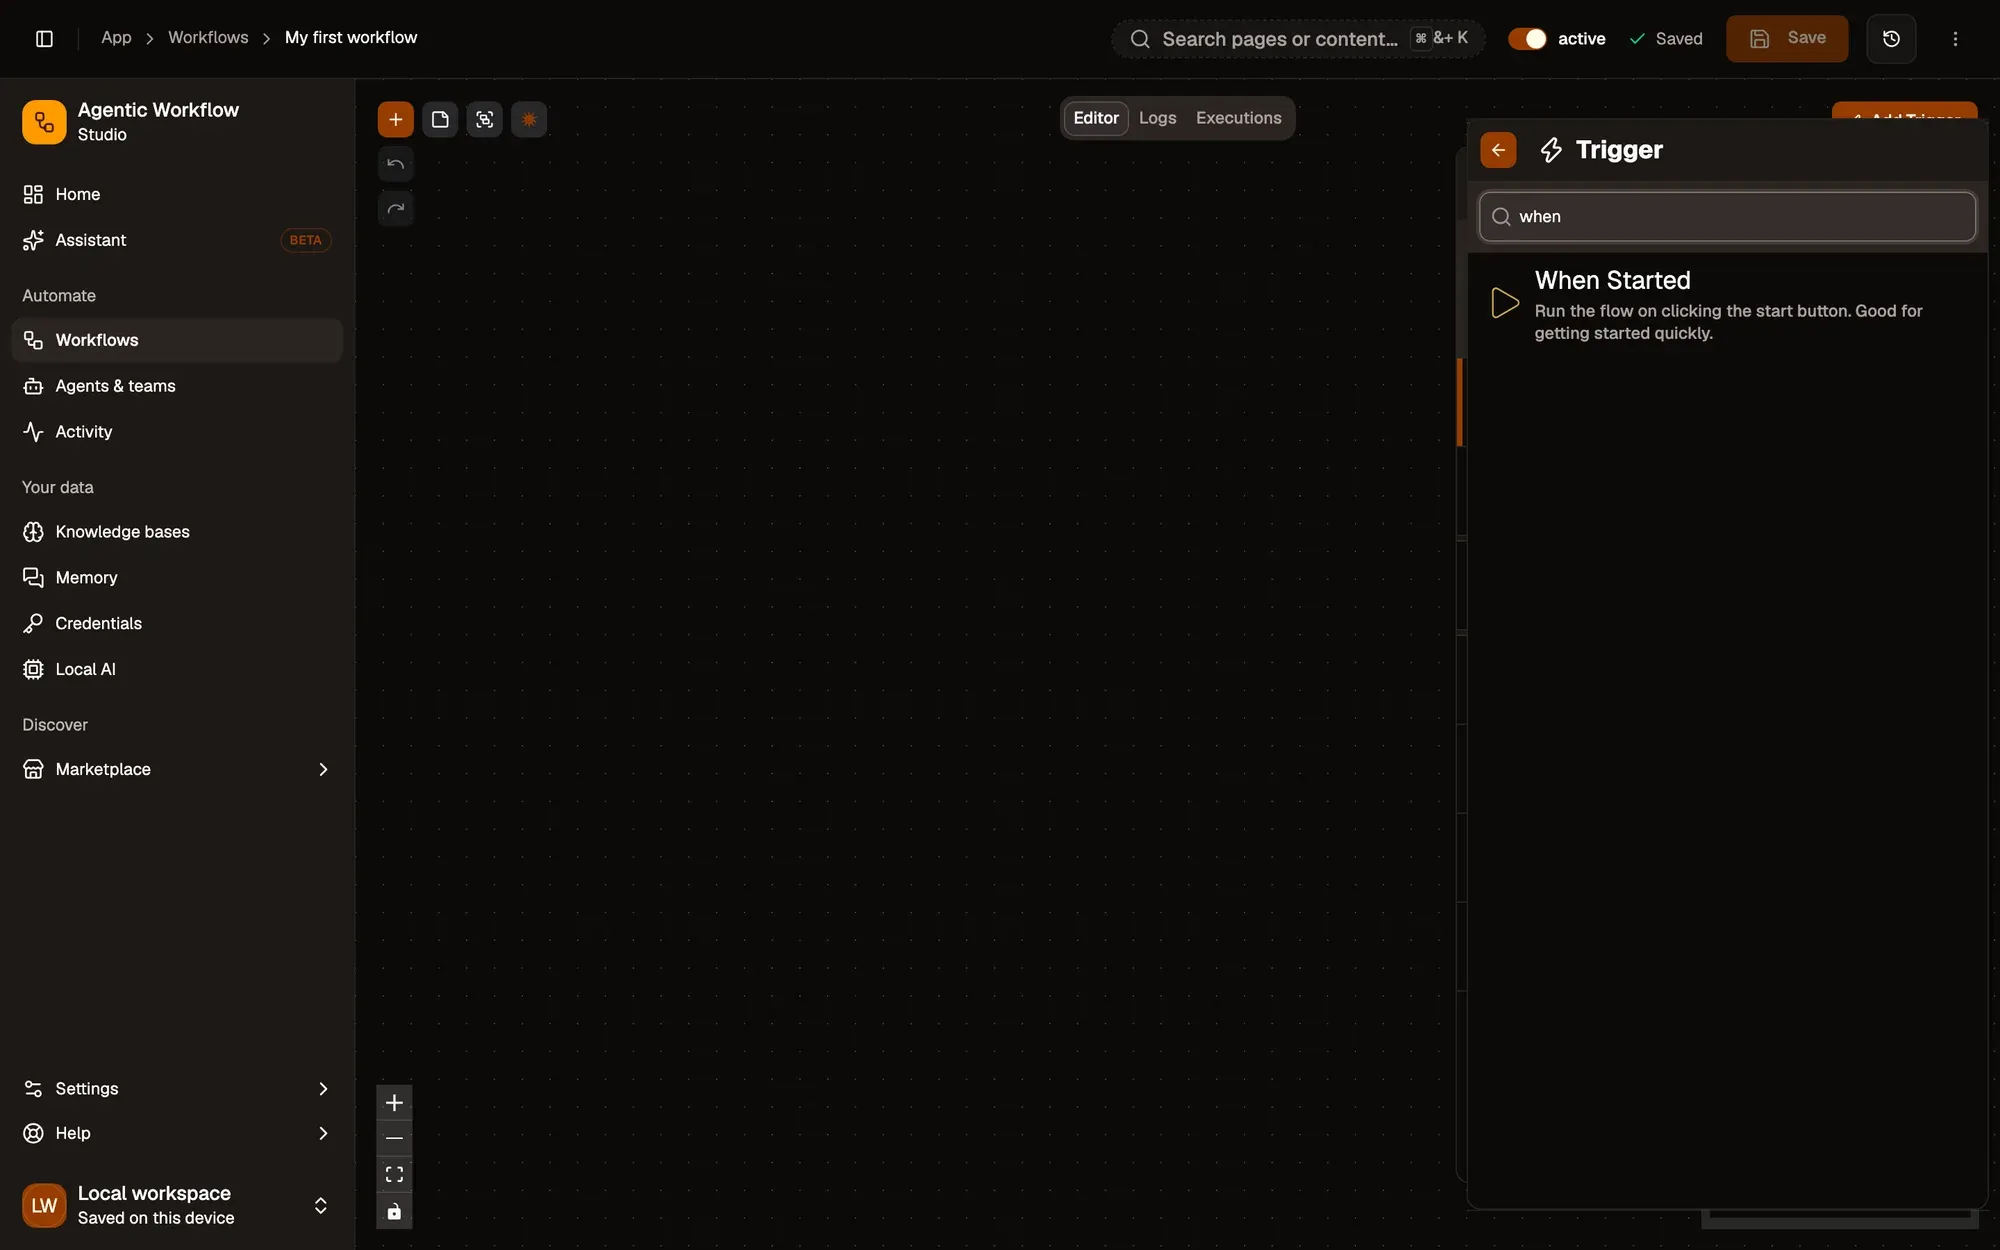
A new, empty workflow named My first workflow. Add Trigger opened the Trigger panel on the right; “when” is typed in its search box and the only result is When Started, “Run the flow on clicking the start button”.A new, empty workflow named My first workflow. Add Trigger opened the Trigger panel on the right; “when” is typed in its search box and the only result is When Started, “Run the flow on clicking the start button”.

Prüfen: a When Started node is on the canvas.

Schritt 3: Read the selected text

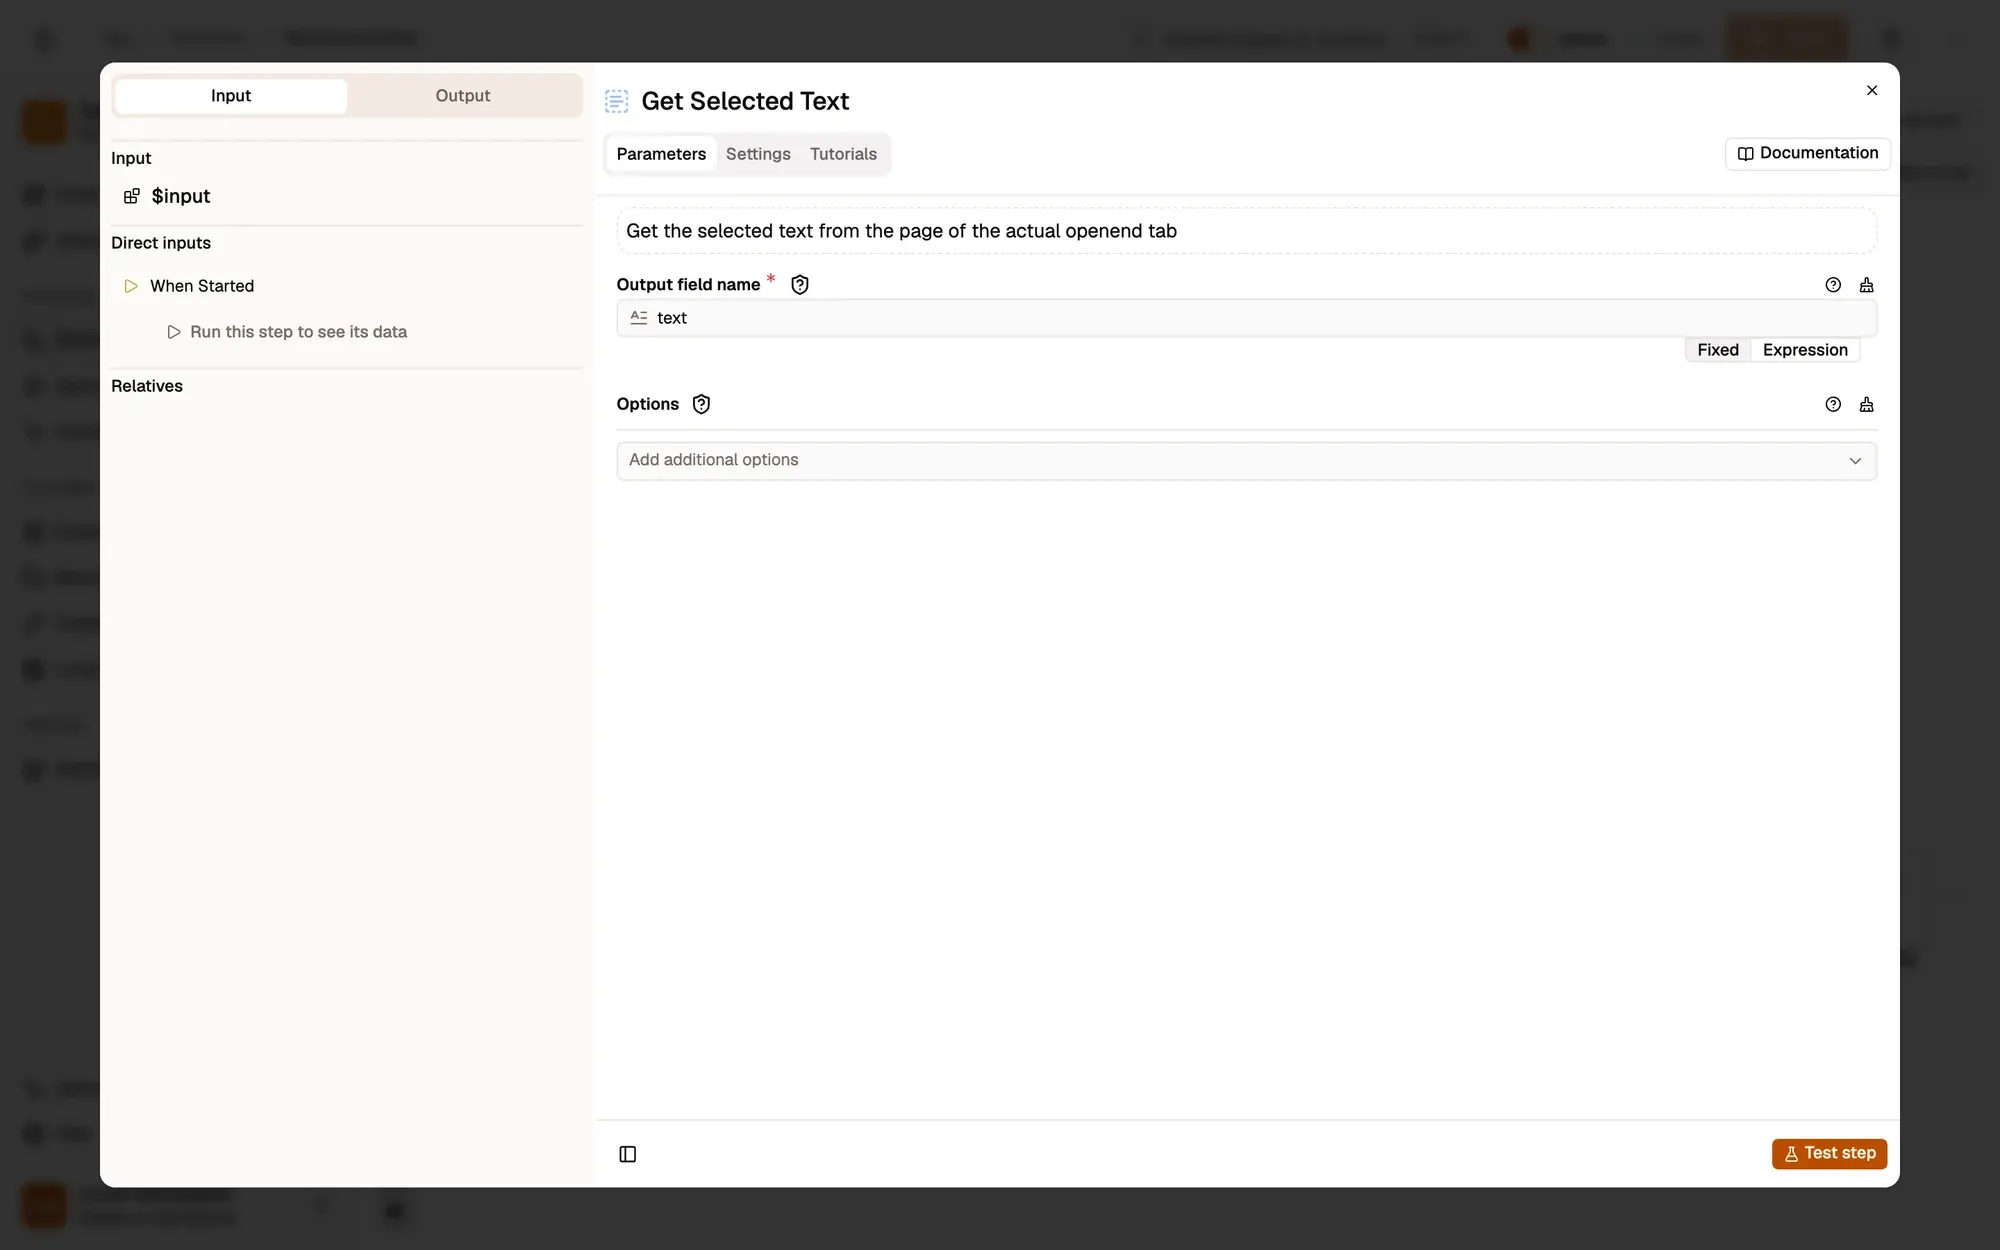
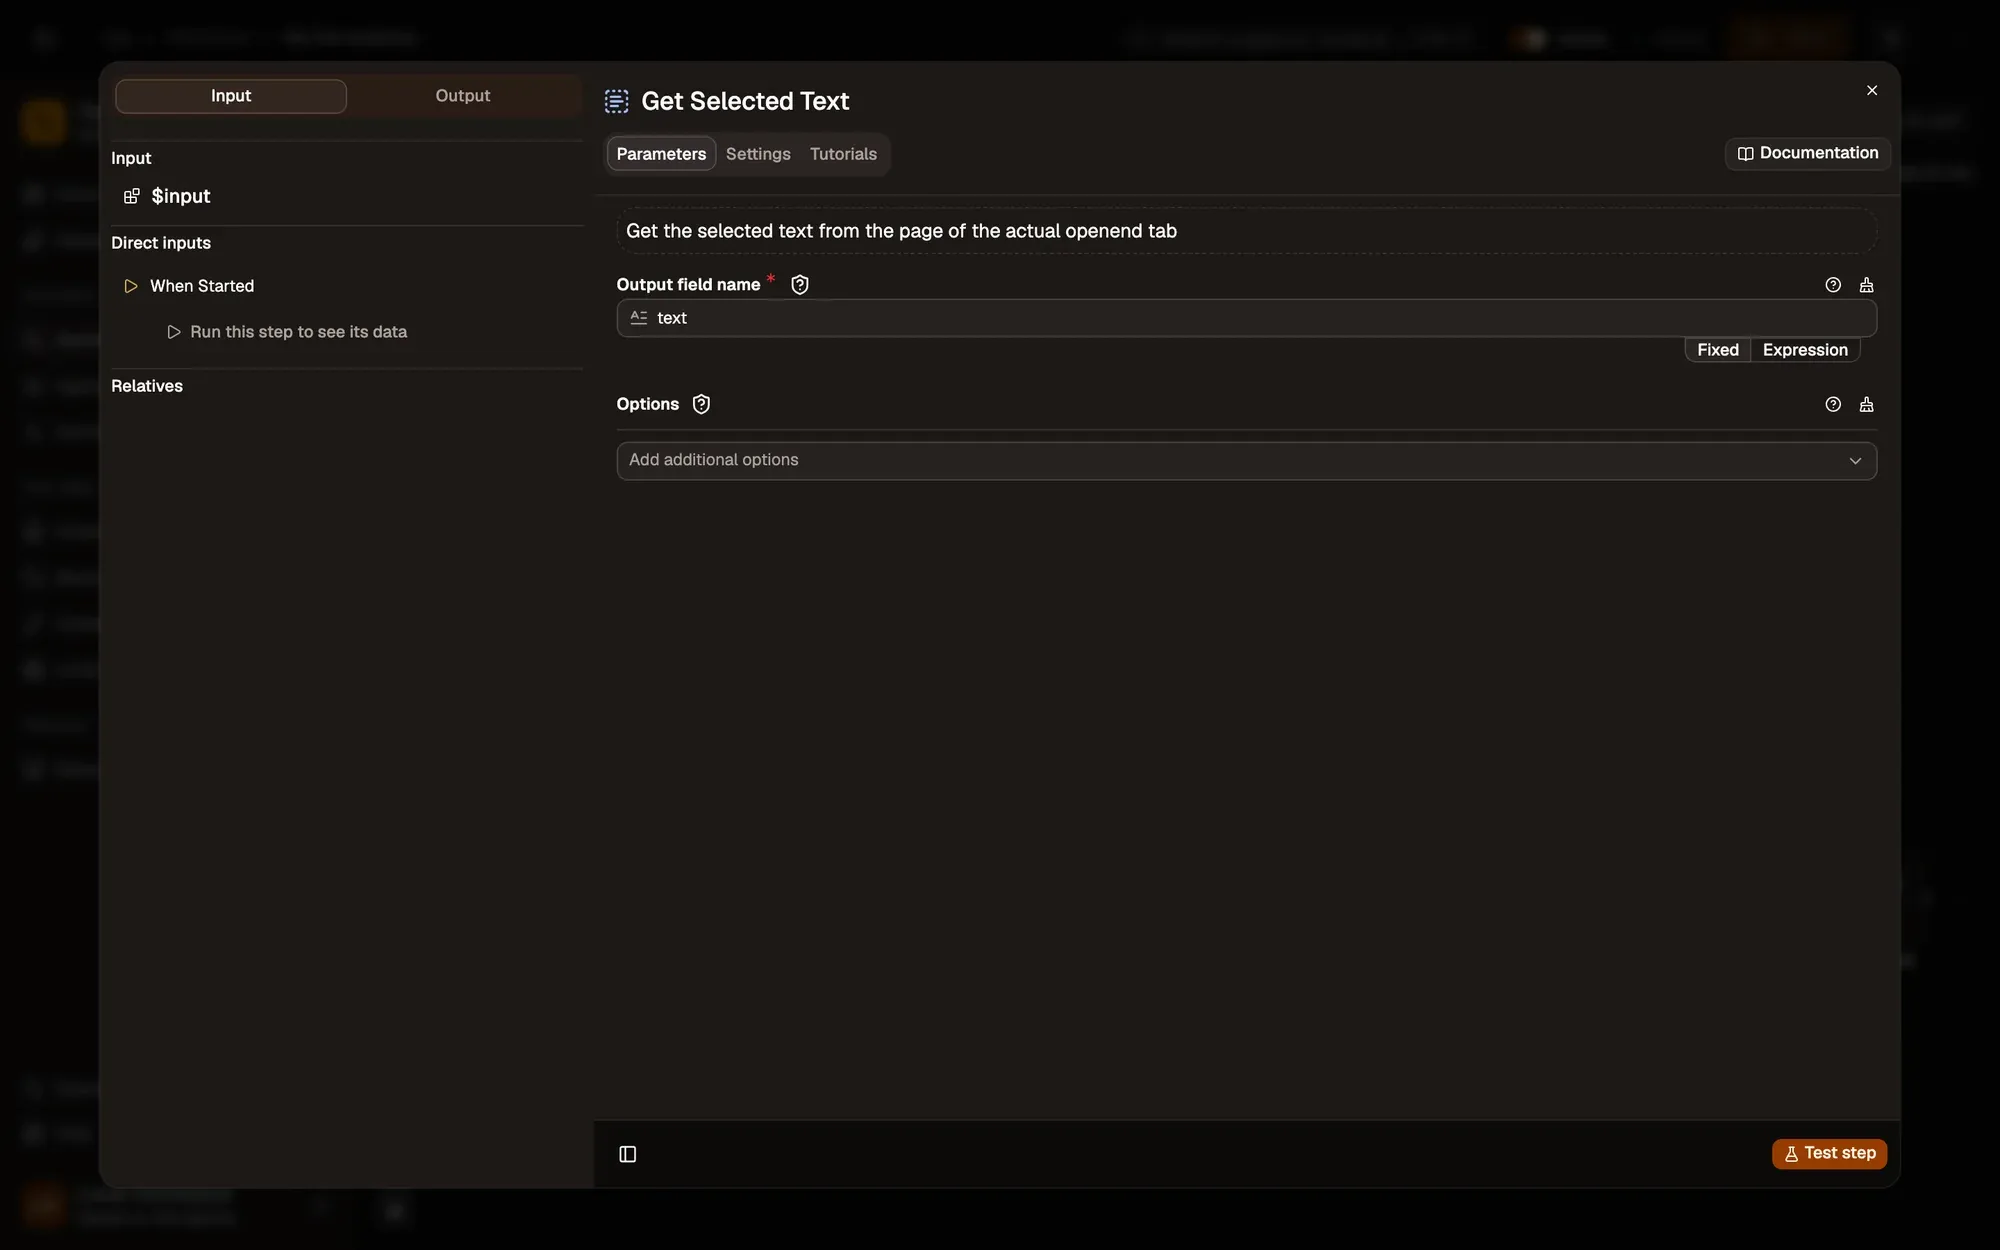
Click the + on the right edge of When Started, search for Get Selected Text and pick it. Double-click it to open its settings, set Output field name to text, then close the panel (× at the top right, or Esc).
Output field name, set to text
The settings panel of Get Selected Text: Output field name is set to text. On the left, the Input and Output tabs; When Started is listed under Direct inputs with Run this step to see its data.The settings panel of Get Selected Text: Output field name is set to text. On the left, the Input and Output tabs; When Started is listed under Direct inputs with Run this step to see its data.

Prüfen: Get Selected Text is linked to When Started by a line.

Schritt 4: Run it

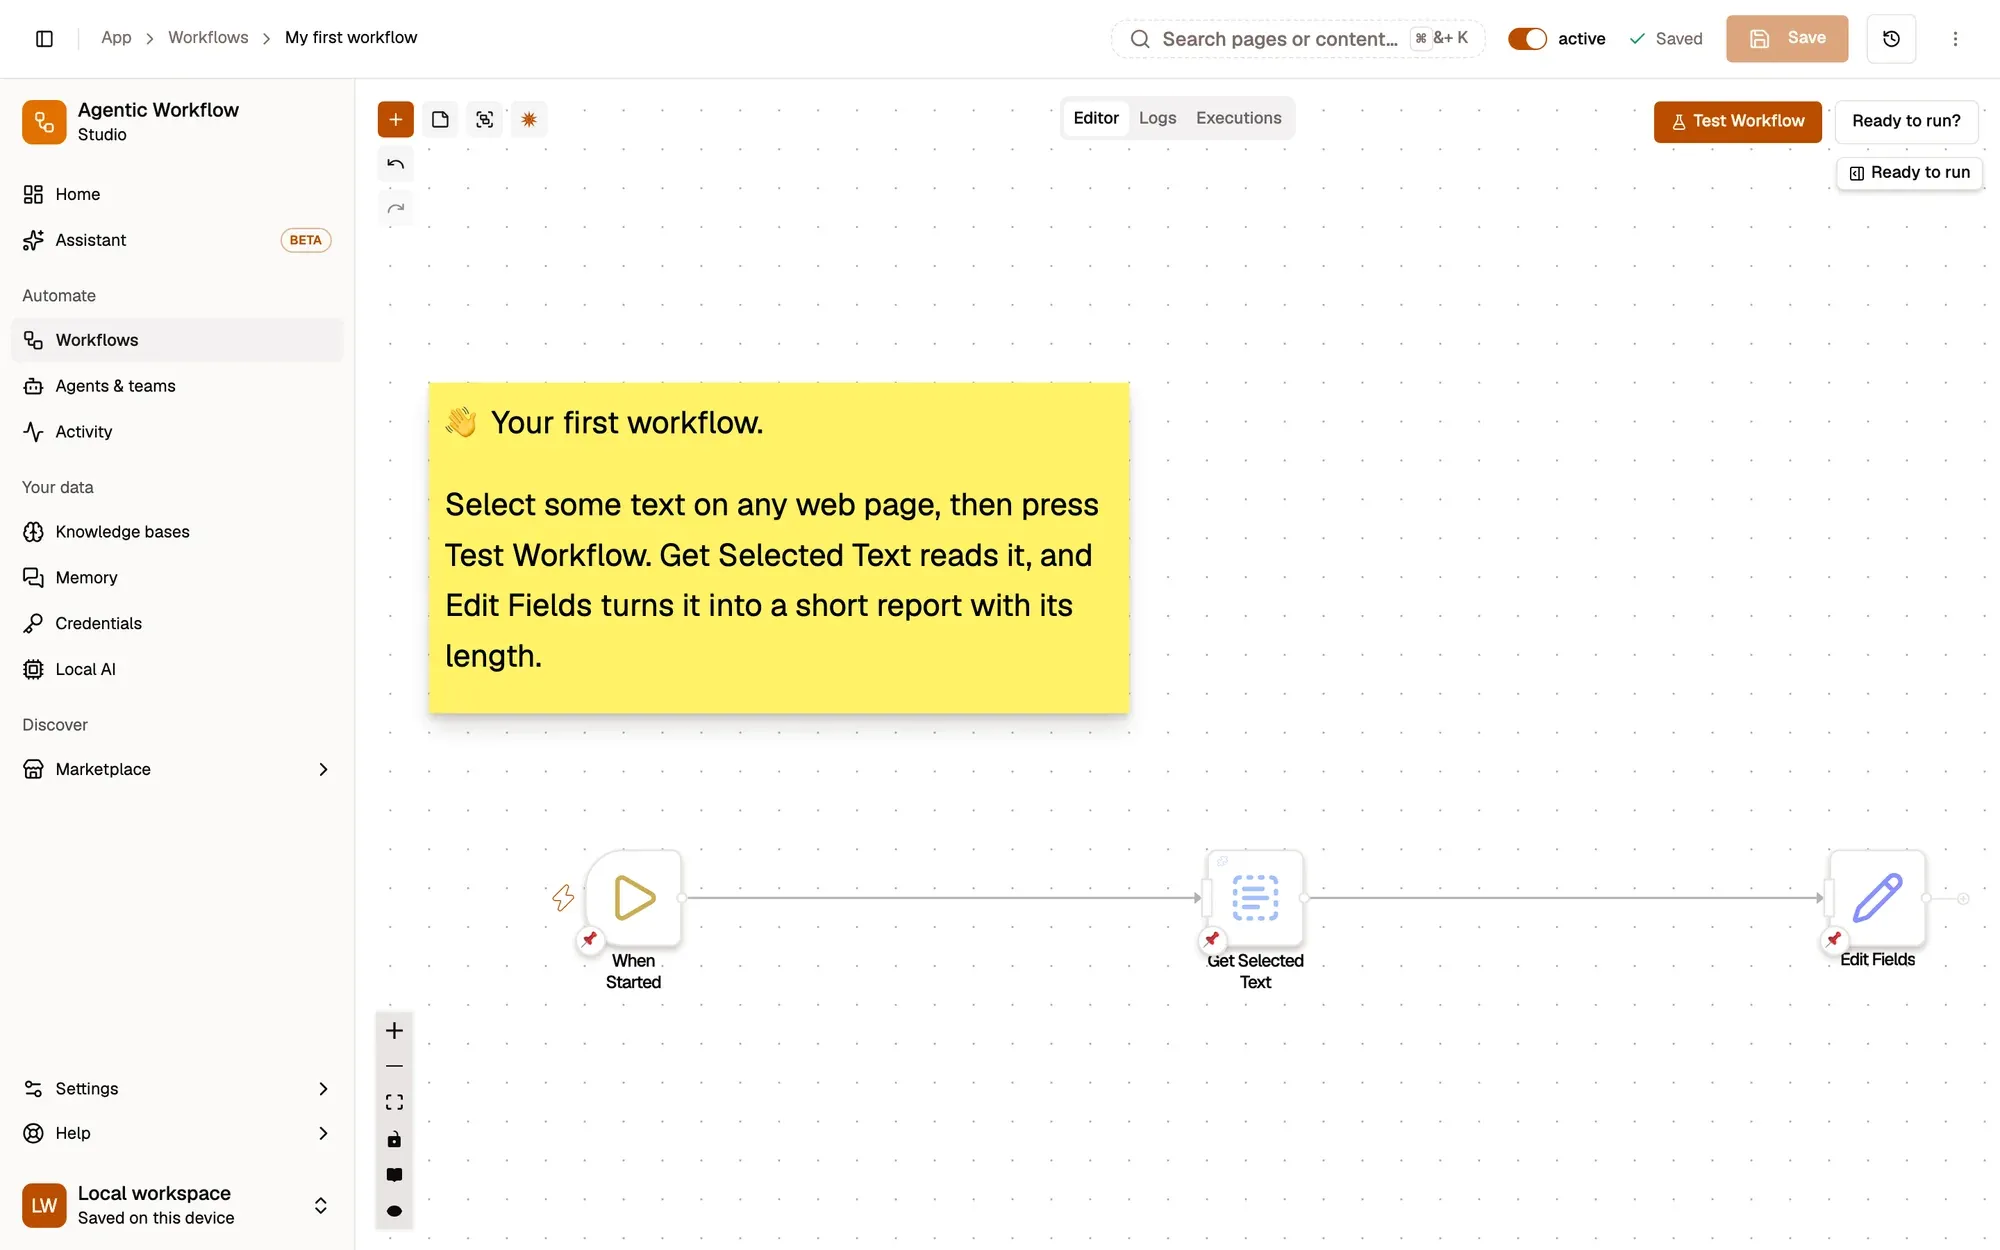
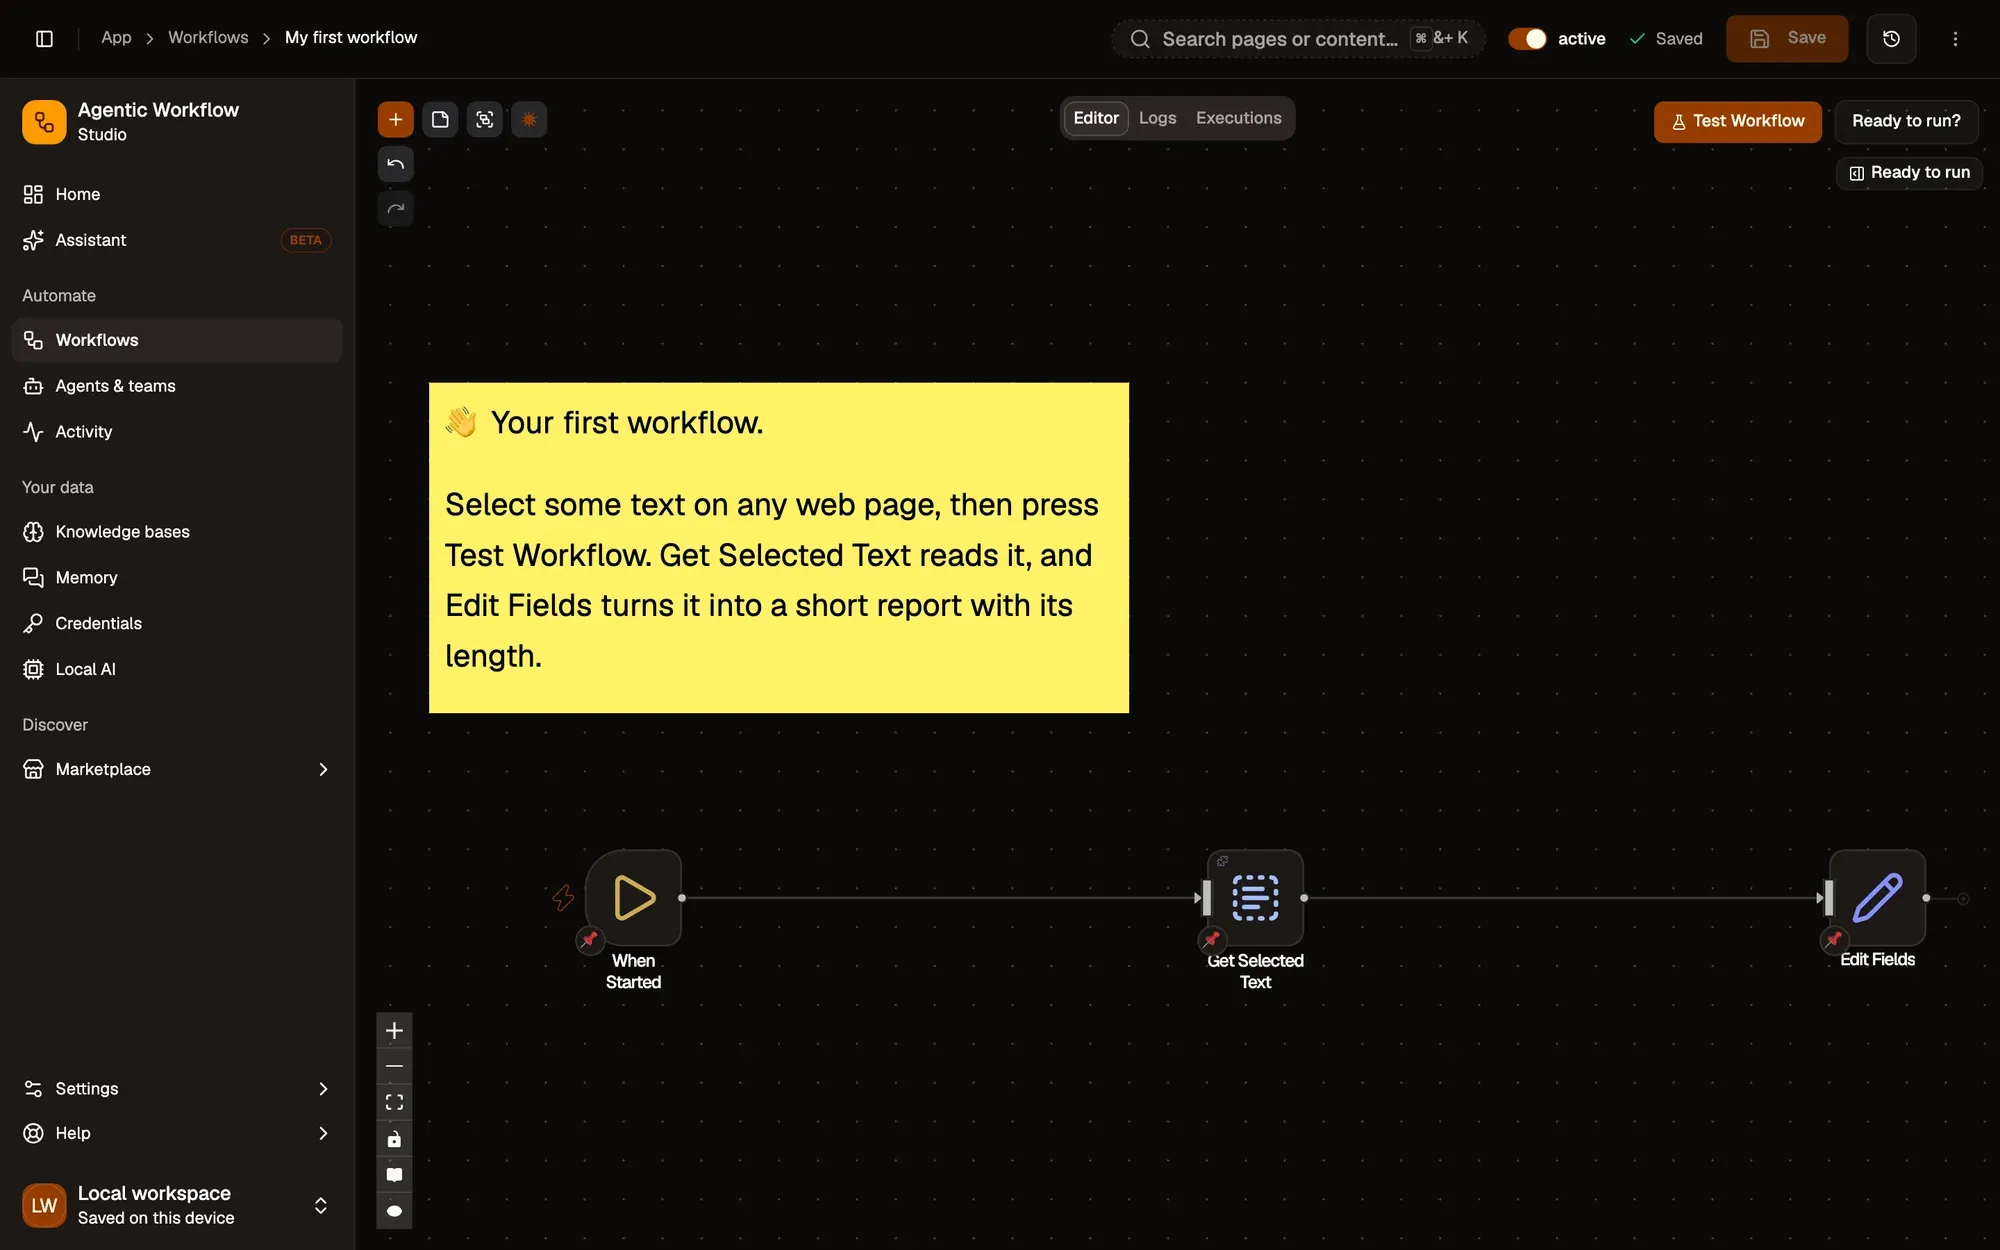
Switch to your other tab and select (highlight) a sentence. Come back to the AWFlow panel and click Test Workflow at the top of the canvas. Then open Get Selected Text and look at its Output tab, under Actual.
Test Workflow
The lesson’s workflow, My first workflow, on the canvas: a sticky note, then When Started, Get Selected Text and Edit Fields joined by lines. The header has the active switch and Save; Test Workflow is above the canvas on the right.The lesson’s workflow, My first workflow, on the canvas: a sticky note, then When Started, Get Selected Text and Edit Fields joined by lines. The header has the active switch and Save; Test Workflow is above the canvas on the right.

Prüfen: Get Selected Text → Output → Actual shows a text field with your sentence.

Schritt 5: Reshape it with Edit Fields

Click the + on the right of Get Selected Text and add Edit Fields. Under Fields, add a field named processed_text of type String, and paste this as its value:

Value
Text: {{ $input.text }}
Length: {{ $input.text.length }} characters

{{ $input.text }} reads the text field from the step before. Close the panel, select some text again, and click Test Workflow.
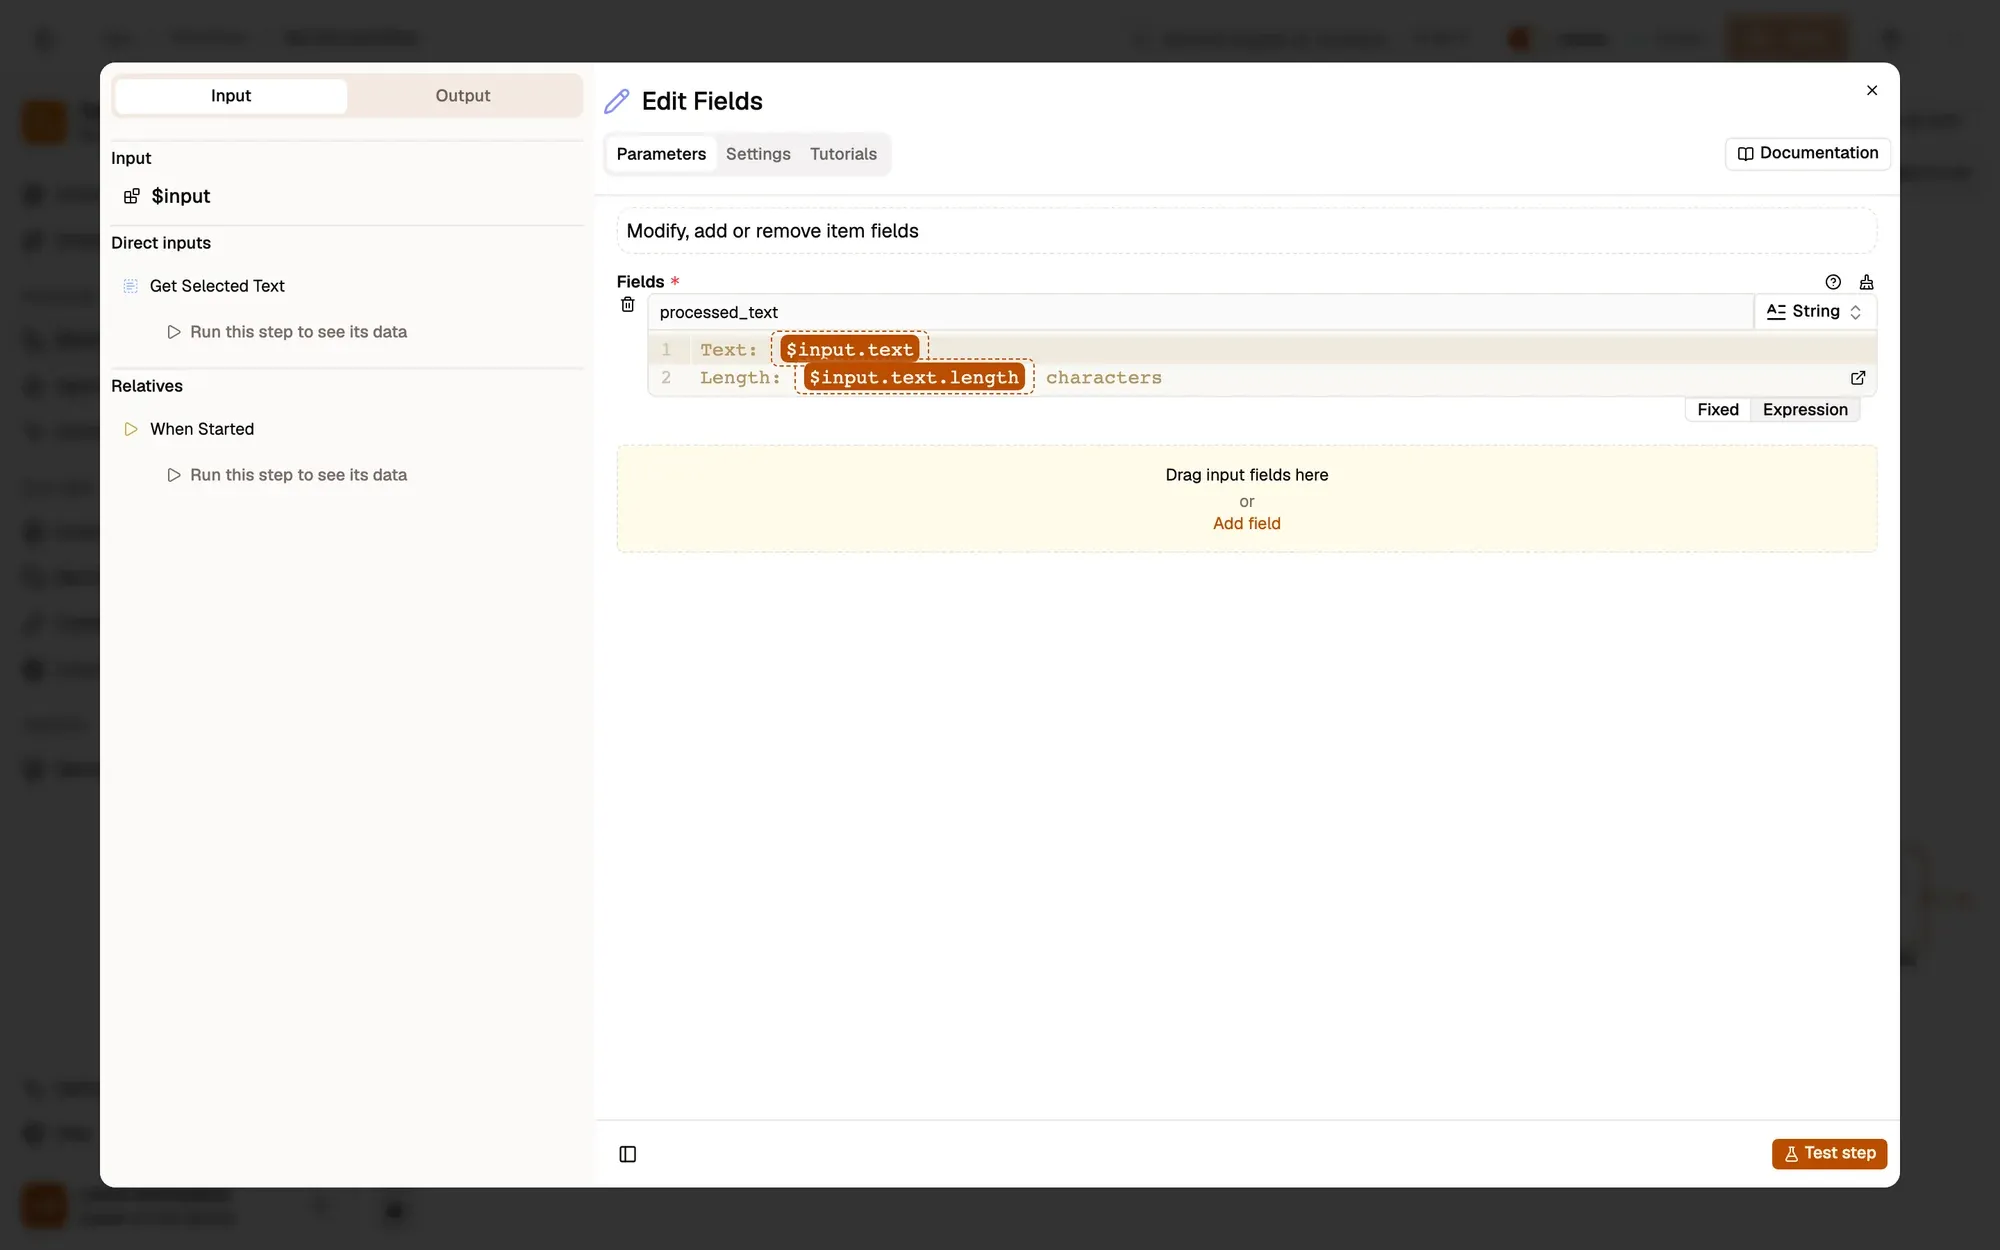
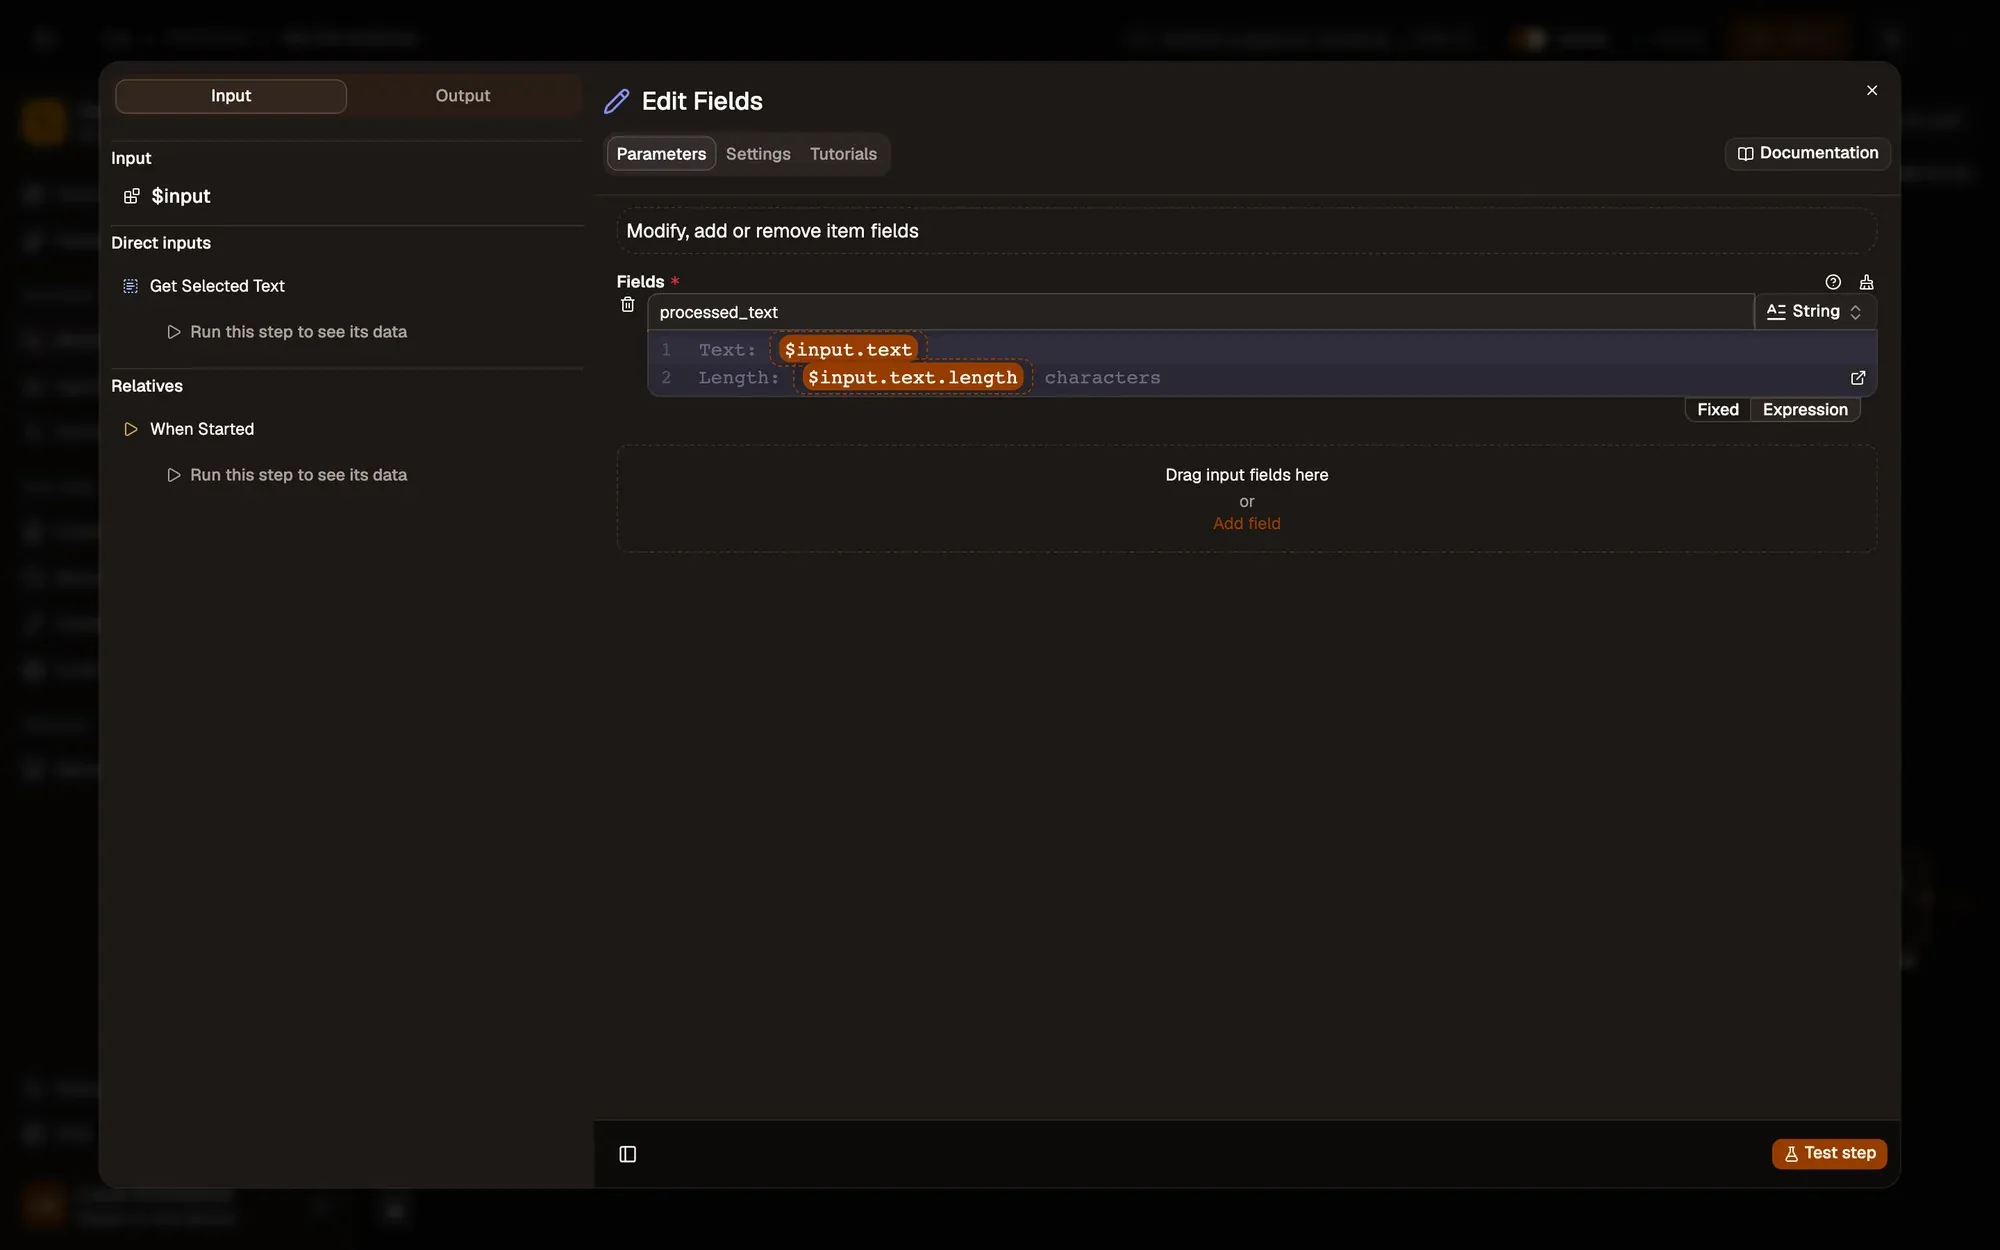
The processed_text field and its value
The settings panel of Edit Fields: under Fields, a field named processed_text of type String whose value is “Text: {{ $input.text }}” and “Length: {{ $input.text.length }} characters”, with Drag input fields here or Add field below.The settings panel of Edit Fields: under Fields, a field named processed_text of type String whose value is “Text: {{ $input.text }}” and “Length: {{ $input.text.length }} characters”, with Drag input fields here or Add field below.

Prüfen: Edit Fields → Output → Actual shows processed_text with your sentence and its length.

Schritt 6: Save it

AWFlow doesn’t save automatically: click Save in the canvas header, or press ⌘/Ctrl + S. You’ll reuse this canvas in the next lesson.

Save
The lesson’s workflow, My first workflow, on the canvas: a sticky note, then When Started, Get Selected Text and Edit Fields joined by lines. The header has the active switch and Save; Test Workflow is above the canvas on the right.The lesson’s workflow, My first workflow, on the canvas: a sticky note, then When Started, Get Selected Text and Edit Fields joined by lines. The header has the active switch and Save; Test Workflow is above the canvas on the right.

Prüfen: the header says Saved.

  • Every workflow has a trigger and one or more nodes, joined by lines that carry data.
  • Each node’s Output tab shows what it produced on the last run.
  • {{ $input.field }} reads a field from the previous step. See Expressions for more.

The nodes in this lesson: Get Selected Text and Edit Fields.

Aria fragen