AI‑Powered Workflows
Learn how to integrate model dependencies for deeper content analysis.
This walkthrough builds on Your first workflow and is part of Level 2 · Working with data. It is a reference walkthrough, not yet a full lesson: it has no progress tracking or checks.
You’ll create an automation that:
As before, everything runs entirely in your browser — no server required.
graph TB
    A[Web Page] --> B[Get All Links]
    B --> C[Get All Text]
    C --> D[Edit Fields - Analysis]
    D --> E[If Node - Logic]
    E -->|Long Article| F[Detailed Report]
    E -->|Short Article| G[Quick Summary]
This shows the main idea behind workflows: they can react to what they find on the page.
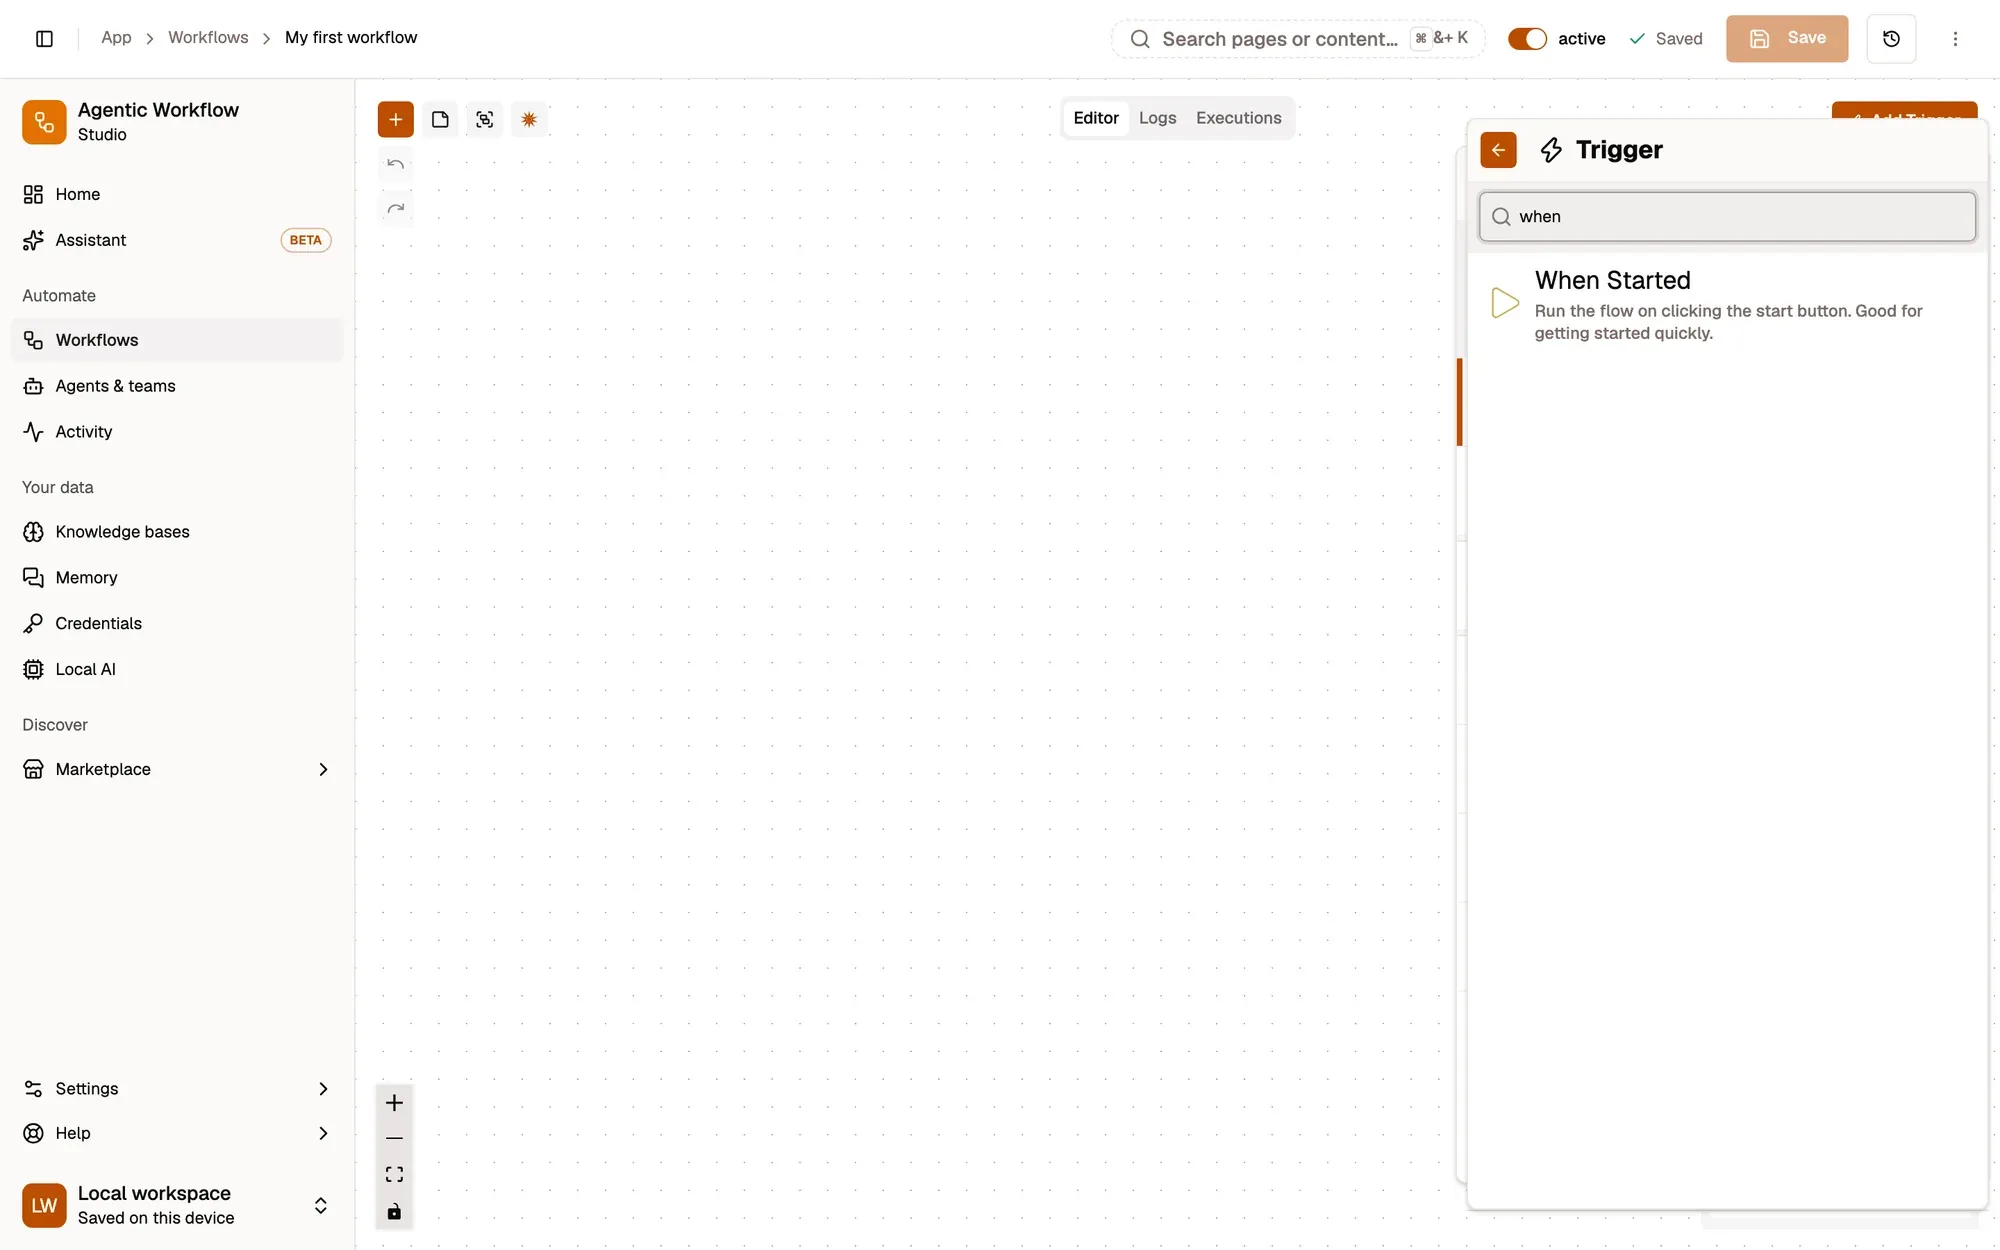
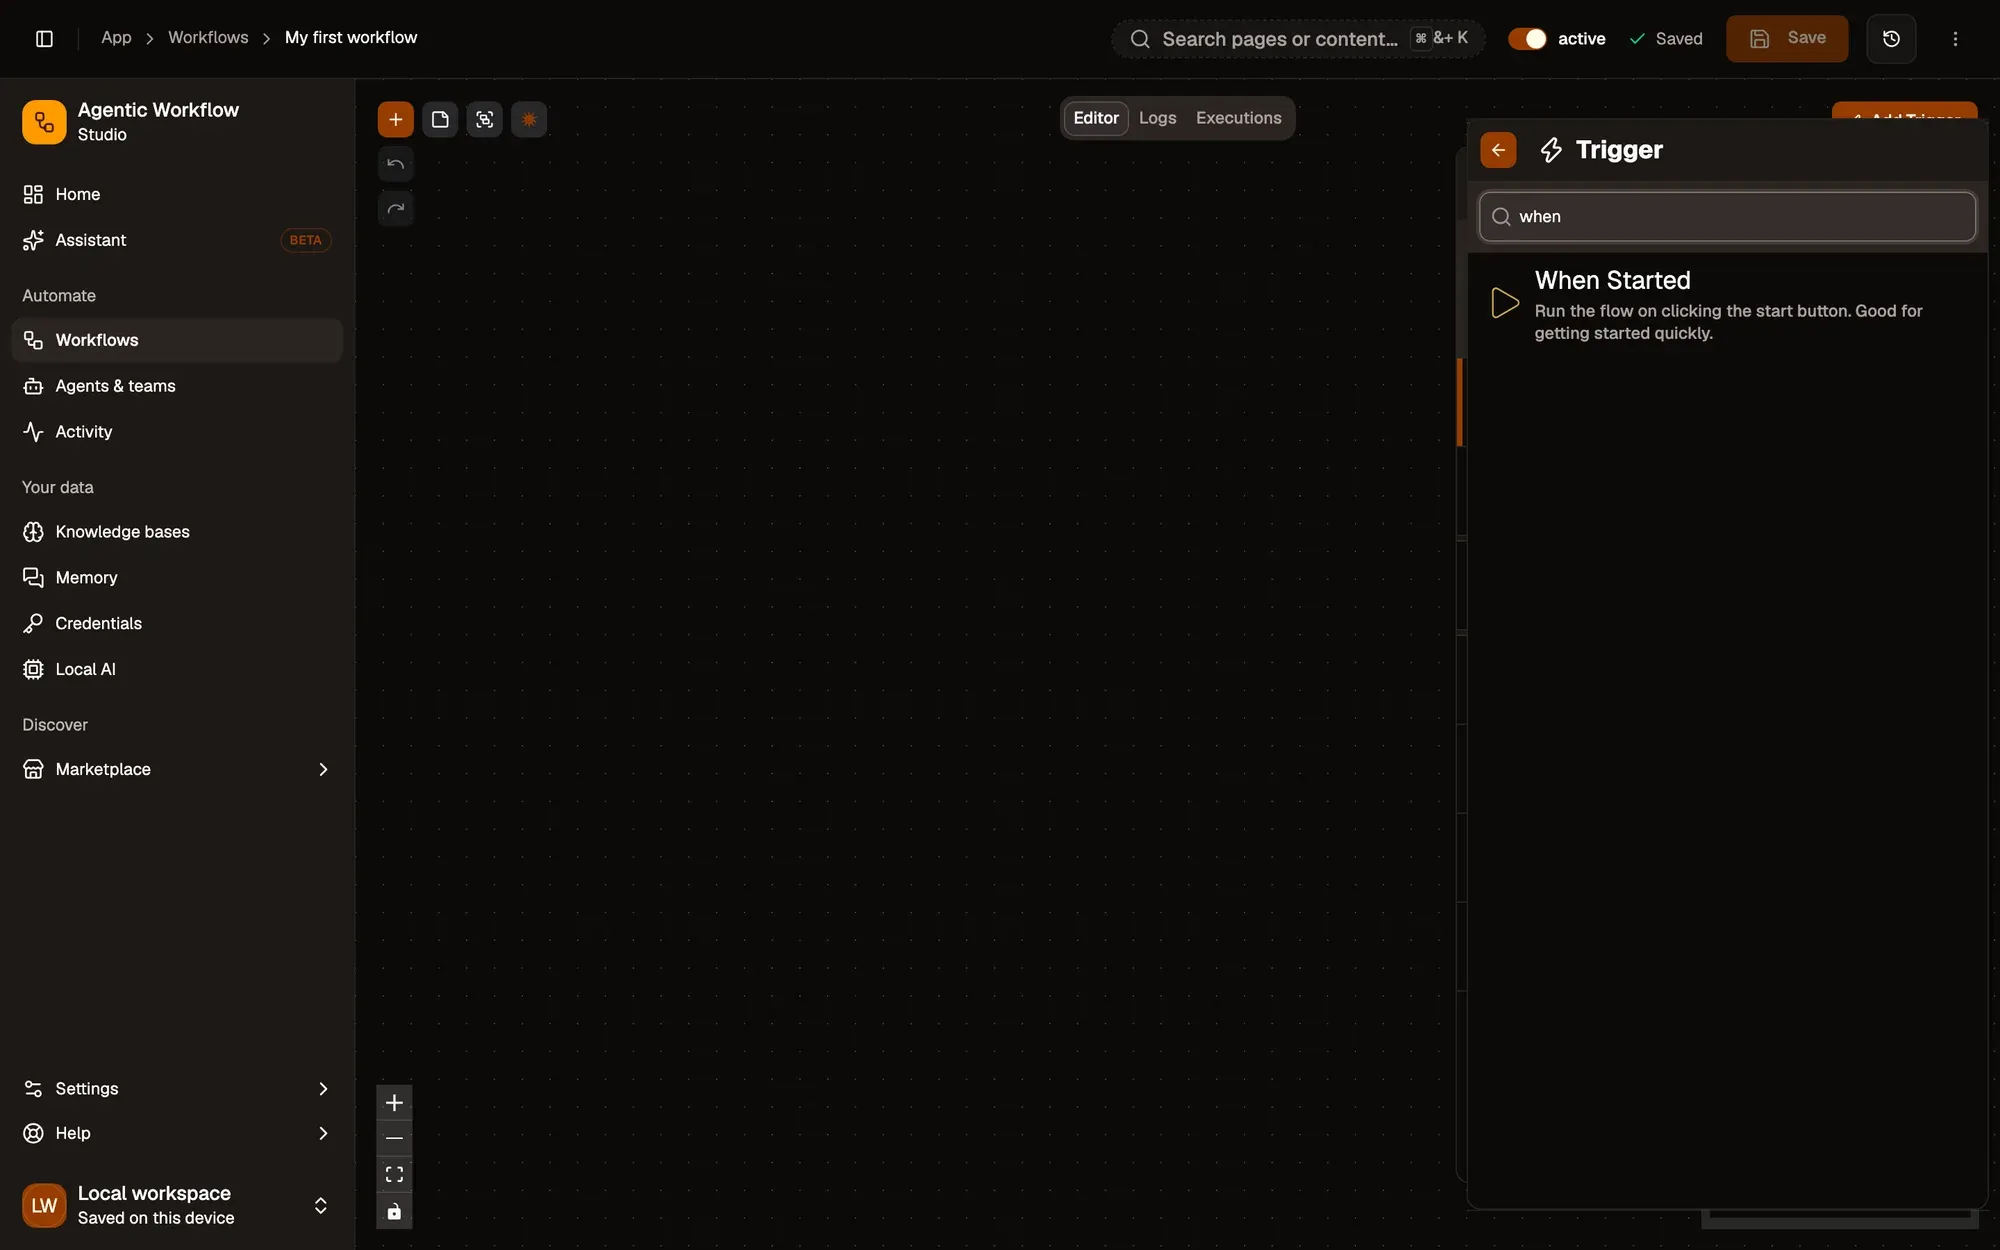
when in the Trigger panel’s search box and pick When Started. Then click the + on its right edge.<a> link URLs and labels from the current page.You’ll see the list of links in the node output.
This shows how to gather all hyperlinks on the page.
From Get All Links, click the + on its right edge.
Search for Get All Text and add it.
Click Test step to fetch the full page text.
From Get All Text, click the + on its right edge again.
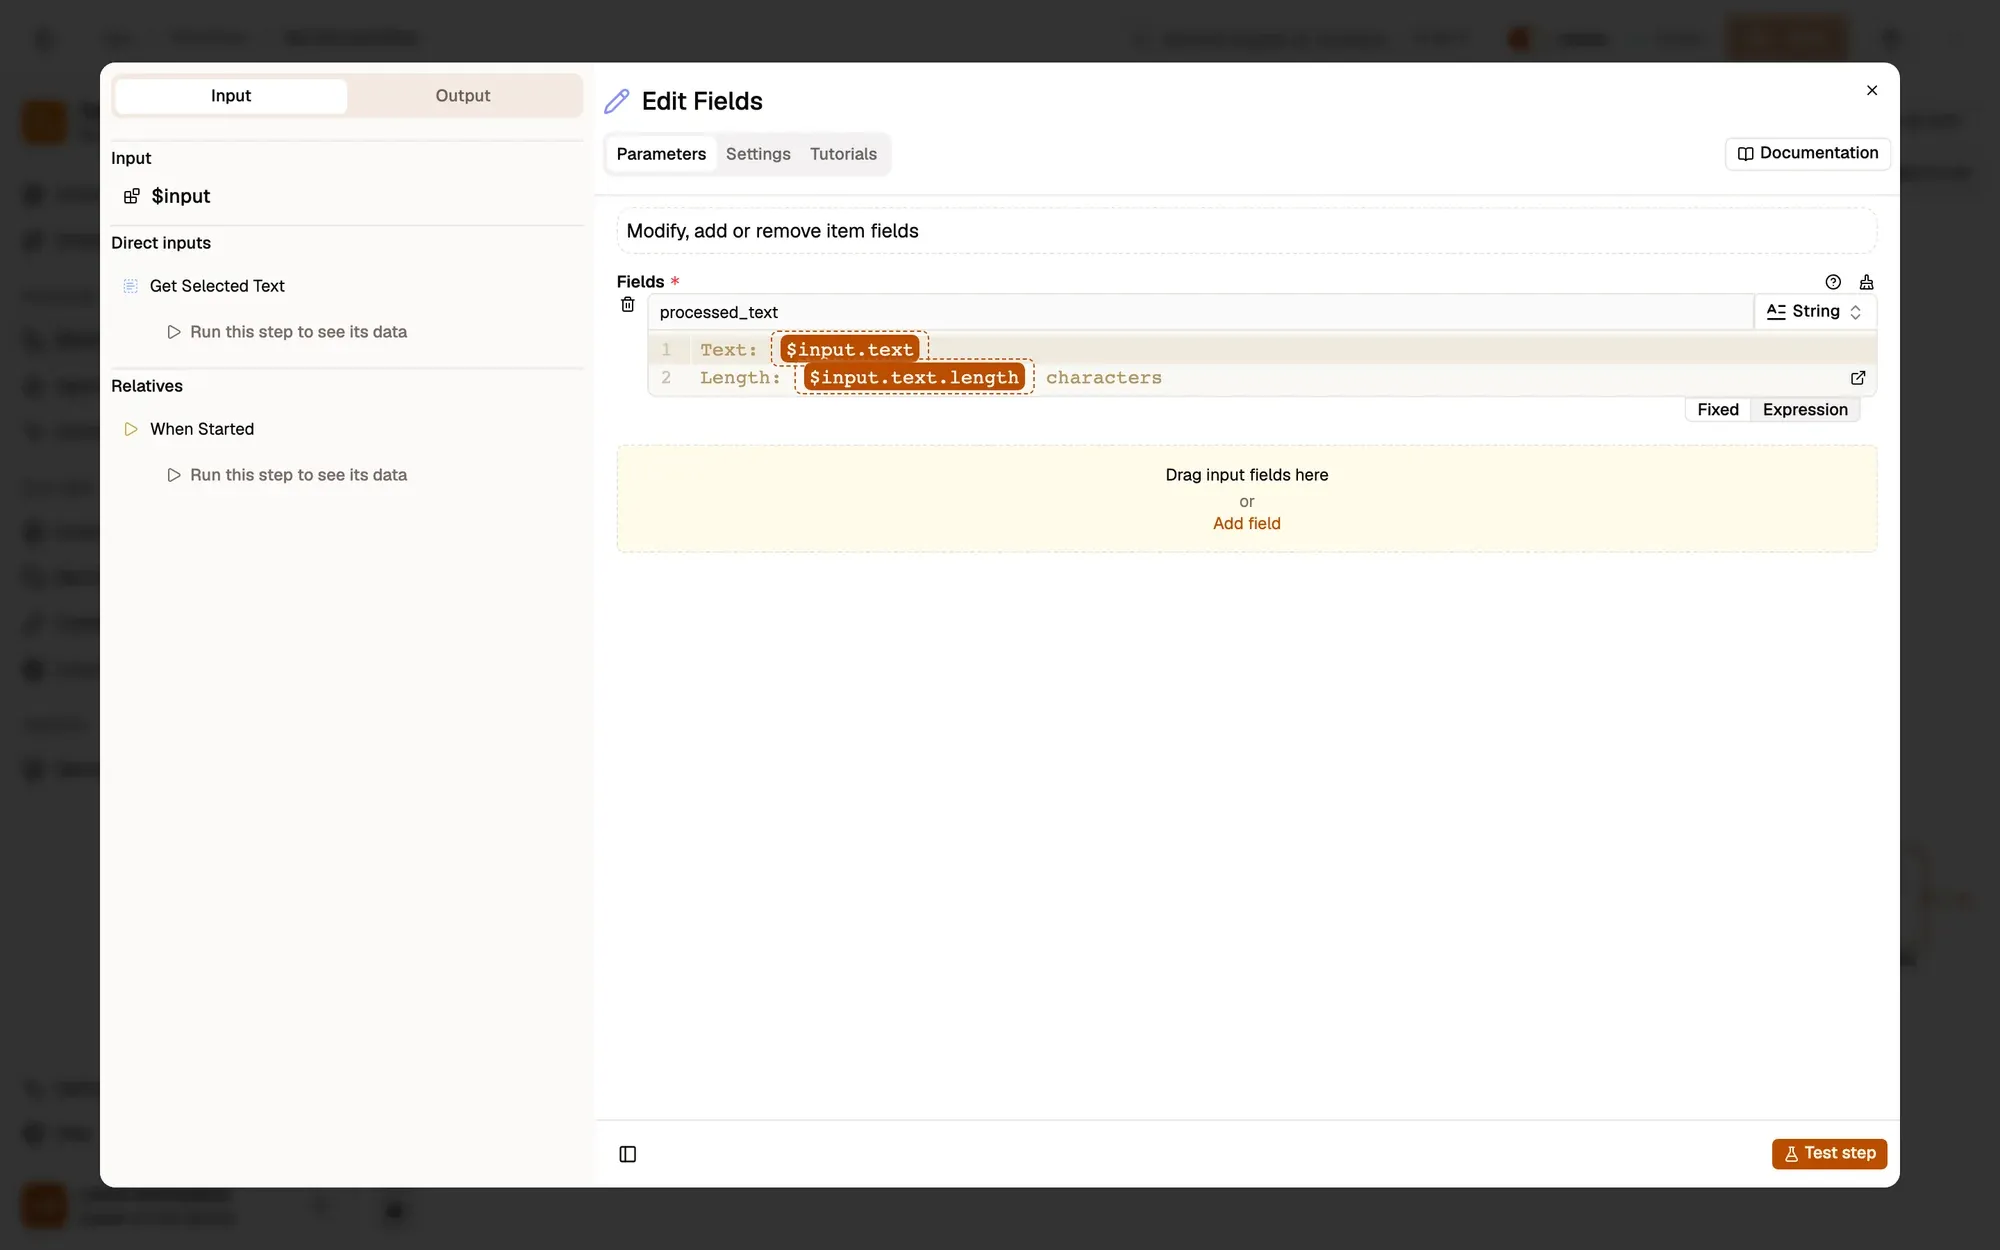
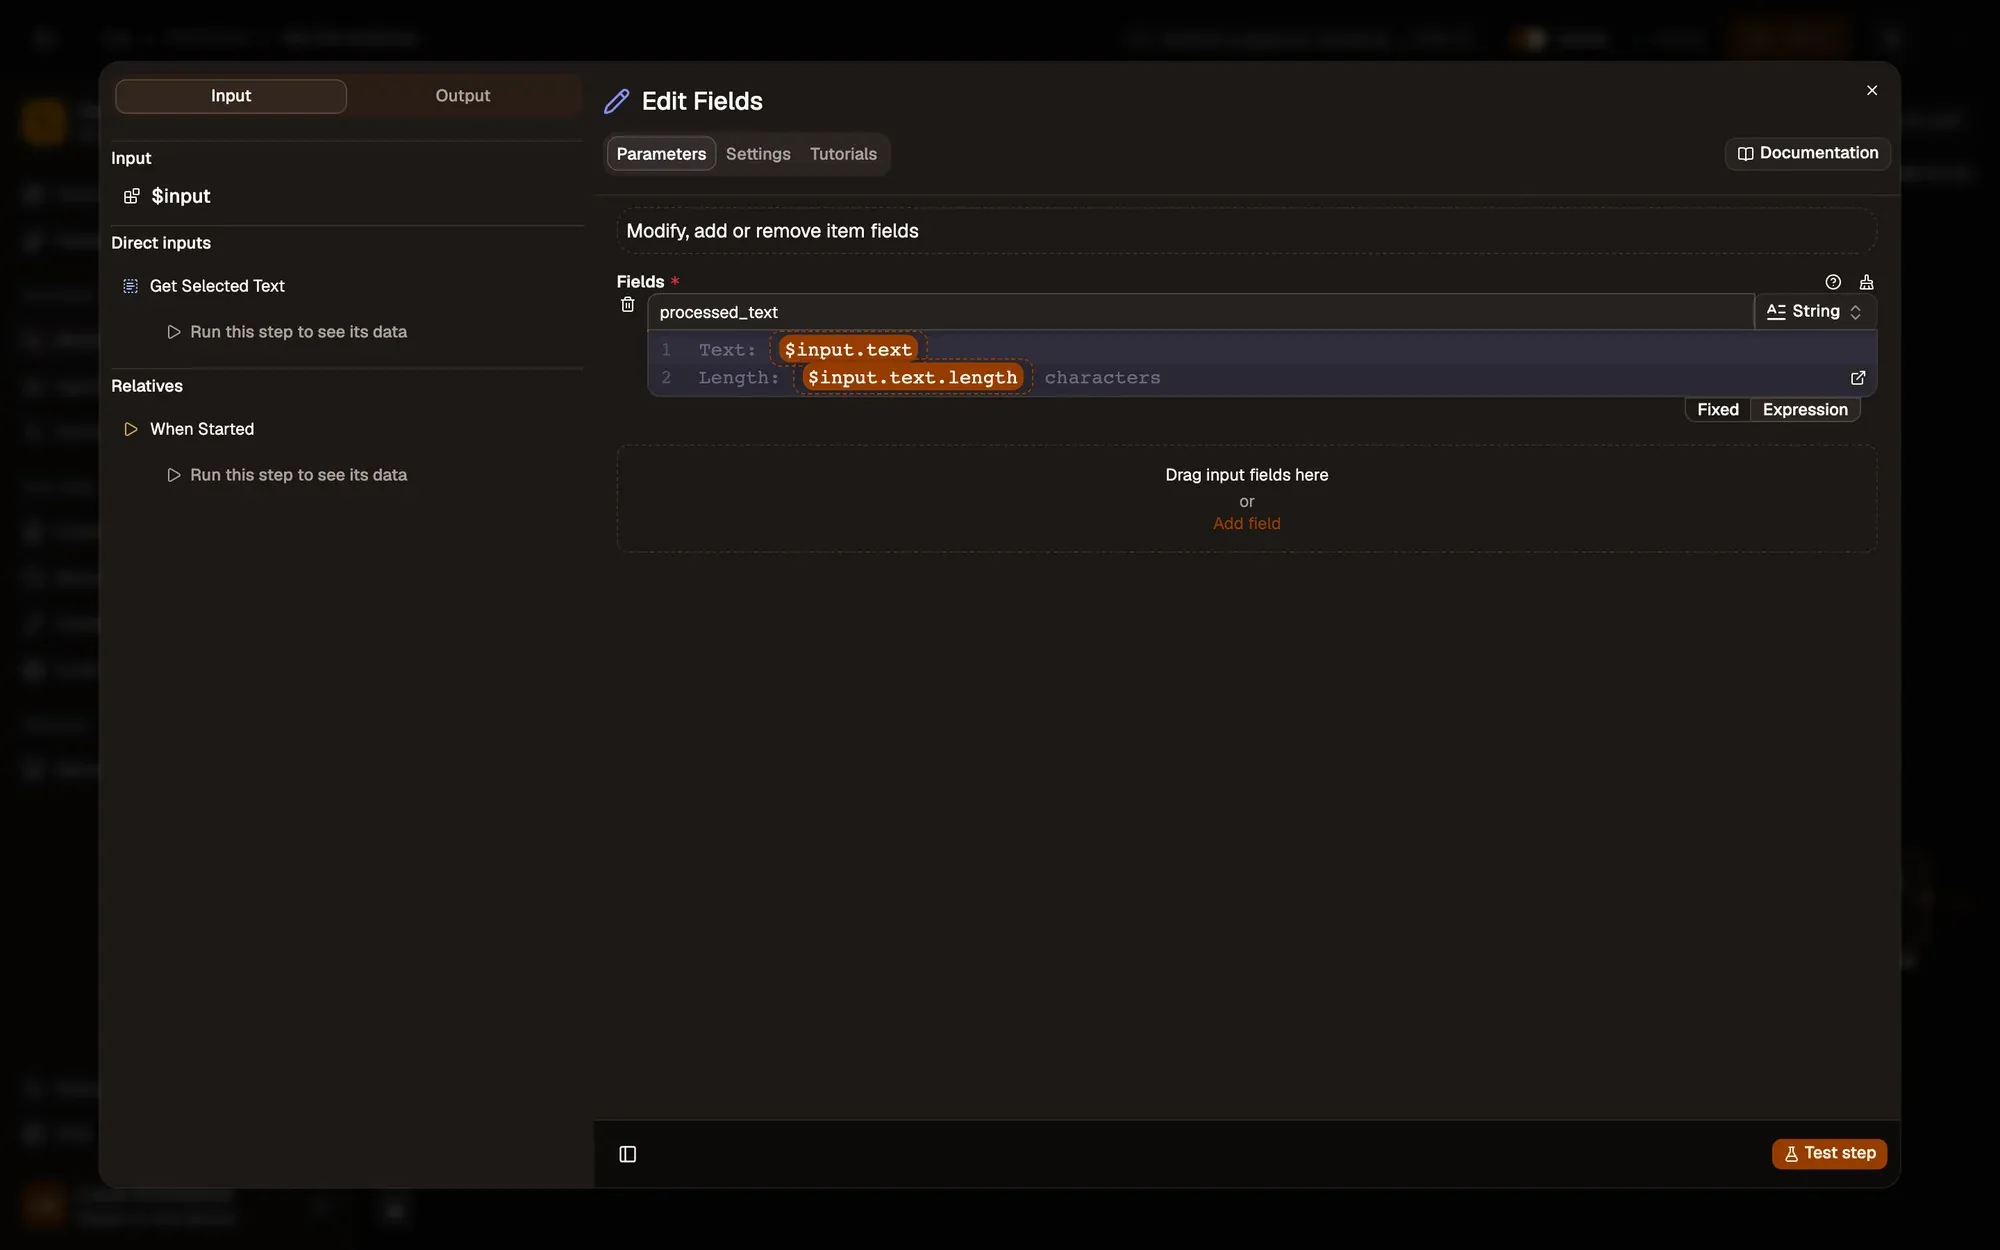
Insert Edit Fields to analyze the text.
Double-click it, then click Add field once per field.
Configure these fields by copying the values below:
{{ $json.text.split(' ').length }}{{ $json.text.length }}{{ $json.text.substring(0, 200) }}...Click Test step to see the analysis results.
This gives you a quick “profile” of the page: how long it is, plus a short preview.
graph TB
  Analysis[Analysis Output] --> Branch[If Node]
  Branch -->|word_count > 500| Long[Detailed Branch]
  Branch -->|otherwise| Short[Summary Branch]
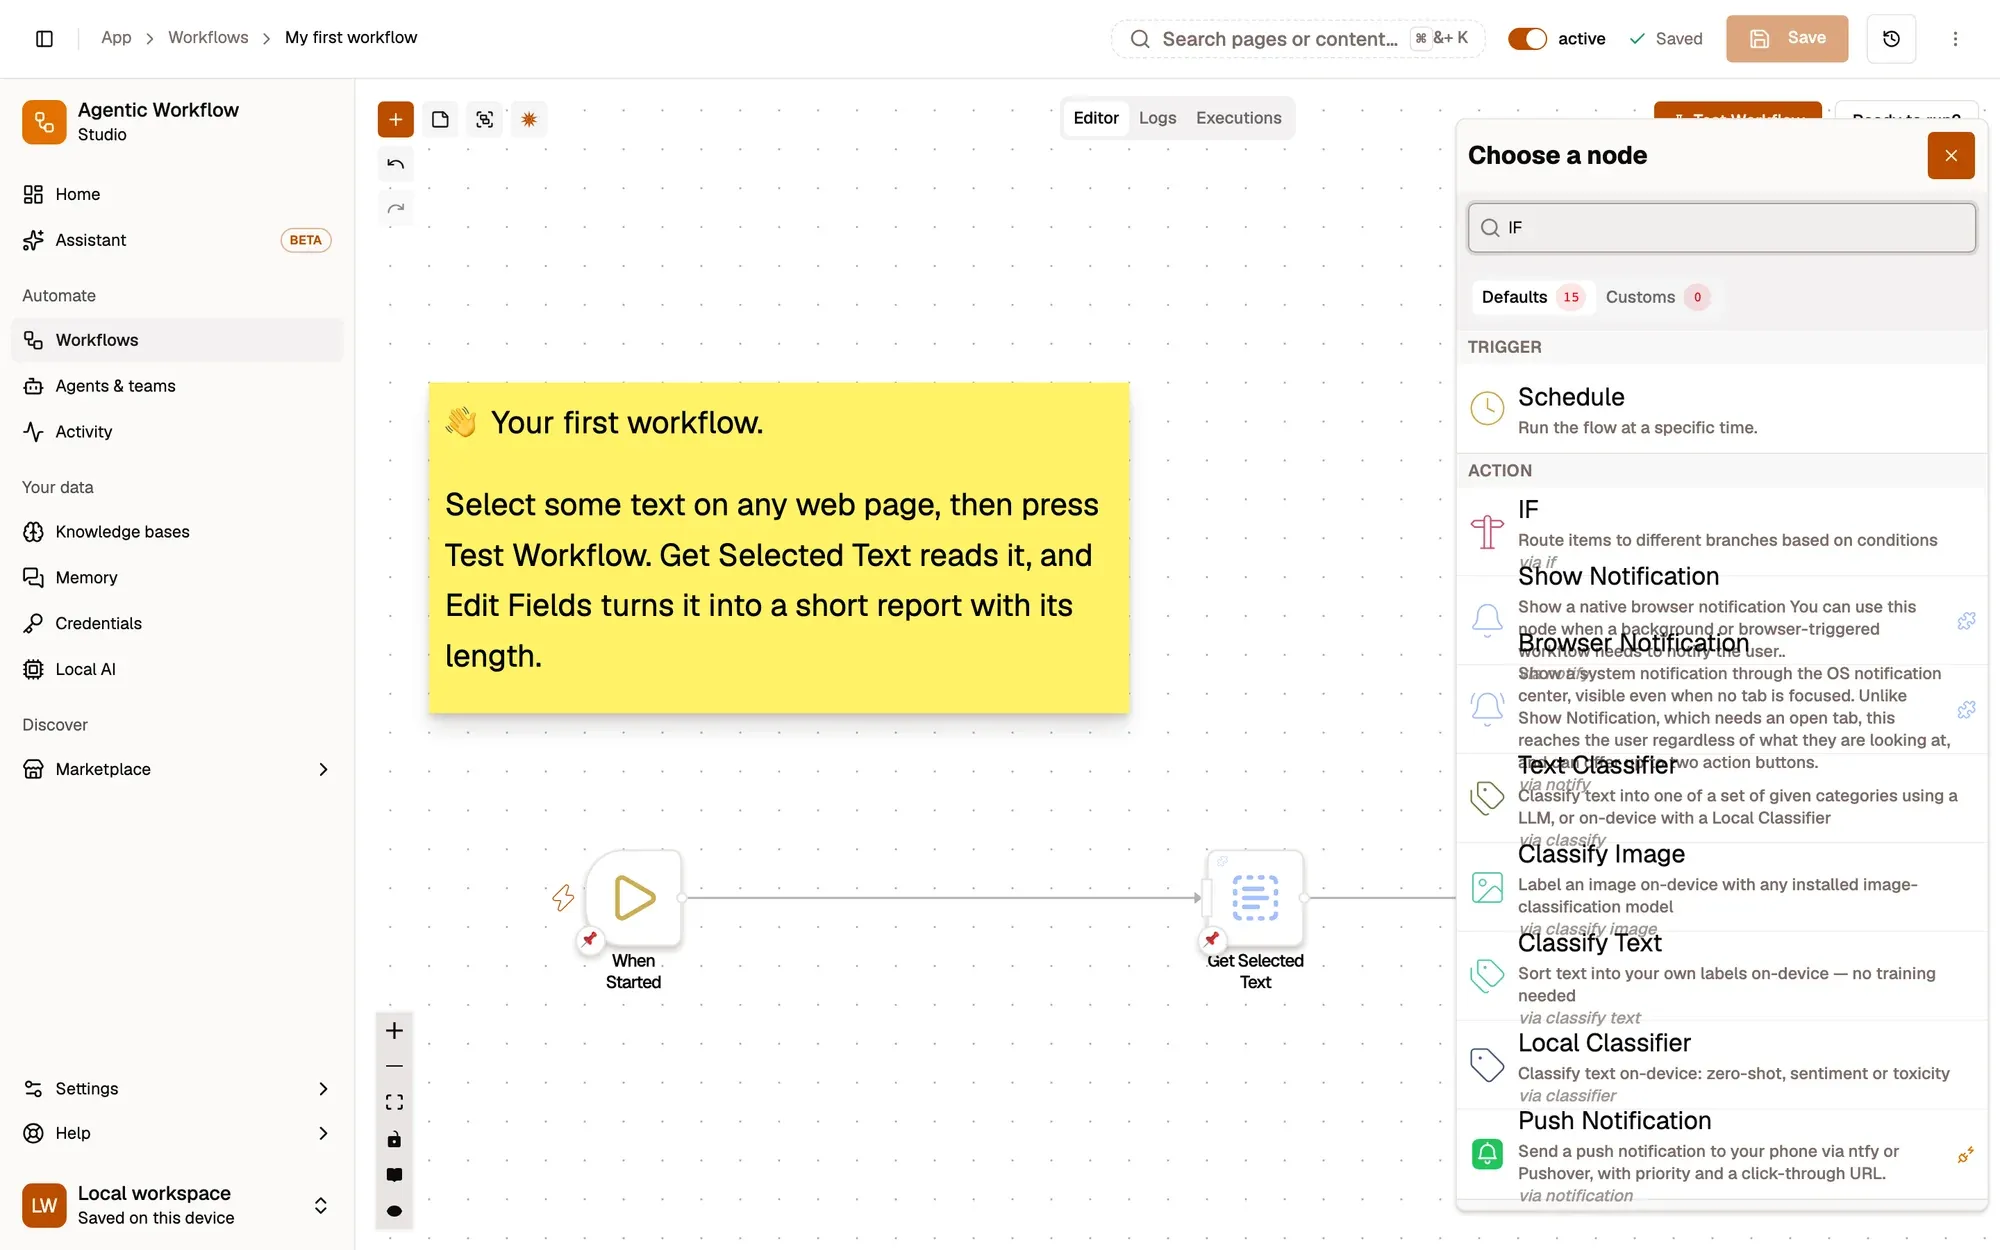
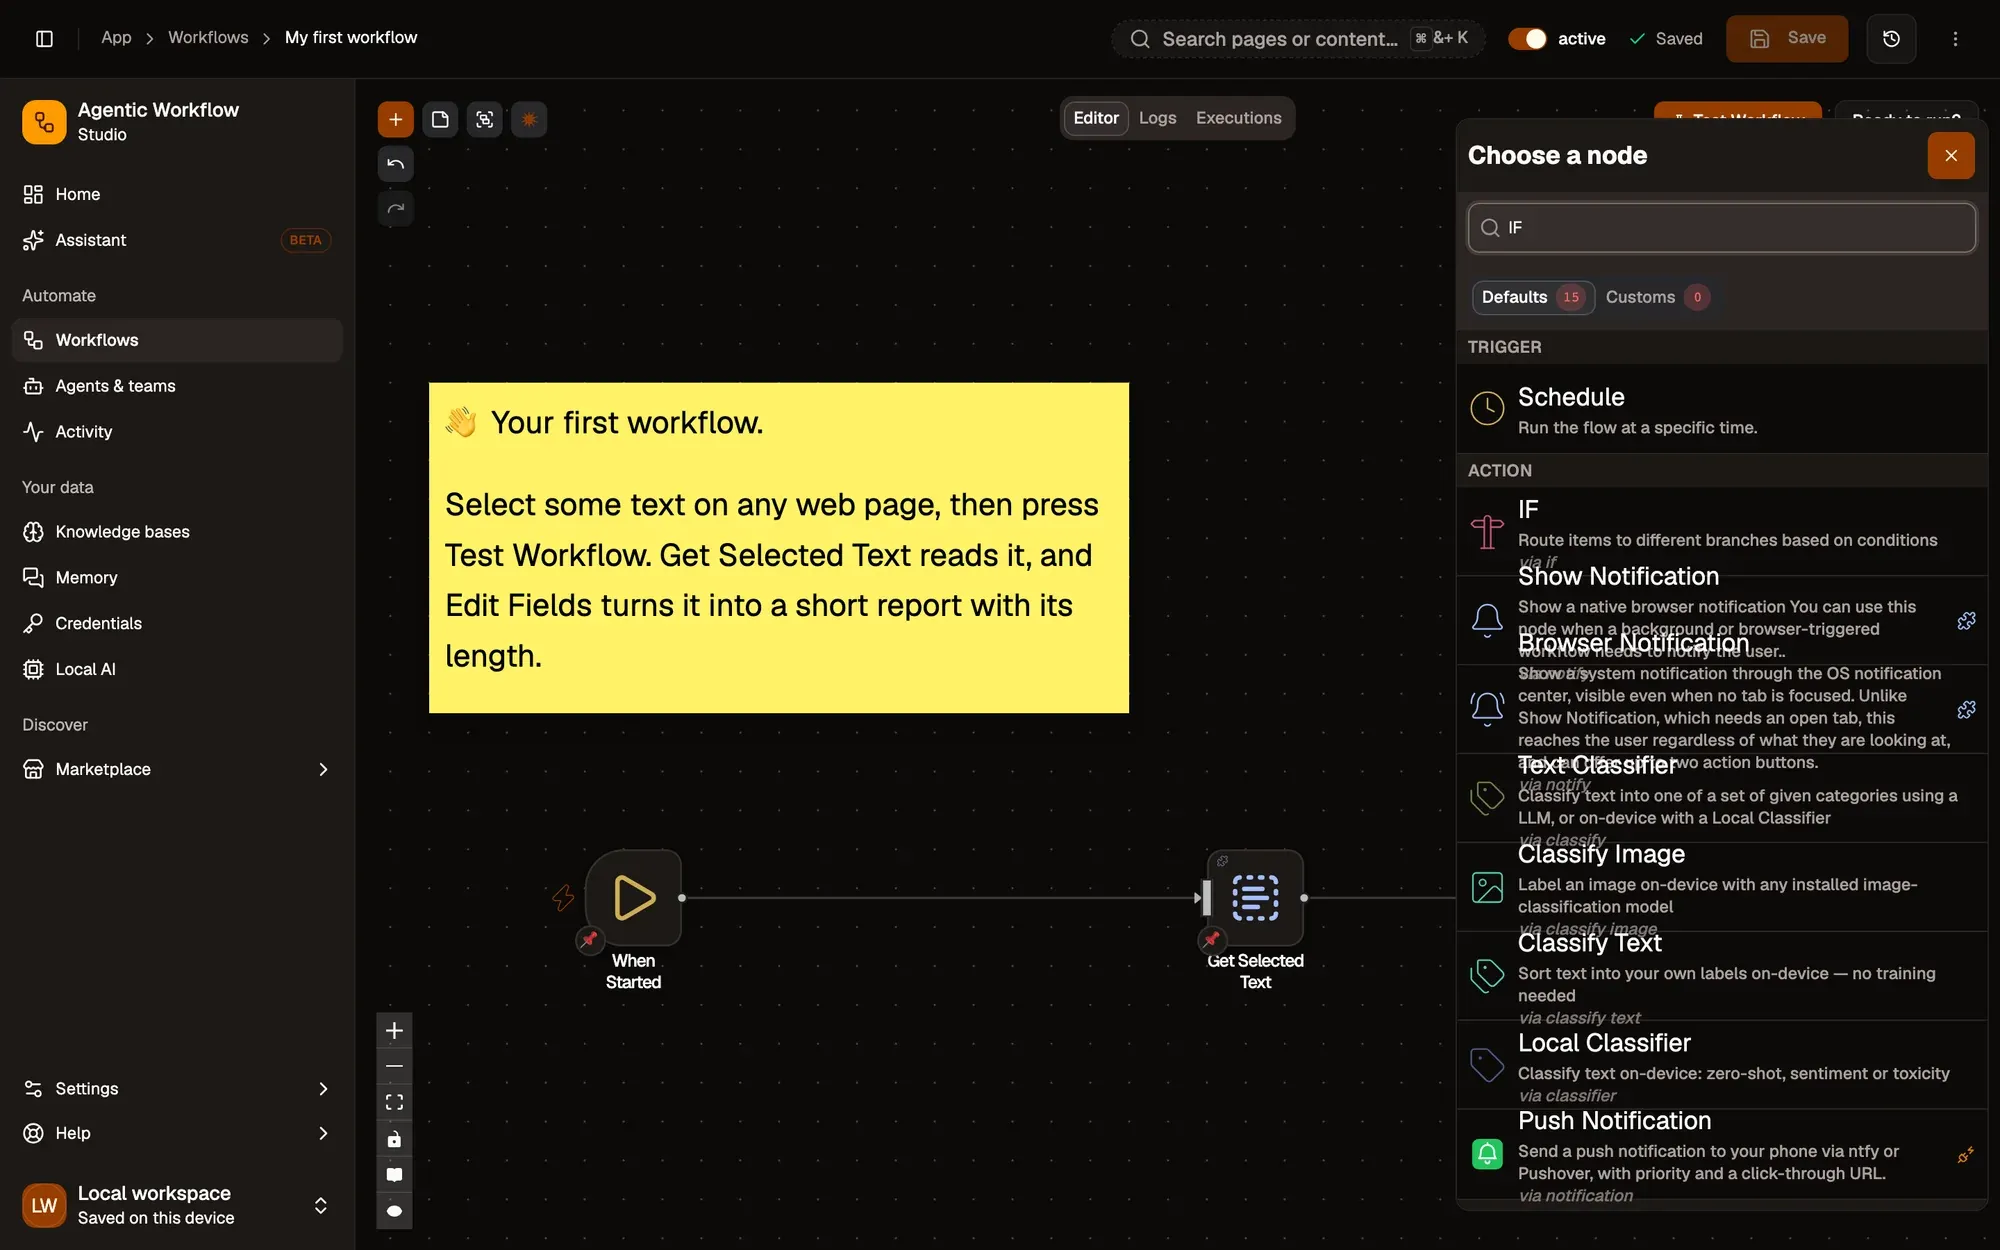
From the Edit Fields node, click the + on its right edge.
Search for IF and insert IF.
Configure it:
word_count (select this from the previous node’s output)500Test the If node. You’ll see two potential paths: “true” (longer than 500 words) and “false” (shorter).
Now your workflow can take different paths based on content length.
For Long (true) branch:
report_type: “Detailed Analysis”
message:
Long article: {{ $json.word_count }} words, {{ $json.character_count }} charsPreview: {{ $json.summary }}For Short (false) branch:
report_type: “Quick Summary”
message:
Short article: {{ $json.word_count }} wordsPreview: {{ $json.summary }}Then execute the full workflow. The final output will differ based on whether the content was “long” or “short.”
Navigate to a web page with substantial text (e.g. a news article).
In the builder, click Test Workflow (runs from the trigger onward).
Watch as the workflow runs step-by-step:
Inspect the output of the final node to see the generated message.
You now have a branching, content‑aware automation built entirely in the browser.
AI‑Powered Workflows
Learn how to integrate model dependencies for deeper content analysis.
Browser Nodes
Explore all supported browser manipulation nodes.
Concepts
Review the fundamentals of triggers, nodes, and data flow.
Troubleshooting & Best Practices
Tips to debug, optimize, and make workflows more robust.