- Add a trigger that fires on its own
- Activate the workflow
- Run it without opening the canvas
- Find the run in the Executions tab
So far you started workflows with Test Workflow. An automation starts by itself: when you press a shortcut, at a set time, when a page loads, or from the right-click menu. Triggers like these only listen while the workflow is active.
Add the trigger
Section titled “Add the trigger”Step 1:Add a Hotkey trigger
Open Summarise this page. Click Add a step (the + in the canvas toolbar), search for Hotkey and add it. Then drag from the dot on the right of Hotkey onto the left edge of Get All Text, so both triggers lead to the same steps.
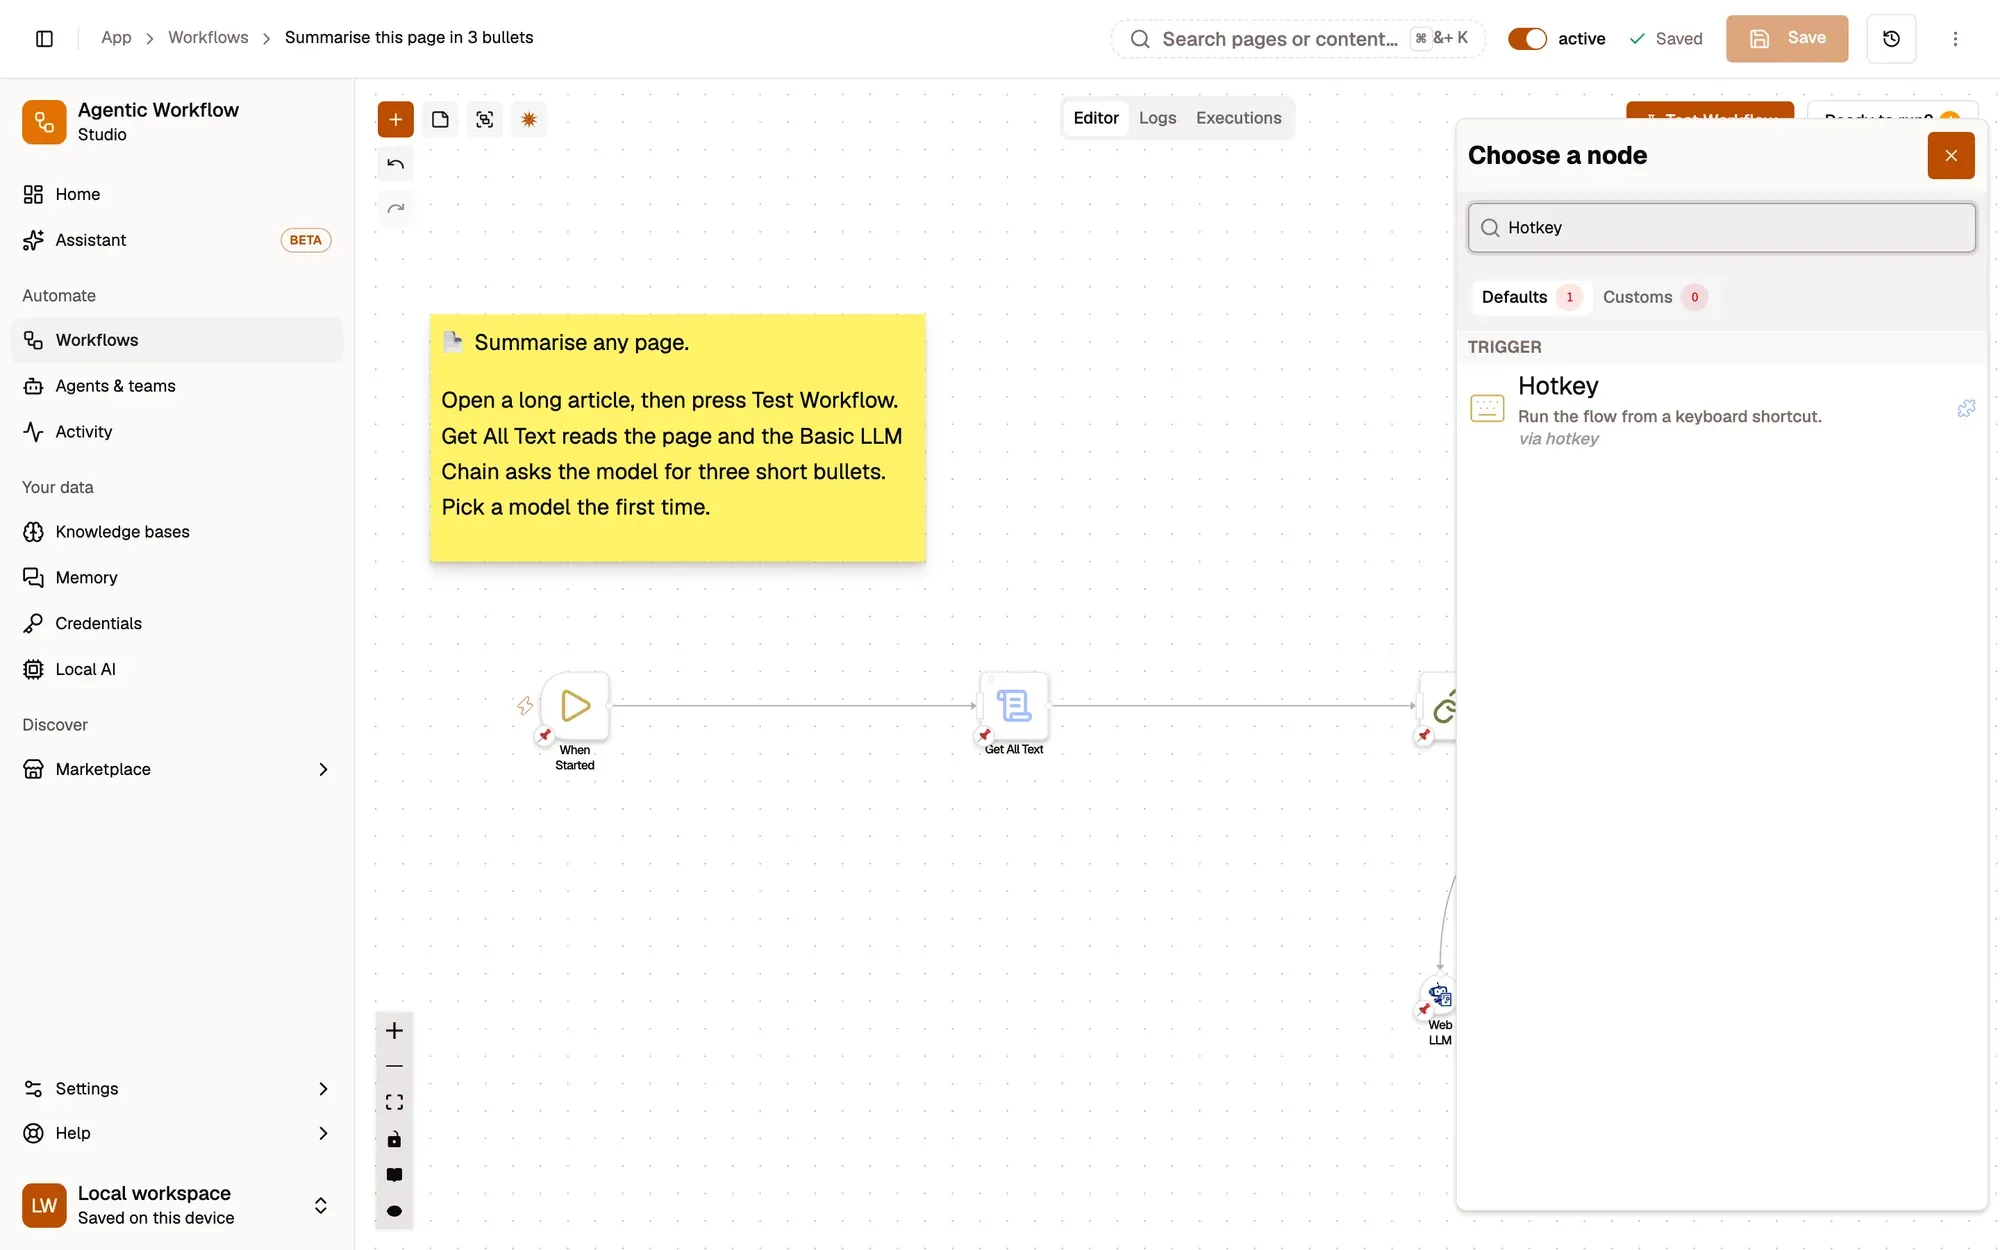
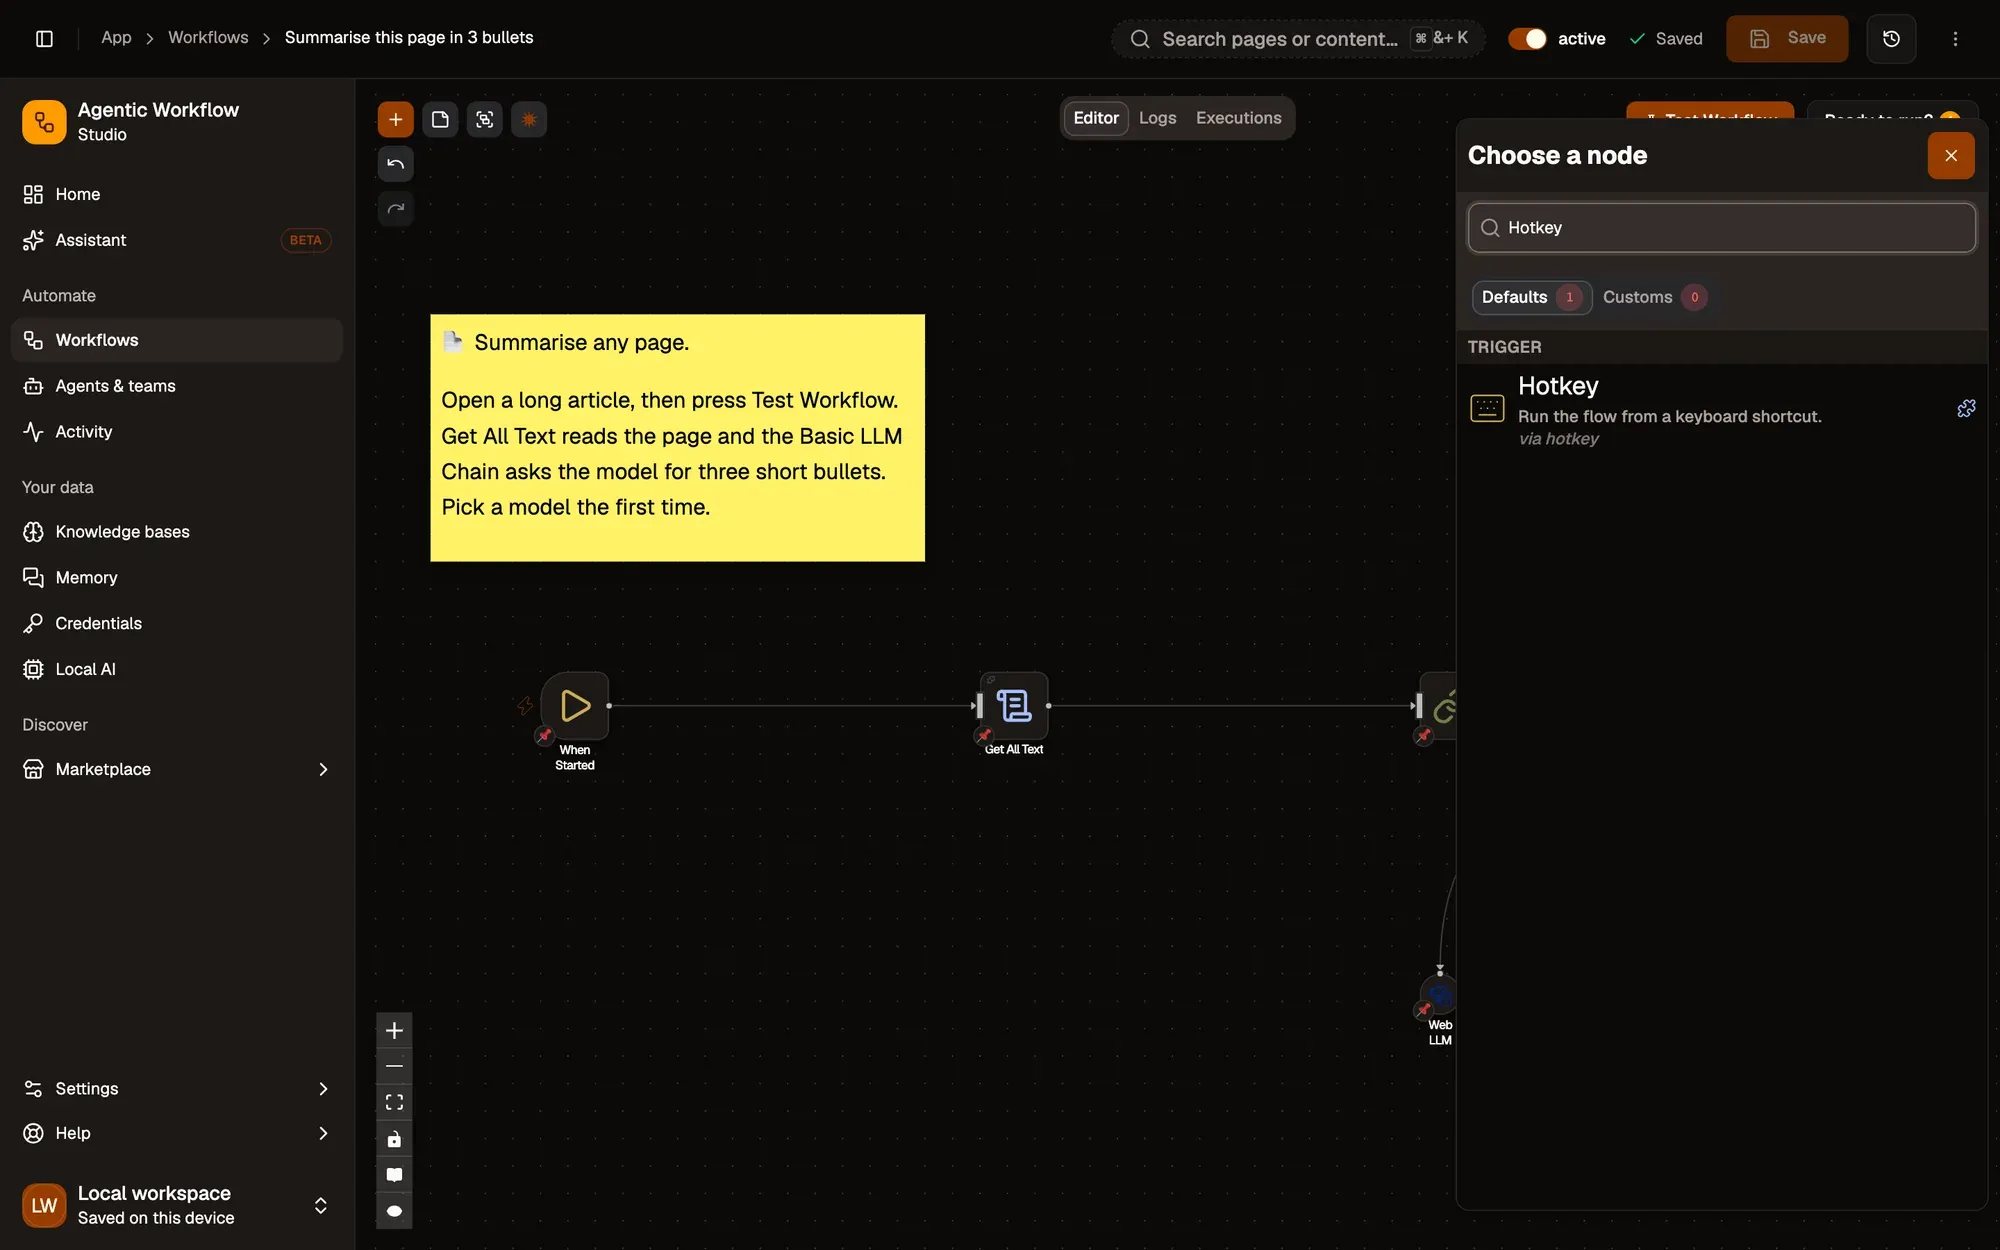
Check: a Hotkey node is on the canvas, linked to Get All Text.
Step 2:Pick a shortcut slot
Double-click Hotkey to open its settings and keep Hotkey Slot on the first slot, run-workflow-1 (Hotkey slot 1). Slot 1 comes with Ctrl + Shift + 1 (⌘ + Shift + 1 on Mac). Browsers don’t let extensions add a shortcut per workflow, so you choose the keys for each slot in the browser:
- Chrome, Edge, Brave: open
chrome://extensions/shortcuts. - Firefox: open
about:addons, click the gear menu, then Manage Extension Shortcuts.
Find Agentic Workflow. If slot 1 shows no keys (another extension already uses them), type your own combination.
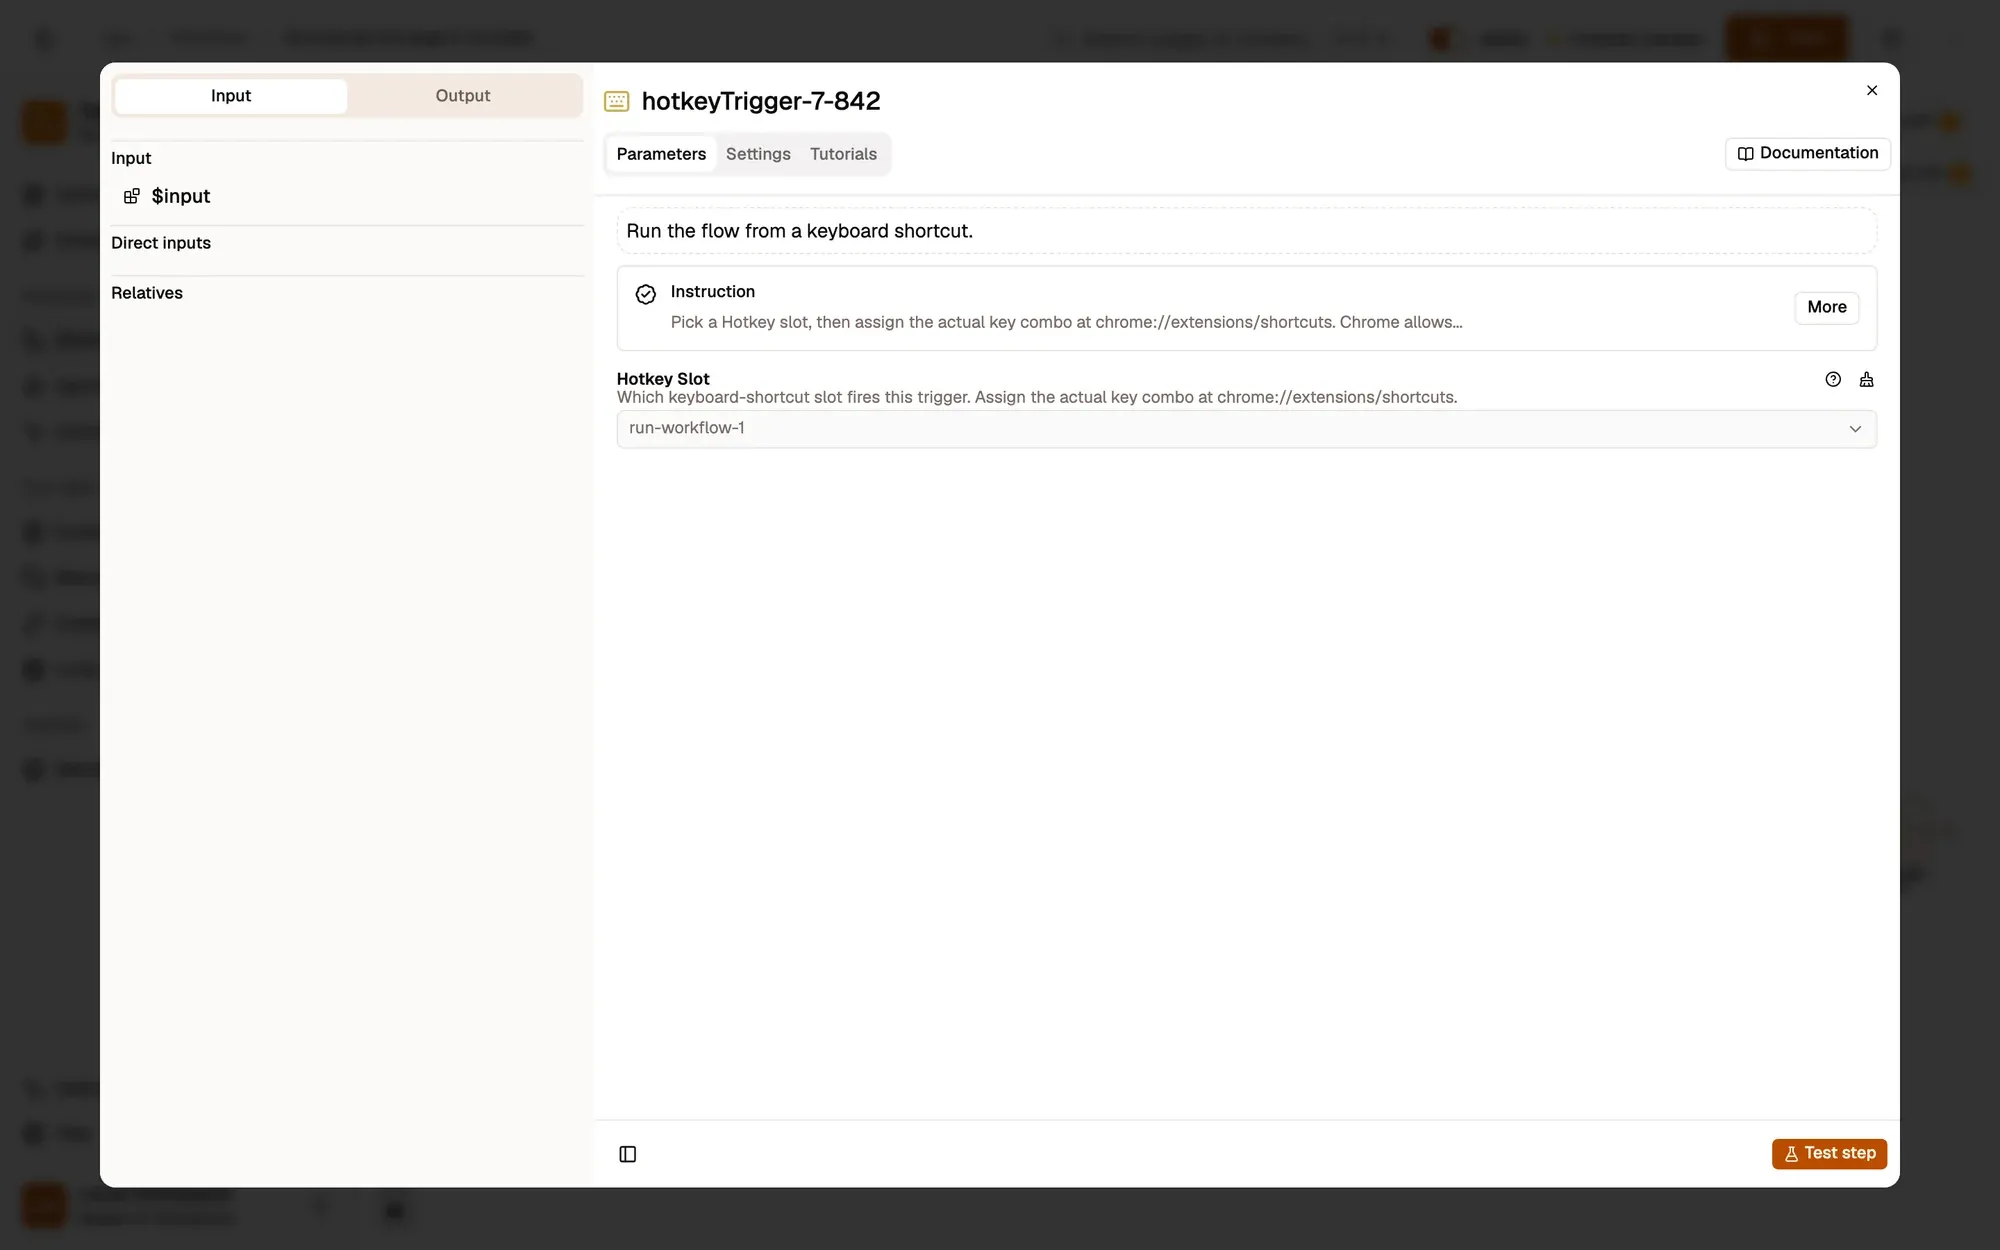
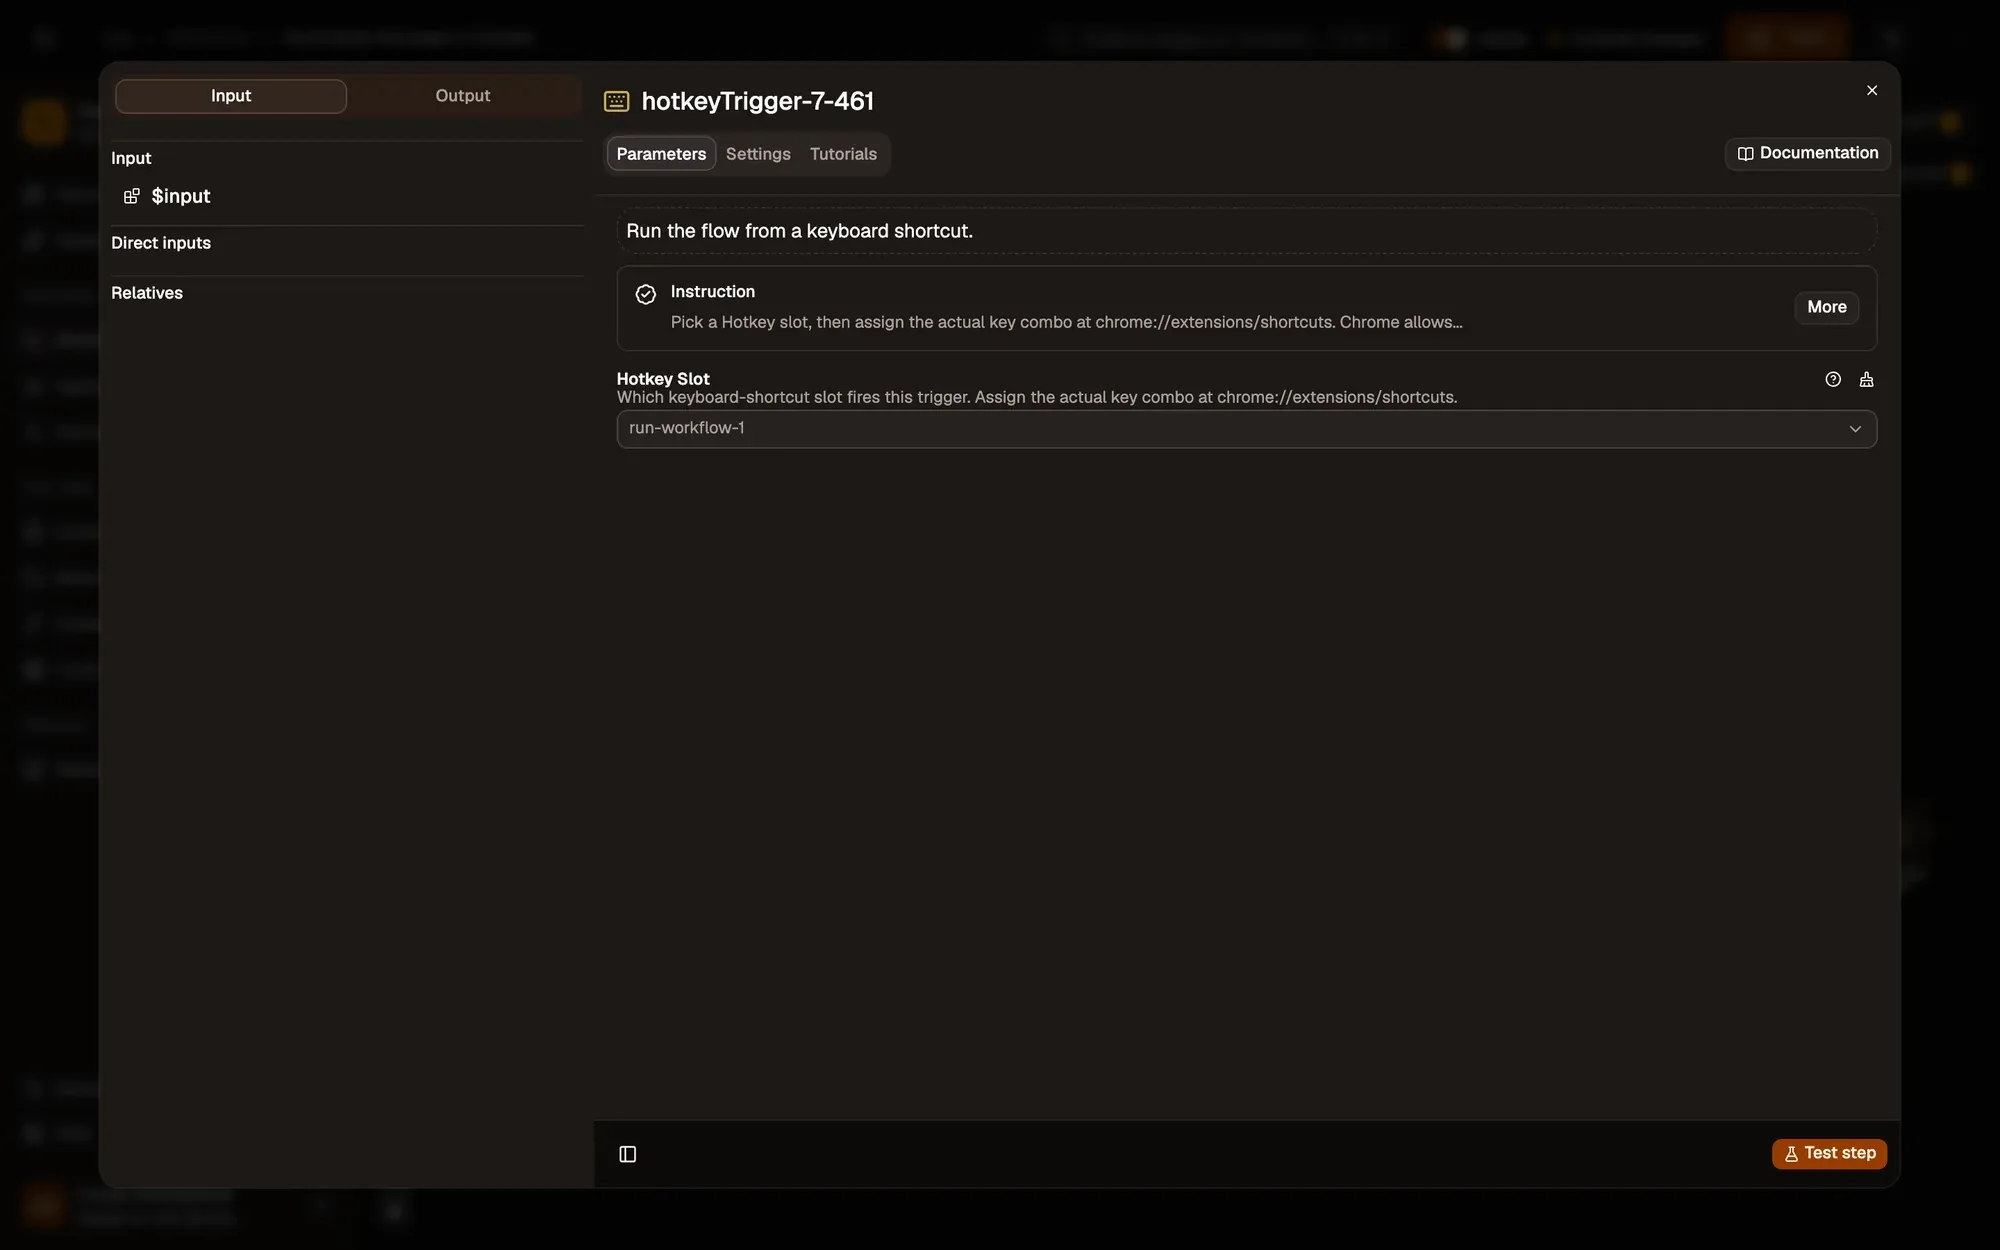
Check: the browser's shortcut page lists “Run workflow bound to Hotkey slot 1” with a key combination.
Step 1:Add a Schedule trigger
Open the workflow you want to run on a timer. Click Add a step (the + in the canvas toolbar), search for Schedule and add it, then drag from its right dot onto your first step.
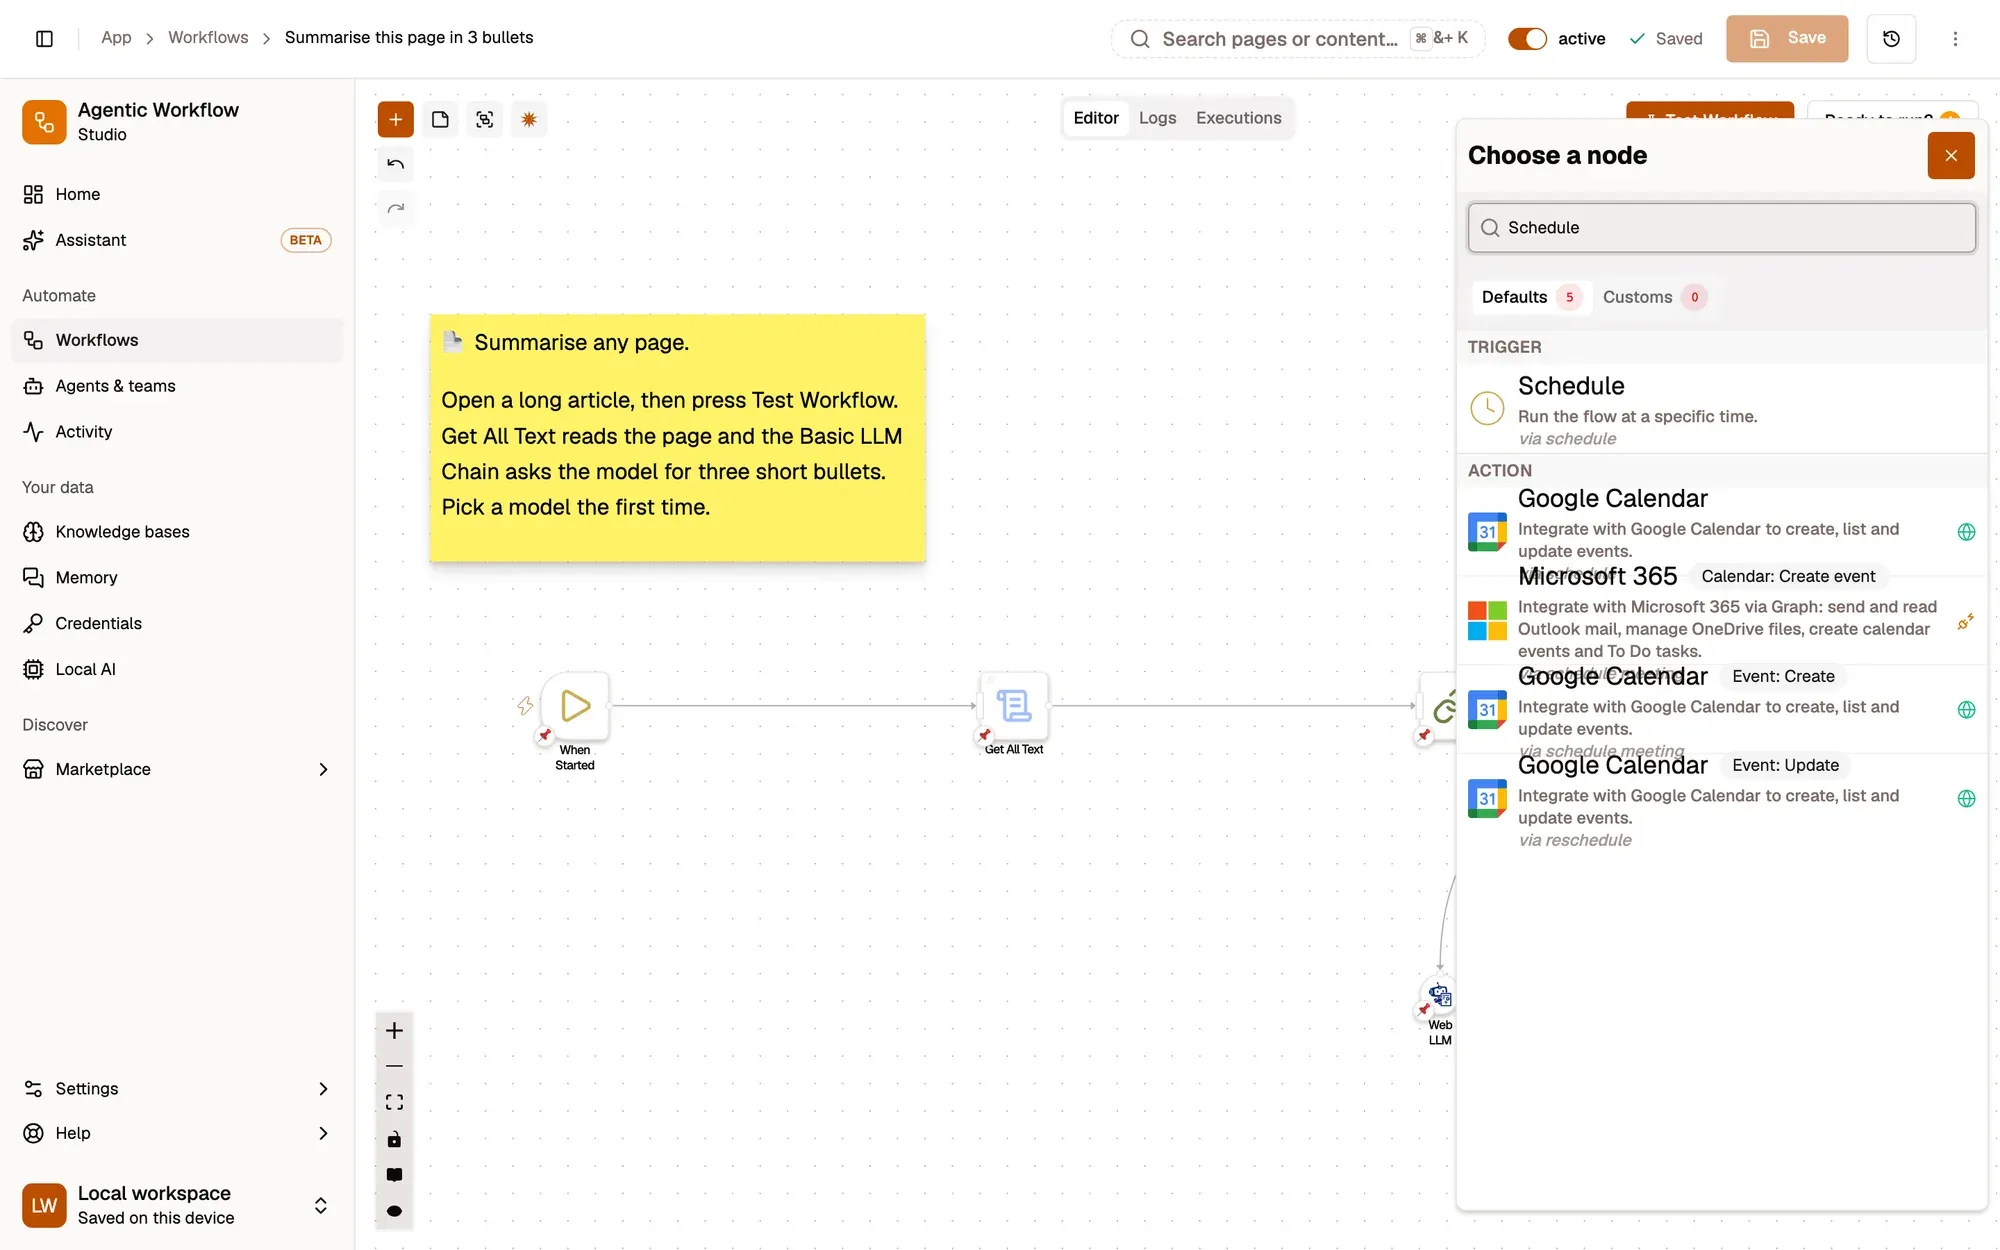
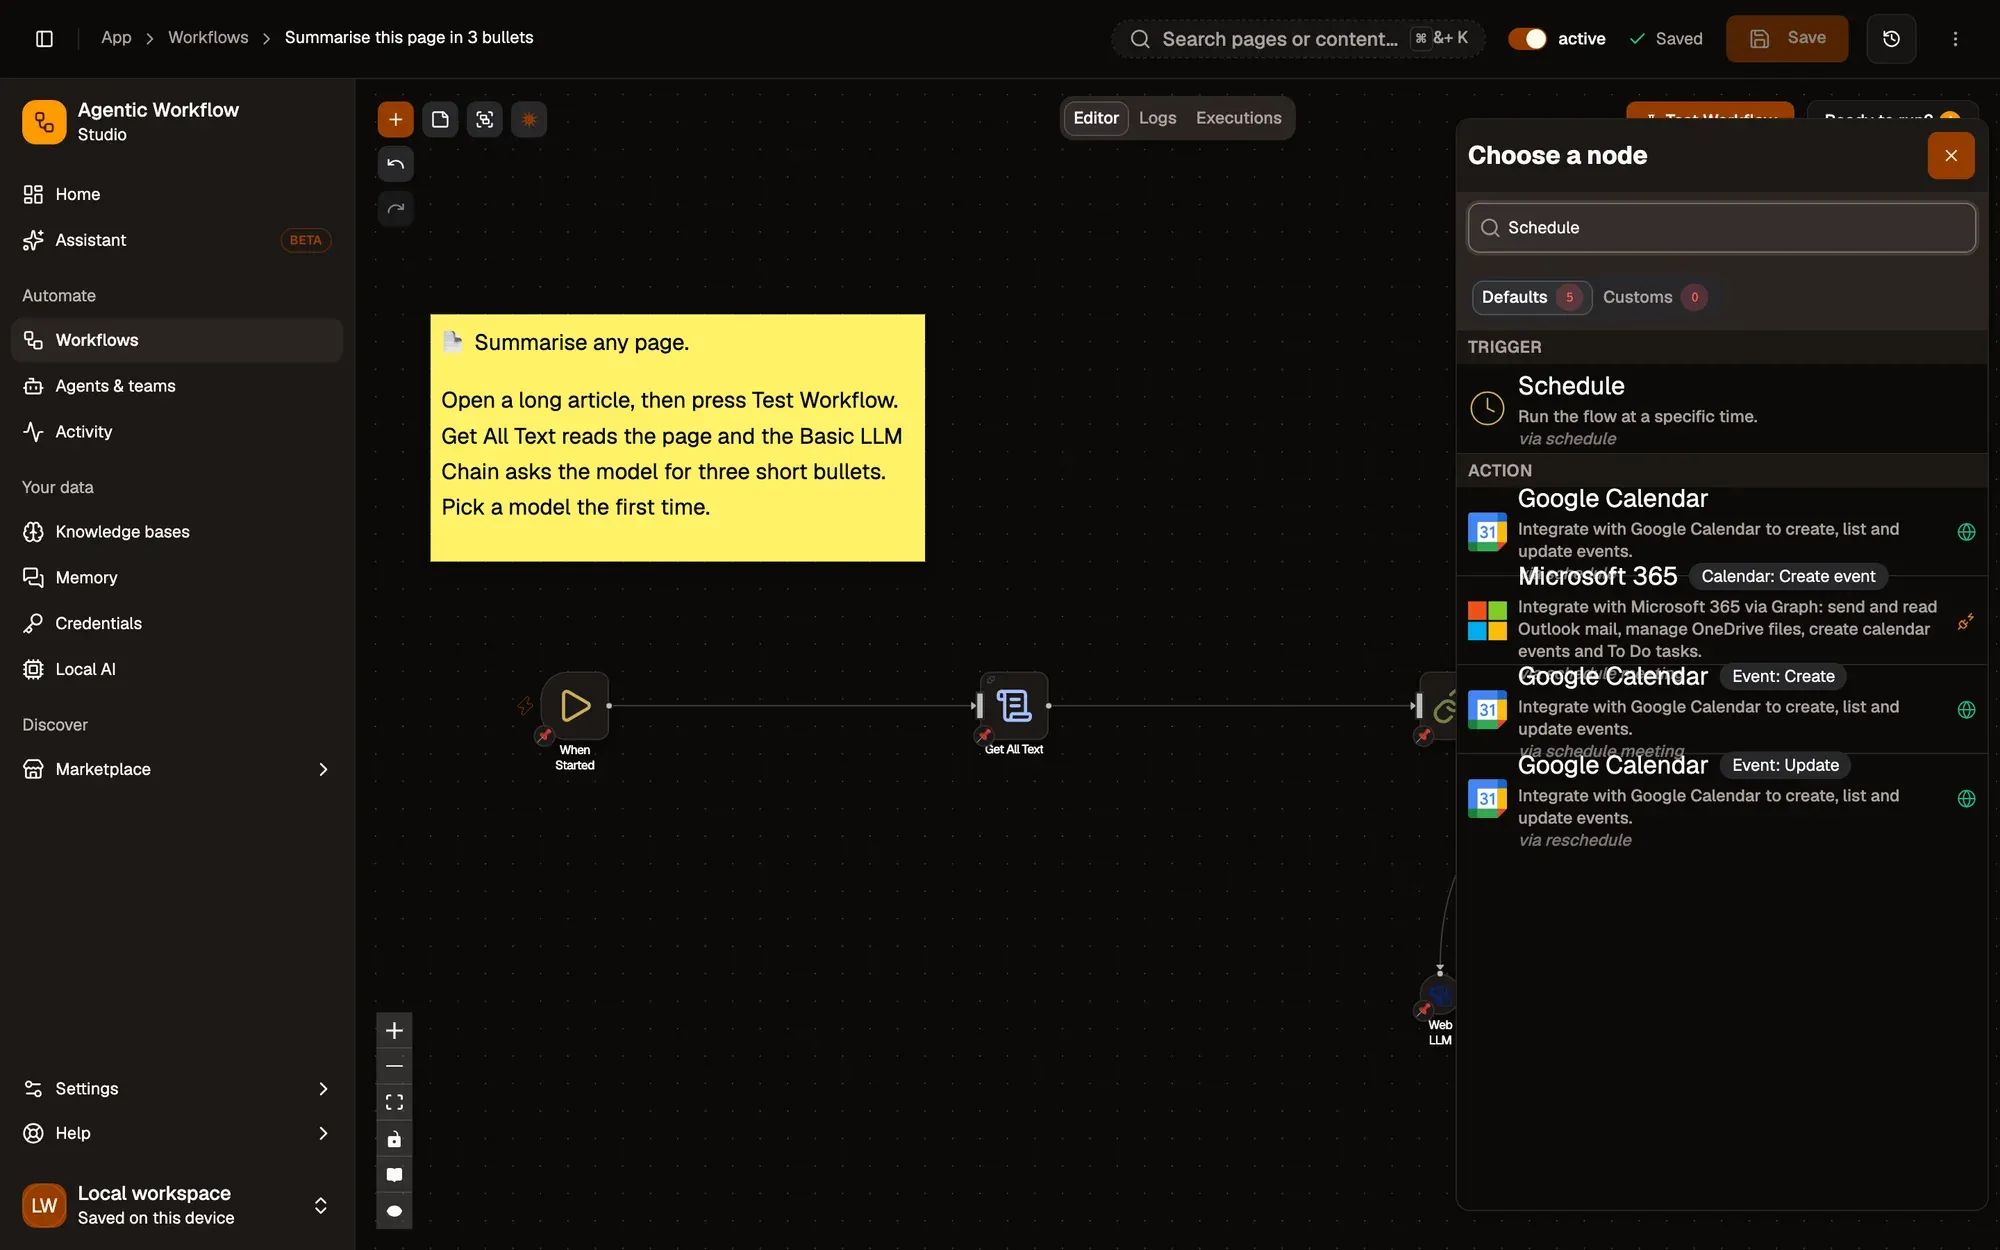
Check: a Schedule node is on the canvas, linked to the first step.
Step 2:Set how often
Double-click Schedule to open its settings. Under Rules, click Add, then set Trigger Interval to hours and Hours Between Triggers to 1, or to days with a Trigger at Hour. A schedule works best for workflows that don’t depend on the tab you’re looking at, such as checking a page with an HTTP request. The browser has to be open for it to fire. See Schedule.
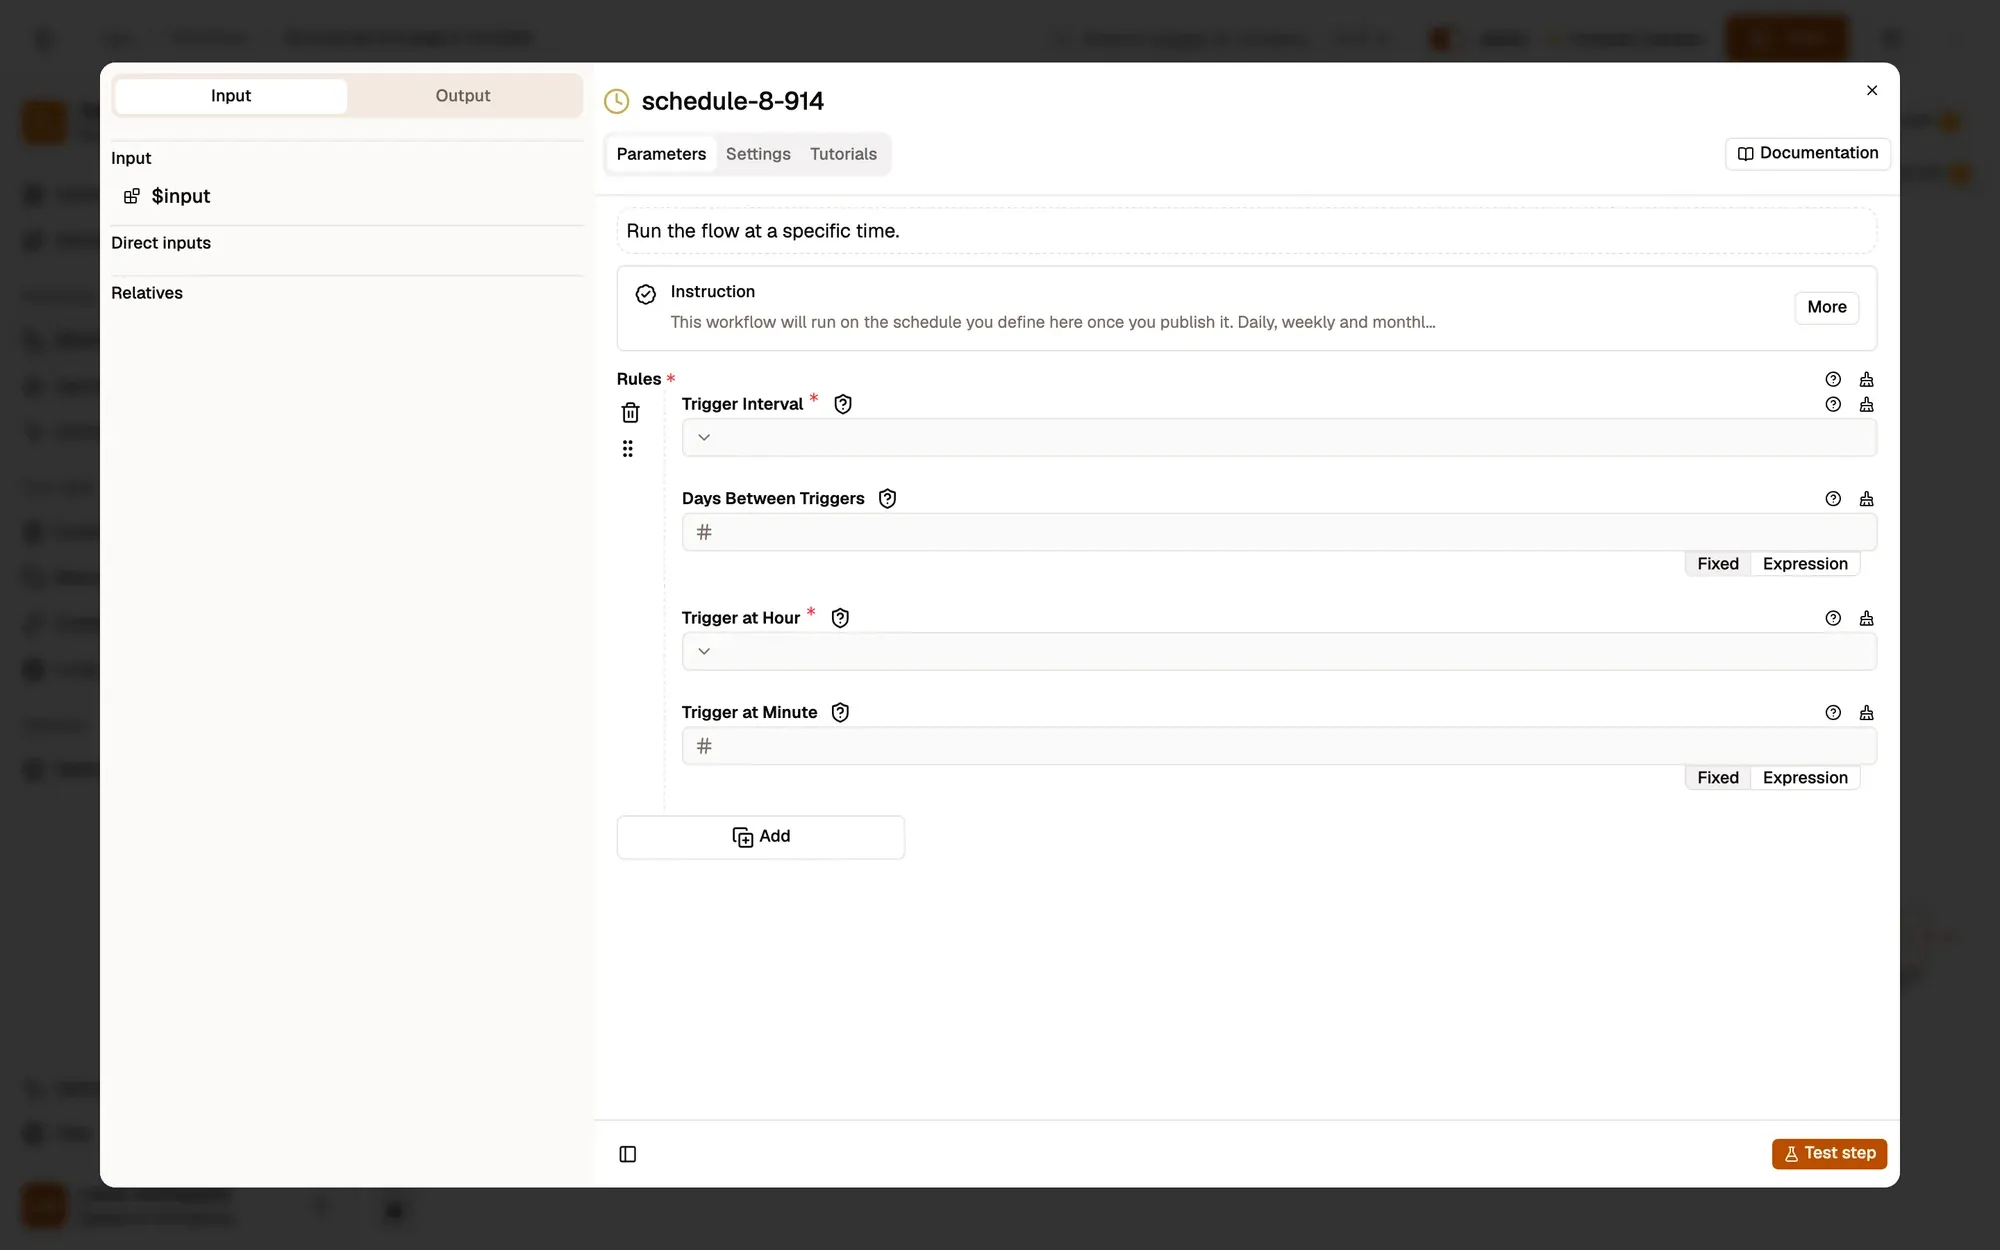
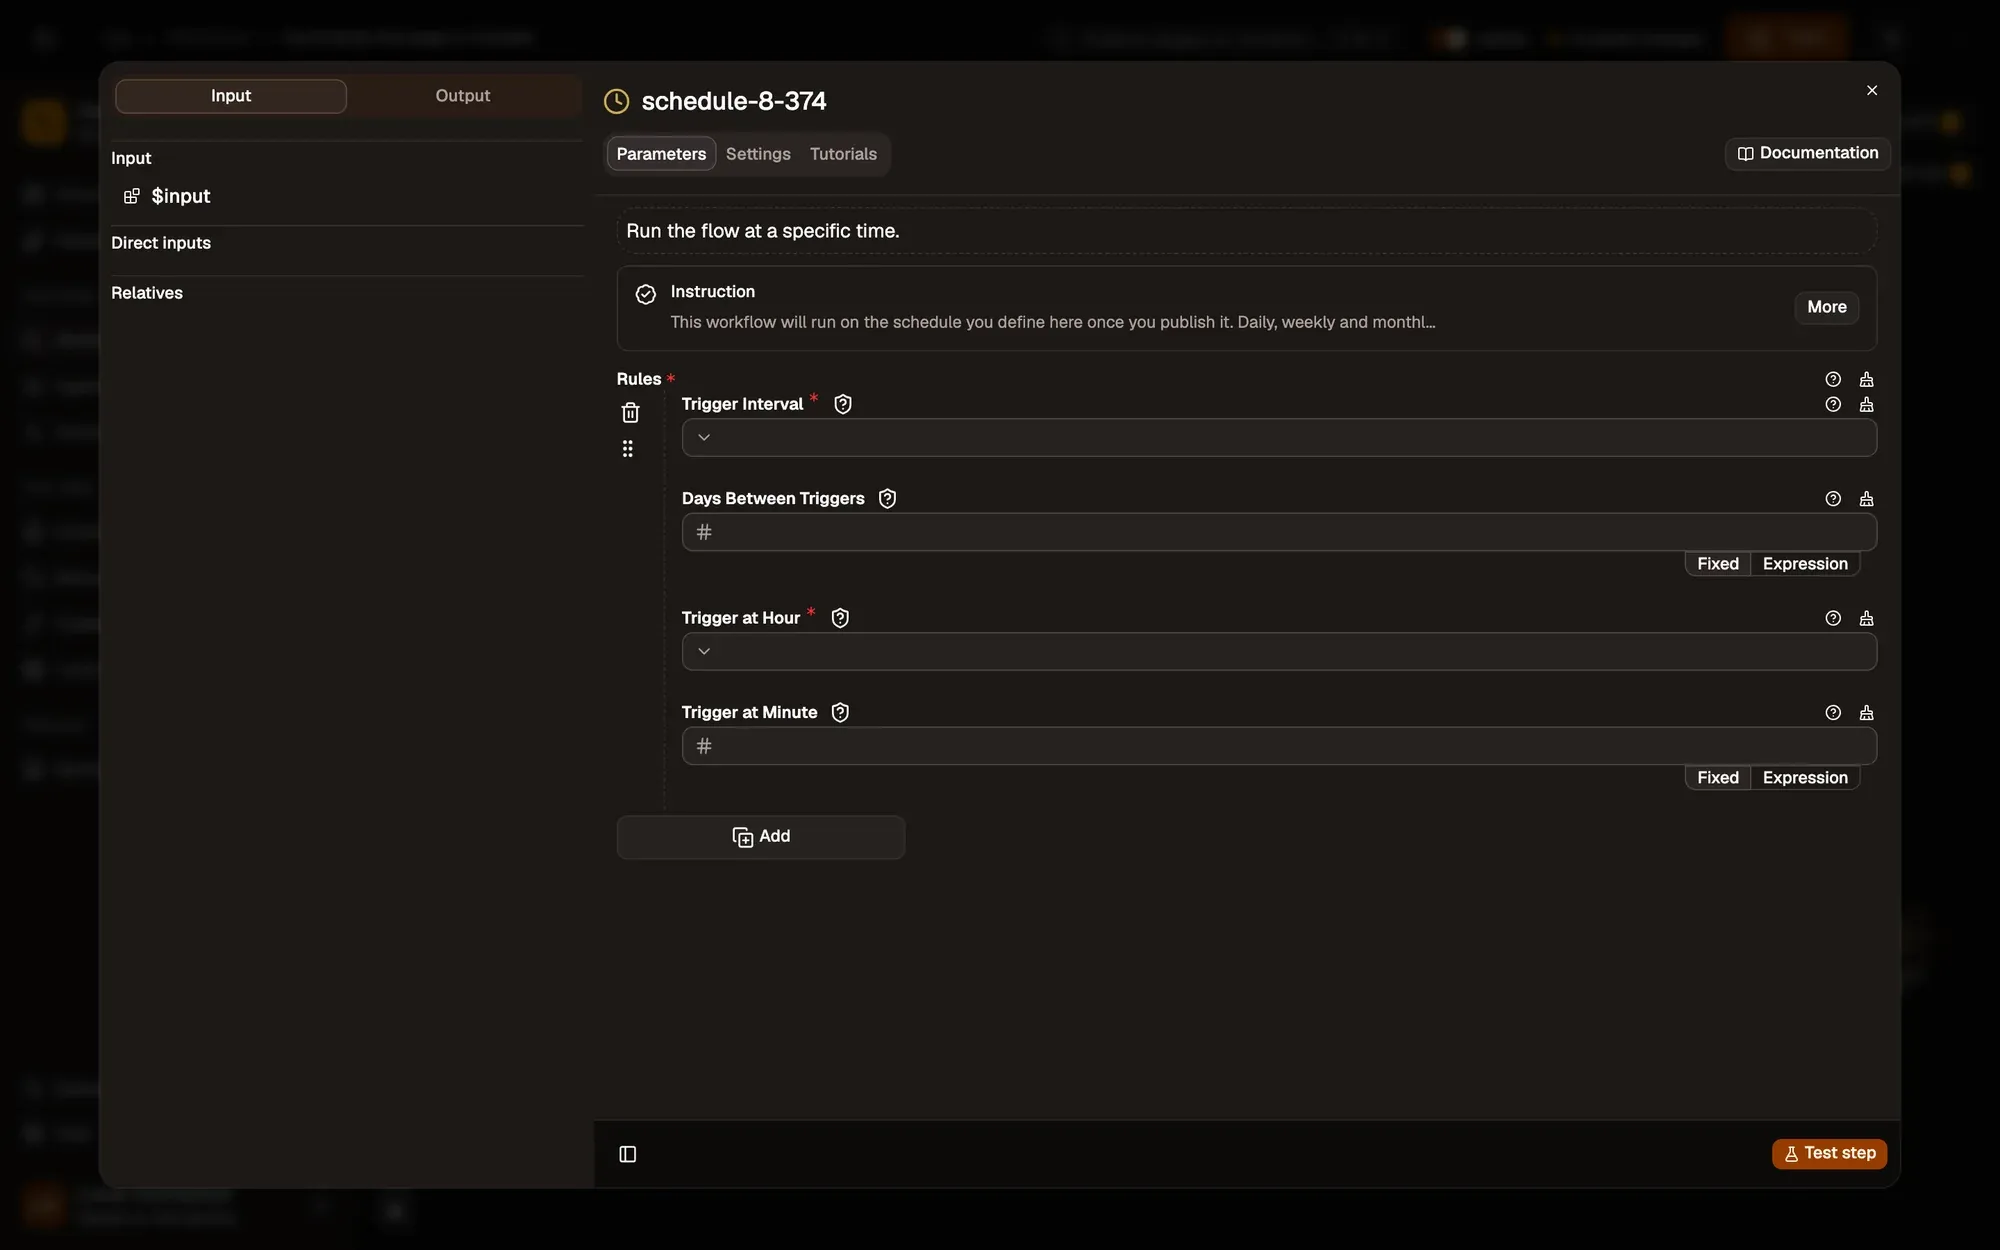
Check: the Schedule node shows your interval.
Activate and run it
Section titled “Activate and run it”Step 3:Save and activate
Click Save. Then check the switch next to the workflow’s name in the canvas header: it must read active. If it says inactive, turn it on. You can also choose Activate in the workflow’s ⋯ menu in the Workflows list.
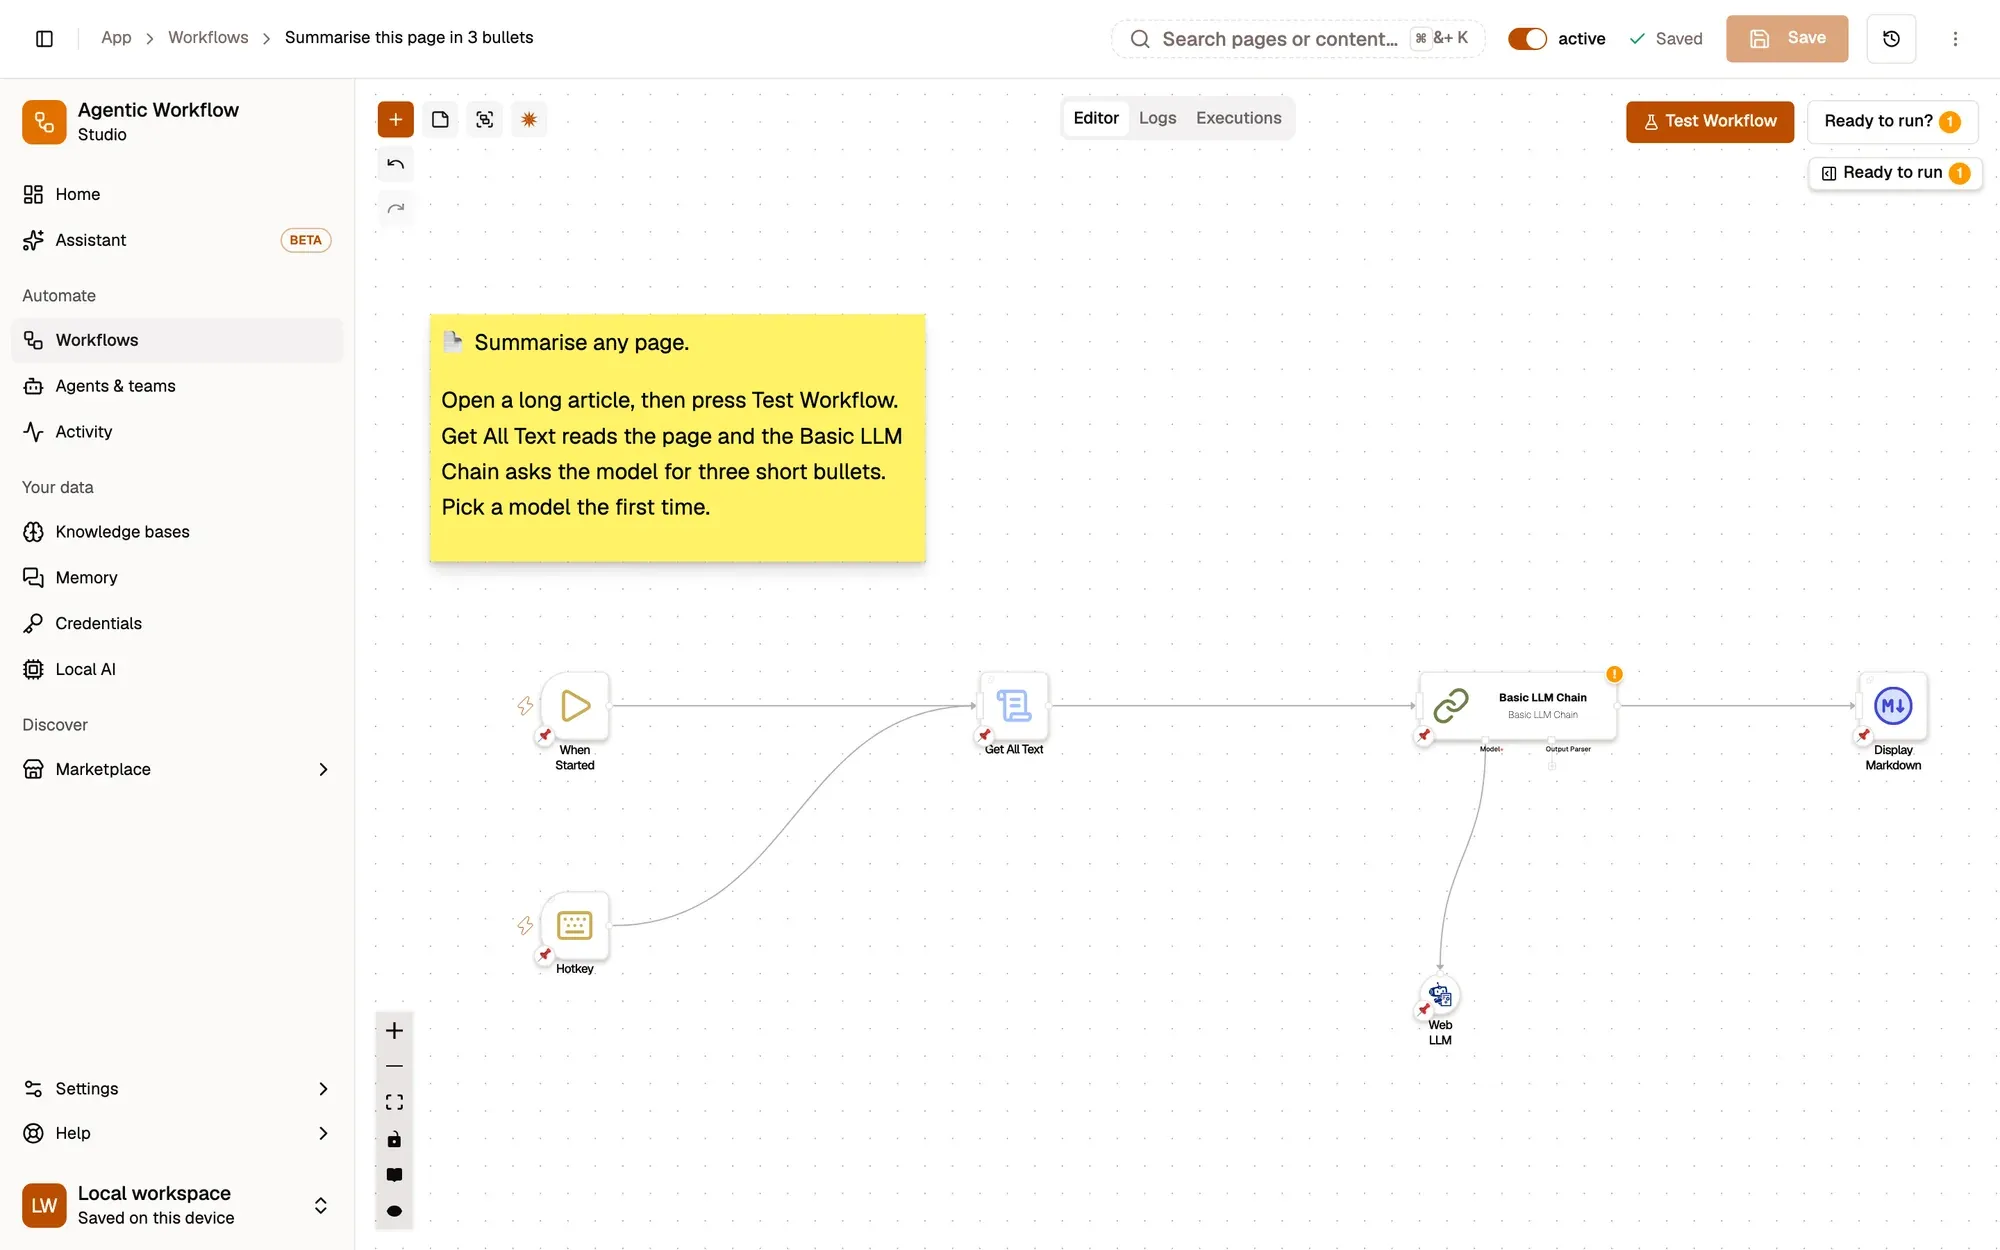
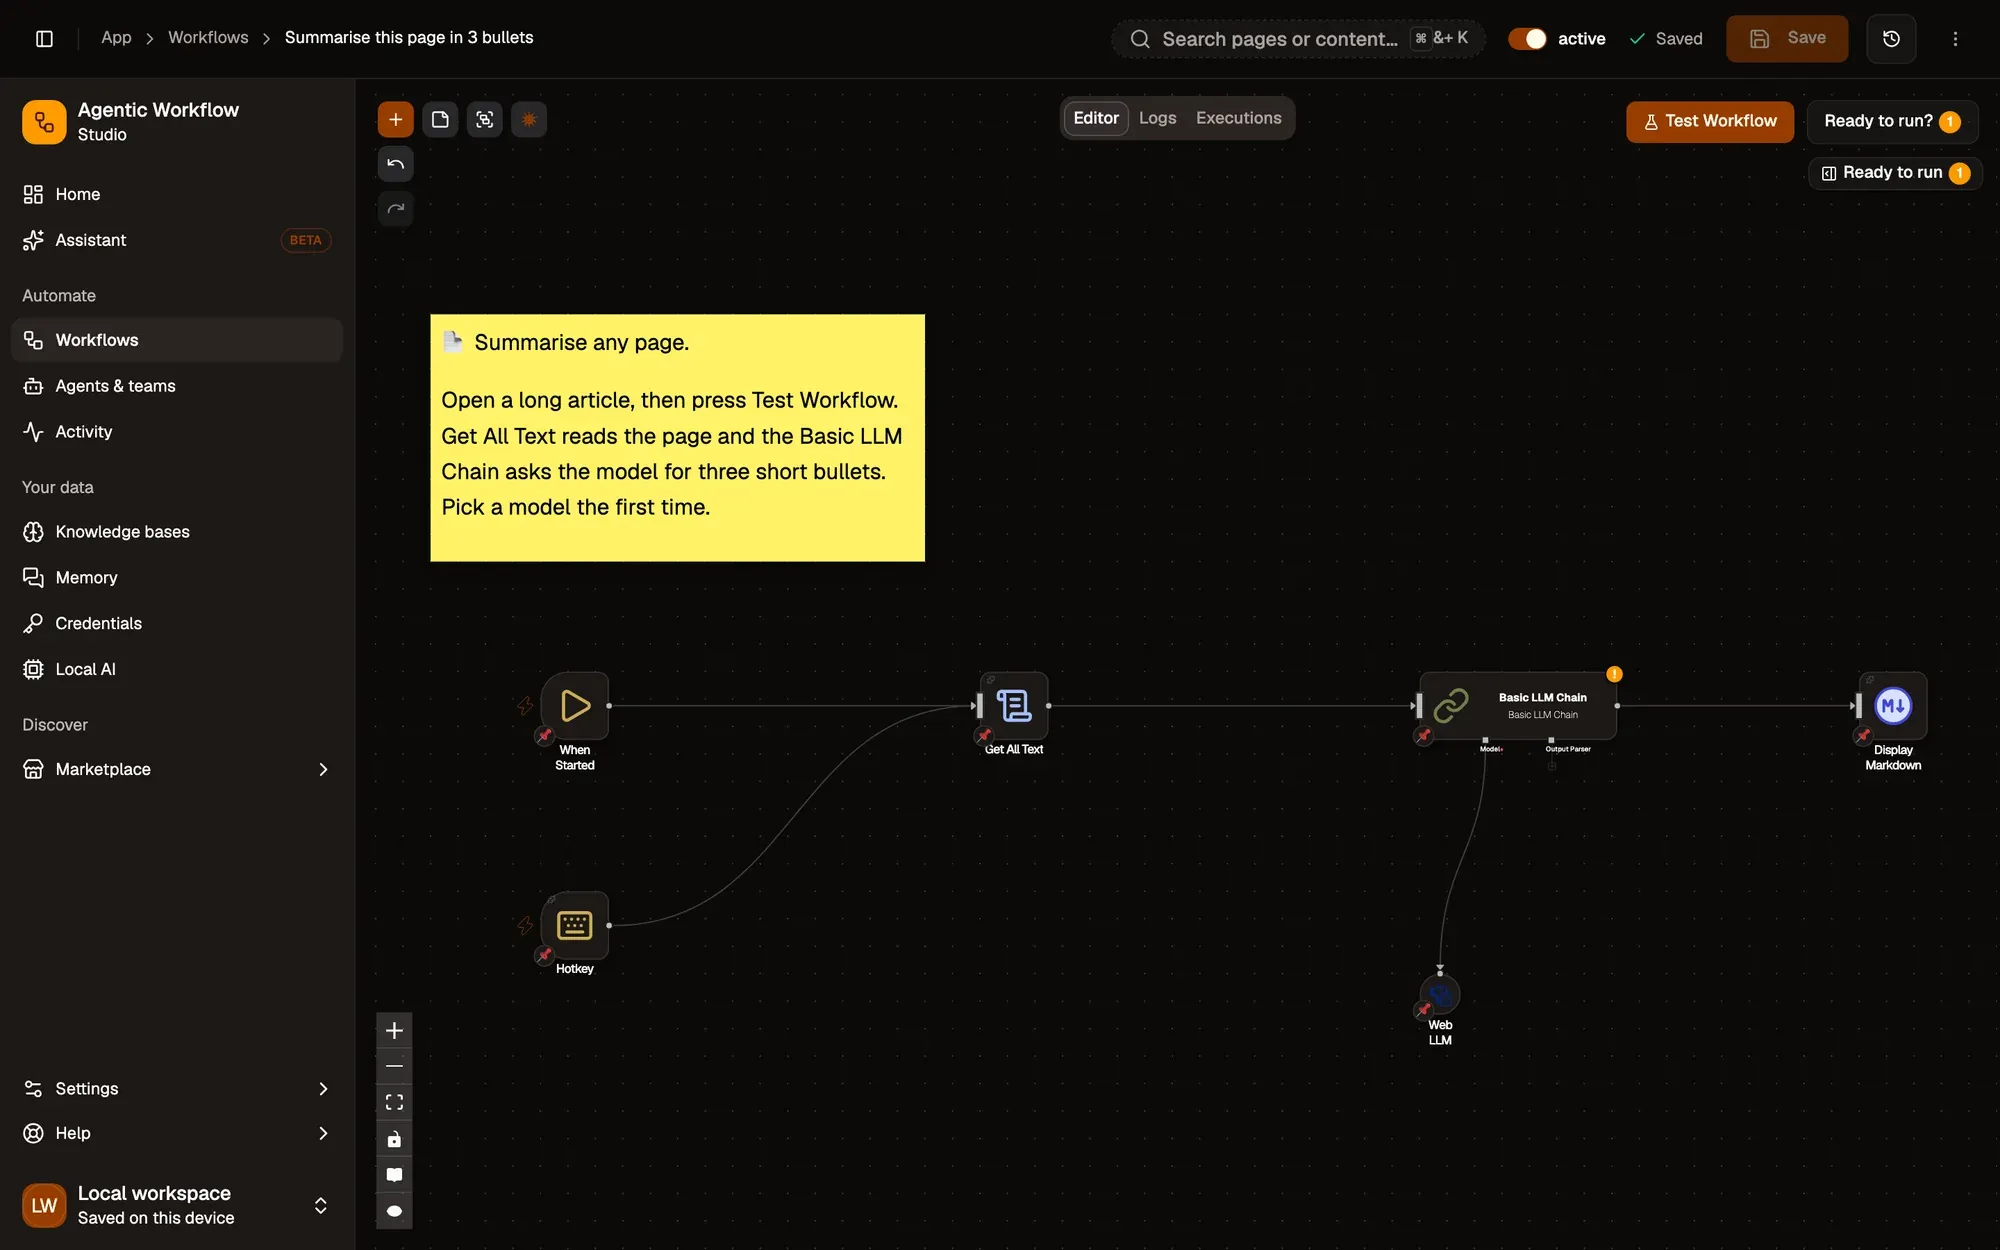
Check: the switch in the canvas header reads active.
Step 4:Fire it
Switch to a tab with an article and press your shortcut. (With a schedule, wait for the next interval.) You can close the canvas first: active workflows run in the background.
Check: the Page summary with three bullets appears, without touching the canvas.
Step 5:Check its runs
Open the workflow and click the Executions tab at the top (it reads Runs in a narrow panel). Every run is listed with its status, start time and duration. Click a run to see what each step produced. See Run history.
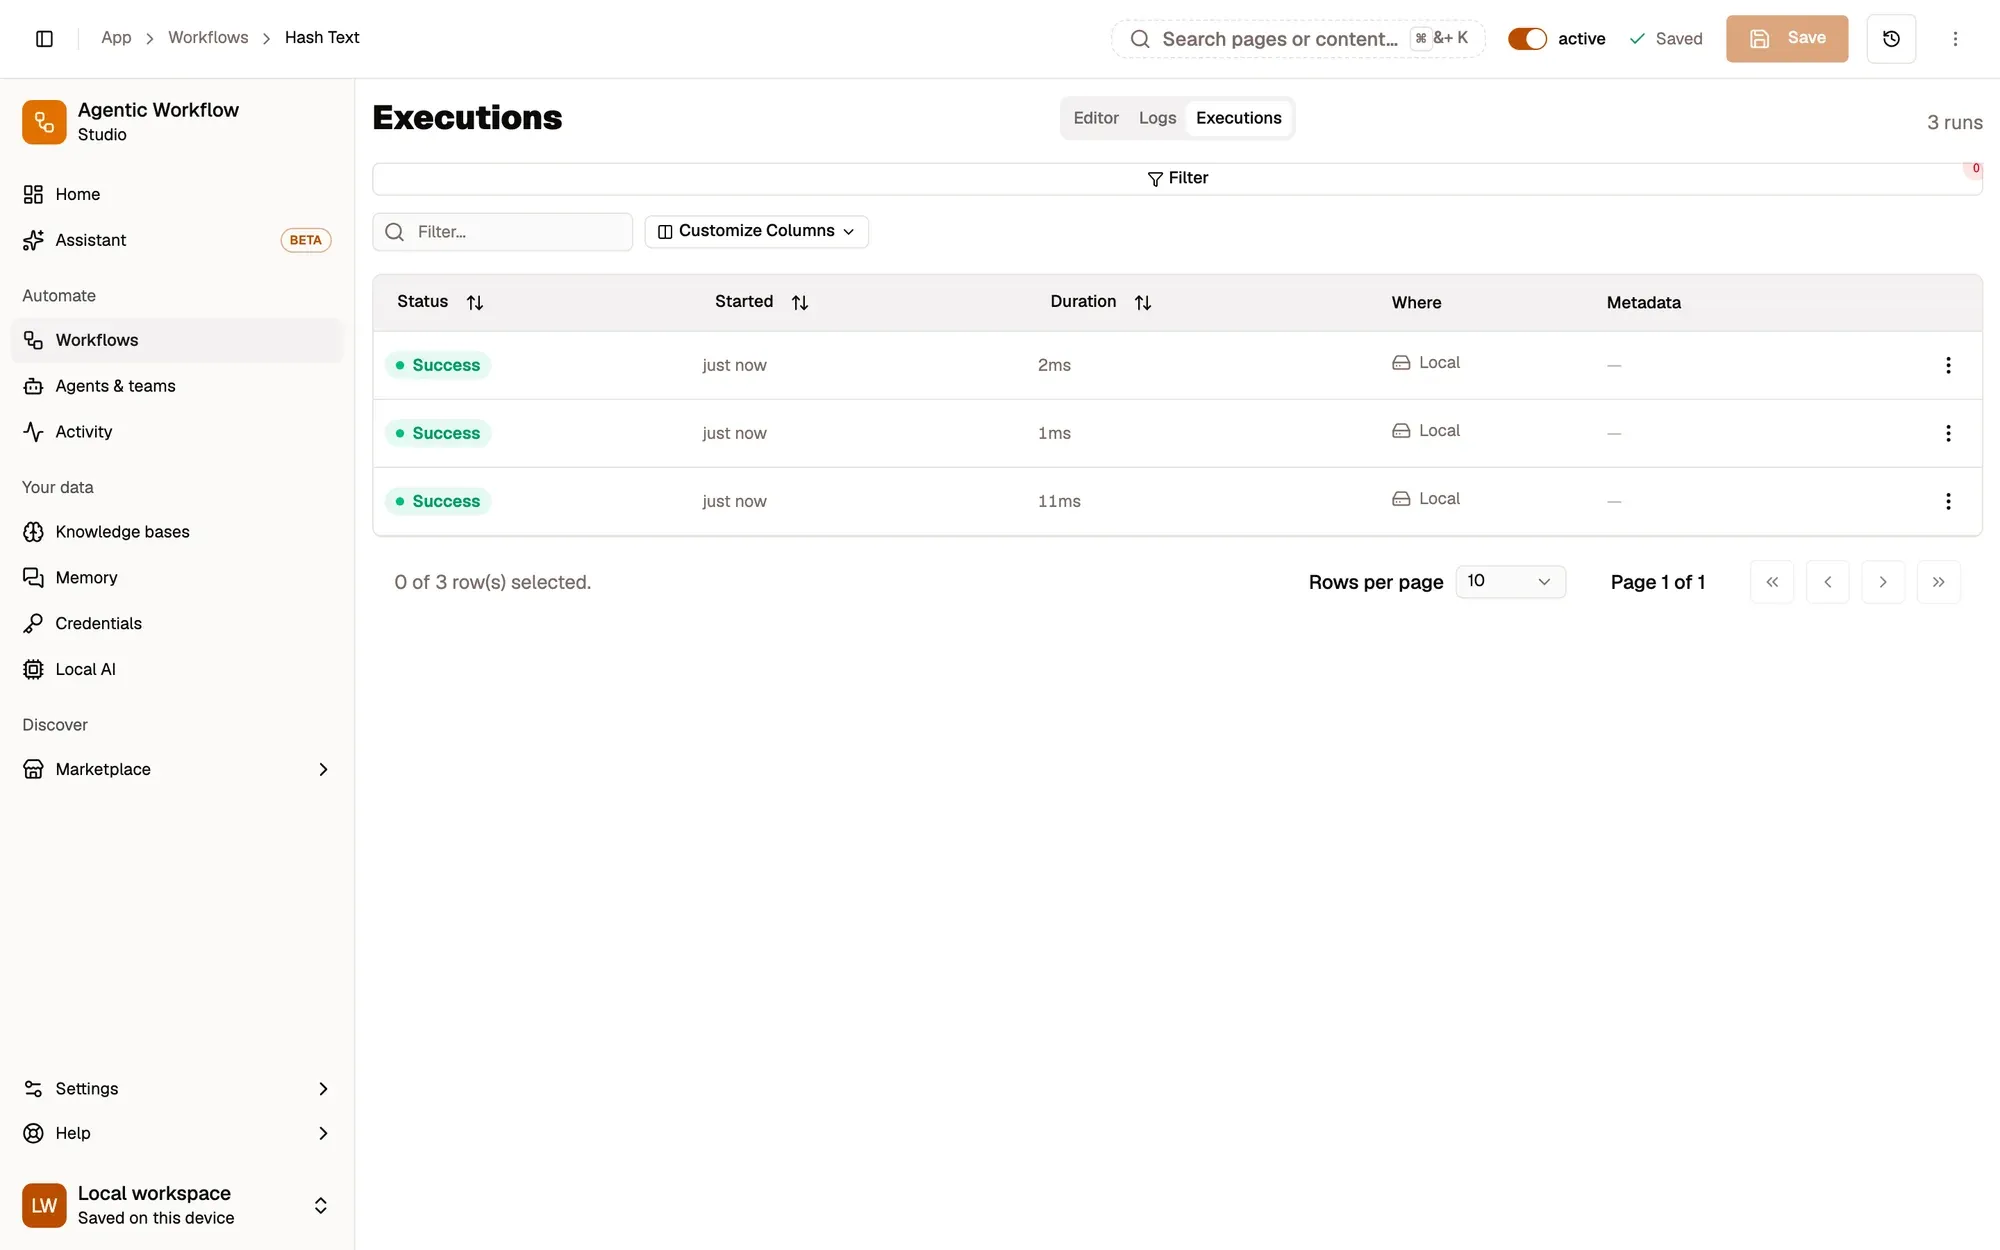
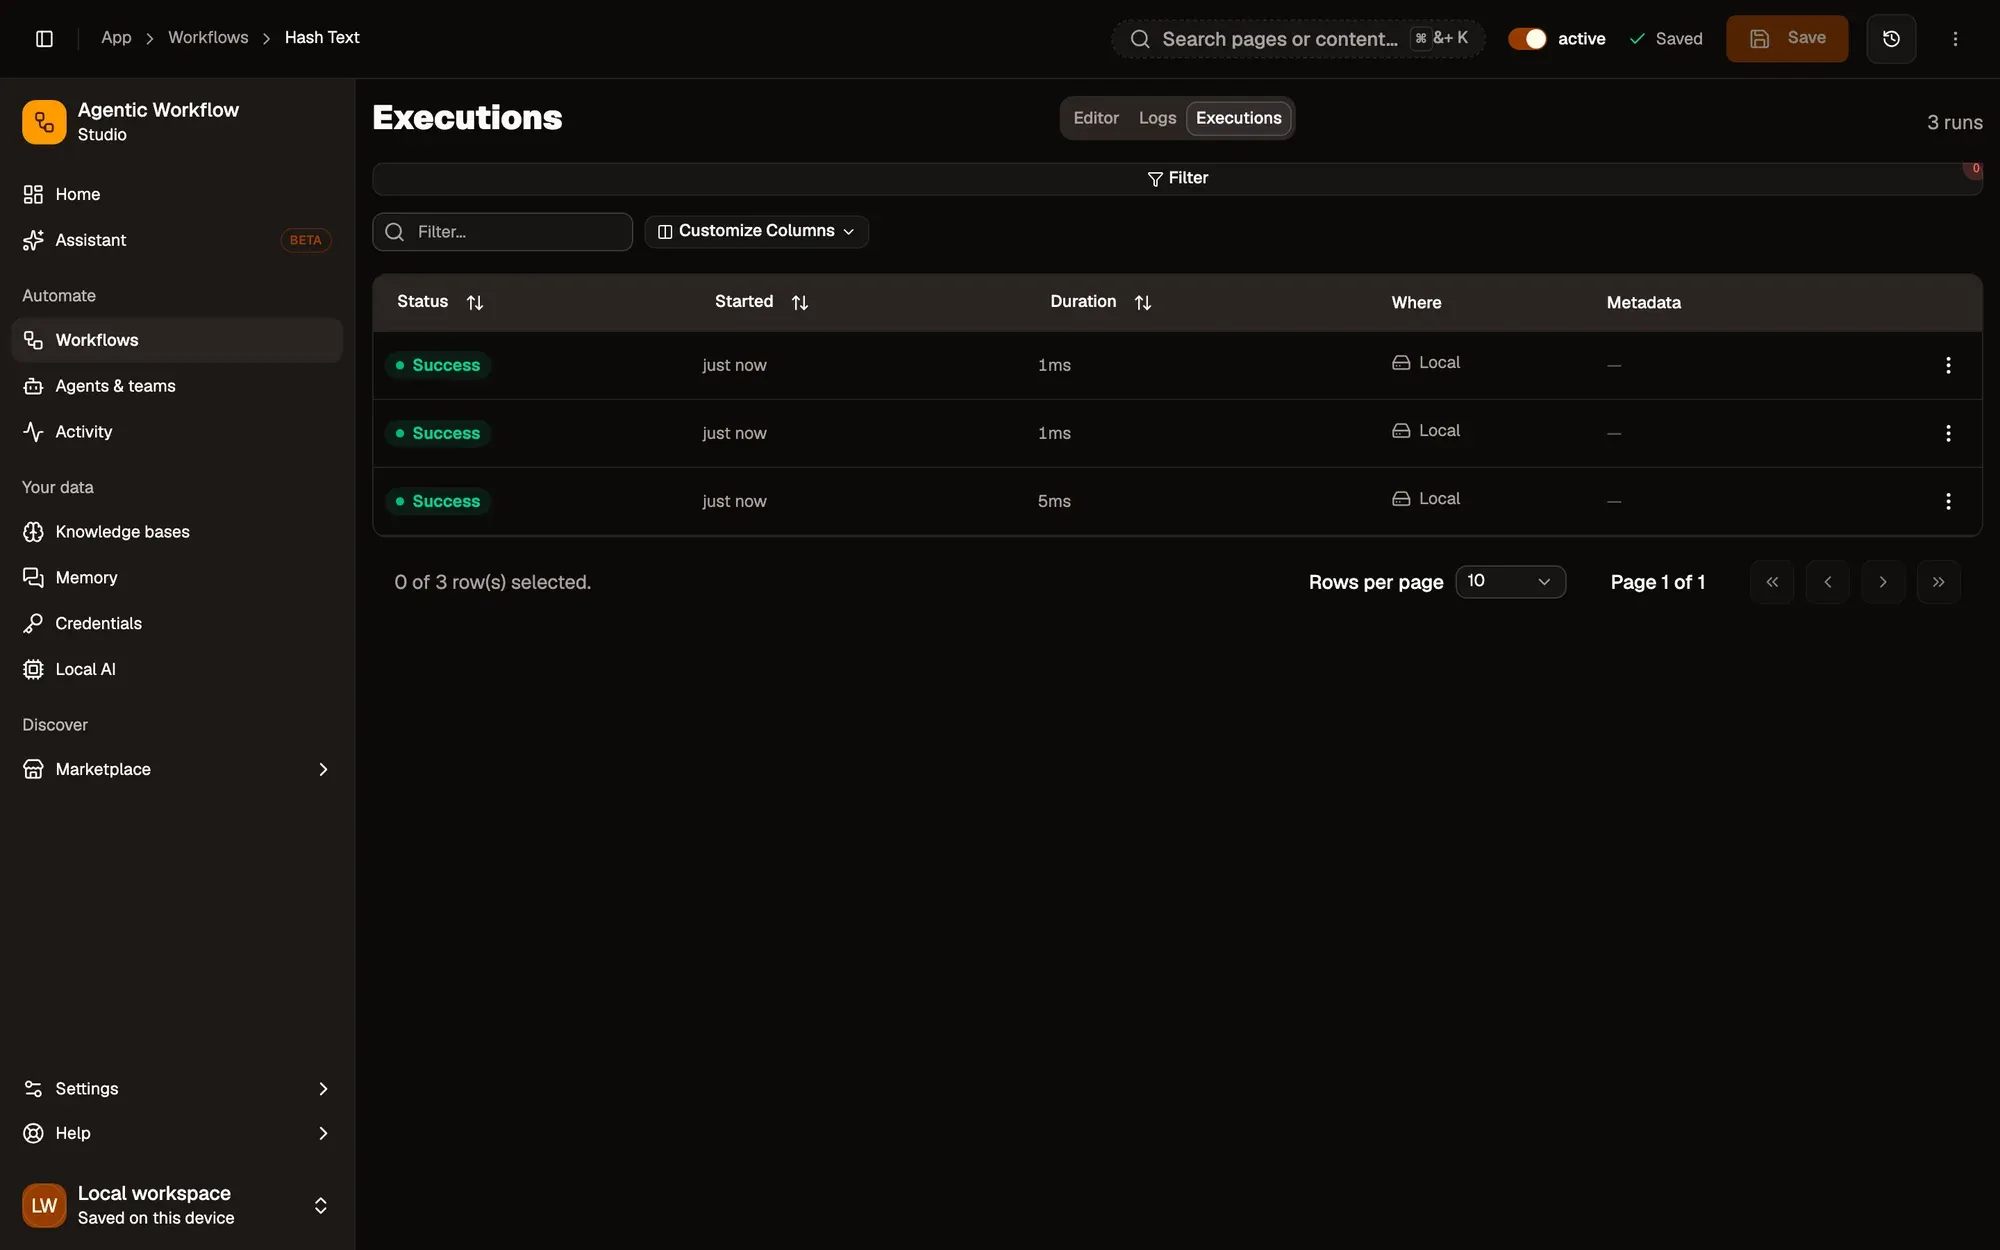
Check: the newest row says Success, started a few seconds ago.
Other ways to start a workflow
Section titled “Other ways to start a workflow”- Context Menu: right-click a selection, link or page.
- Page Load: every time a page matching a URL pattern loads.
- Element Change: when something on a page changes, like a price.