- Pick a model for Aria
- Switch a chat to Build and describe a workflow
- Review what Aria built and ask for a change
- Save it and open it on the canvas
Aria is AWFlow’s assistant. In Build mode, every message you send changes a workflow: Aria picks the nodes, wires them, and fills in their settings. You’ve built three workflows by hand, so you can now check its work and fix what it misses.
Step 1:Open Aria and pick a model
Click Assistant in the AWFlow sidebar. The first time, Meet Aria, your private AI asks which model to use:
- Private, on this device (Recommended): free, nothing leaves your device, downloads once in the background. It needs WebGPU; without it, the card says this browser can’t run on-device models.
- Chrome built-in AI (in Chrome): Gemini Nano, downloaded once by Chrome. Set up walks you through it.
- Connect a cloud provider: Add key opens AI providers. Larger cloud models build complex workflows more reliably.
Click Start chatting. You can switch models any time from the composer.
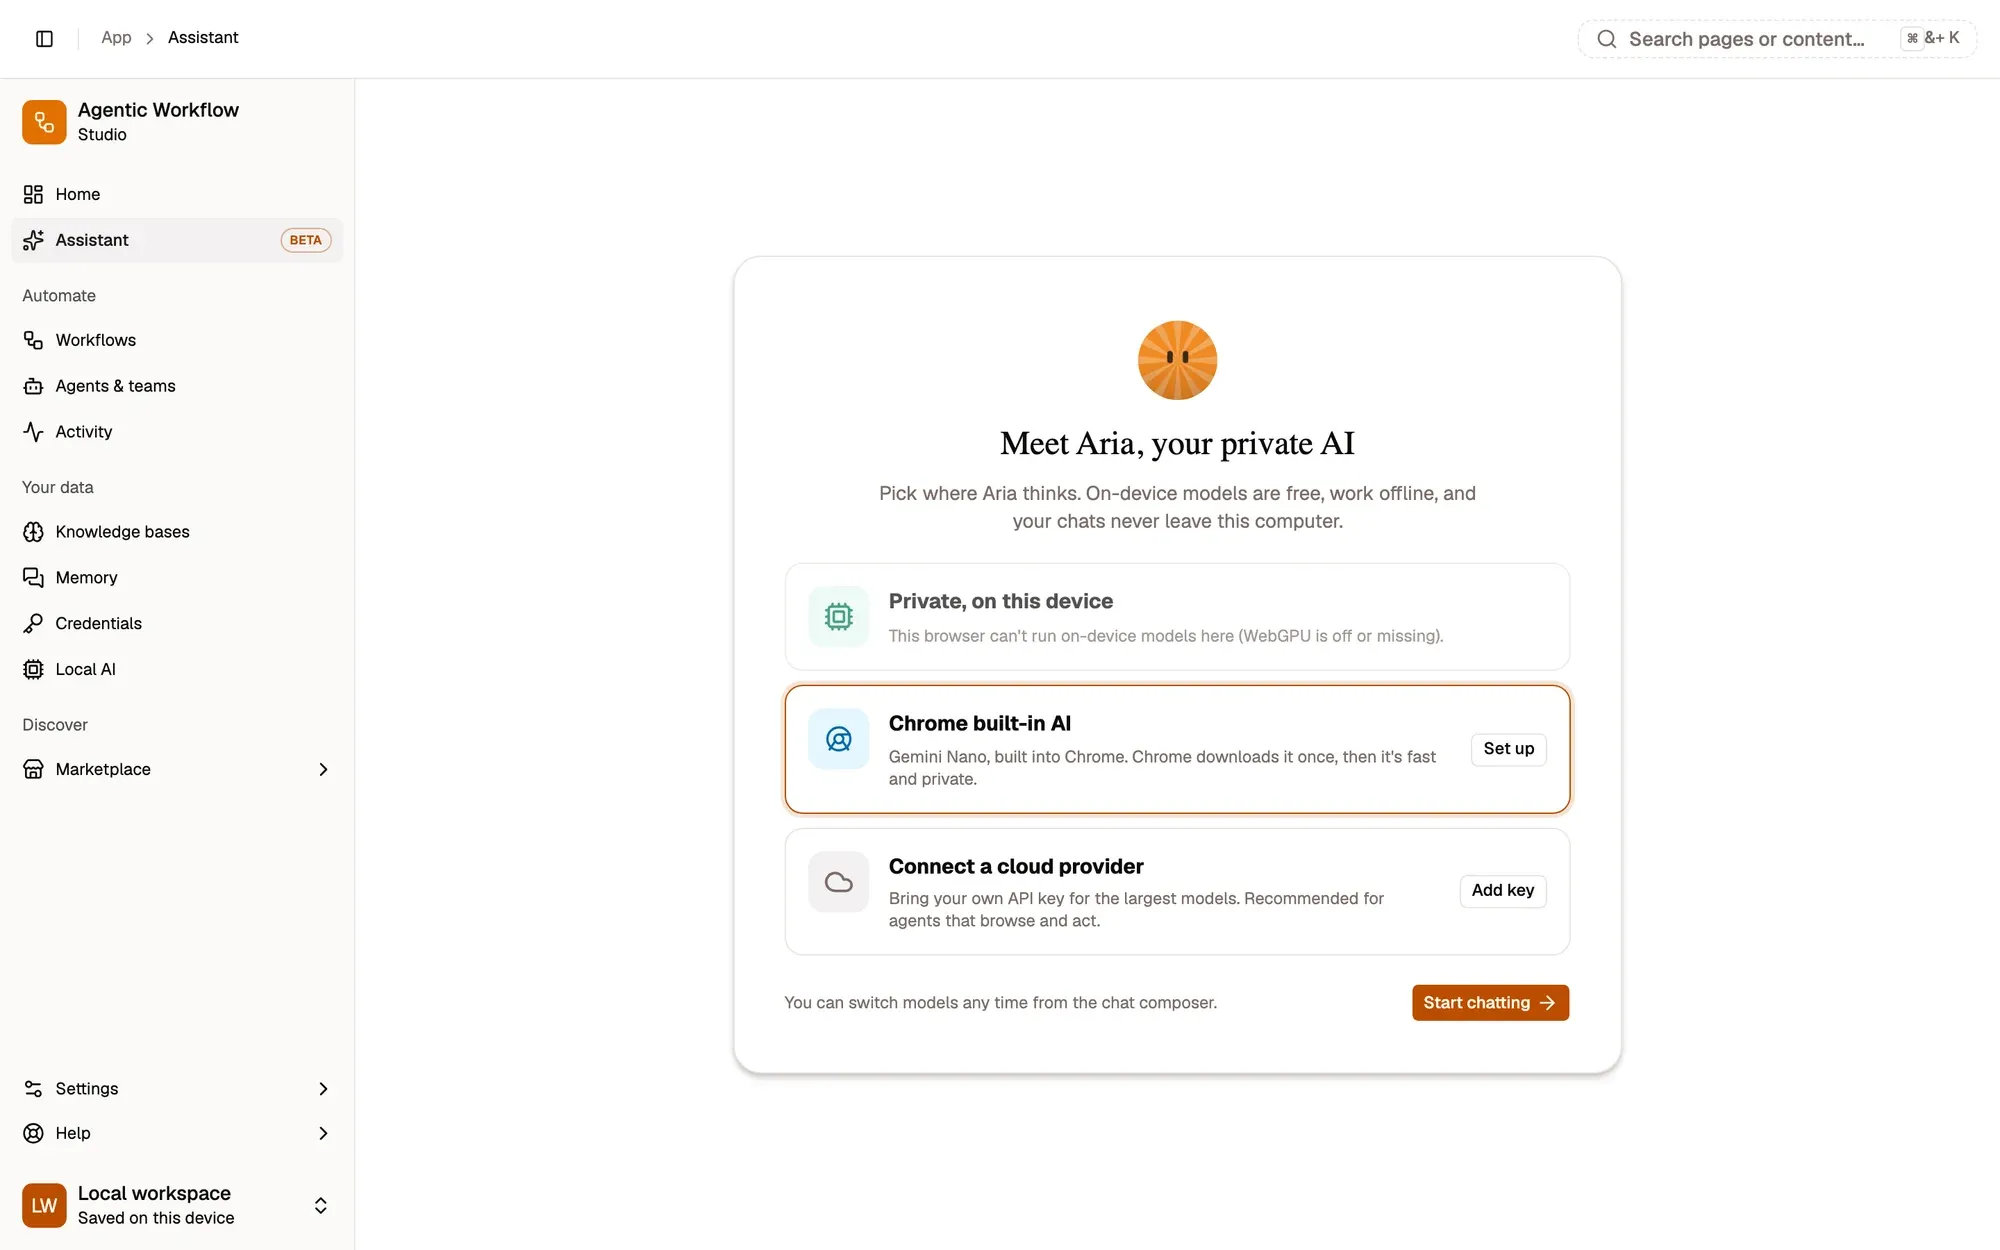
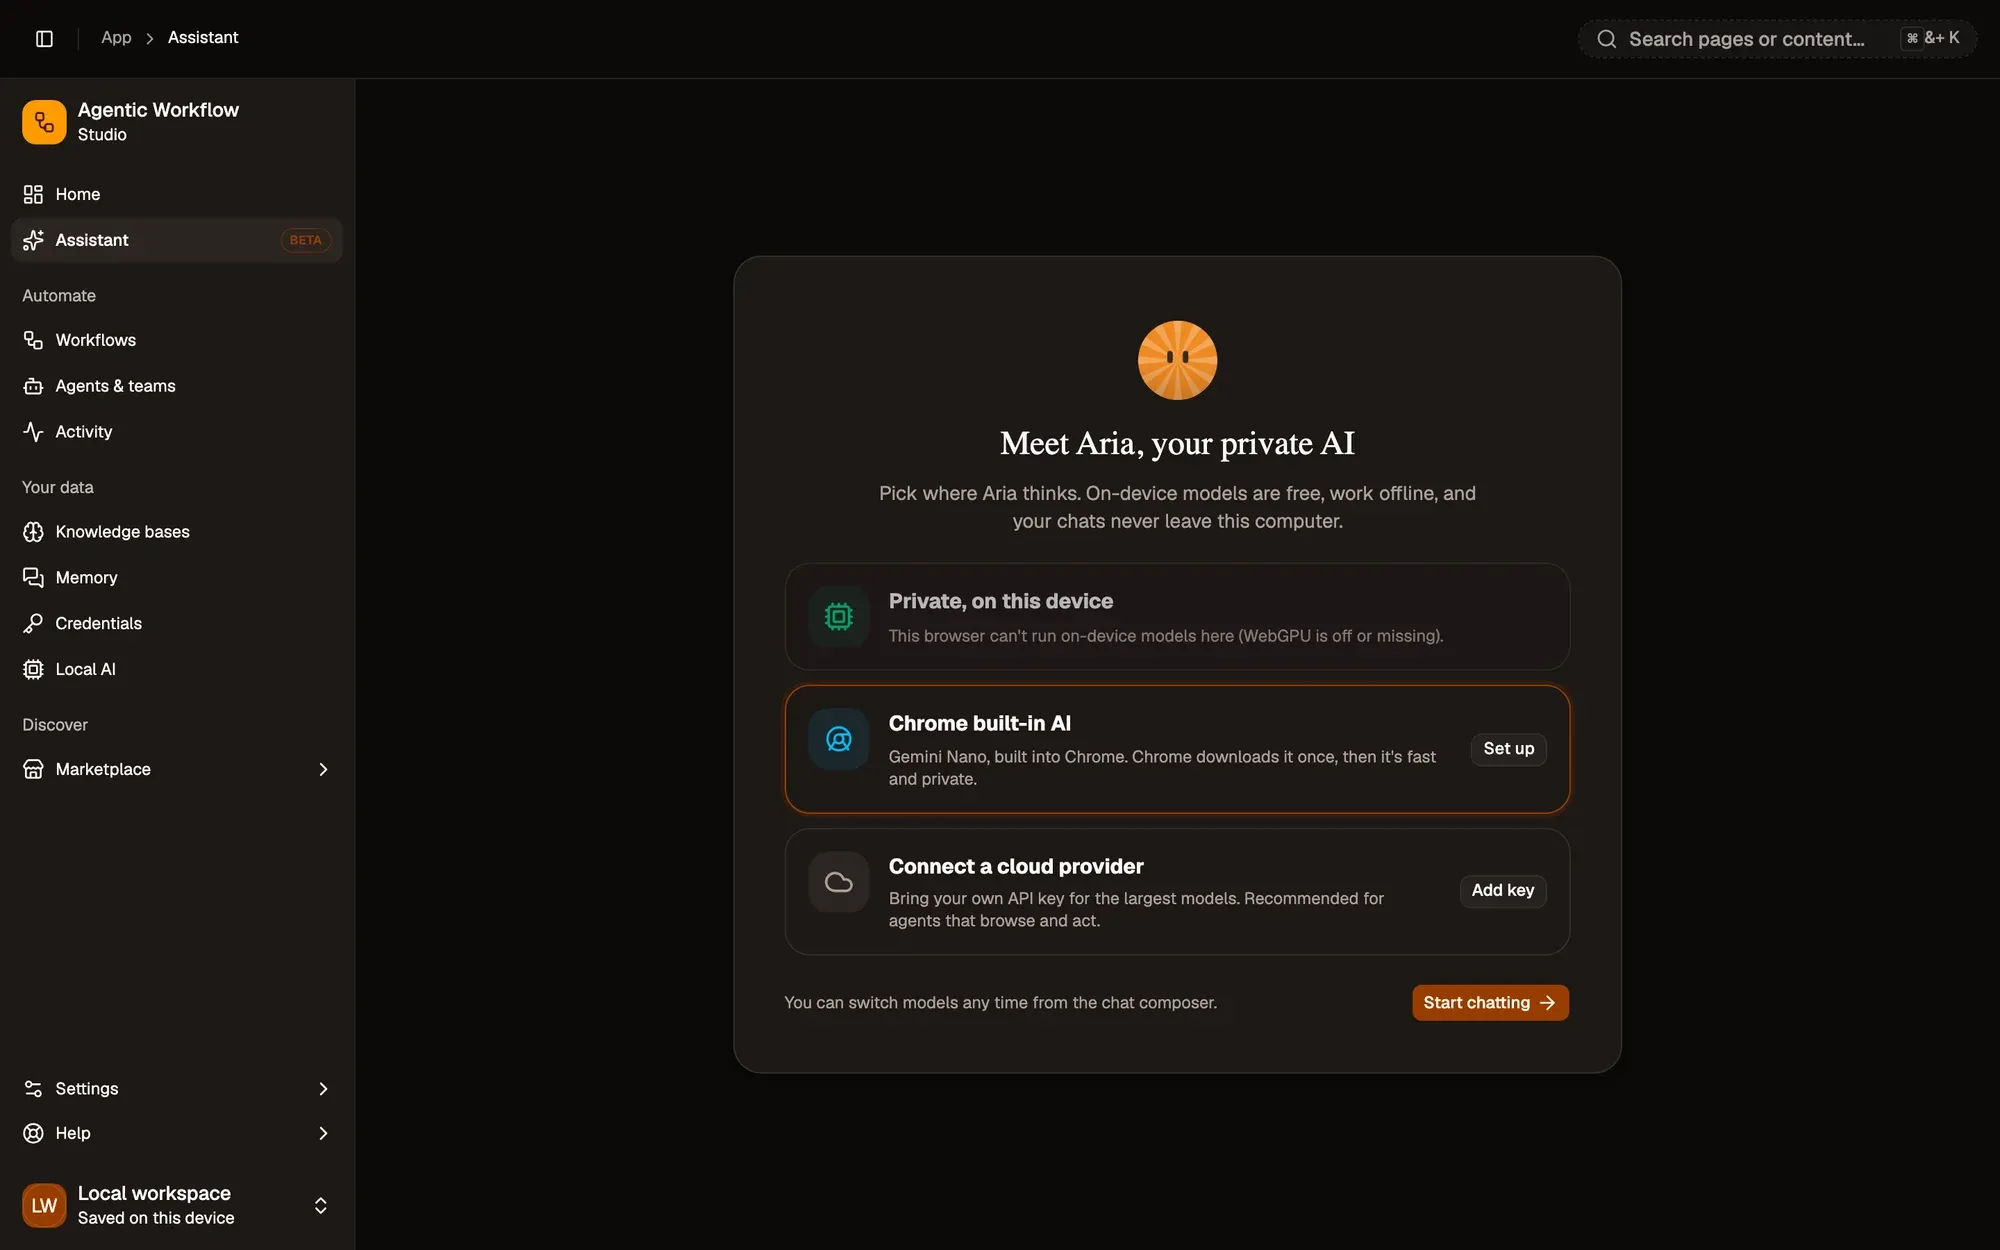
Check: the chat composer is ready, with your model shown in its model picker.
Step 2:Switch to Build and describe the workflow
Under the message box, switch Chat | Build to Build. Then describe what to automate, with the trigger, the steps and the result:
When I press a keyboard shortcut, take the text I selected on the page,translate it into French with an on-device model, and show the translation.Aria works through Understand your request, Look for similar workflows, Choose an approach, Write the workflow and Check it’s valid.
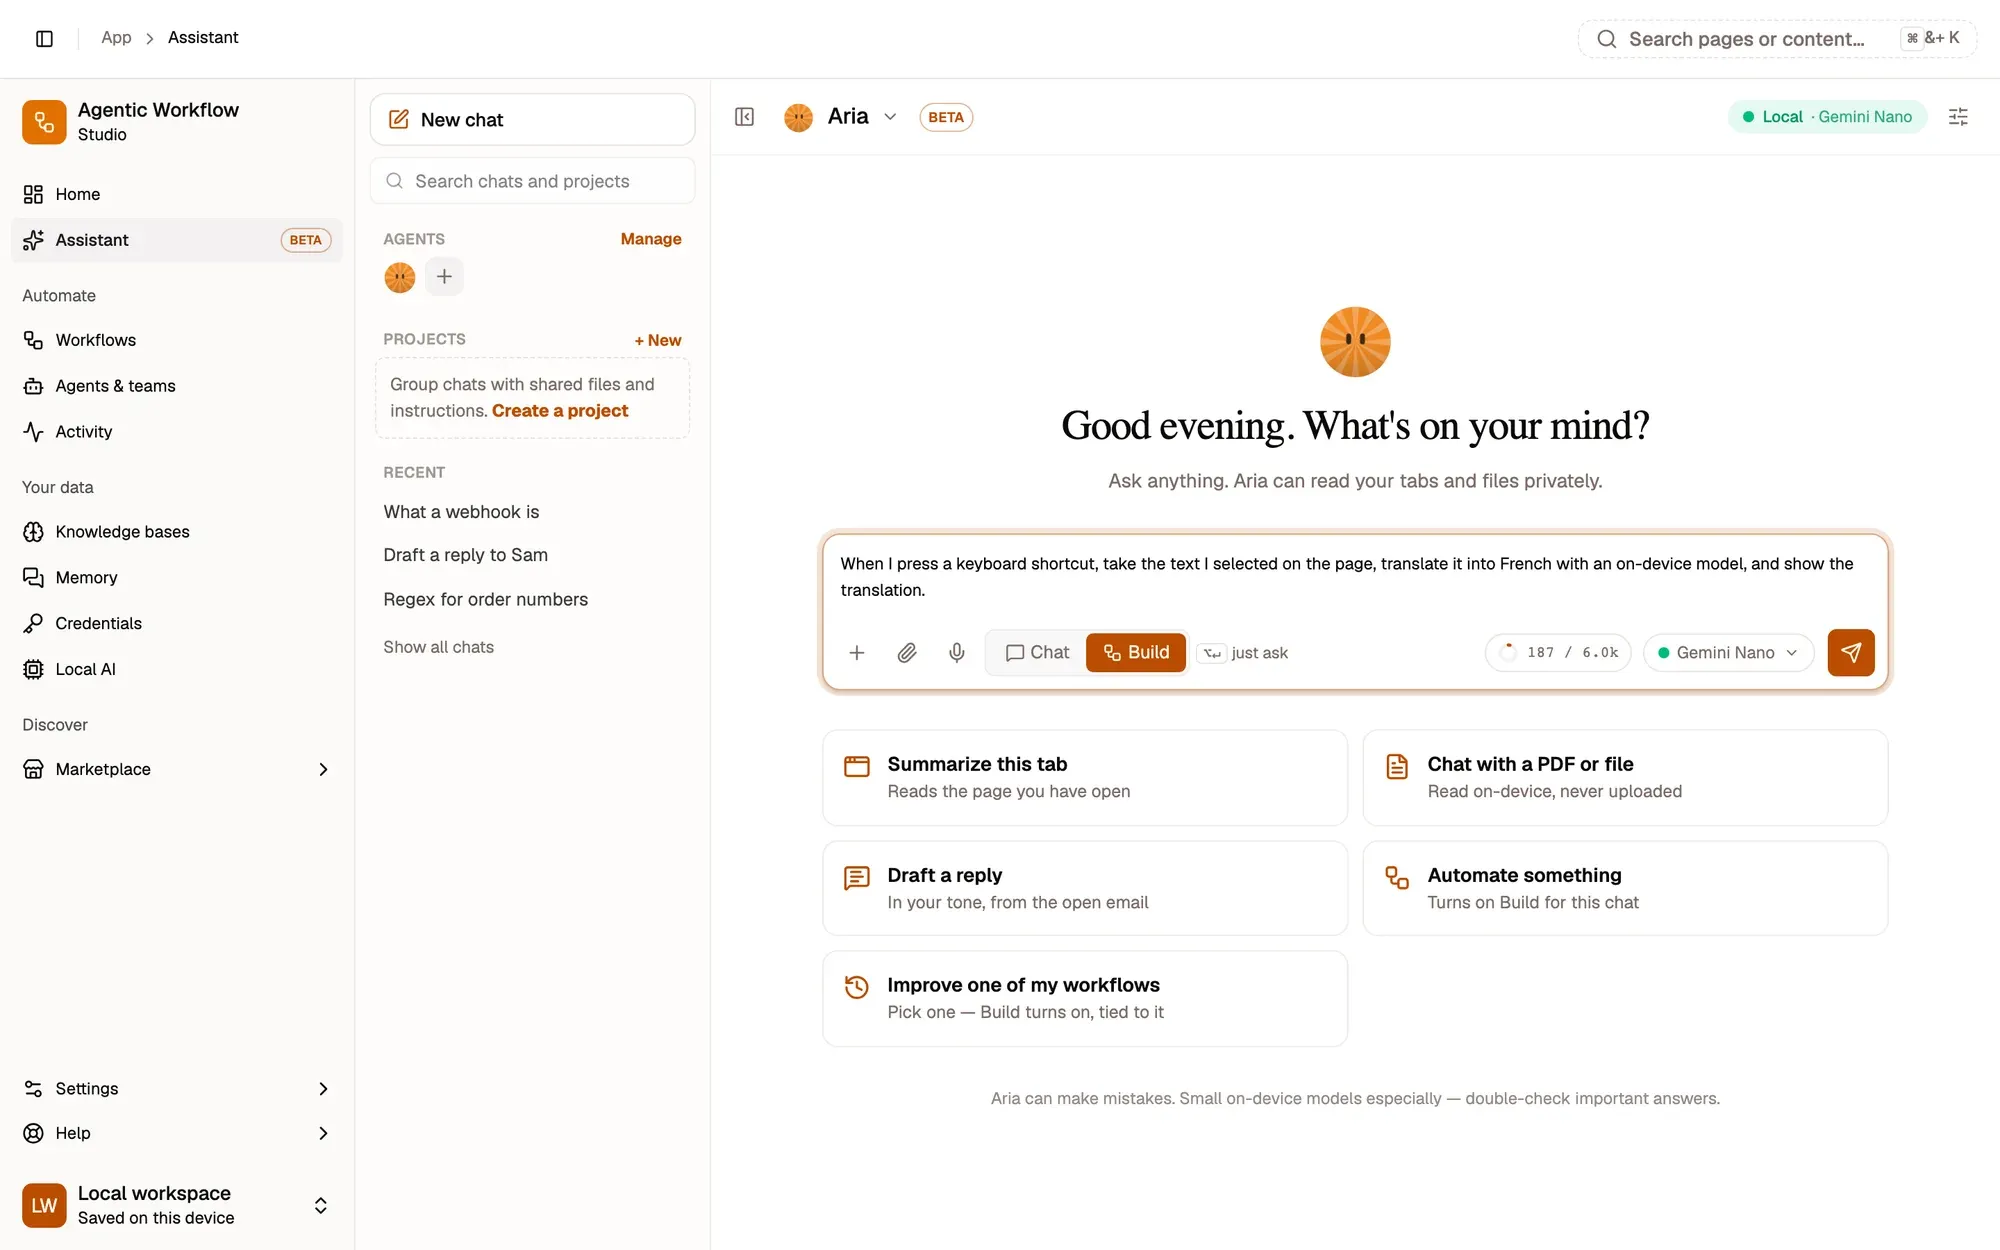
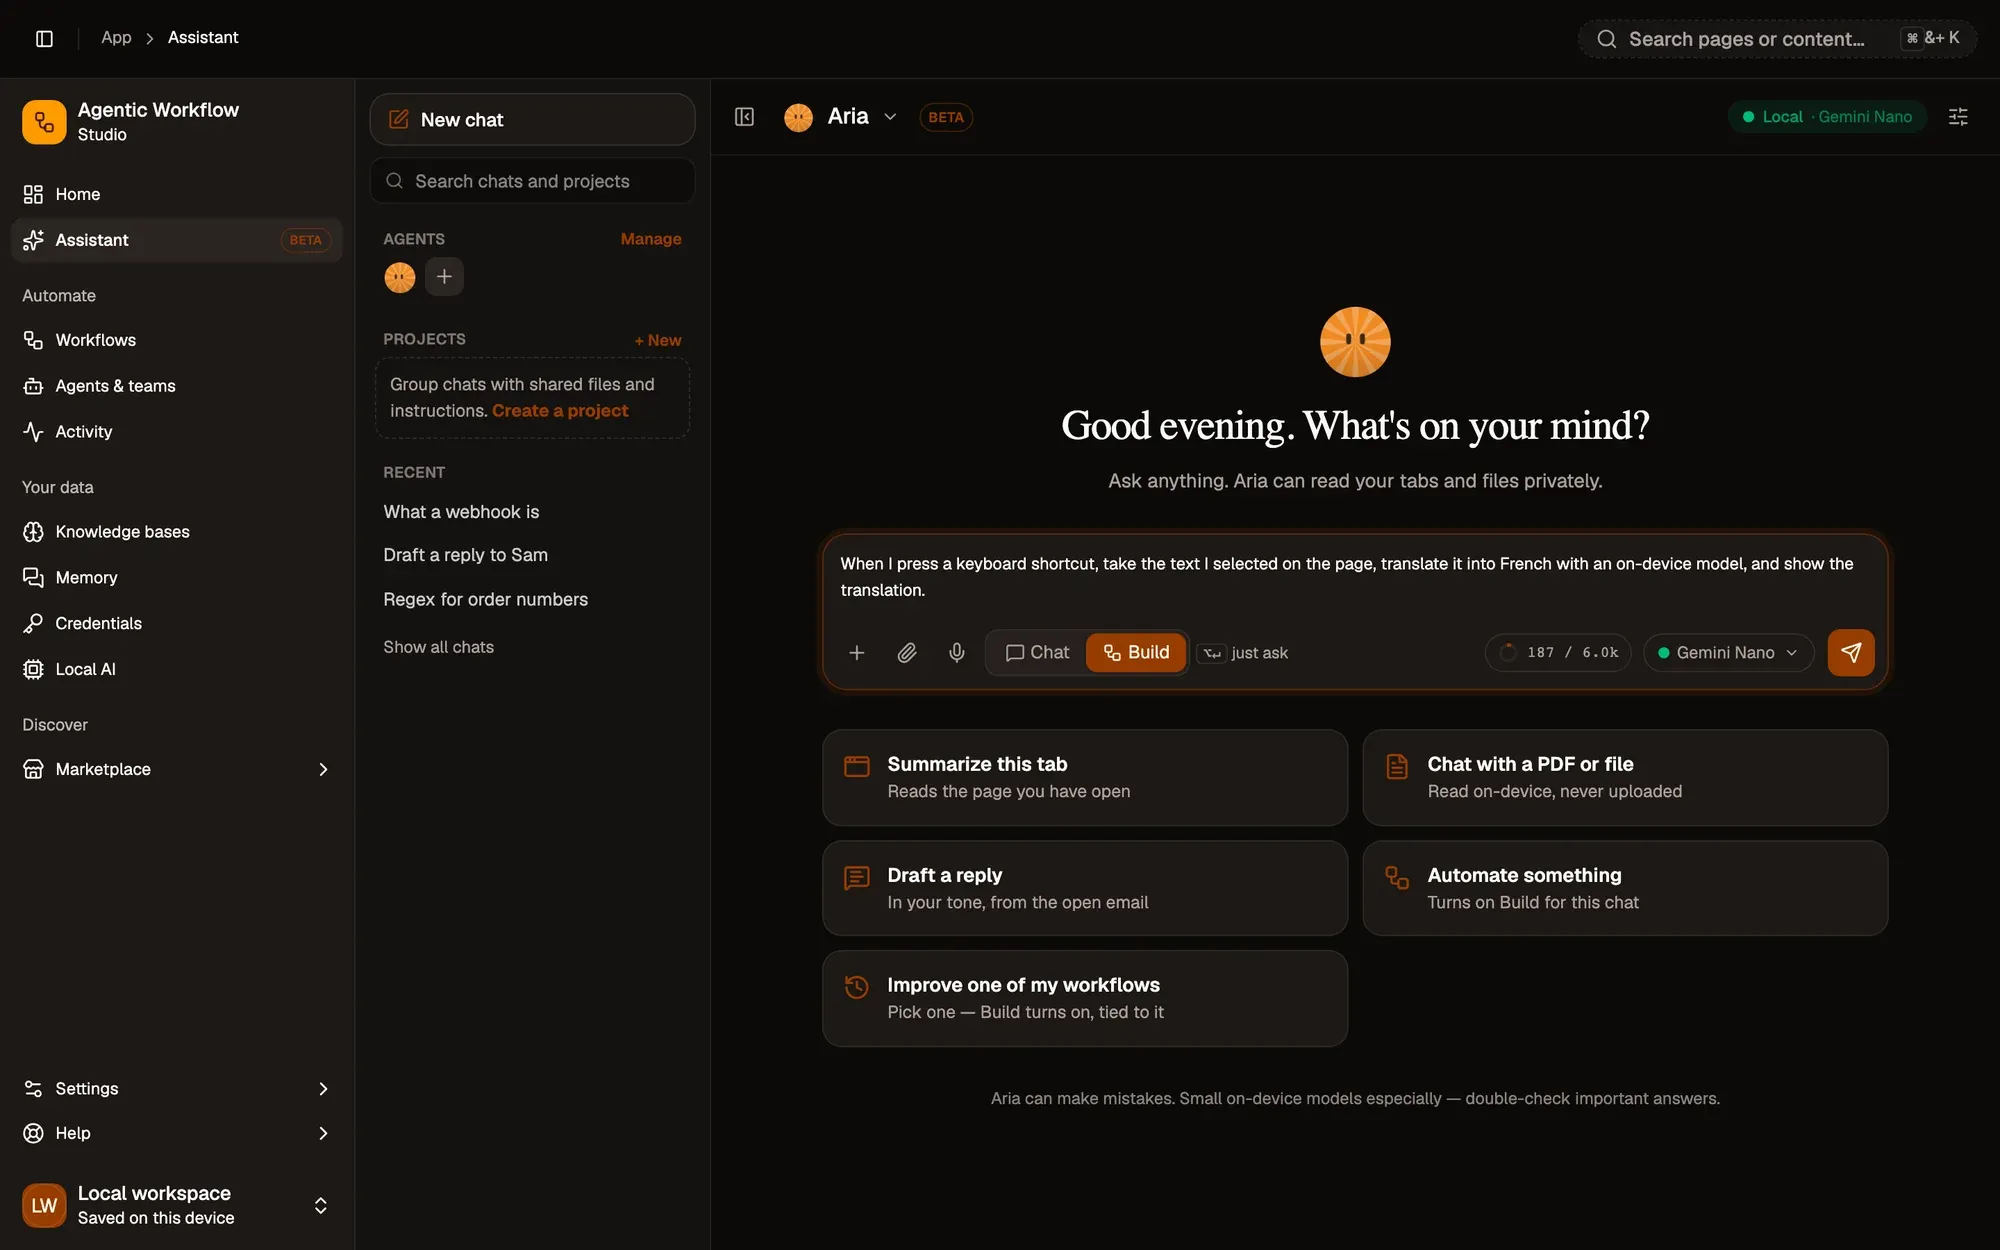
Check: a Building your workflow card shows its stages, and the Workflow preview draws the nodes.
Step 3:Review what it built
Read the Workflow preview from left to right. You should recognise the pieces from earlier lessons: a Hotkey trigger, Get Selected Text, a chain with a model in its Model slot, and a display step. If a card says settings to check before it runs, click each row to see what Aria needs from you, such as a model to pick.
Check: you can name each node in the preview and say what it does.
Step 4:Ask for a change
Keep chatting in Build: Also copy the translation to the clipboard. Each change adds a version. View changes highlights what moved, and Undo reverts the latest change.
Check: the reply ends with a change chip such as “v2 · +1 step”.
Step 5:Save it and open it on the canvas
Click Save workflow, give it a name, keep Local (this browser), and click Create workflow. Then click Open in editor. From here it’s a normal workflow: test it with Test Workflow, then activate it as in lesson 4.
Check: the canvas opens with the same nodes as the preview.
Want to go further? Building workflows in chat covers improving an existing workflow, mentioning other workflows, and the canvas dock.