- Create a workflow on the canvas
- Add a trigger and two steps
- Run it and read each step's output
A workflow is a chain of steps, called nodes. A trigger starts it, and each node passes its output to the next one. You’ll build the smallest useful workflow: read the text you select on a page, and turn it into a small report.
My first workflow: a workflow with 3 steps, starting with When Started and ending with Edit Fields.
Step 1:Create a blank workflow
In the AWFlow side panel, open Workflows and click Add Workflow. In Create a workflow, choose Blank canvas, then Triggered. Name it My first workflow and click Create & open.
Check: an empty canvas opens with an Add Trigger button.
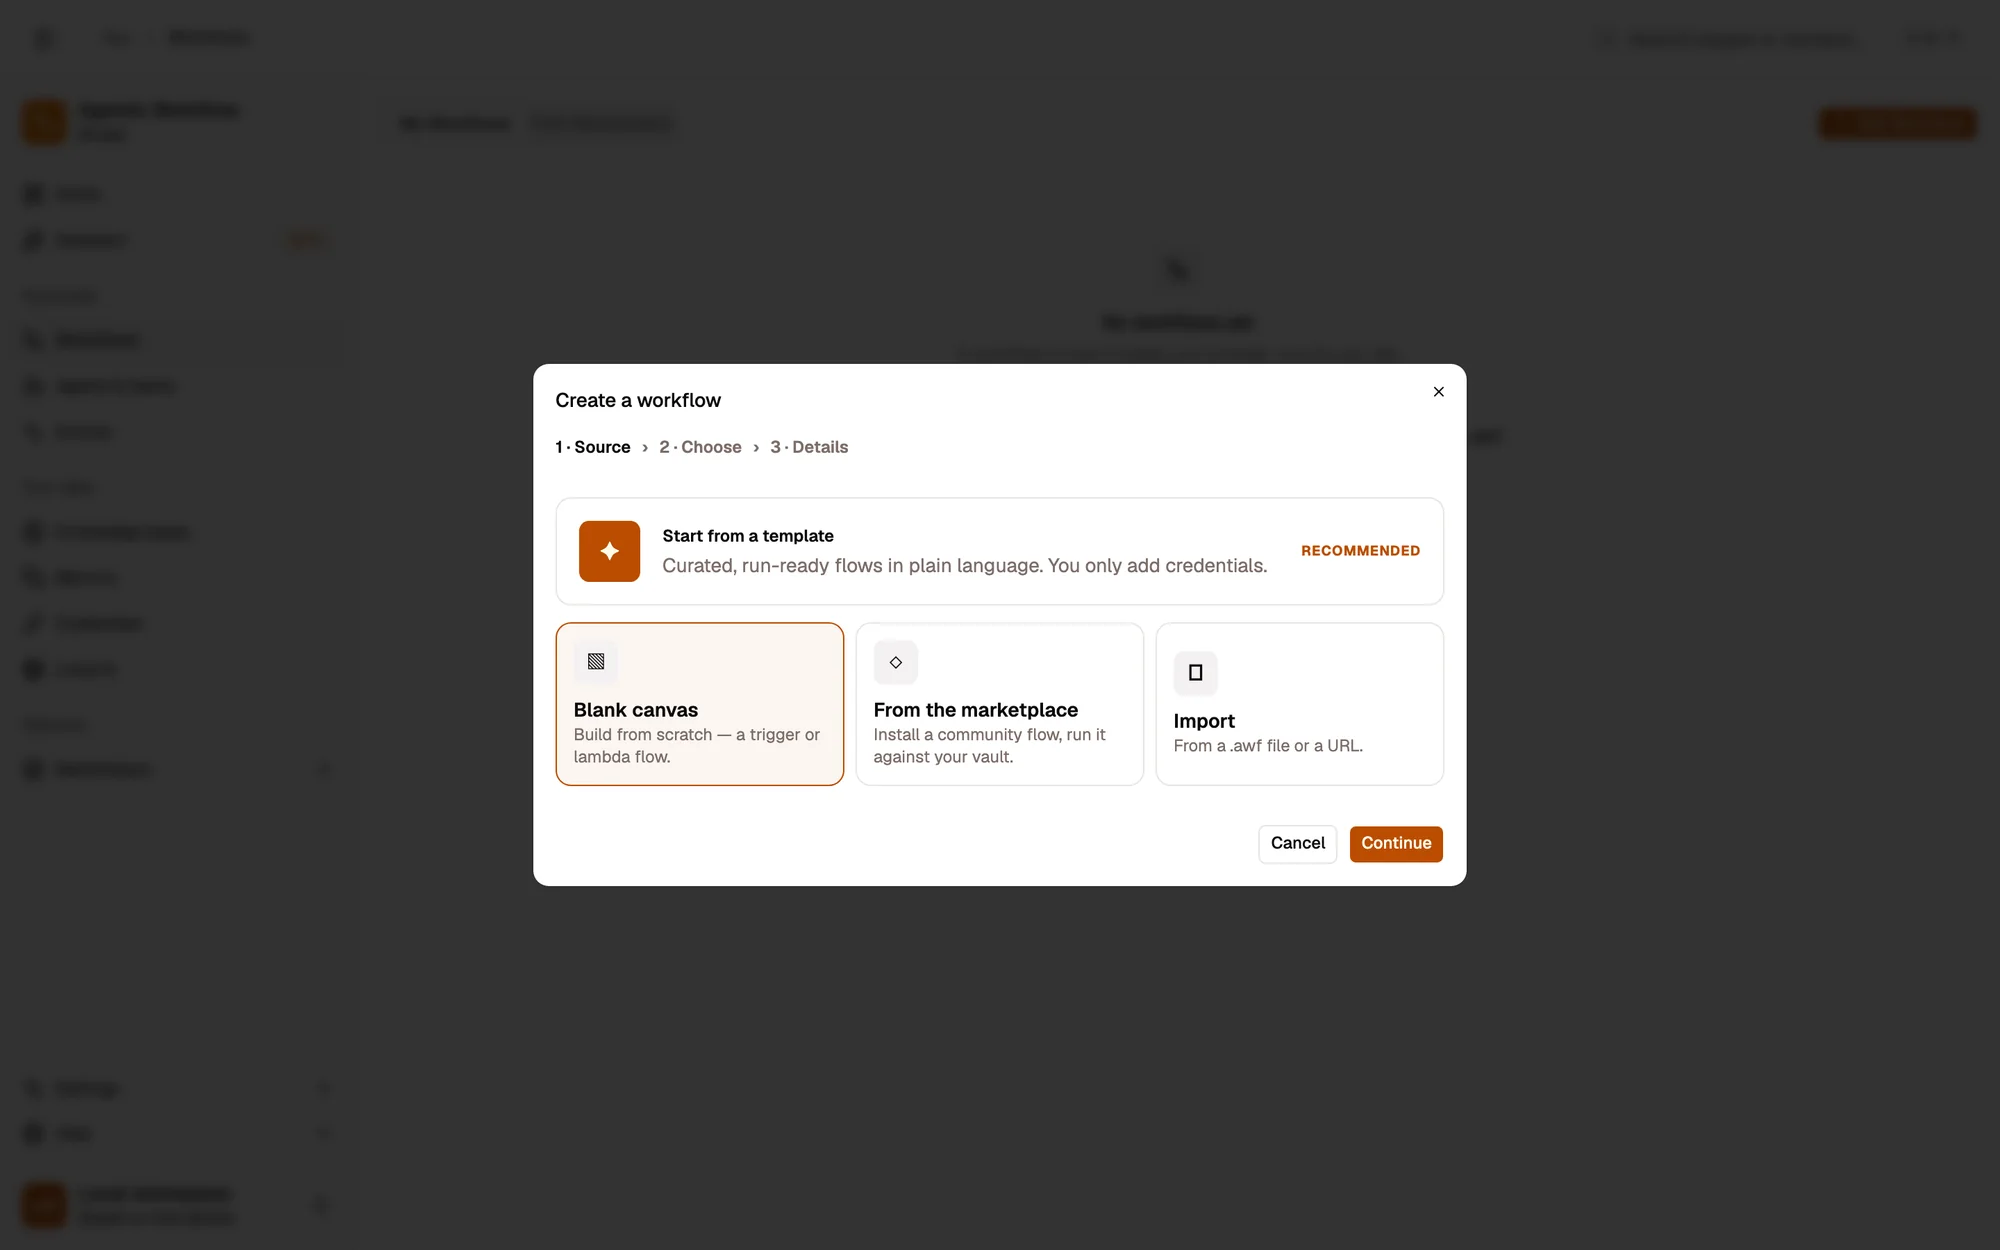
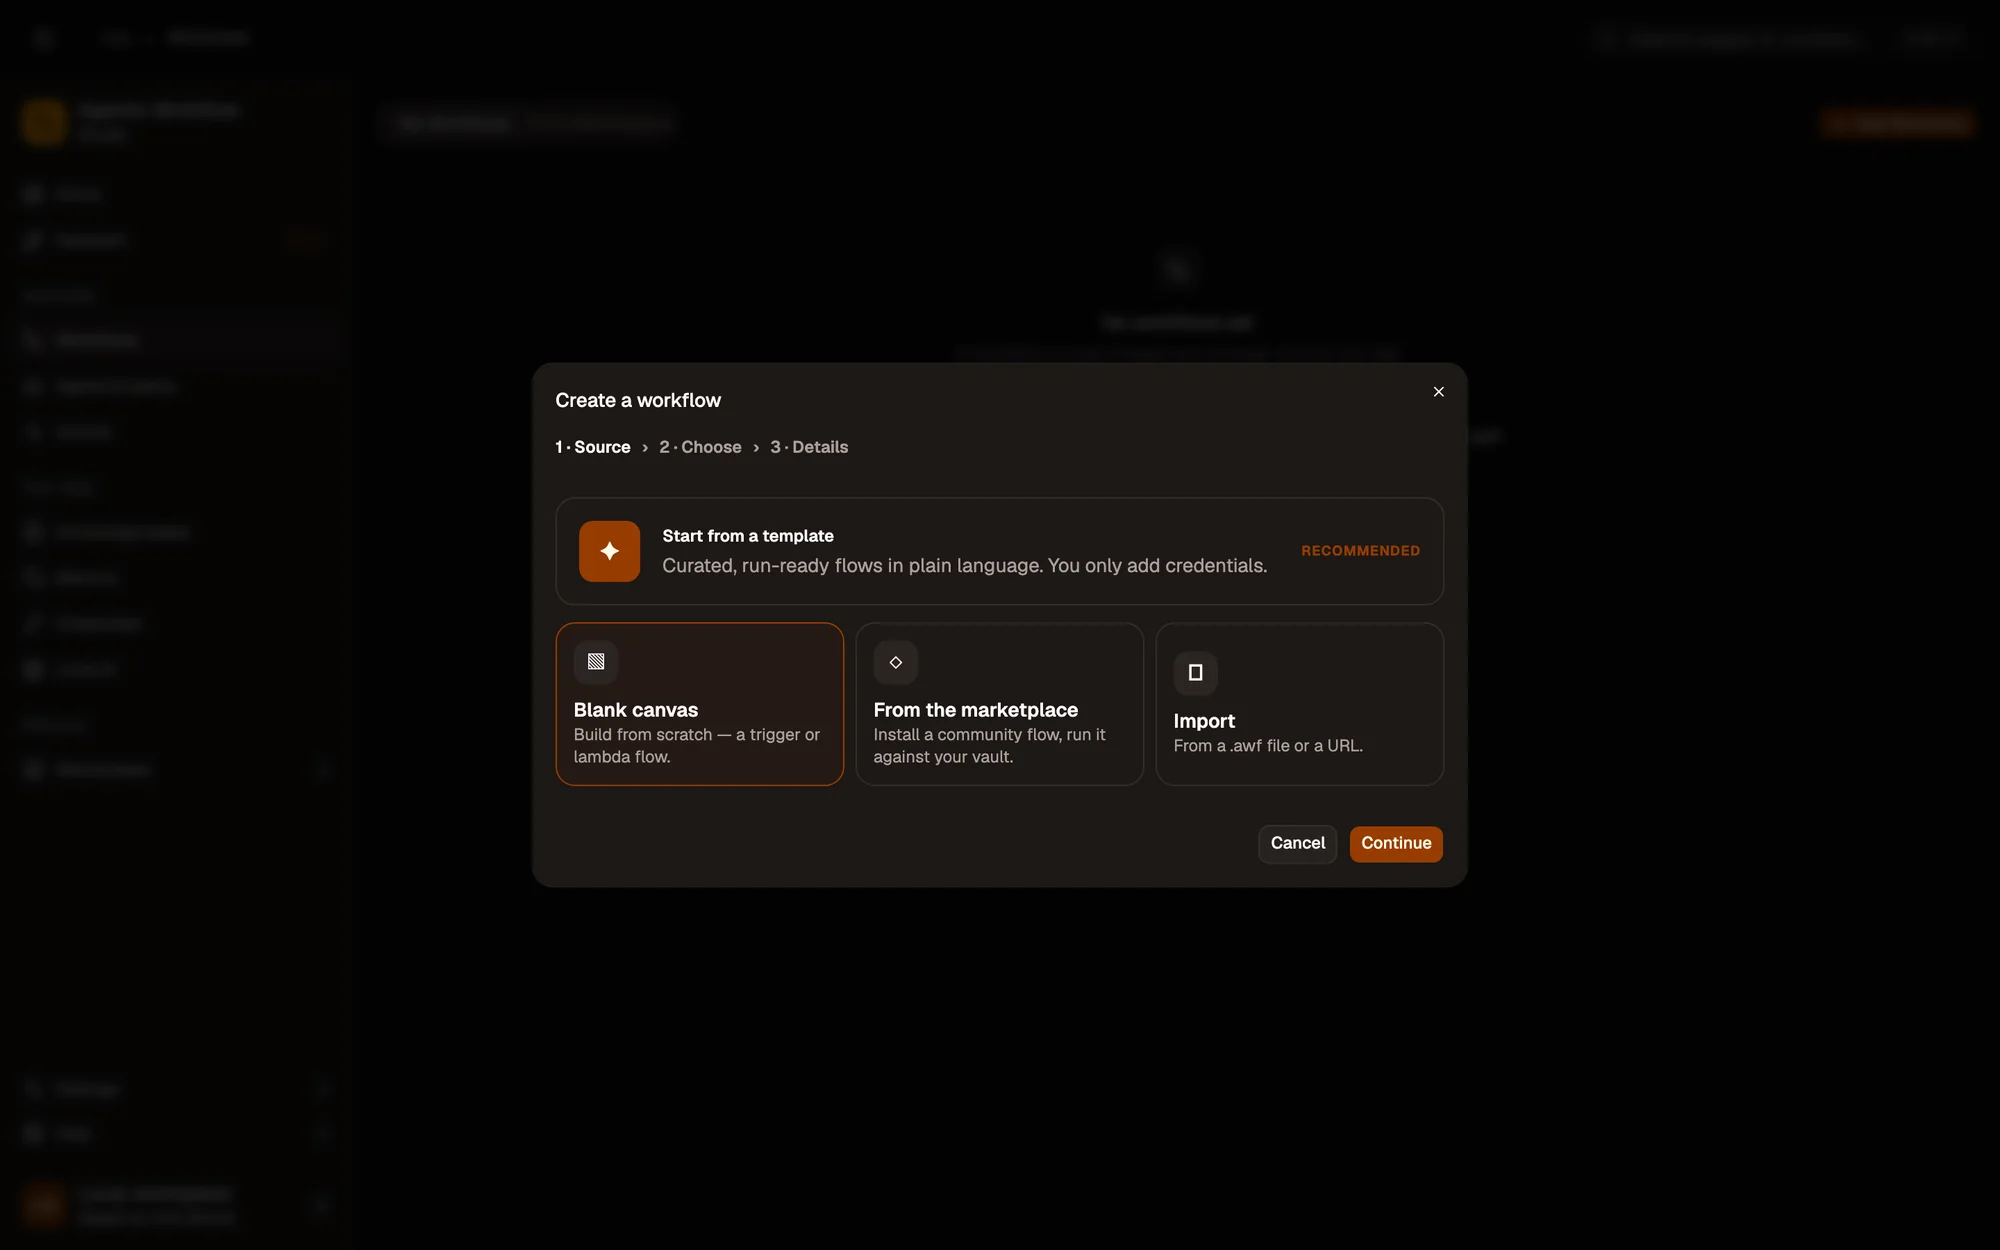
- Steps: Source, Choose, Details
- Blank canvas
- Continue
Step 2:Add a trigger
Click Add Trigger (in a narrow panel: Add trigger in the middle of the canvas). In Choose a node, type when in the search box and pick When Started. It starts the workflow when you press Test Workflow.
Check: a When Started node is on the canvas.
Step 3:Read the selected text
Click the + on the right edge of When Started, search for Get Selected Text and pick it. In its settings, set Output field name to text, then click Done.
Check: Get Selected Text is linked to When Started by a line.
Step 4:Run it
Switch to your other tab and select (highlight) a sentence. Come back to the AWFlow panel and click Test Workflow at the top of the canvas. Then open Get Selected Text and look at its Output tab, under Actual.
Check: Get Selected Text → Output → Actual shows a text field with your sentence.
Step 5:Reshape it with Edit Fields
Click the + on the right of Get Selected Text and add Edit Fields. Under Fields, add a field named processed_text of type String, and paste this as its value:
Text: {{ $input.text }}Length: {{ $input.text.length }} characters{{ $input.text }} reads the text field from the step before. Click Done, select some text again, and click Test Workflow.
Check: Edit Fields → Output → Actual shows processed_text with your sentence and its length.
Step 6:Save it
AWFlow doesn’t save automatically: click Save in the canvas header, or press ⌘/Ctrl + S. You’ll reuse this canvas in the next lesson.
Check: the header says Saved.
What you’ve learned
Section titled “What you’ve learned”- Every workflow has a trigger and one or more nodes, joined by lines that carry data.
- Each node’s Output tab shows what it produced on the last run.
{{ $input.field }}reads a field from the previous step. See Expressions for more.
The nodes in this lesson: Get Selected Text and Edit Fields.