Skip to content
Agentic Workflowdocs
v0.8.2Install free

recipes / capture to my apps

Turn highlighted text into a Todoist task

Highlight a sentence in an email or a doc, right-click, and a short task title lands in Todoist. A model on your computer drafts the title.

Beginner 6 min Needs a connection · Todoist On-device model Capture to my apps

workflow · selection-to-todoist.awf 4 steps

Selection to Todoist Task: a workflow with 4 steps, starting with Right-click a selection and ending with Create the Todoist task.

Open in AWFlow
Right-click a selection → draft a task title with a local model → create the task in Todoist.
  1. Right-click the selected text

    Context Menunode reference

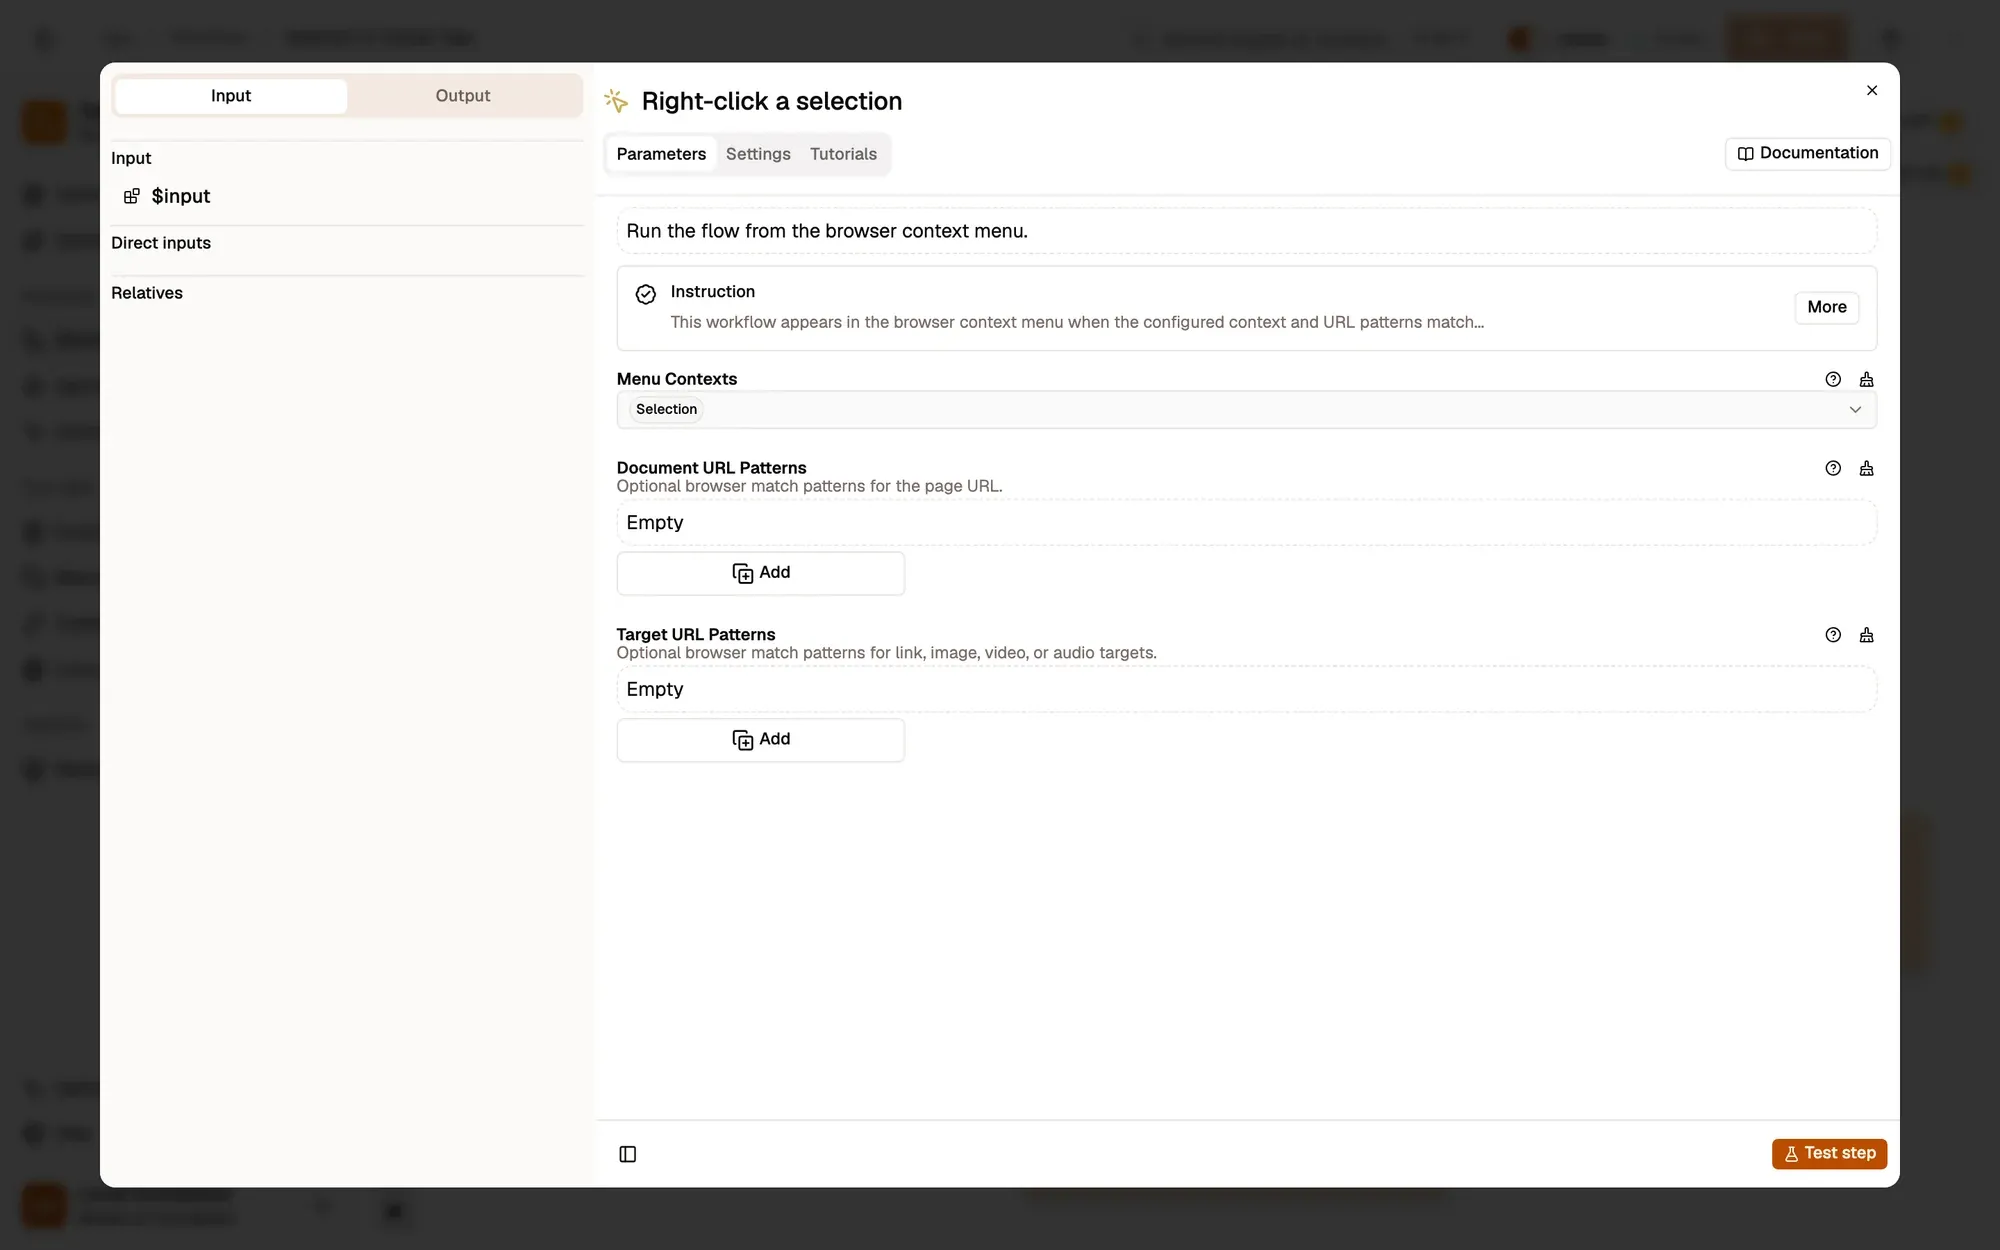
    With Menu Contexts set to Selection, the workflow appears when you right-click highlighted text.

    Make it yours — add Document URL Patterns such as https://mail.google.com/* to offer it only in your mail.

    The Document URL Patterns field
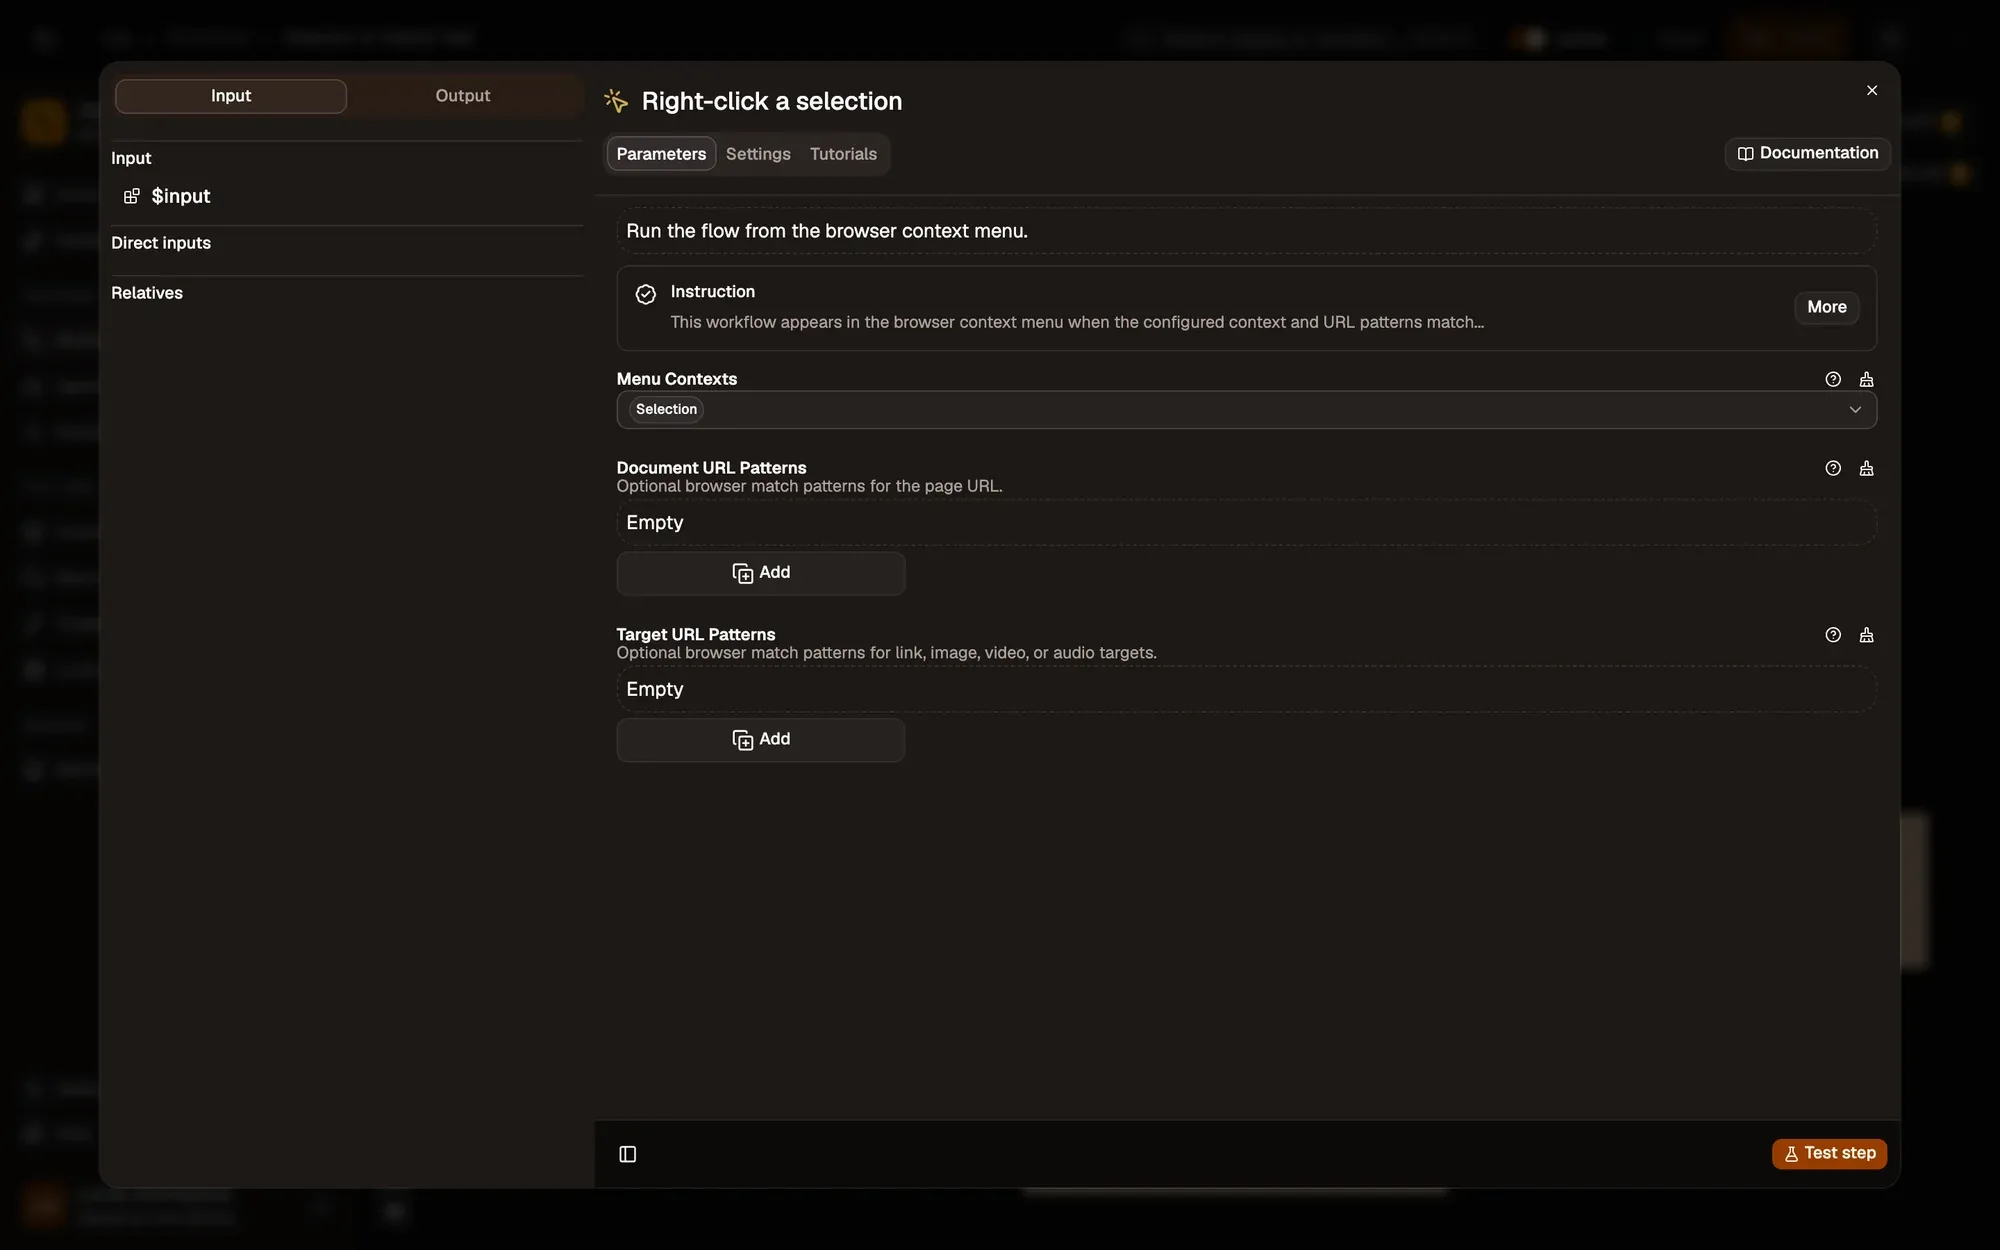
    The settings of the Right-click a selection trigger (Context Menu): Menu Contexts set to Selection, and empty Document URL Patterns and Target URL Patterns lists with Add buttons.The settings of the Right-click a selection trigger (Context Menu): Menu Contexts set to Selection, and empty Document URL Patterns and Target URL Patterns lists with Add buttons.
  2. Read the selection

    Get Selected Textnode reference

    Puts the highlighted text in the selection field.

    Get selected text
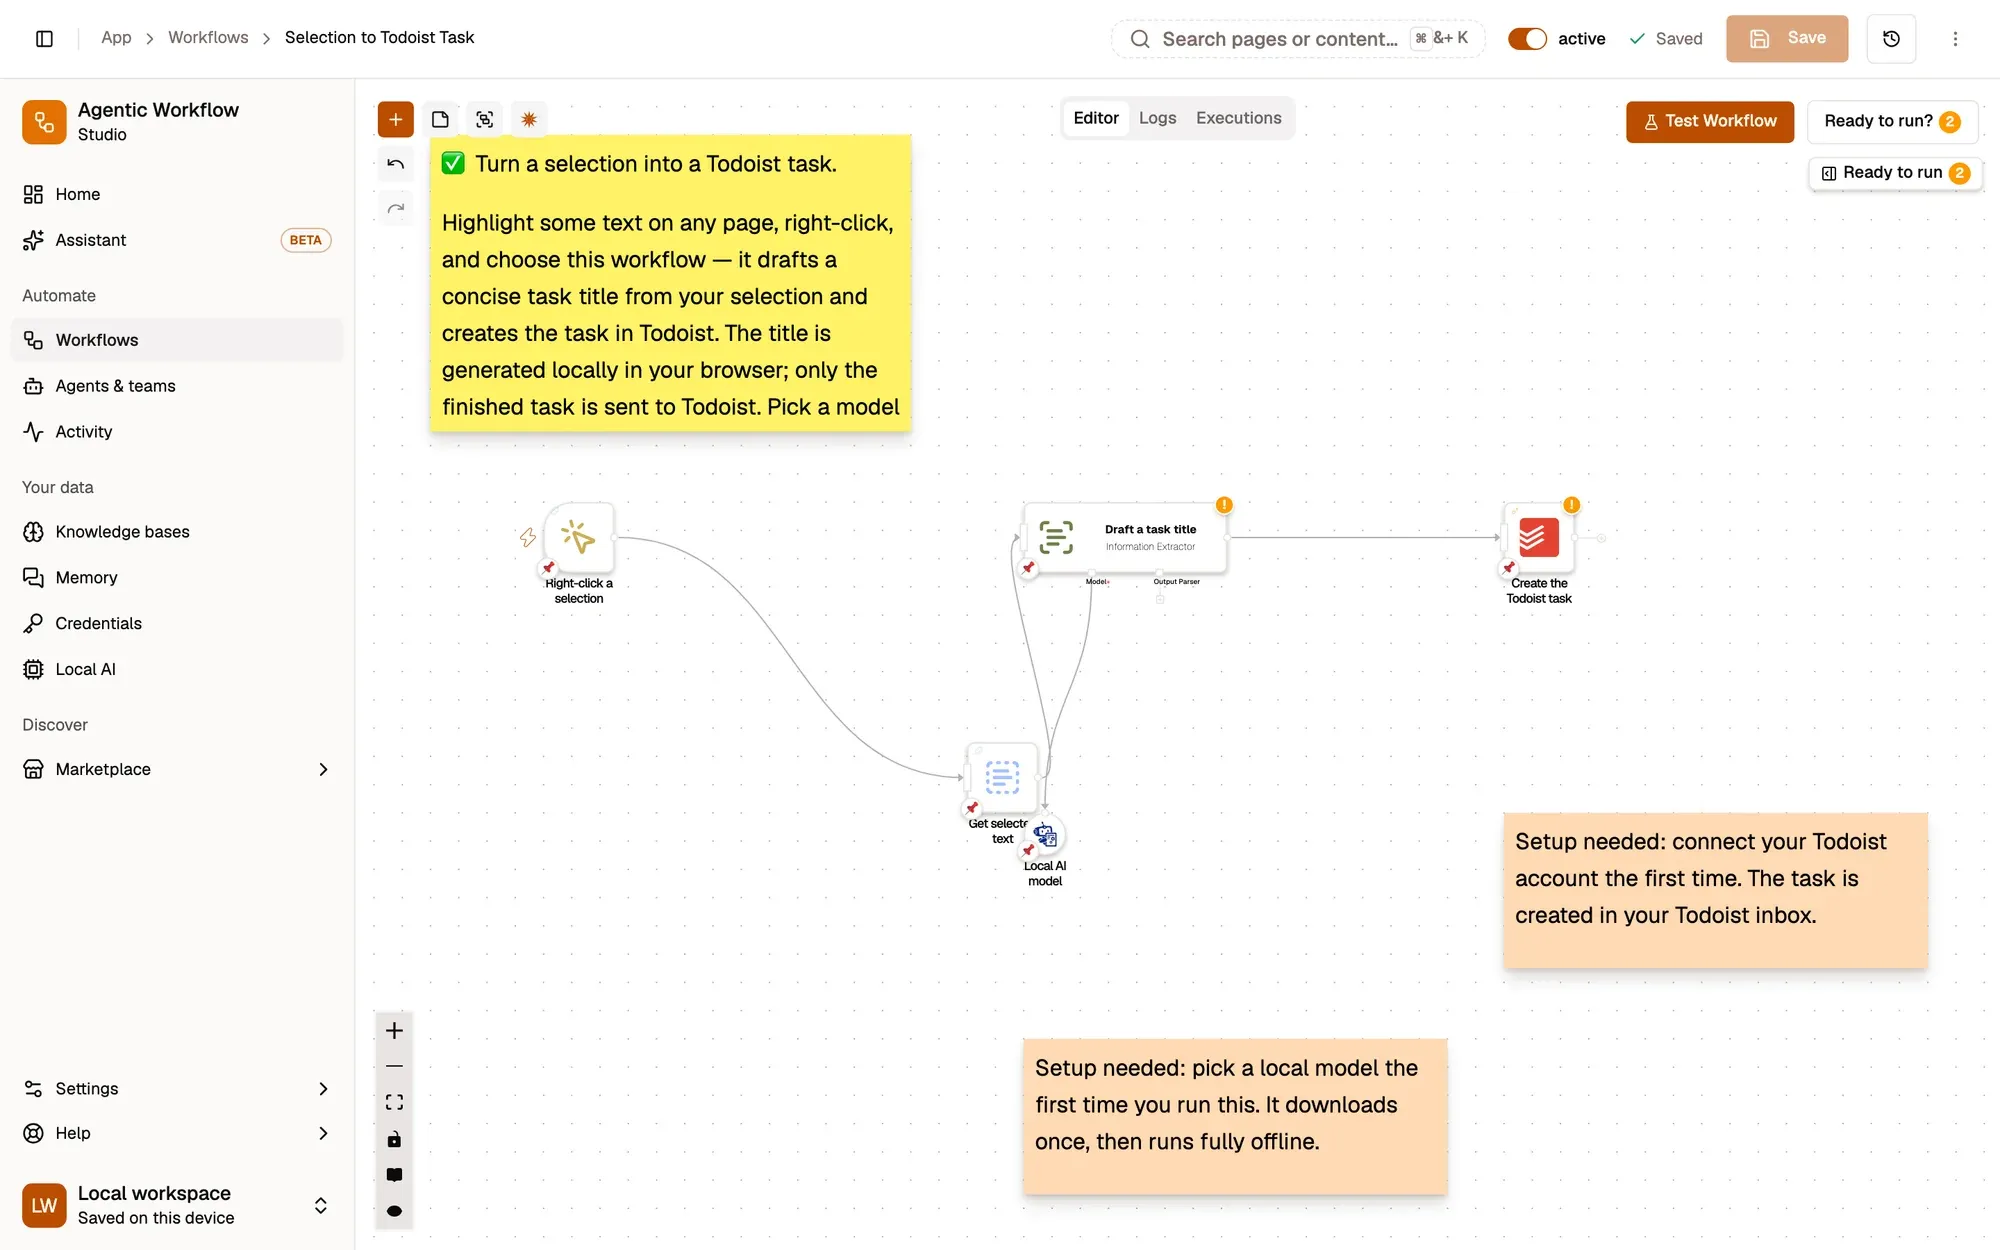
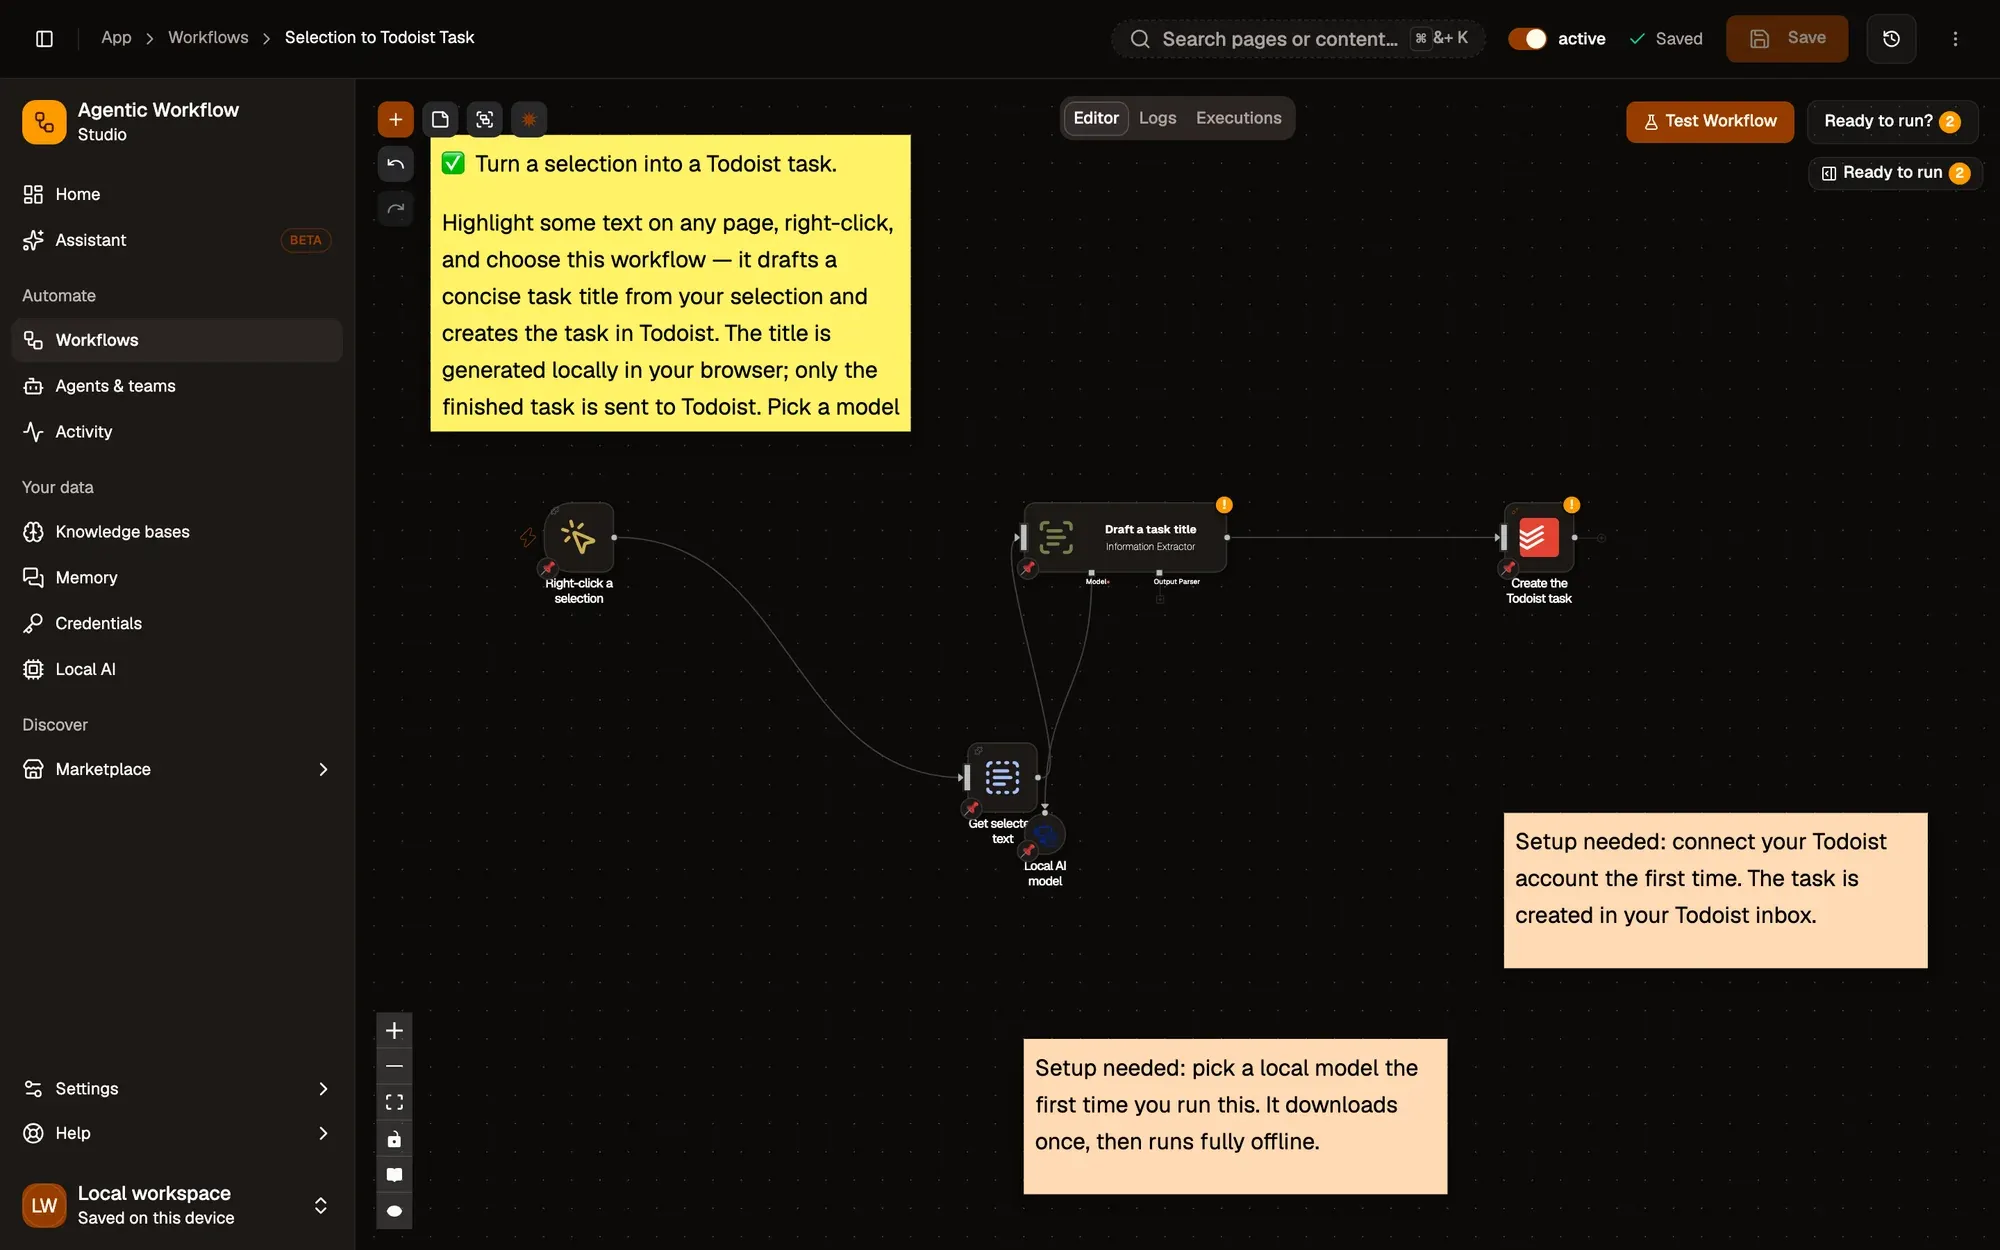
    The workflow editor with the Selection to Todoist Task recipe: sticky notes and the steps Right-click a selection, Get selected text, Draft a task title, Local AI model, Create the Todoist task, linked left to right. The top bar shows the Workflow active switch and Save; Test Workflow is above the canvas.The workflow editor with the Selection to Todoist Task recipe: sticky notes and the steps Right-click a selection, Get selected text, Draft a task title, Local AI model, Create the Todoist task, linked left to right. The top bar shows the Workflow active switch and Save; Test Workflow is above the canvas.
  3. Draft a task title

    Information Extractornode reference Web LLMnode reference

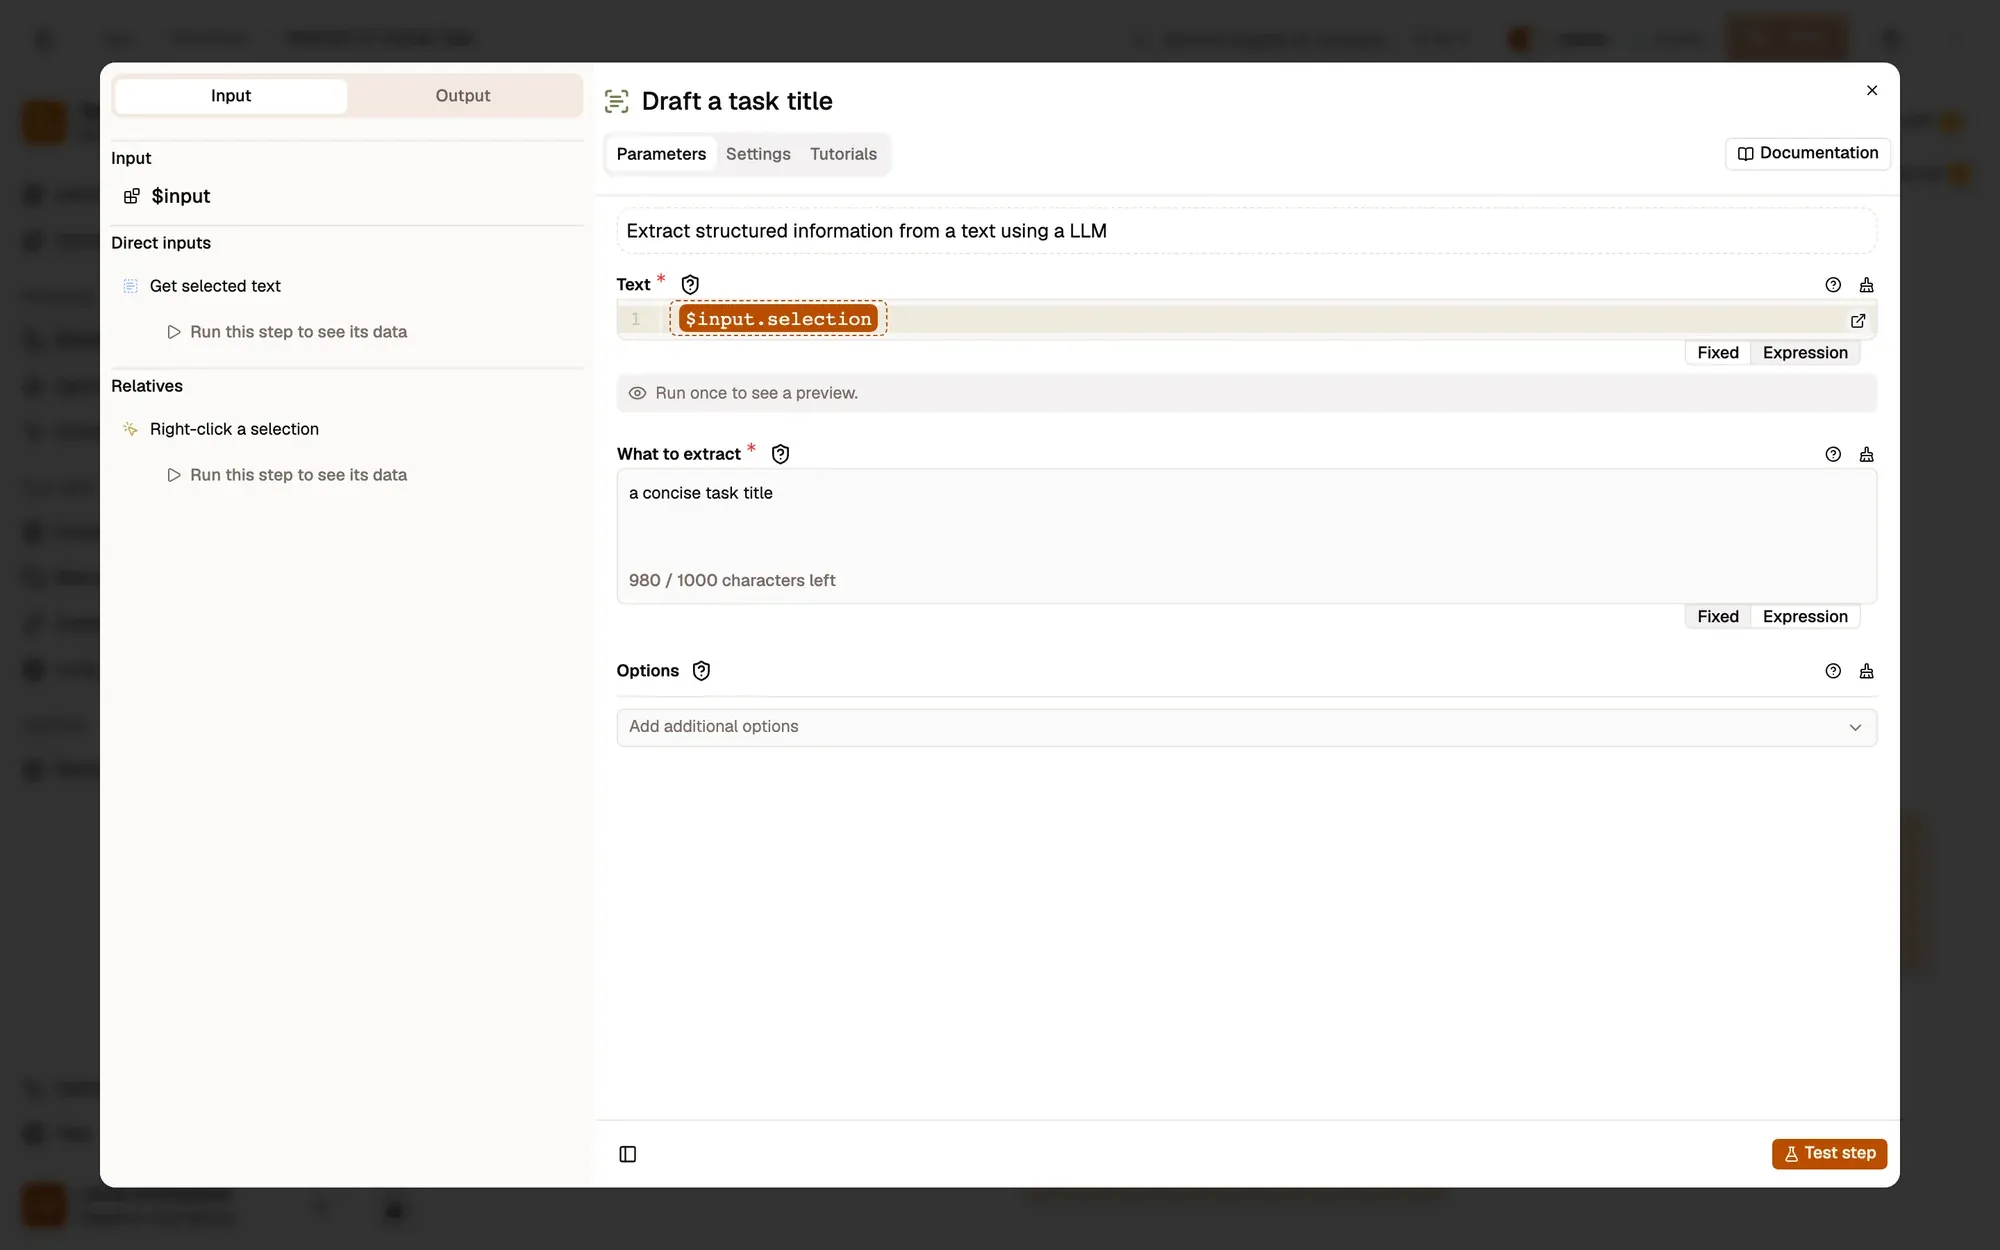
    Information Extractor asks the Web LLM model for a concise task title from your selection, and returns it in extracted.

    Make it yours — change What to extract, for example a task title that starts with a verb, under 8 words.

    The What to extract field
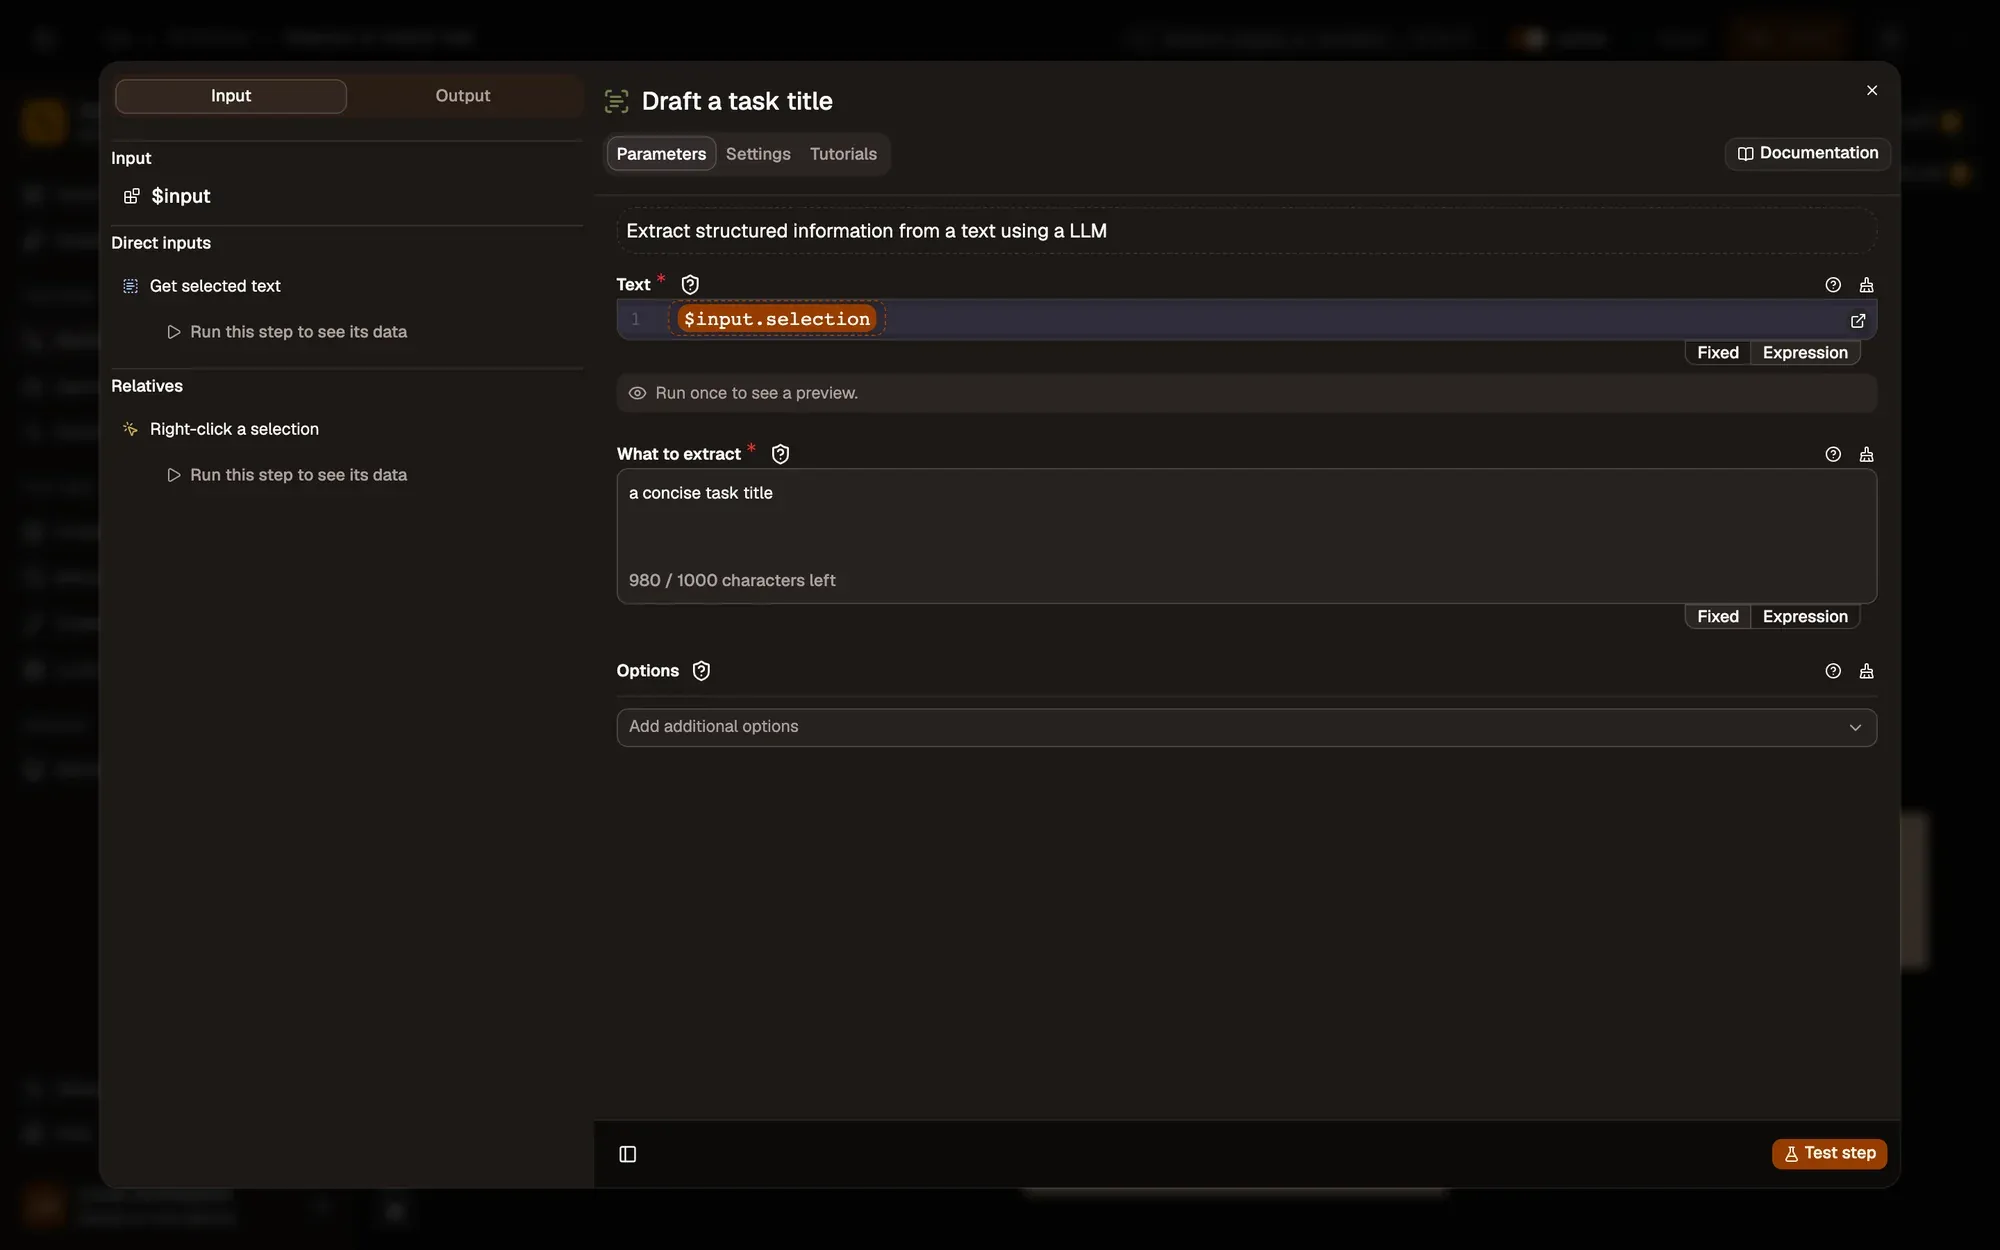
    The settings of the Draft a task title step: the Text field, What to extract, and Options.The settings of the Draft a task title step: the Text field, What to extract, and Options.
  4. Create the task in Todoist

    Todoistnode reference

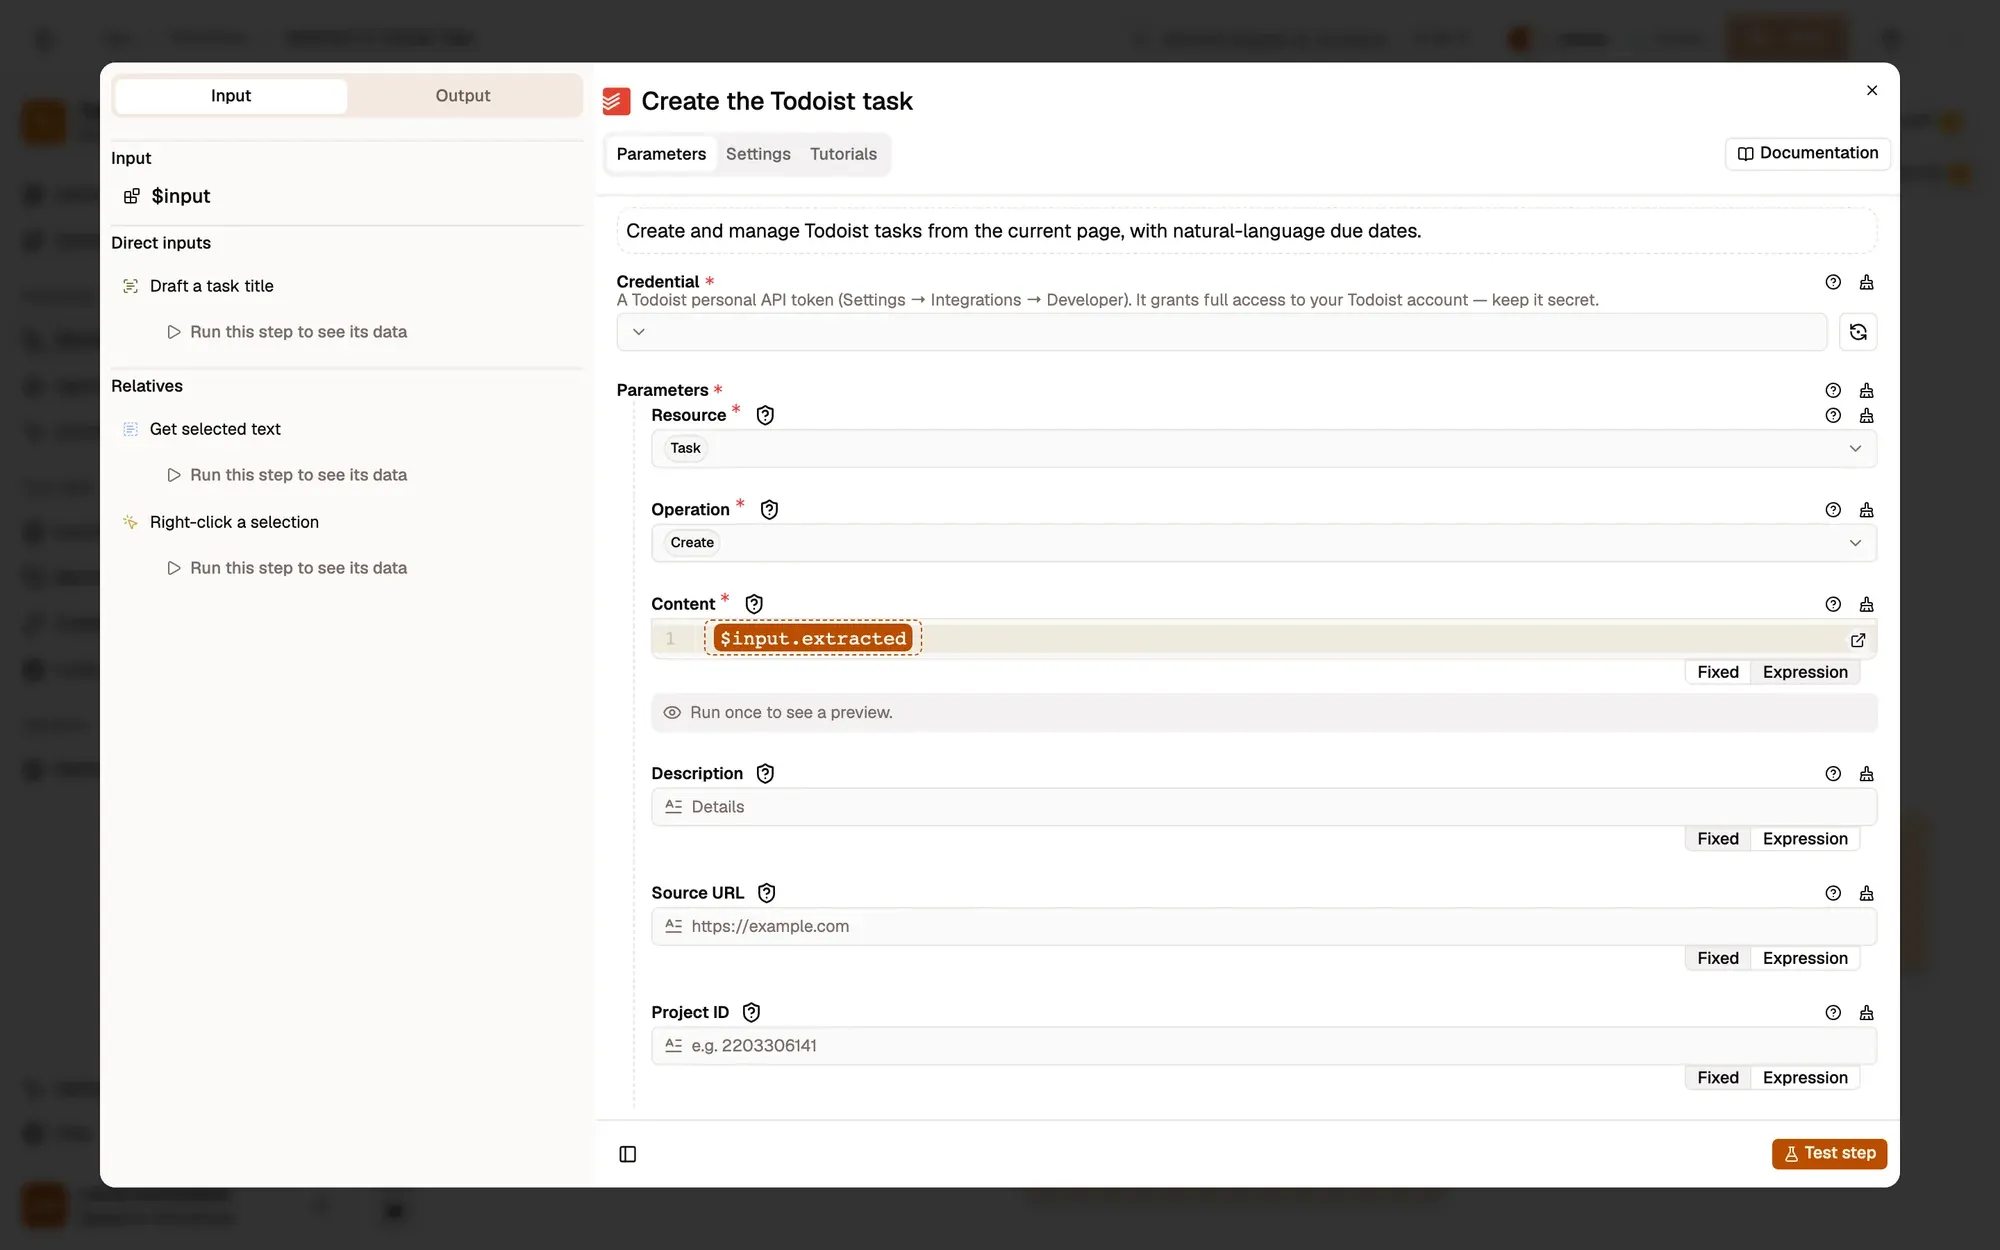
    Todoist creates a task whose Content is the drafted title. With no project set, it lands in your Inbox.

    Make it yours — set a project, a label or a due string such as tomorrow in the Todoist step.

    The Due (natural language) field
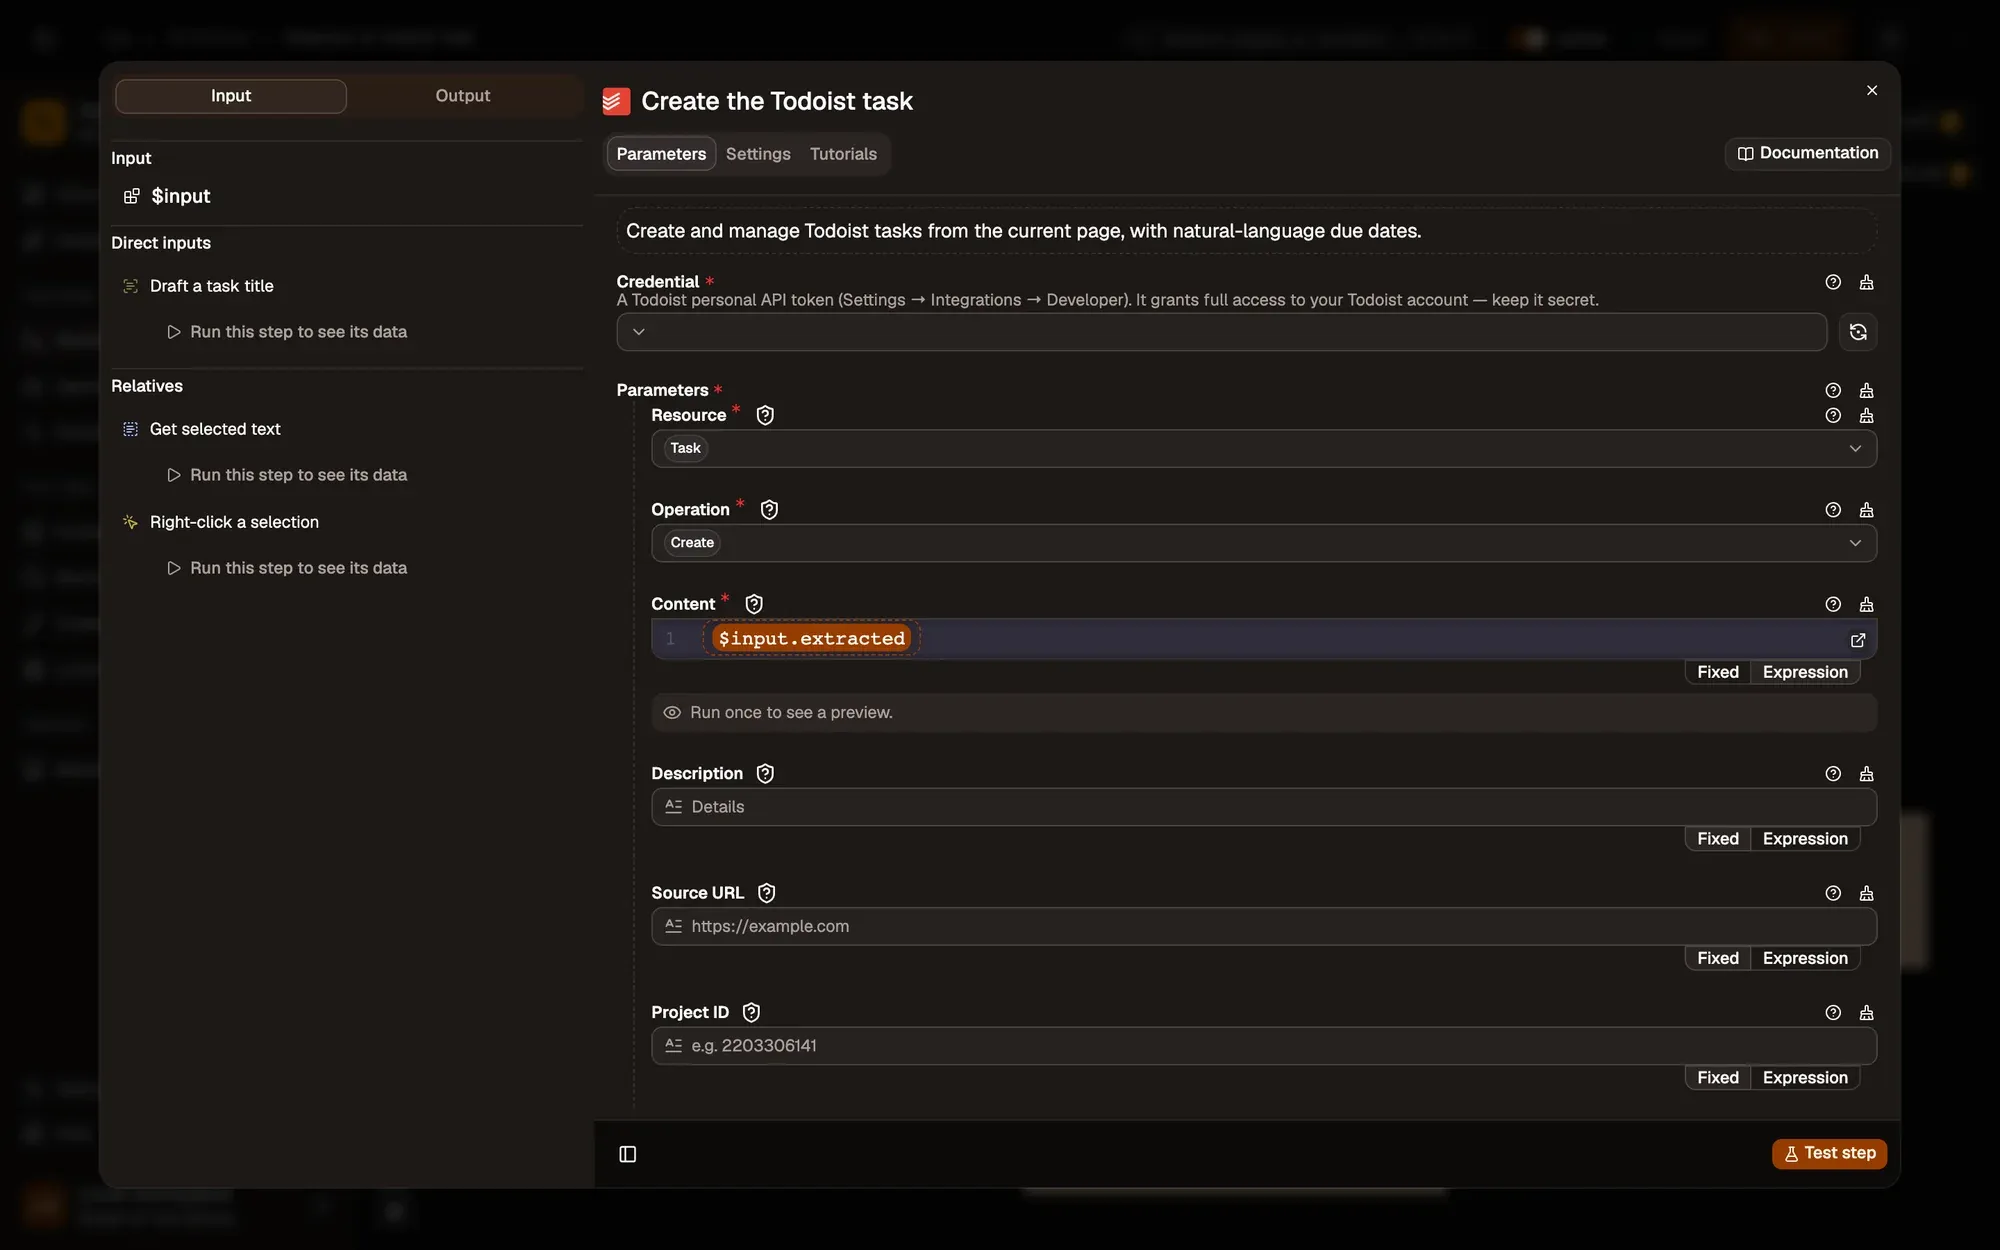
    The settings of the Create the Todoist task step: an empty Credential menu, then Resource Task, Operation Create, Content, Description, Source URL, Project ID, Due (natural language), Priority and Labels.The settings of the Create the Todoist task step: an empty Credential menu, then Resource Task, Operation Create, Content, Description, Source URL, Project ID, Due (natural language), Priority and Labels.
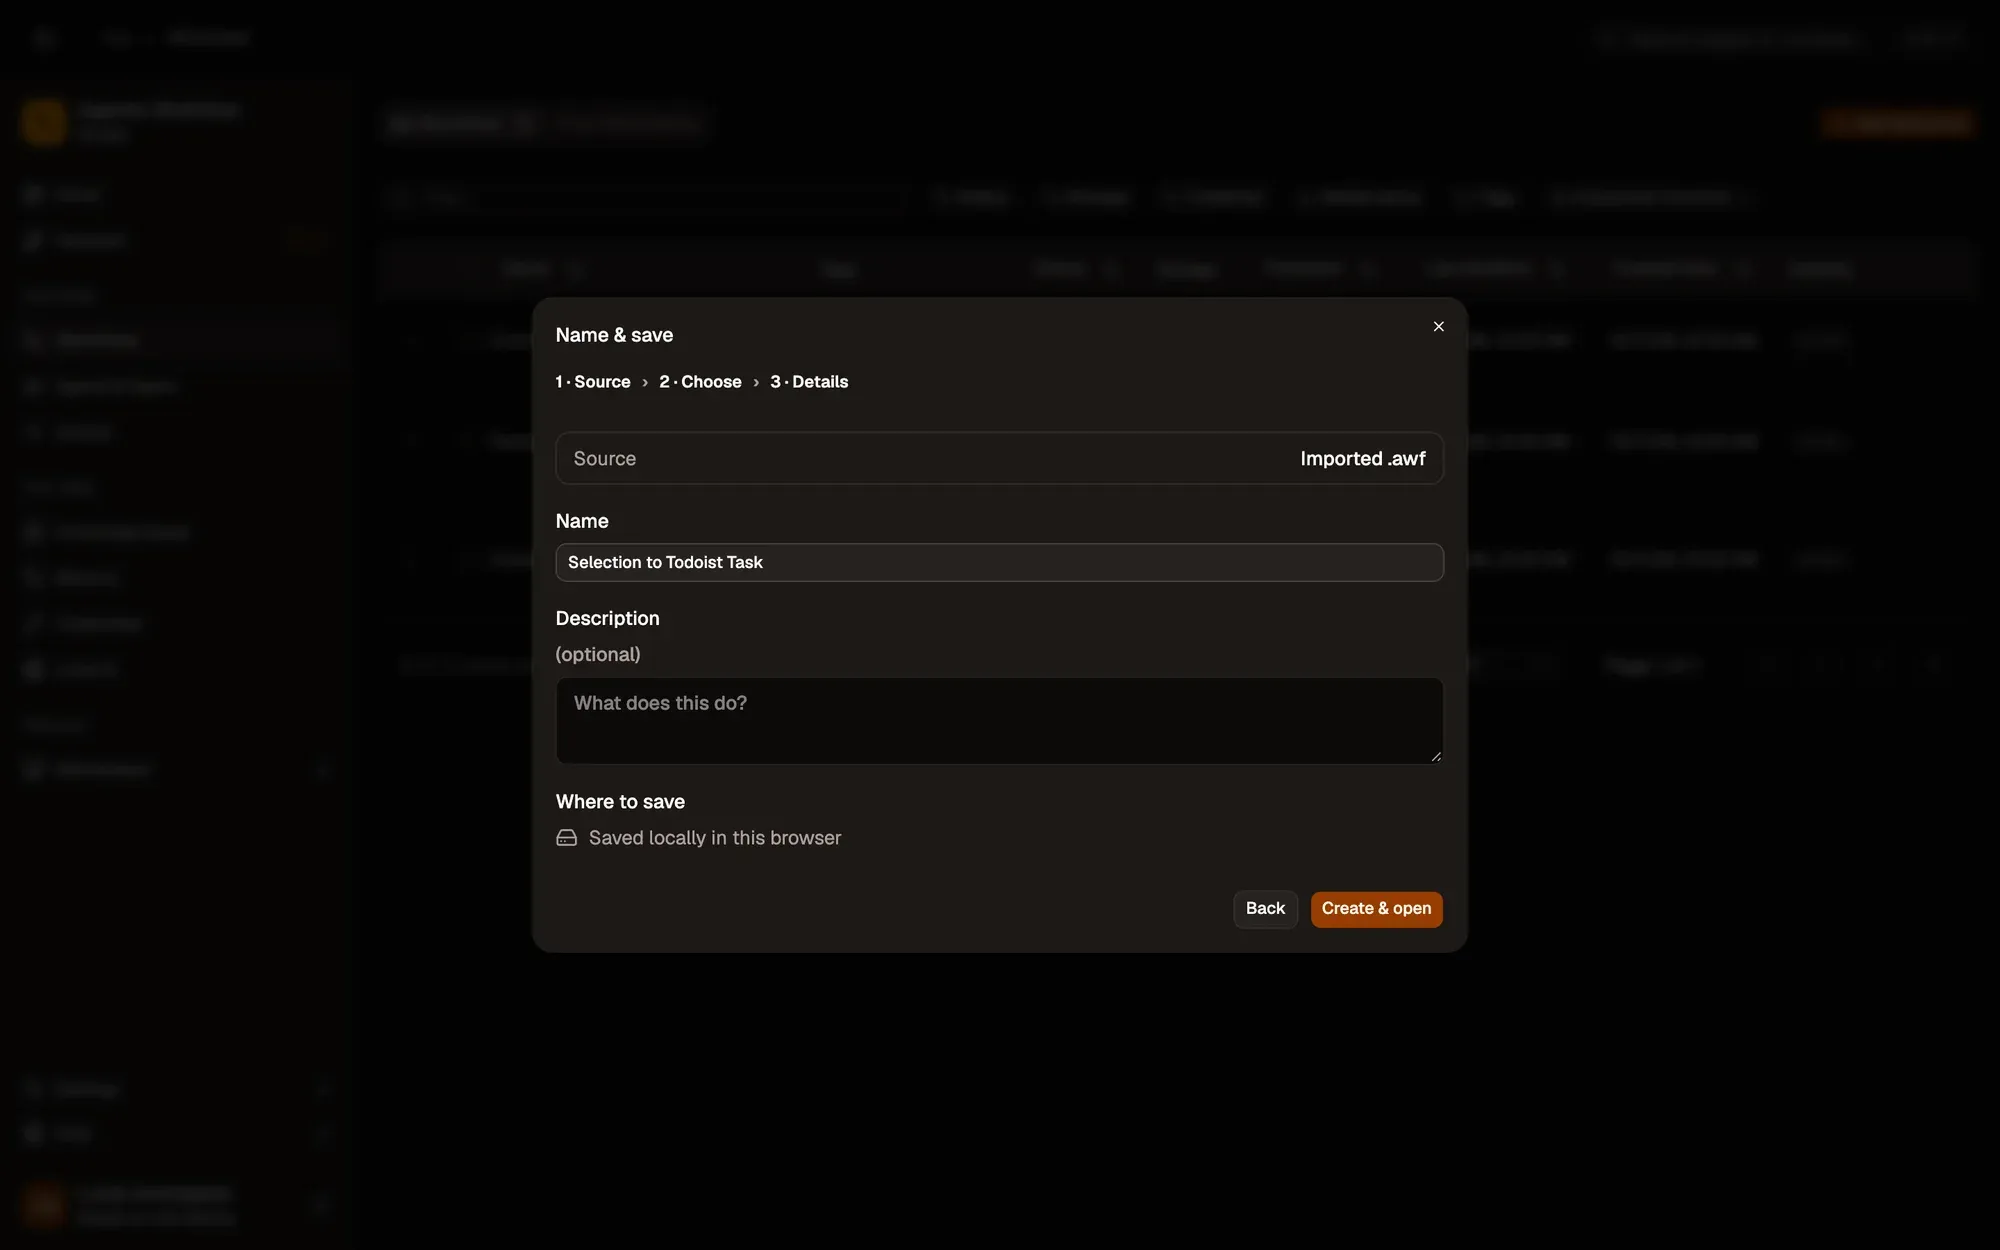
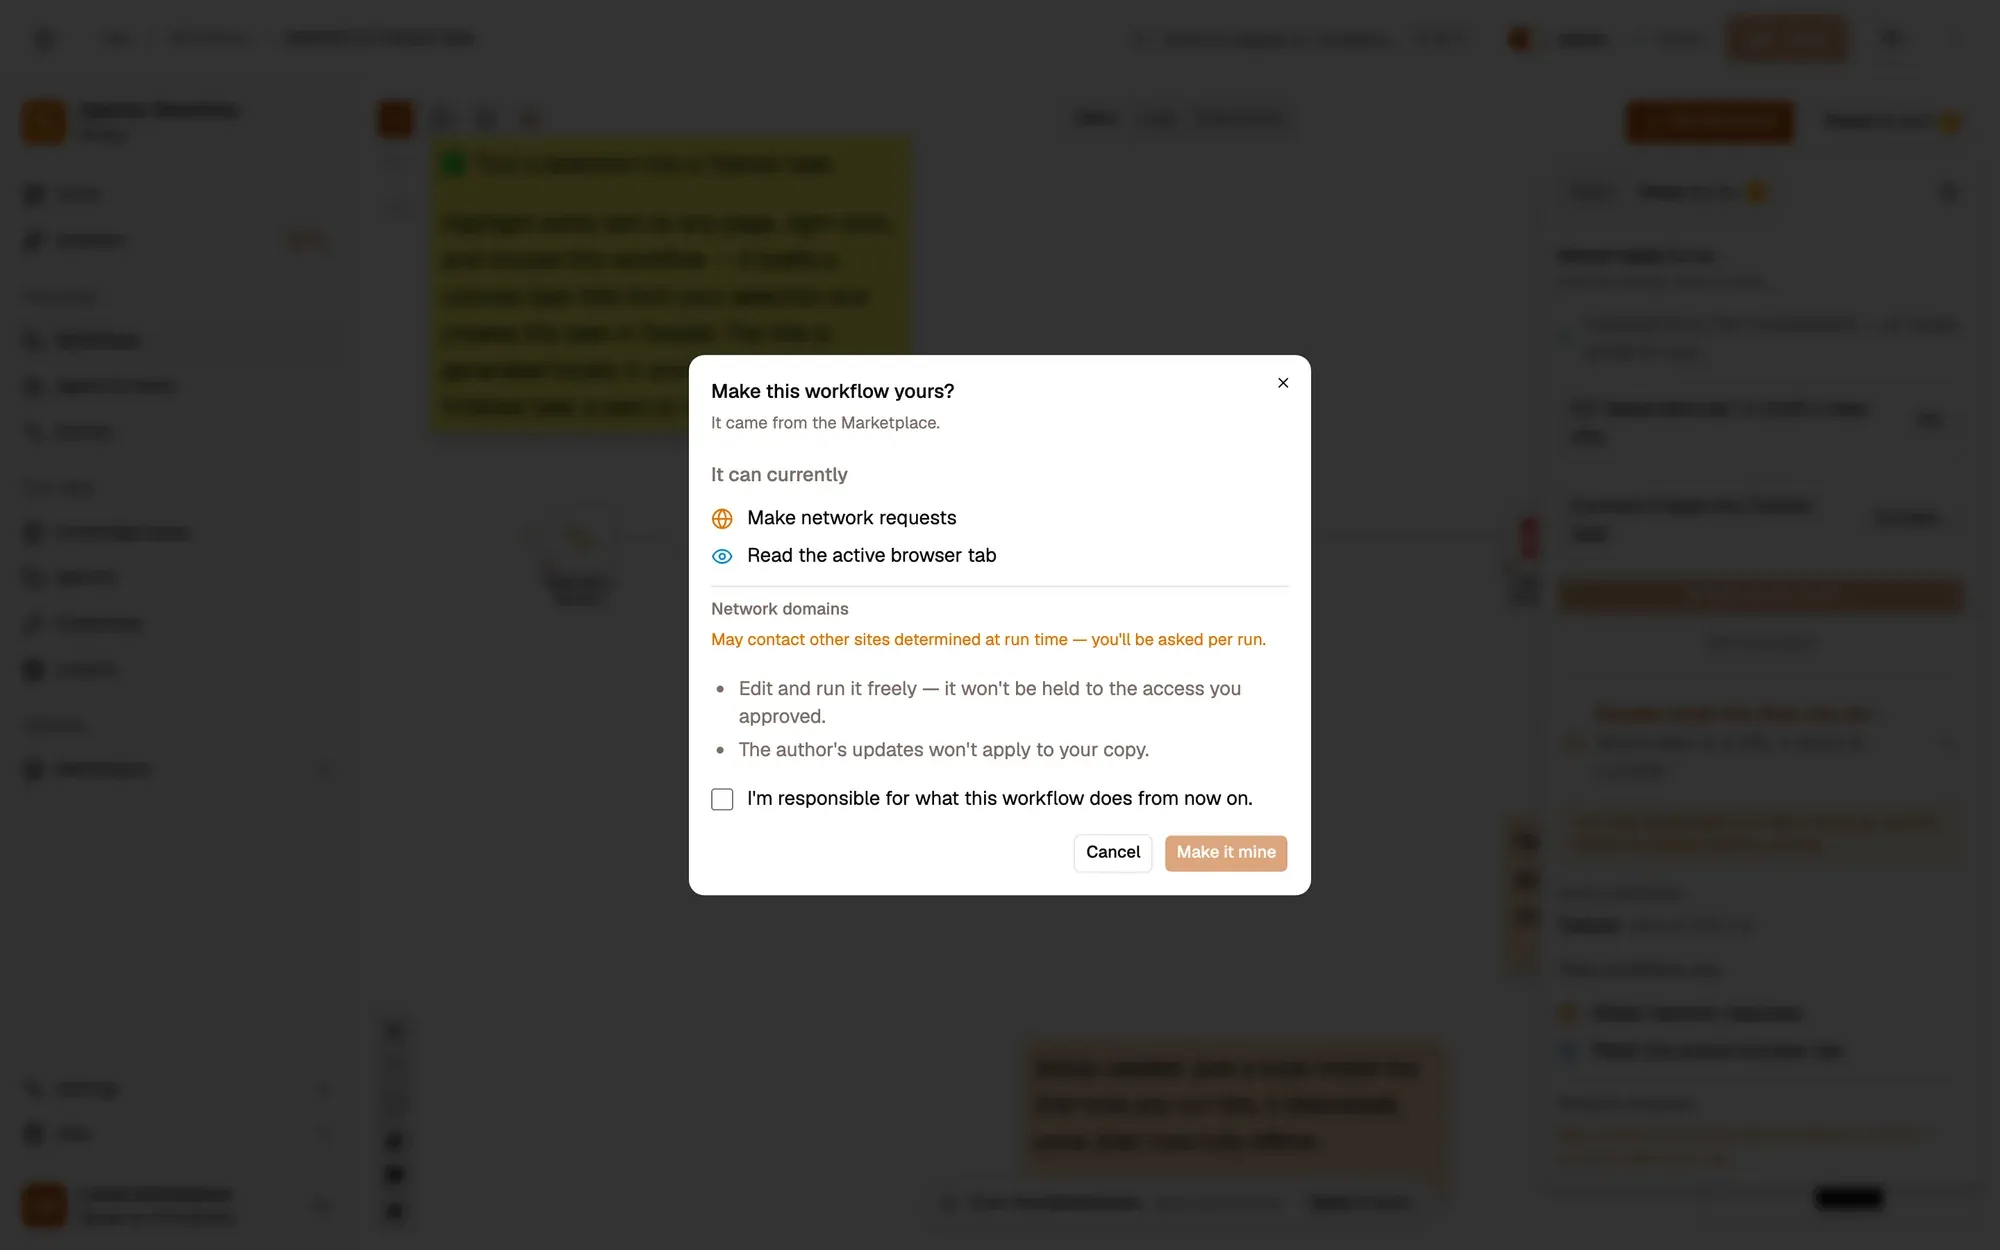
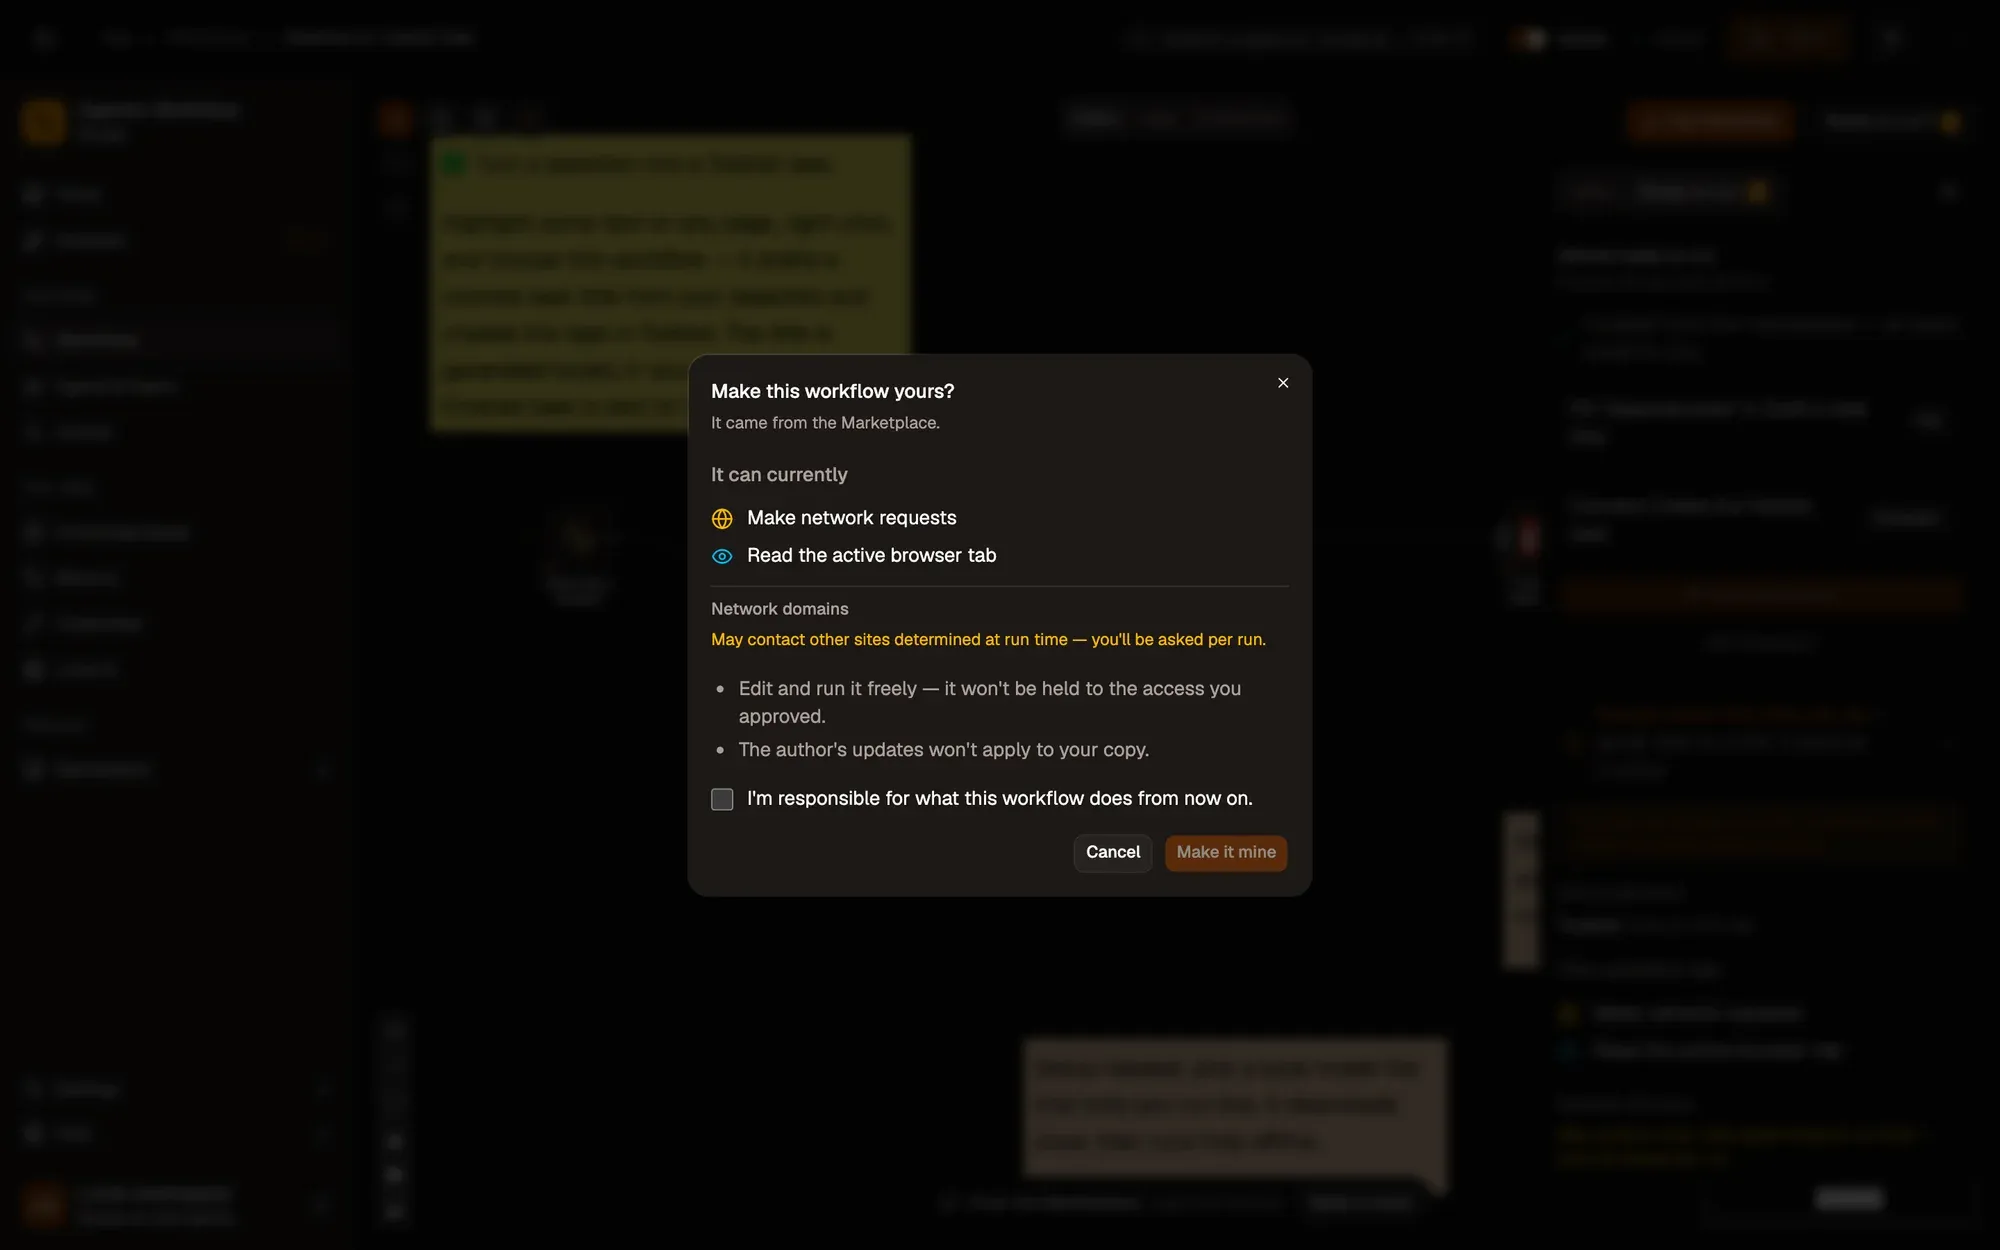
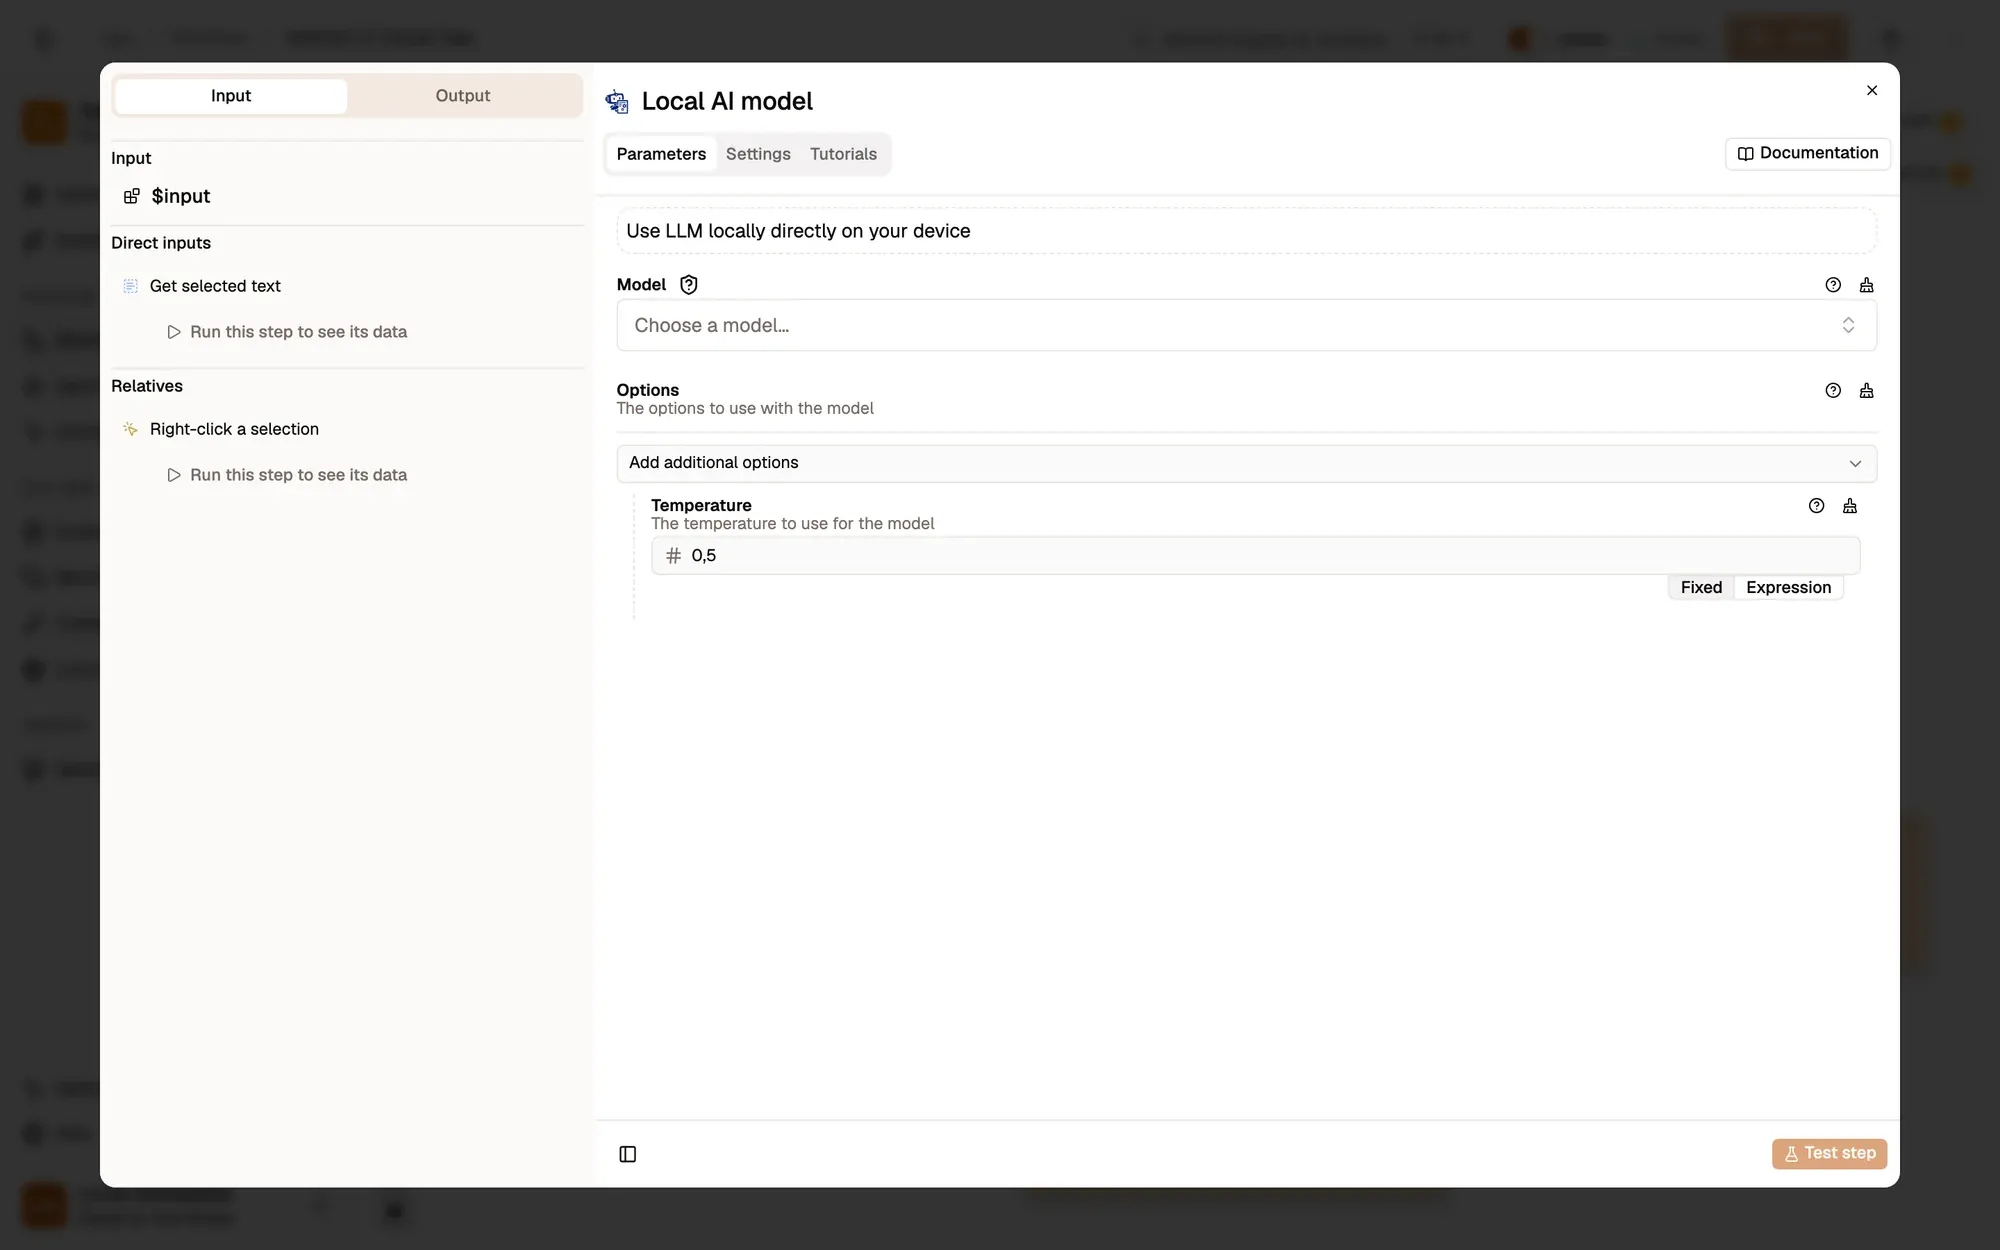
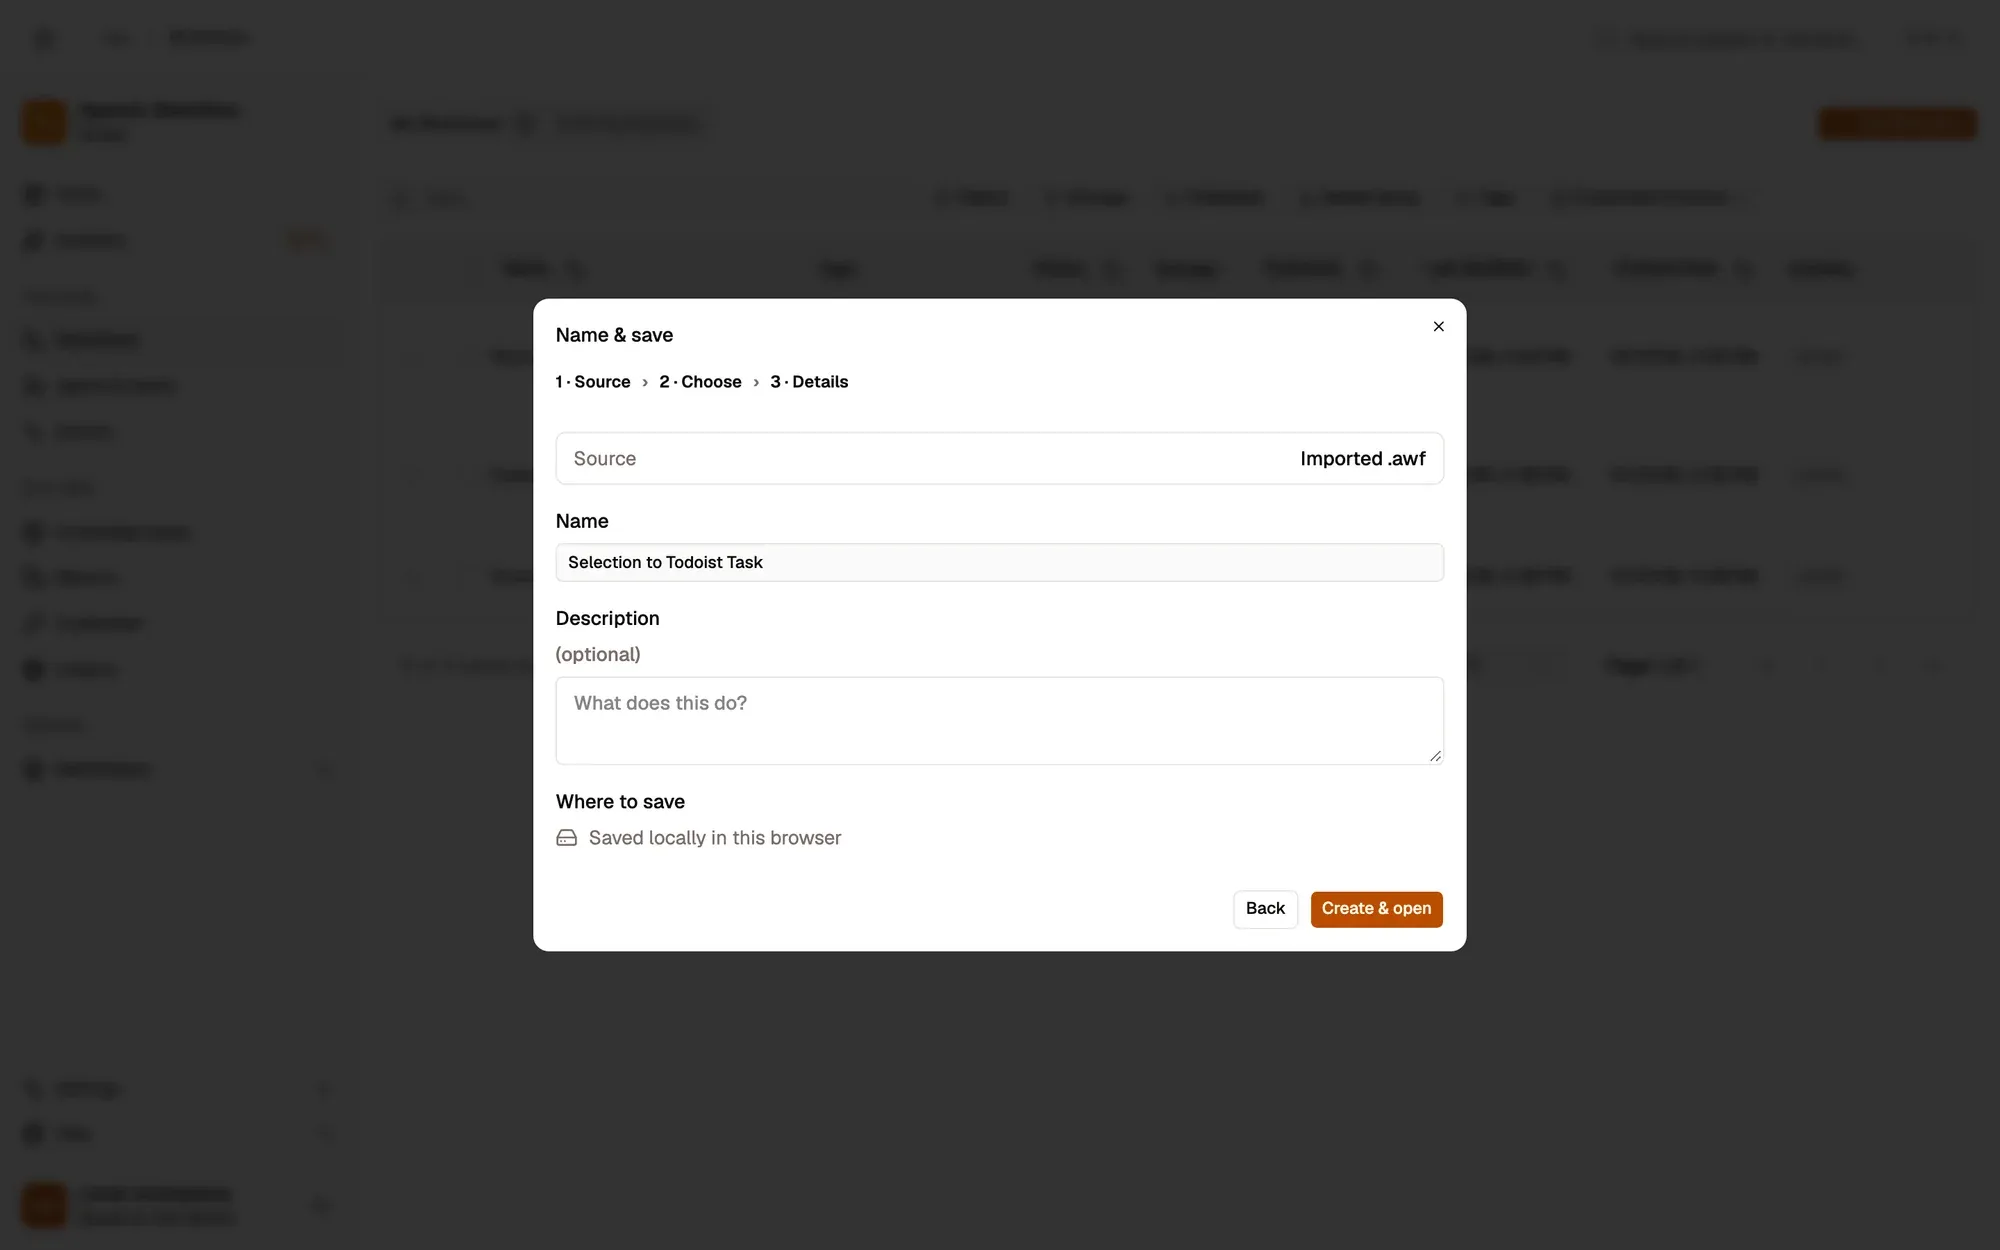
  1. Install the recipe. Pick a model in Local AI model and choose or create a Todoist connection in Create the Todoist task. See Todoist. To import the file yourself, use Add Workflow › Import, choose the .awf and click Create & open. Then click Make it mine at the bottom of the canvas, tick the box and confirm, so you can edit it. To add the connection itself, see Create a connection.

    Create & open
    The Create a workflow dialog at step 3, Name & save, after importing selection-to-todoist.awf: Source Imported .awf, Name “Selection to Todoist Task”, an optional Description, Where to save “Saved locally in this browser”, and the Back and Create & open buttons.The Create a workflow dialog at step 3, Name & save, after importing selection-to-todoist.awf: Source Imported .awf, Name “Selection to Todoist Task”, an optional Description, Where to save “Saved locally in this browser”, and the Back and Create & open buttons.
    Make it mine
    The Make this workflow yours? dialog over the Selection to Todoist Task workflow: it came from the Marketplace, It can currently lists what the workflow may access, two notes on what changes, the “I'm responsible for what this workflow does from now on.” checkbox, and Cancel and Make it mine.The Make this workflow yours? dialog over the Selection to Todoist Task workflow: it came from the Marketplace, It can currently lists what the workflow may access, two notes on what changes, the “I'm responsible for what this workflow does from now on.” checkbox, and Cancel and Make it mine.
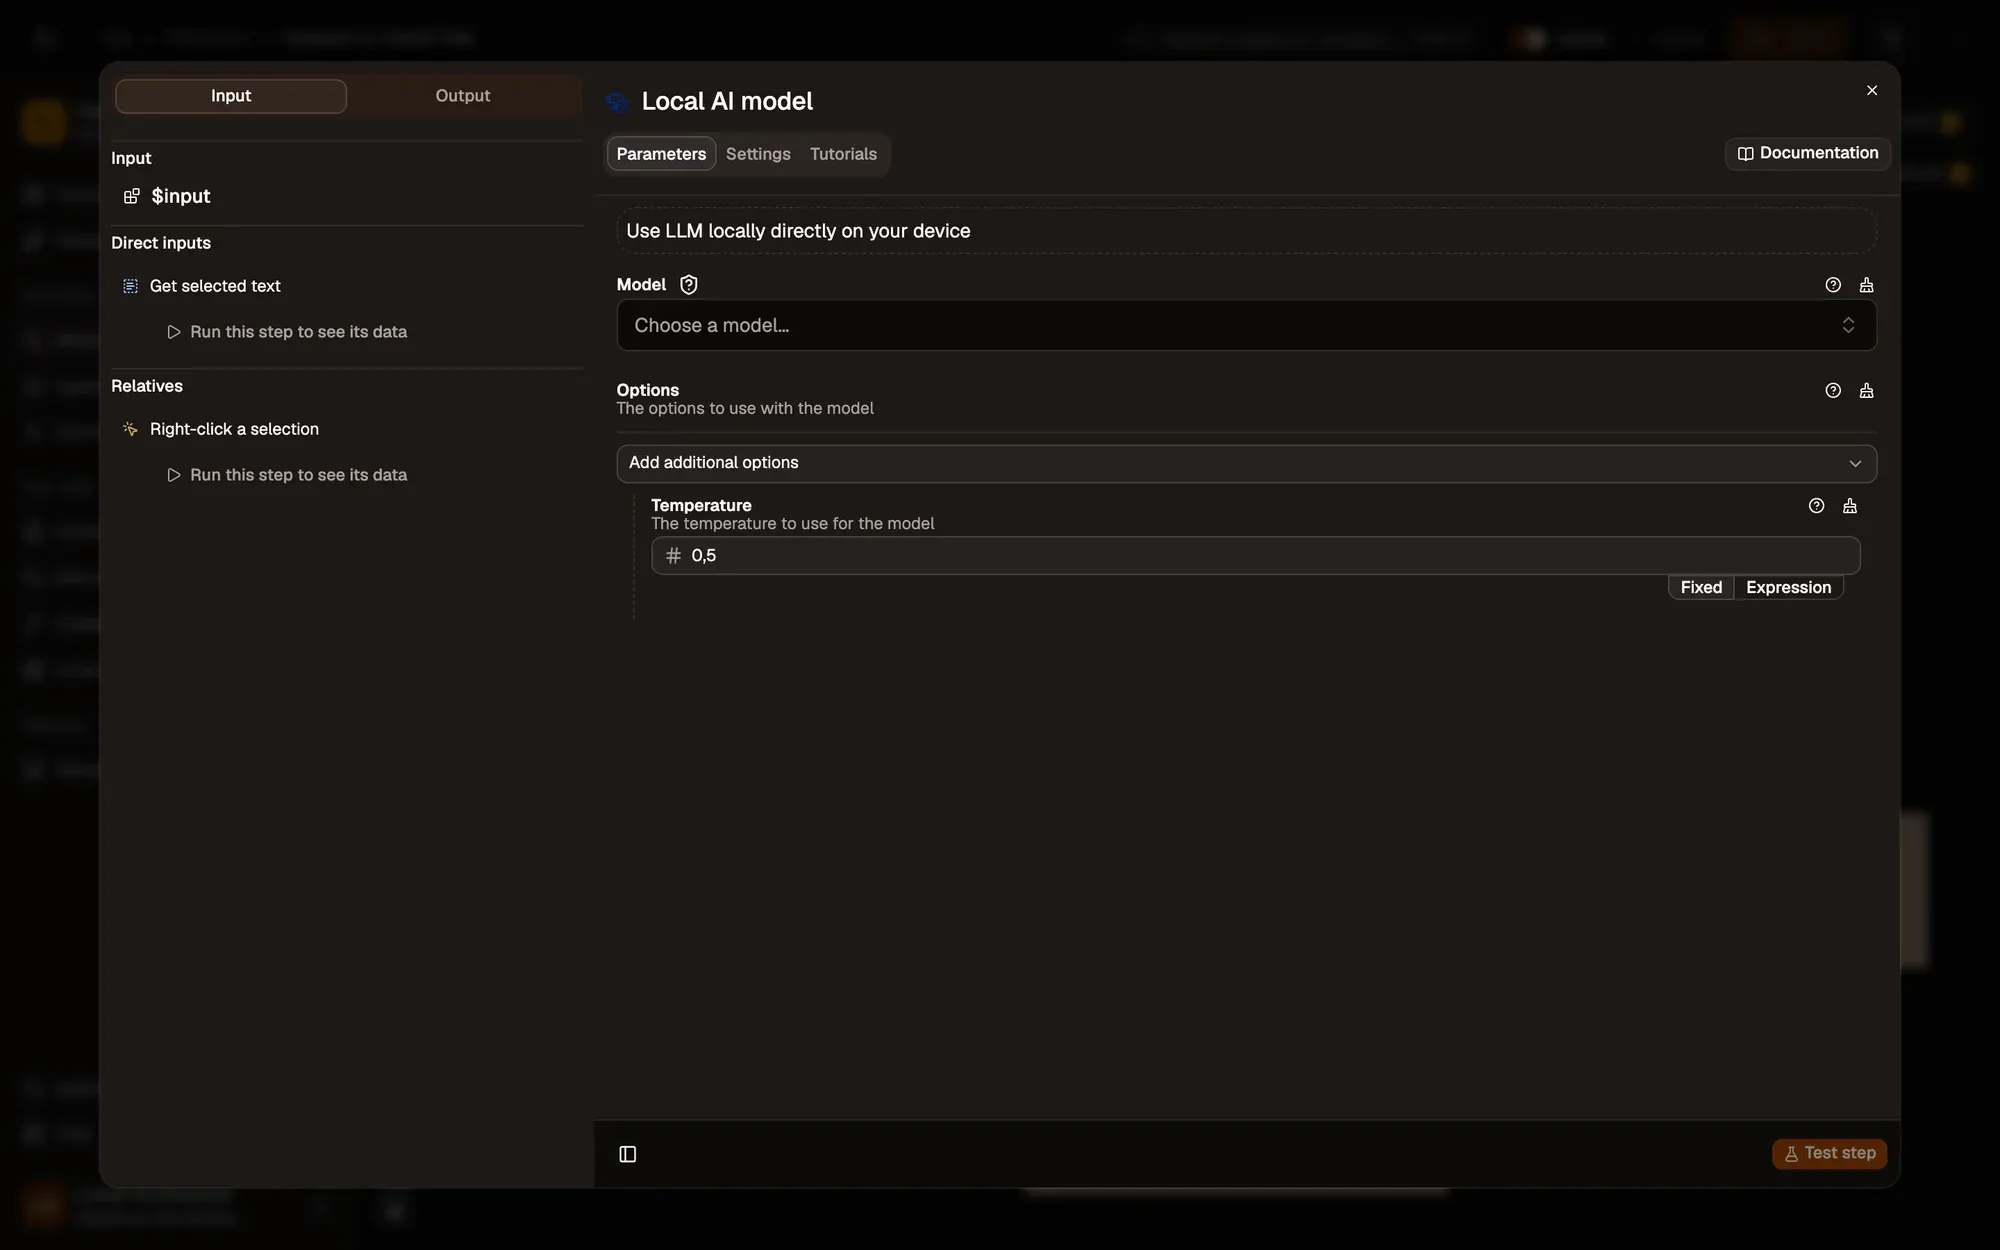
    The Model menu
    The settings of the Local AI model step (Web LLM): the Model menu still reads “Choose a model…”, with Options under it.The settings of the Local AI model step (Web LLM): the Model menu still reads “Choose a model…”, with Options under it.
    The Credential menu (a Todoist connection)
    The settings of the Create the Todoist task step: an empty Credential menu, then Resource Task, Operation Create, Content, Description, Source URL, Project ID, Due (natural language), Priority and Labels.The settings of the Create the Todoist task step: an empty Credential menu, then Resource Task, Operation Create, Content, Description, Source URL, Project ID, Due (natural language), Priority and Labels.
  2. Save and activate the workflow.

    Workflow active switch
    The workflow editor with the Selection to Todoist Task recipe: sticky notes and the steps Right-click a selection, Get selected text, Draft a task title, Local AI model, Create the Todoist task, linked left to right. The top bar shows the Workflow active switch and Save; Test Workflow is above the canvas.The workflow editor with the Selection to Todoist Task recipe: sticky notes and the steps Right-click a selection, Get selected text, Draft a task title, Local AI model, Create the Todoist task, linked left to right. The top bar shows the Workflow active switch and Save; Test Workflow is above the canvas.
  3. Highlight a sentence such as “Can you send me the signed contract by Friday?”, right-click and choose Agentic Workflow › Personal Workflows › Selection to Todoist Task.

  4. A task like “Send the signed contract” appears in your Todoist Inbox.
Variation What to change Level
Keep the exact text Remove Information Extractor and map selection straight to the task content. No model needed. Beginner
Add the page link Add Get Page Metadata and put its url in the task description. Intermediate
Several tasks at once Use an Item List Output Parser to split meeting notes into one task per action. Advanced
  • The task title is empty. The model returned nothing usable. Select a longer passage, or pick a larger model.
  • Todoist says the request is unauthorized. Reconnect Todoist in the node’s connection picker.
  • The menu entry is missing. Activate the workflow, then right-click and choose Get / Refresh Workflows.
Ask Aria