Skip to content
Agentic Workflowdocs
v0.8.2Install free

recipes / extract data

Copy any table on a page as CSV

Run it on a page with a table and paste clean CSV into a spreadsheet. The first row becomes the header. No account, no AI.

Beginner 3 min No setup Extract data

workflow · table-to-csv.awf 4 steps

Page Table to CSV: a workflow with 4 steps, starting with When Started and ending with Copy to clipboard.

Open in AWFlow
Run it → read the table → build CSV → copy to the clipboard.
  1. Run it on the page

    When Startednode reference

    When Started has no settings; run it from the right-click menu on the page with the table.

    When Started
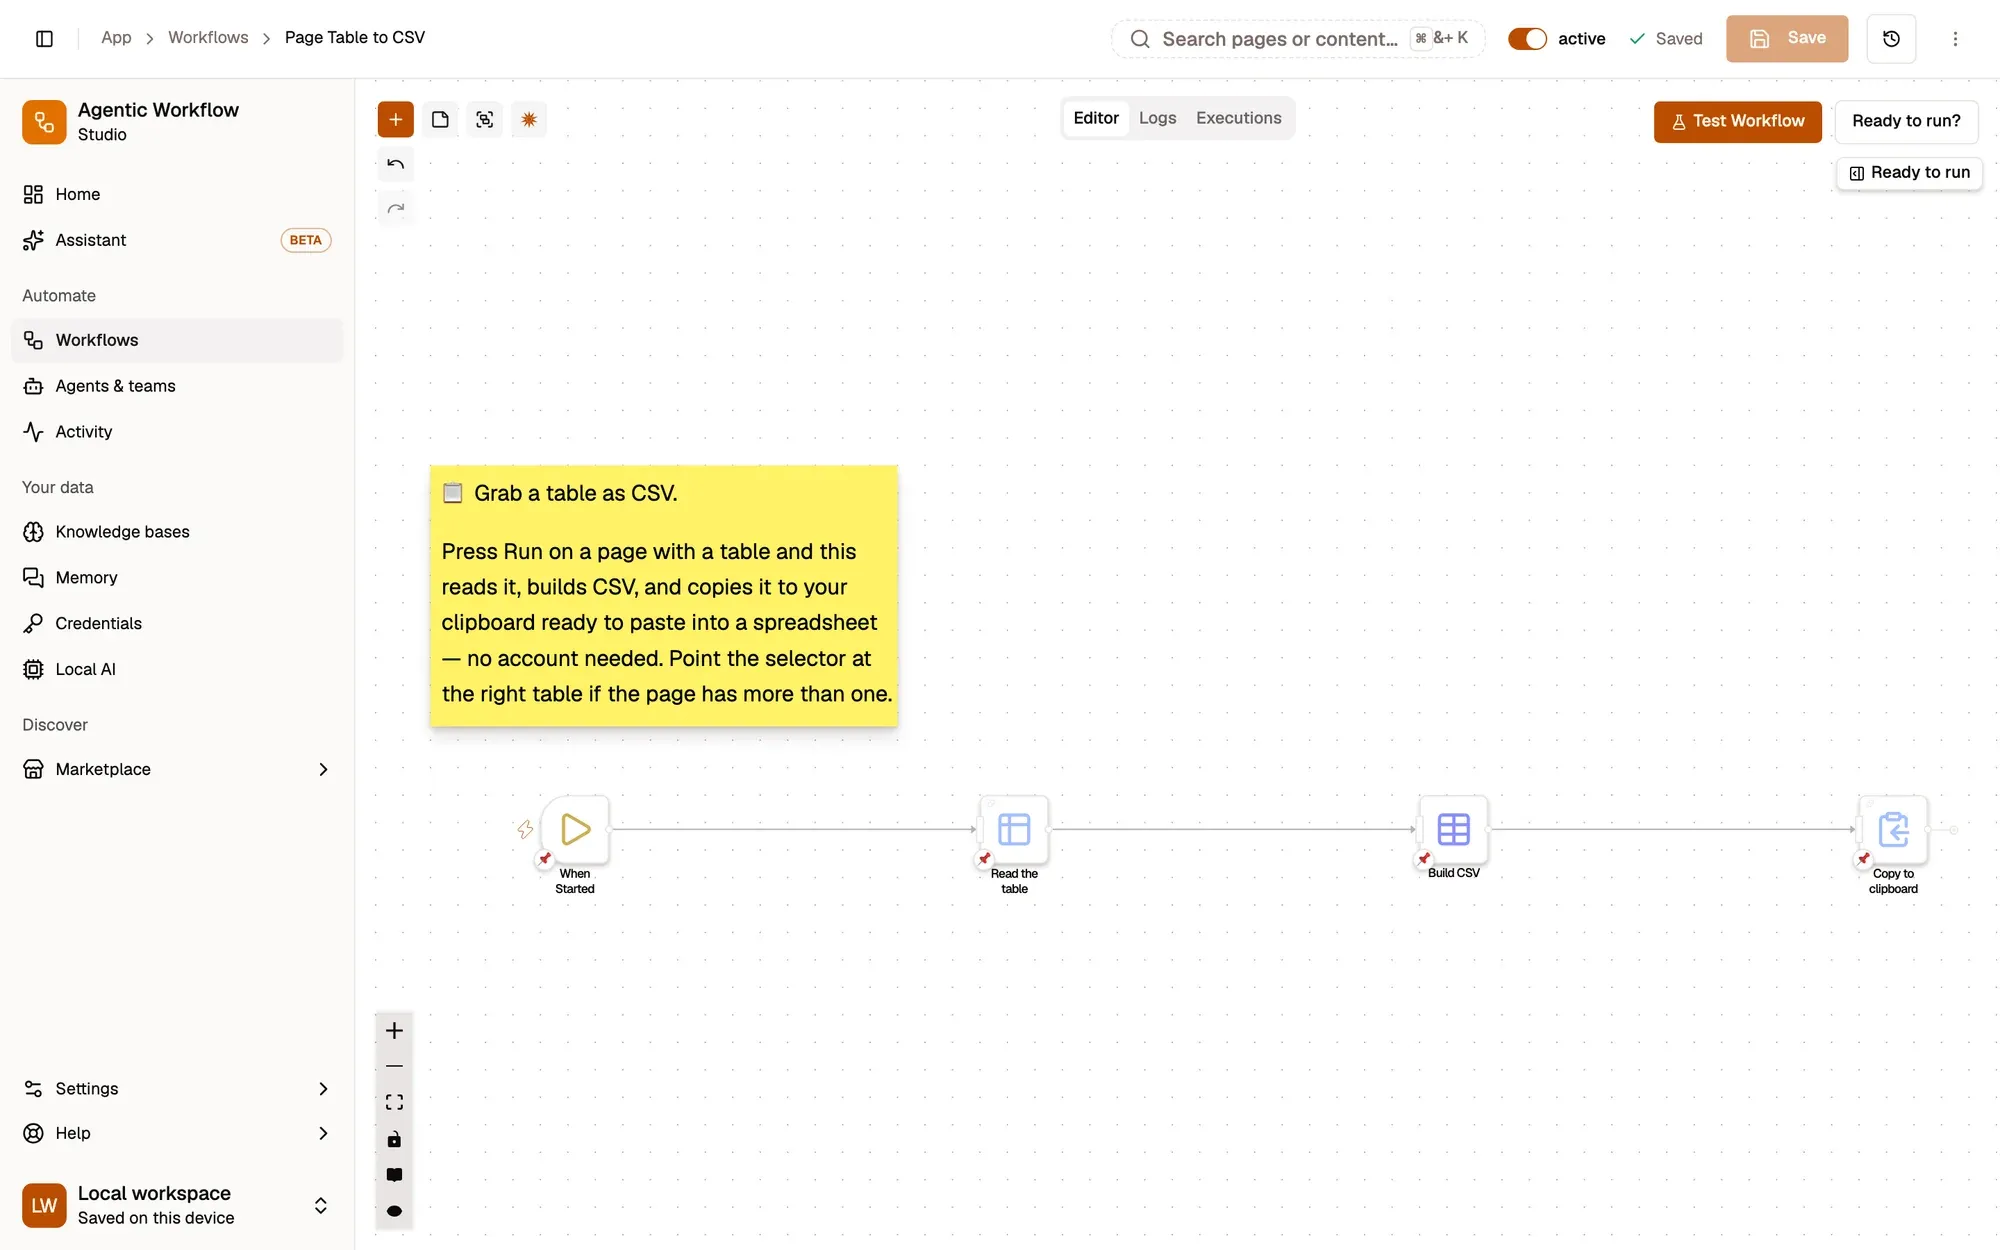
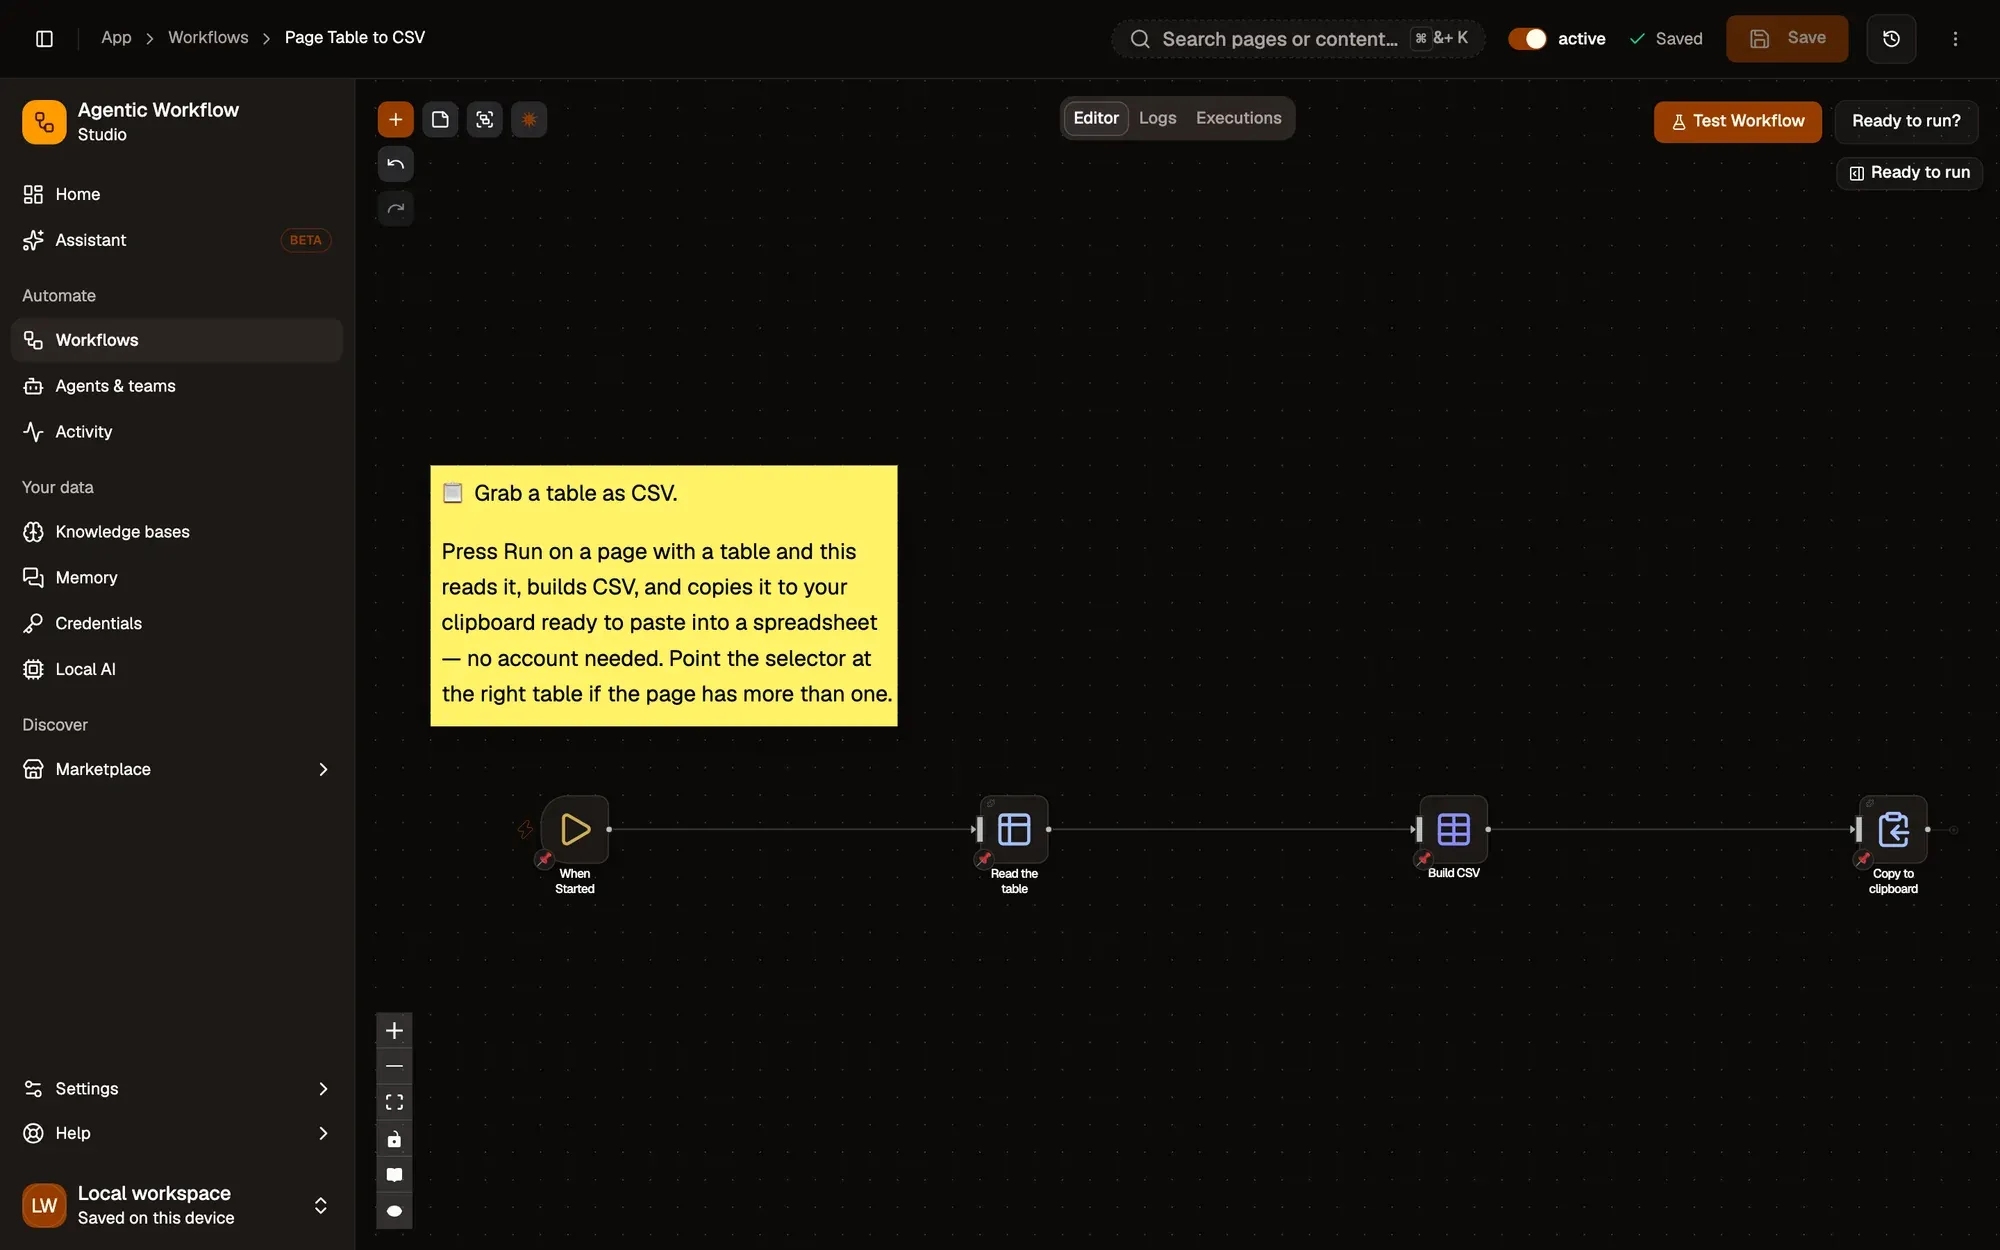
    The workflow editor with the Page Table to CSV recipe: sticky notes and the steps When Started, Read the table, Build CSV, Copy to clipboard, linked left to right. The top bar shows the Workflow active switch and Save; Test Workflow is above the canvas.The workflow editor with the Page Table to CSV recipe: sticky notes and the steps When Started, Read the table, Build CSV, Copy to clipboard, linked left to right. The top bar shows the Workflow active switch and Save; Test Workflow is above the canvas.
  2. Read the table

    Get Structured Datanode reference

    Get Structured Data in table mode reads the first table on the page, one item per row, using the first row as the column names.

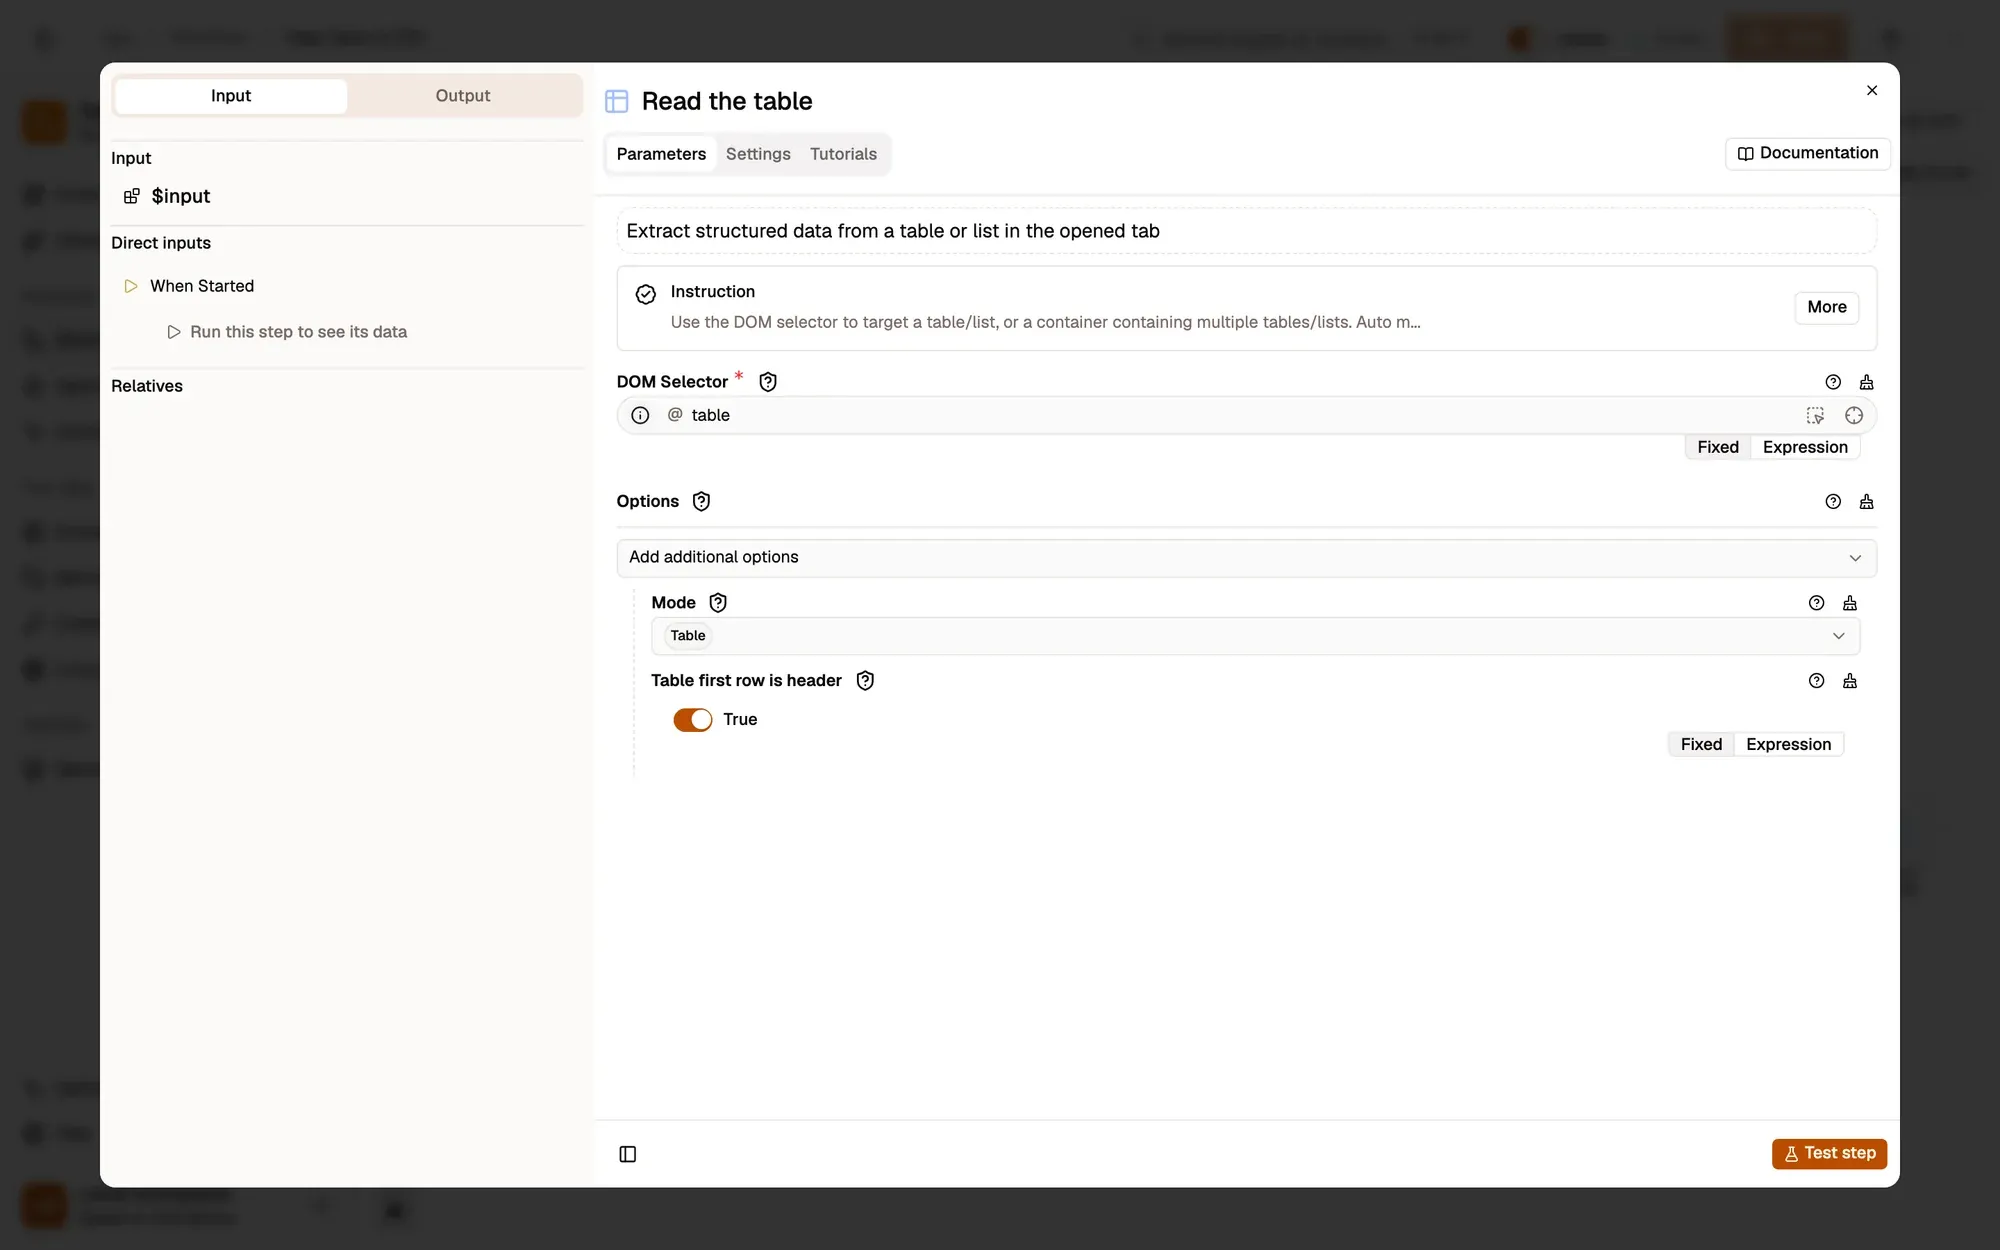
    Make it yours — set DOM Selector to the table you want, such as #results table, when the page has several.

    The DOM Selector field
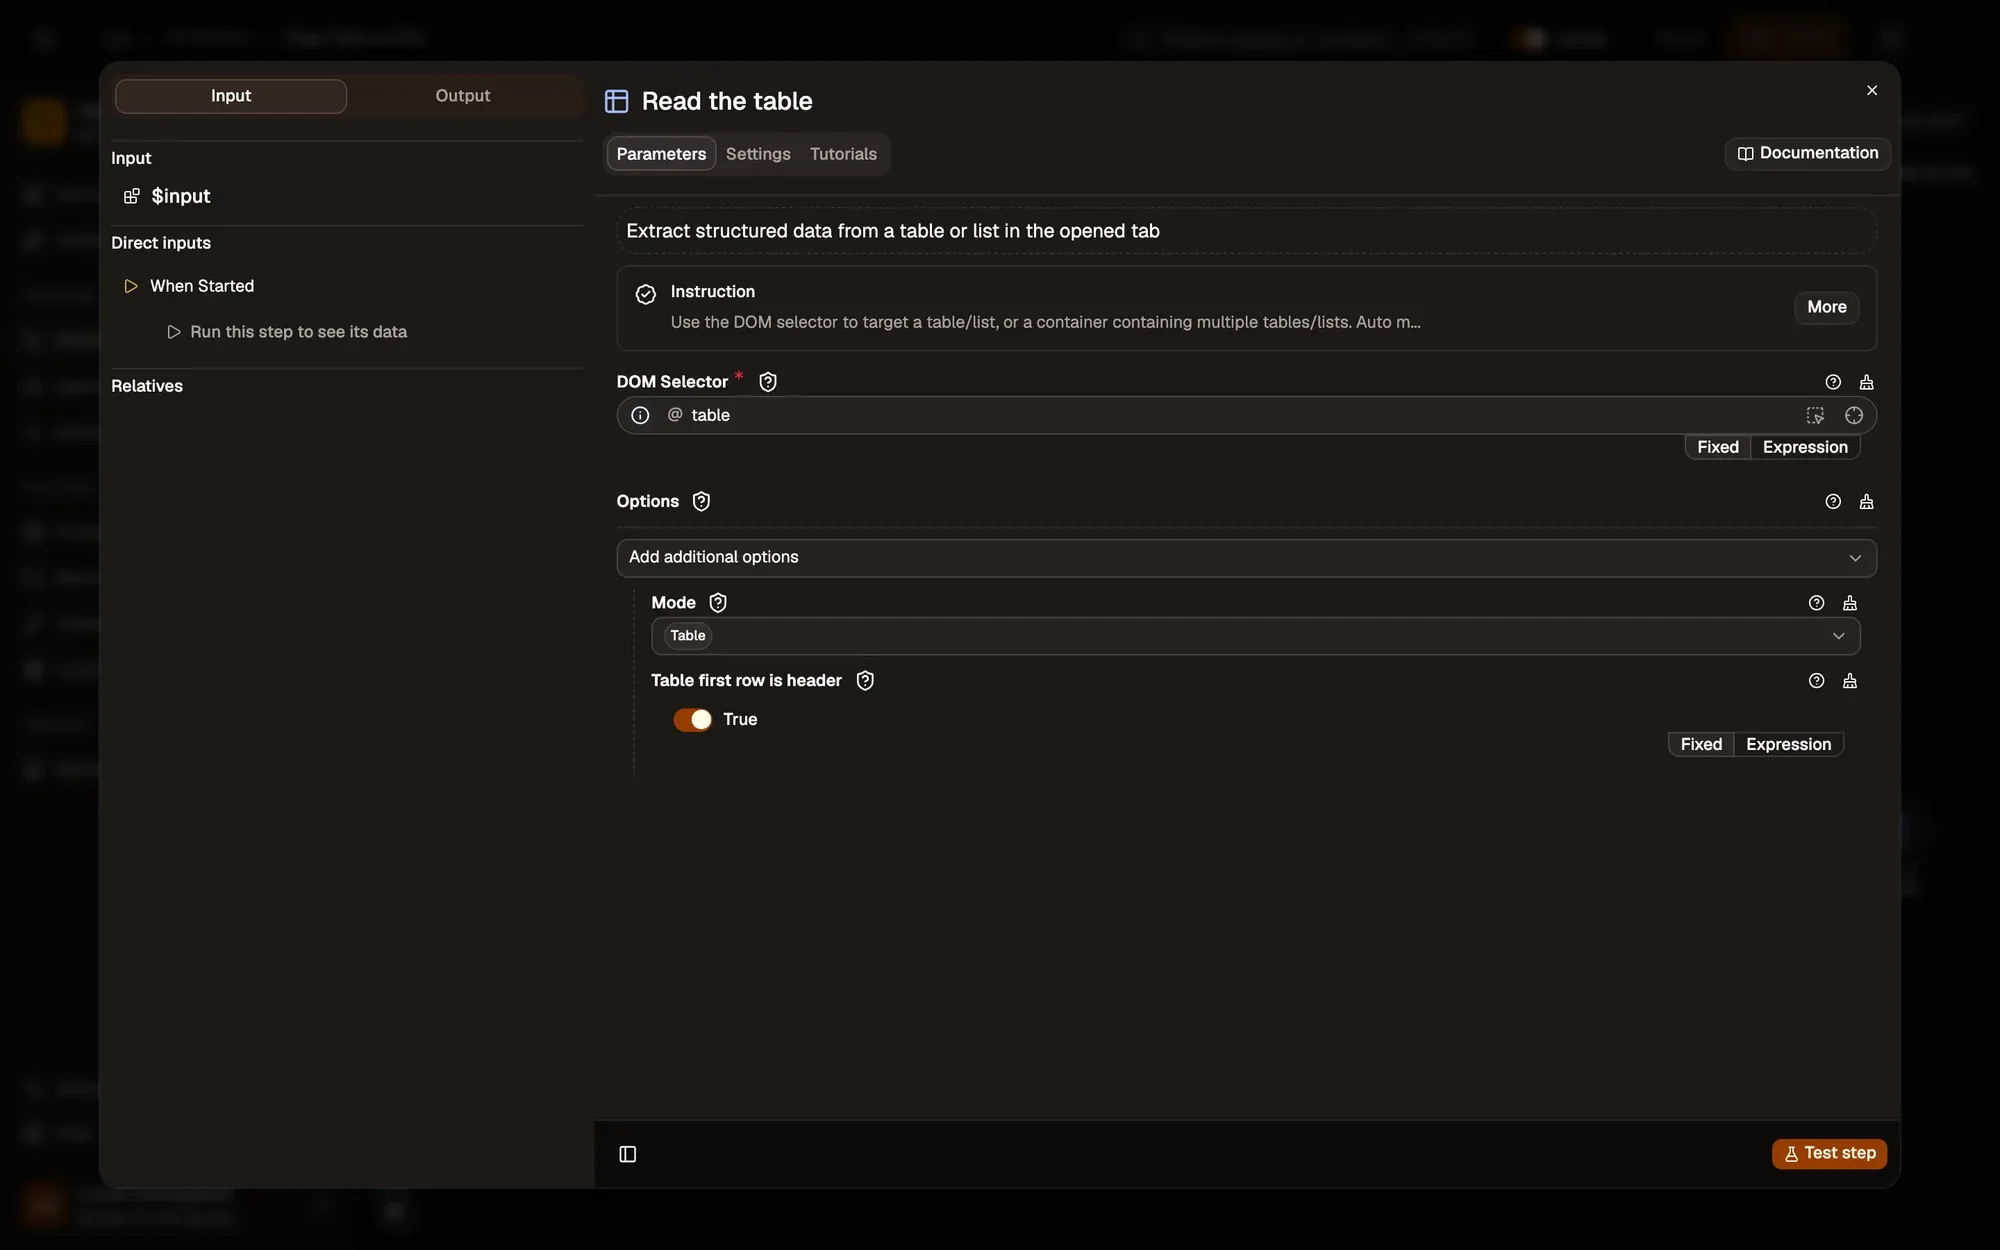
    The settings of the Read the table step: DOM Selector with its picker, and Options with Mode and Table first row is header.The settings of the Read the table step: DOM Selector with its picker, and Options with Mode and Table first row is header.
  3. Build the CSV

    CSVnode reference

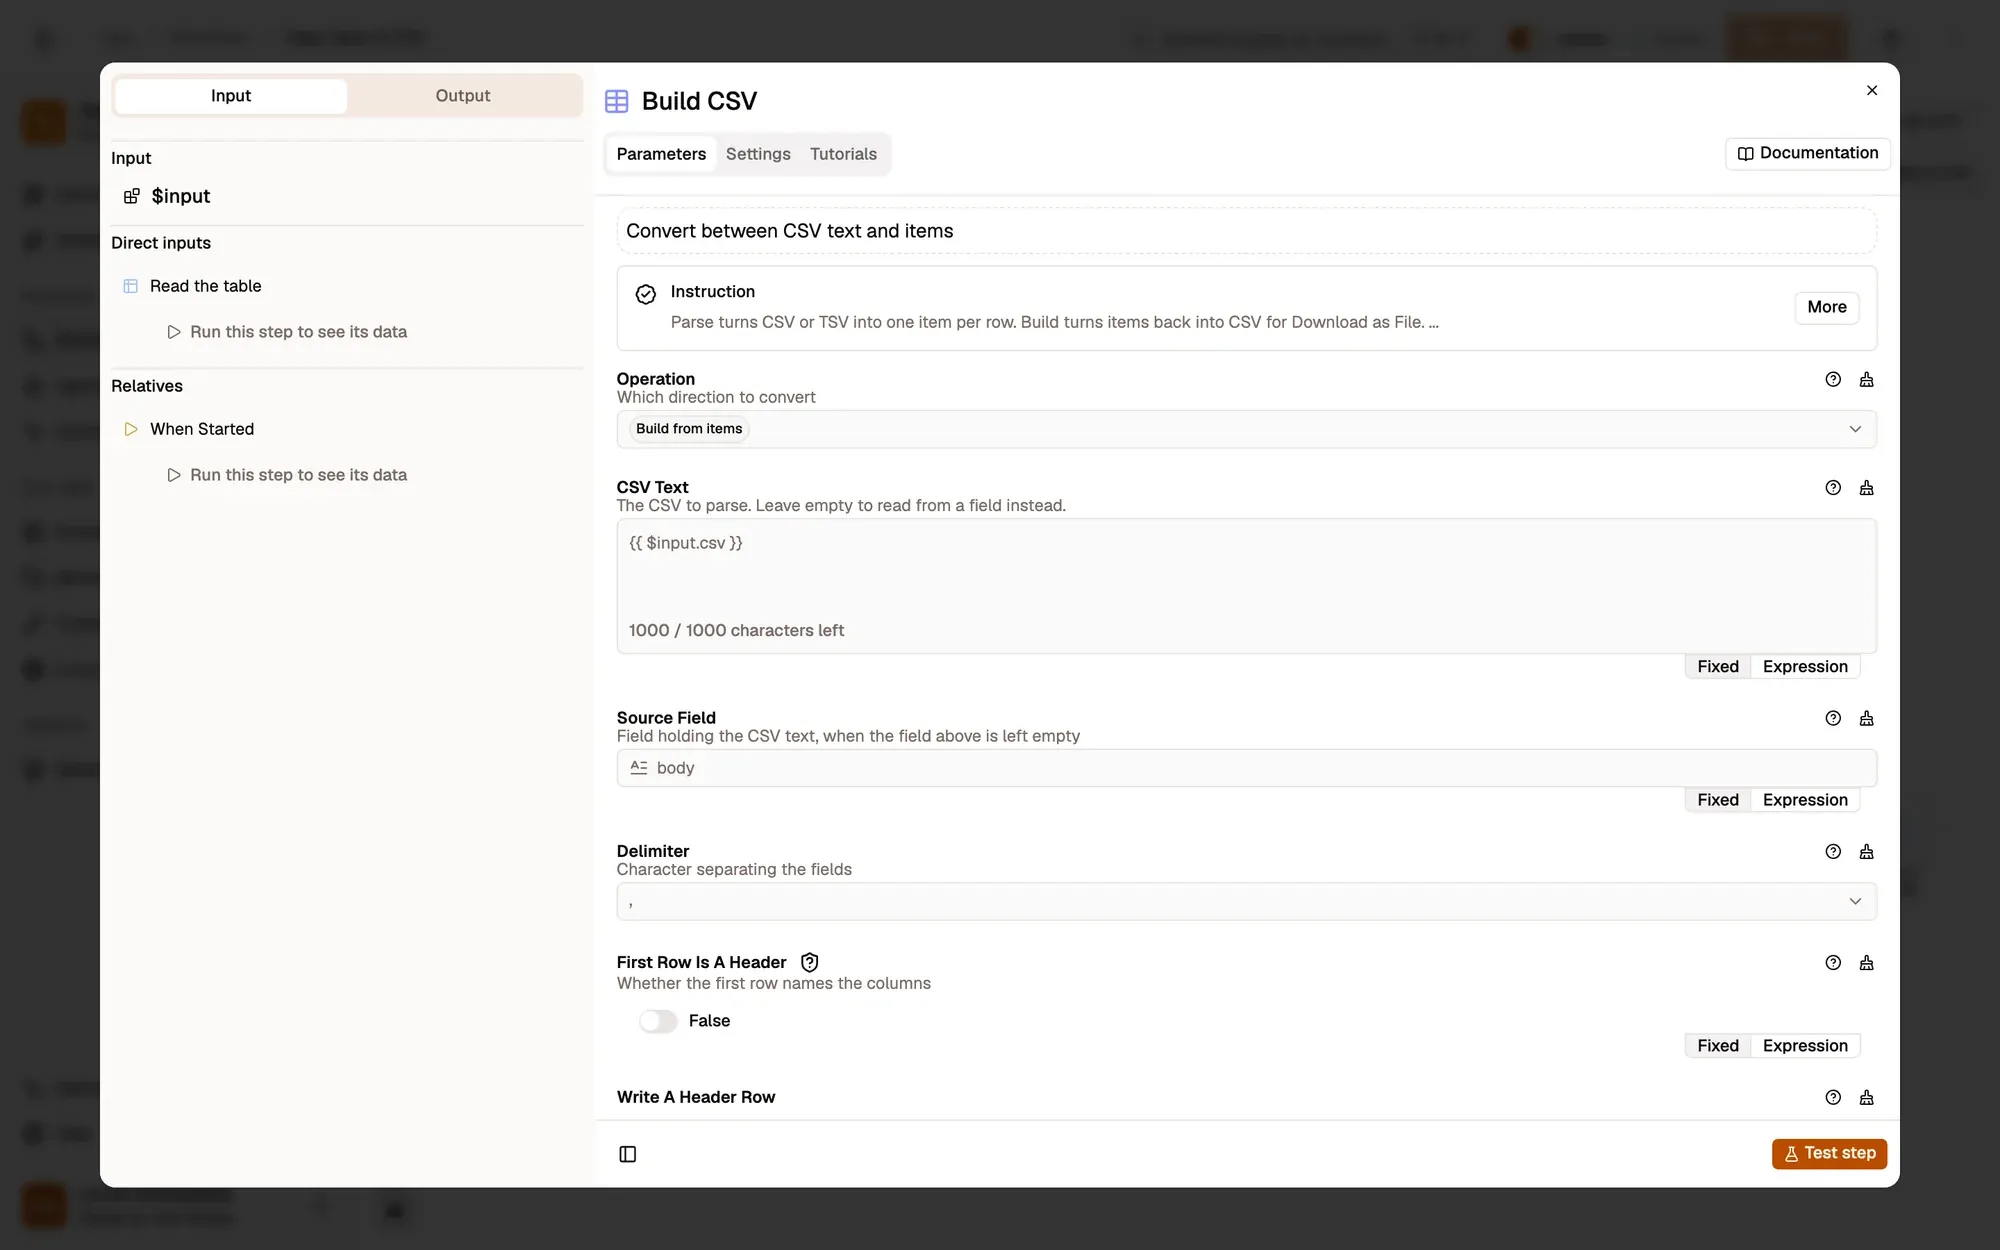
    CSV Build turns the rows into CSV text in the csv field, quoting values that need it.

    Make it yours — change Delimiter to ; for spreadsheets set to a European locale.

    The Delimiter menu
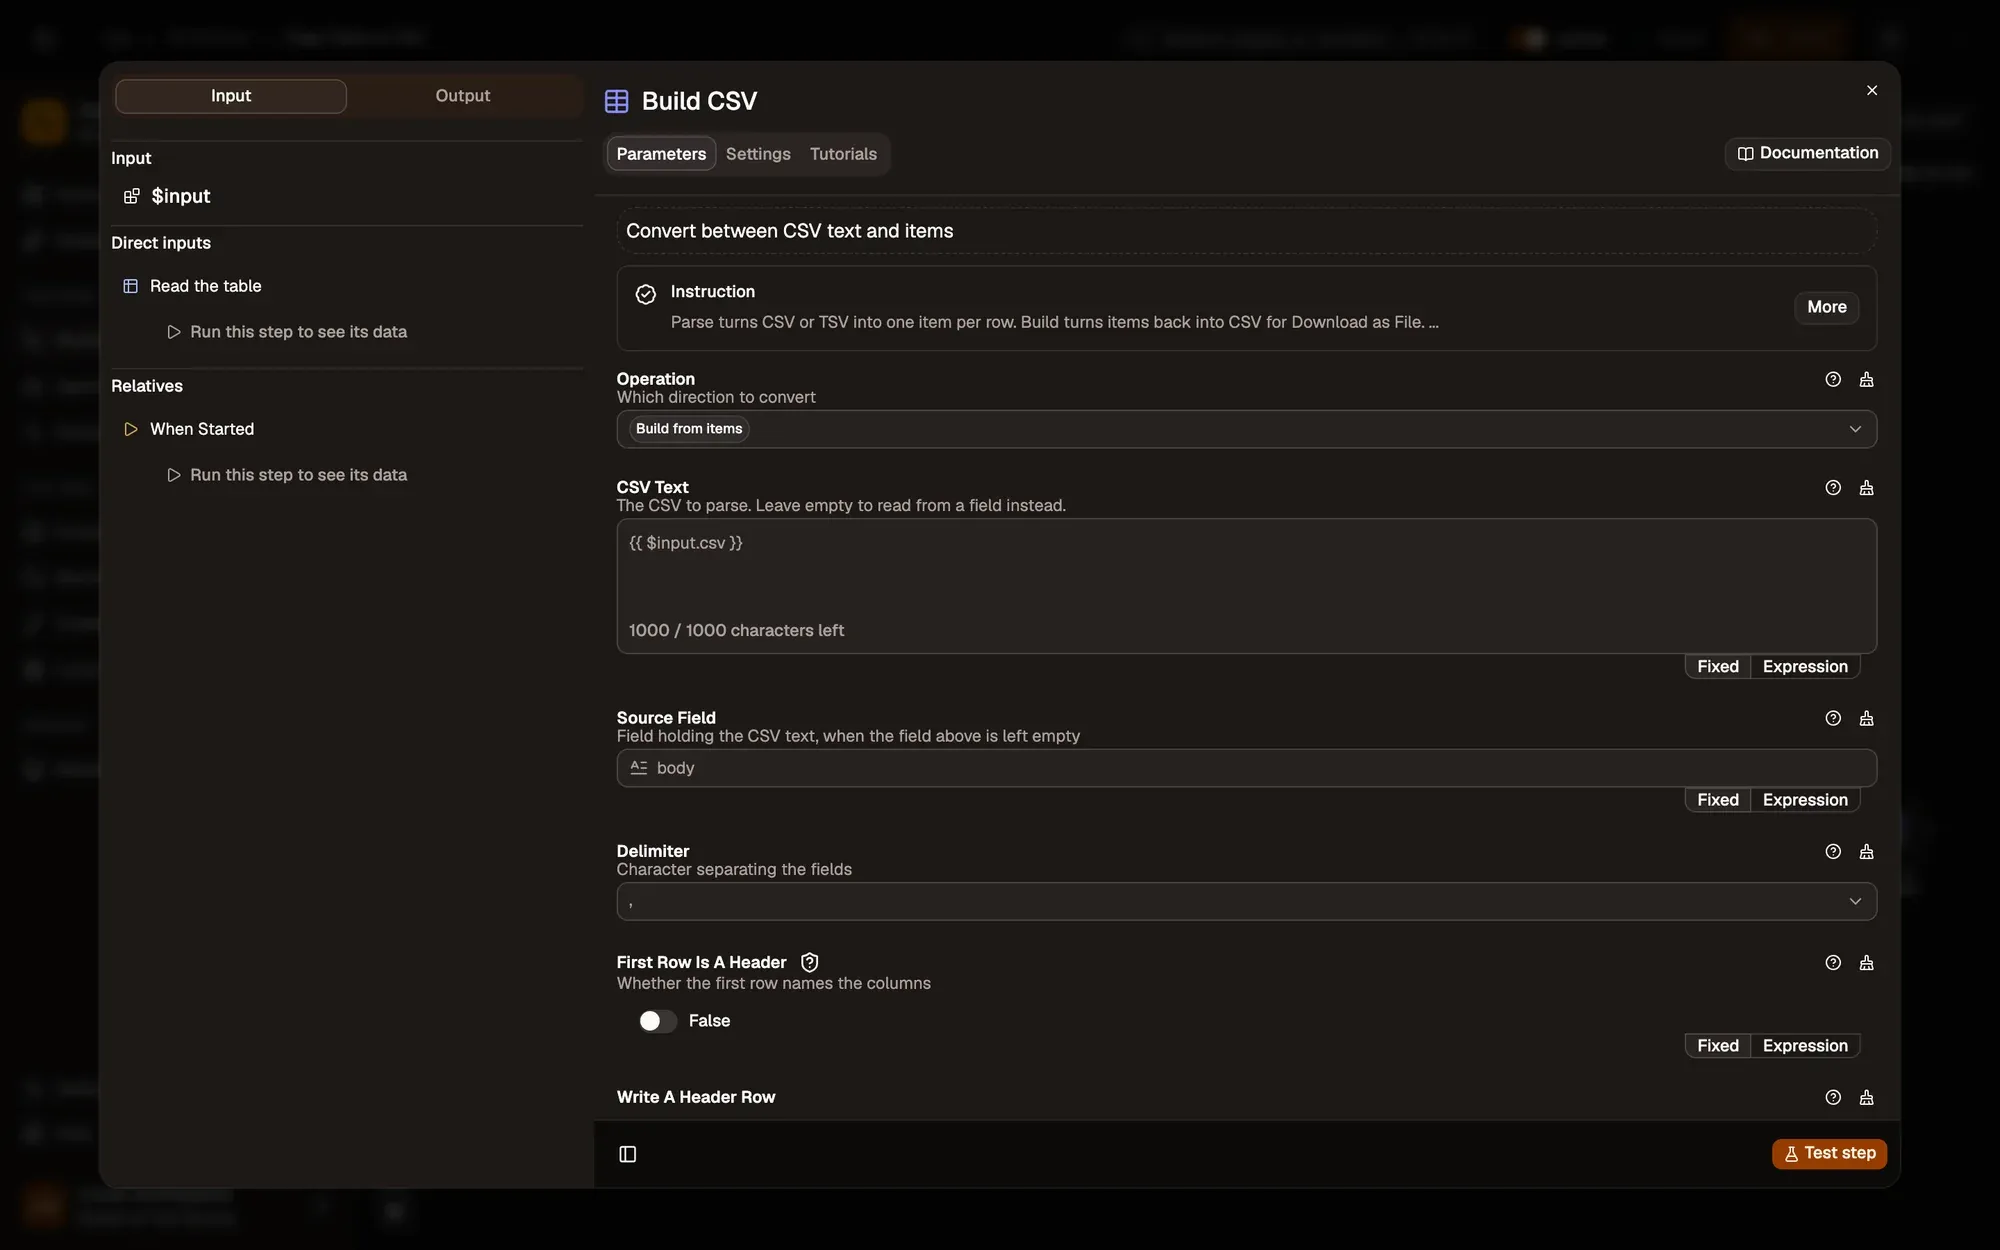
    The settings of the Build CSV step: Operation Build from items, CSV Text, Source Field, Delimiter “,”, and the header, trim and quote switches.The settings of the Build CSV step: Operation Build from items, CSV Text, Source Field, Delimiter “,”, and the header, trim and quote switches.
  4. Copy it

    Clipboard Writenode reference

    Clipboard Write copies the CSV, ready to paste into Google Sheets, Excel or Numbers.

    Make it yours — download a .csv file with Save as File instead.

    Copy to clipboard
    The workflow editor with the Page Table to CSV recipe: sticky notes and the steps When Started, Read the table, Build CSV, Copy to clipboard, linked left to right. The top bar shows the Workflow active switch and Save; Test Workflow is above the canvas.The workflow editor with the Page Table to CSV recipe: sticky notes and the steps When Started, Read the table, Build CSV, Copy to clipboard, linked left to right. The top bar shows the Workflow active switch and Save; Test Workflow is above the canvas.
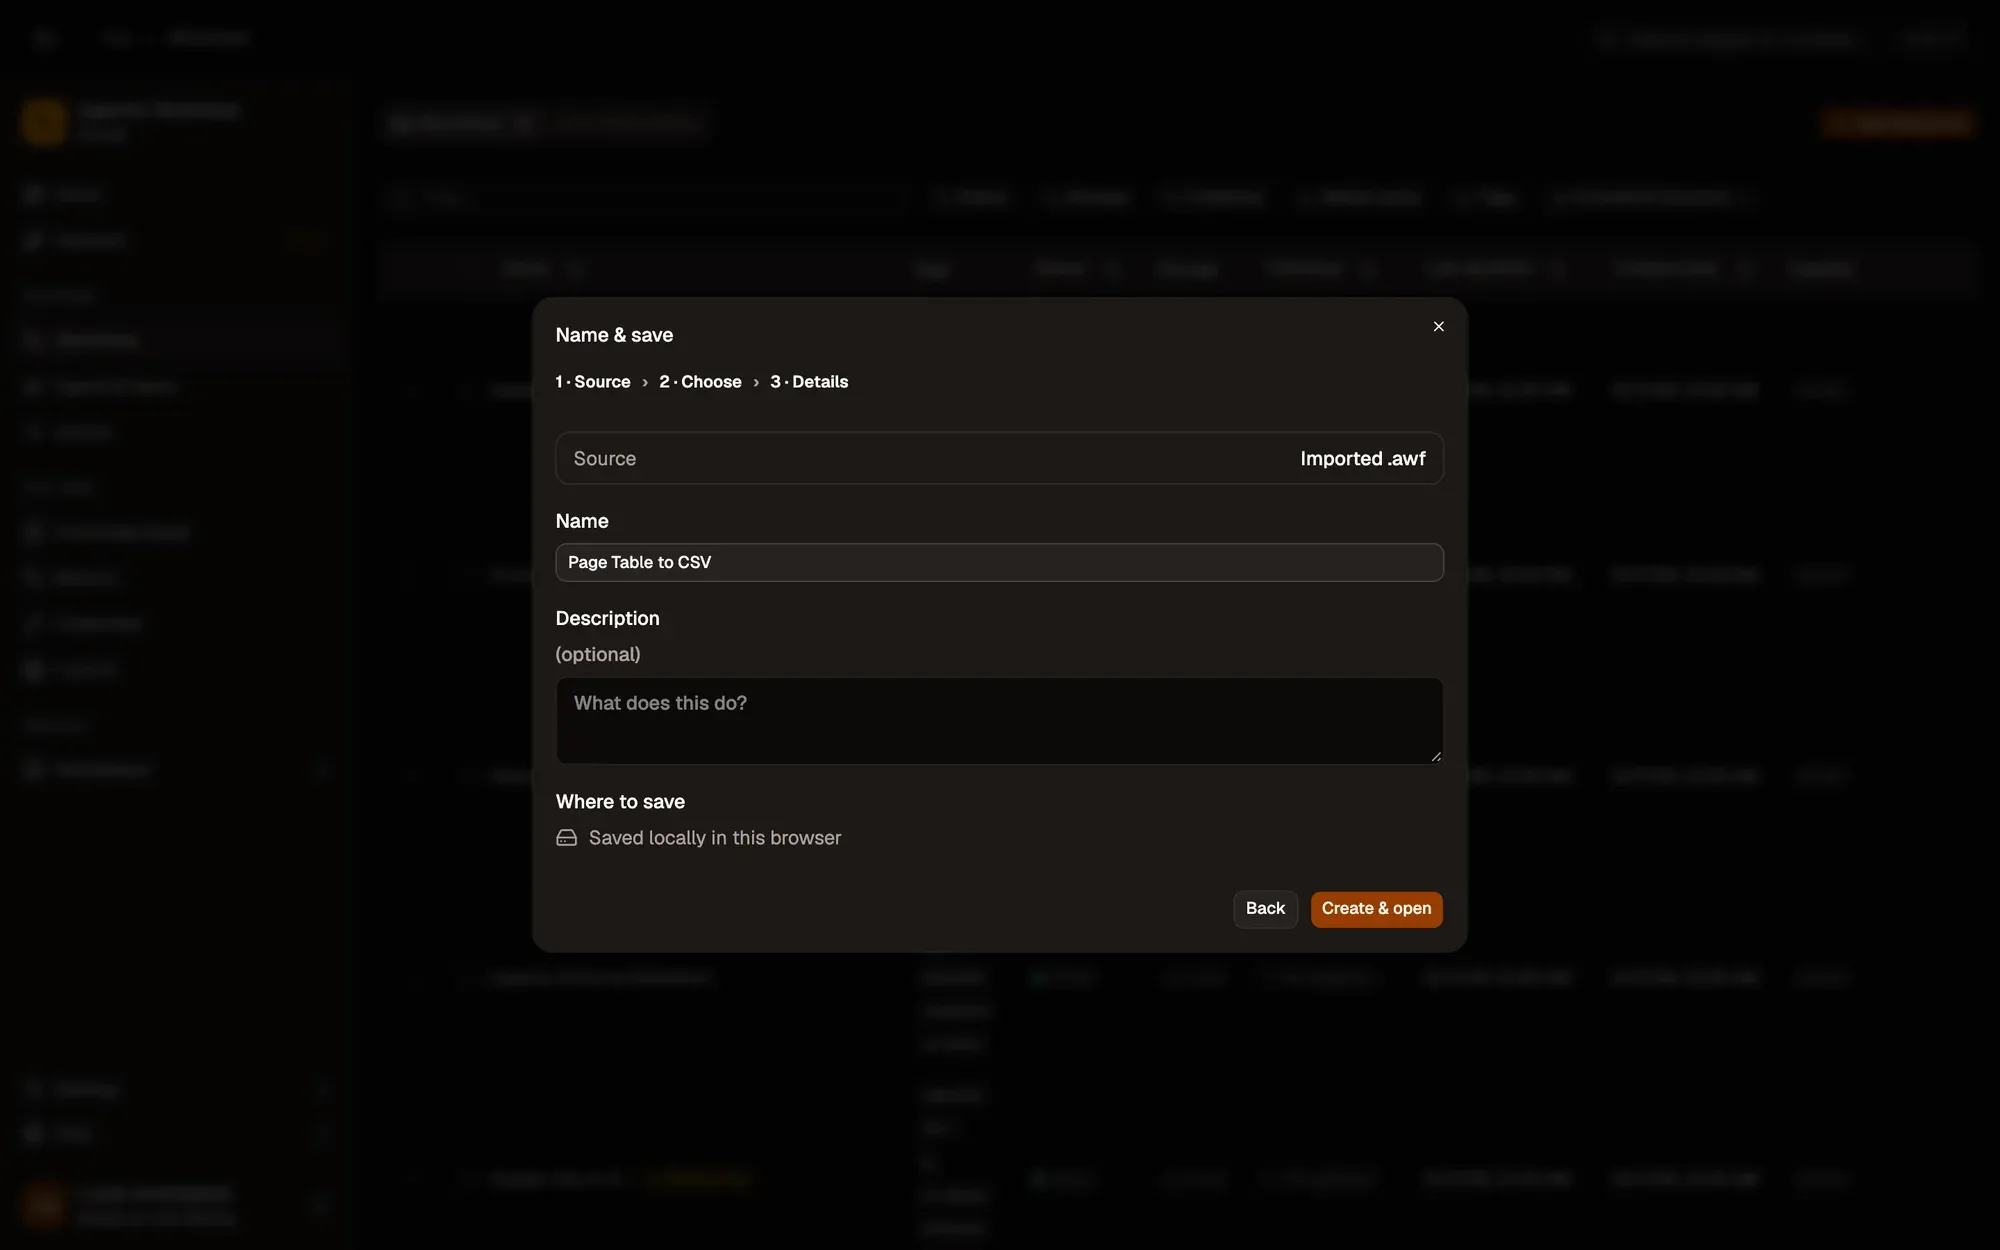
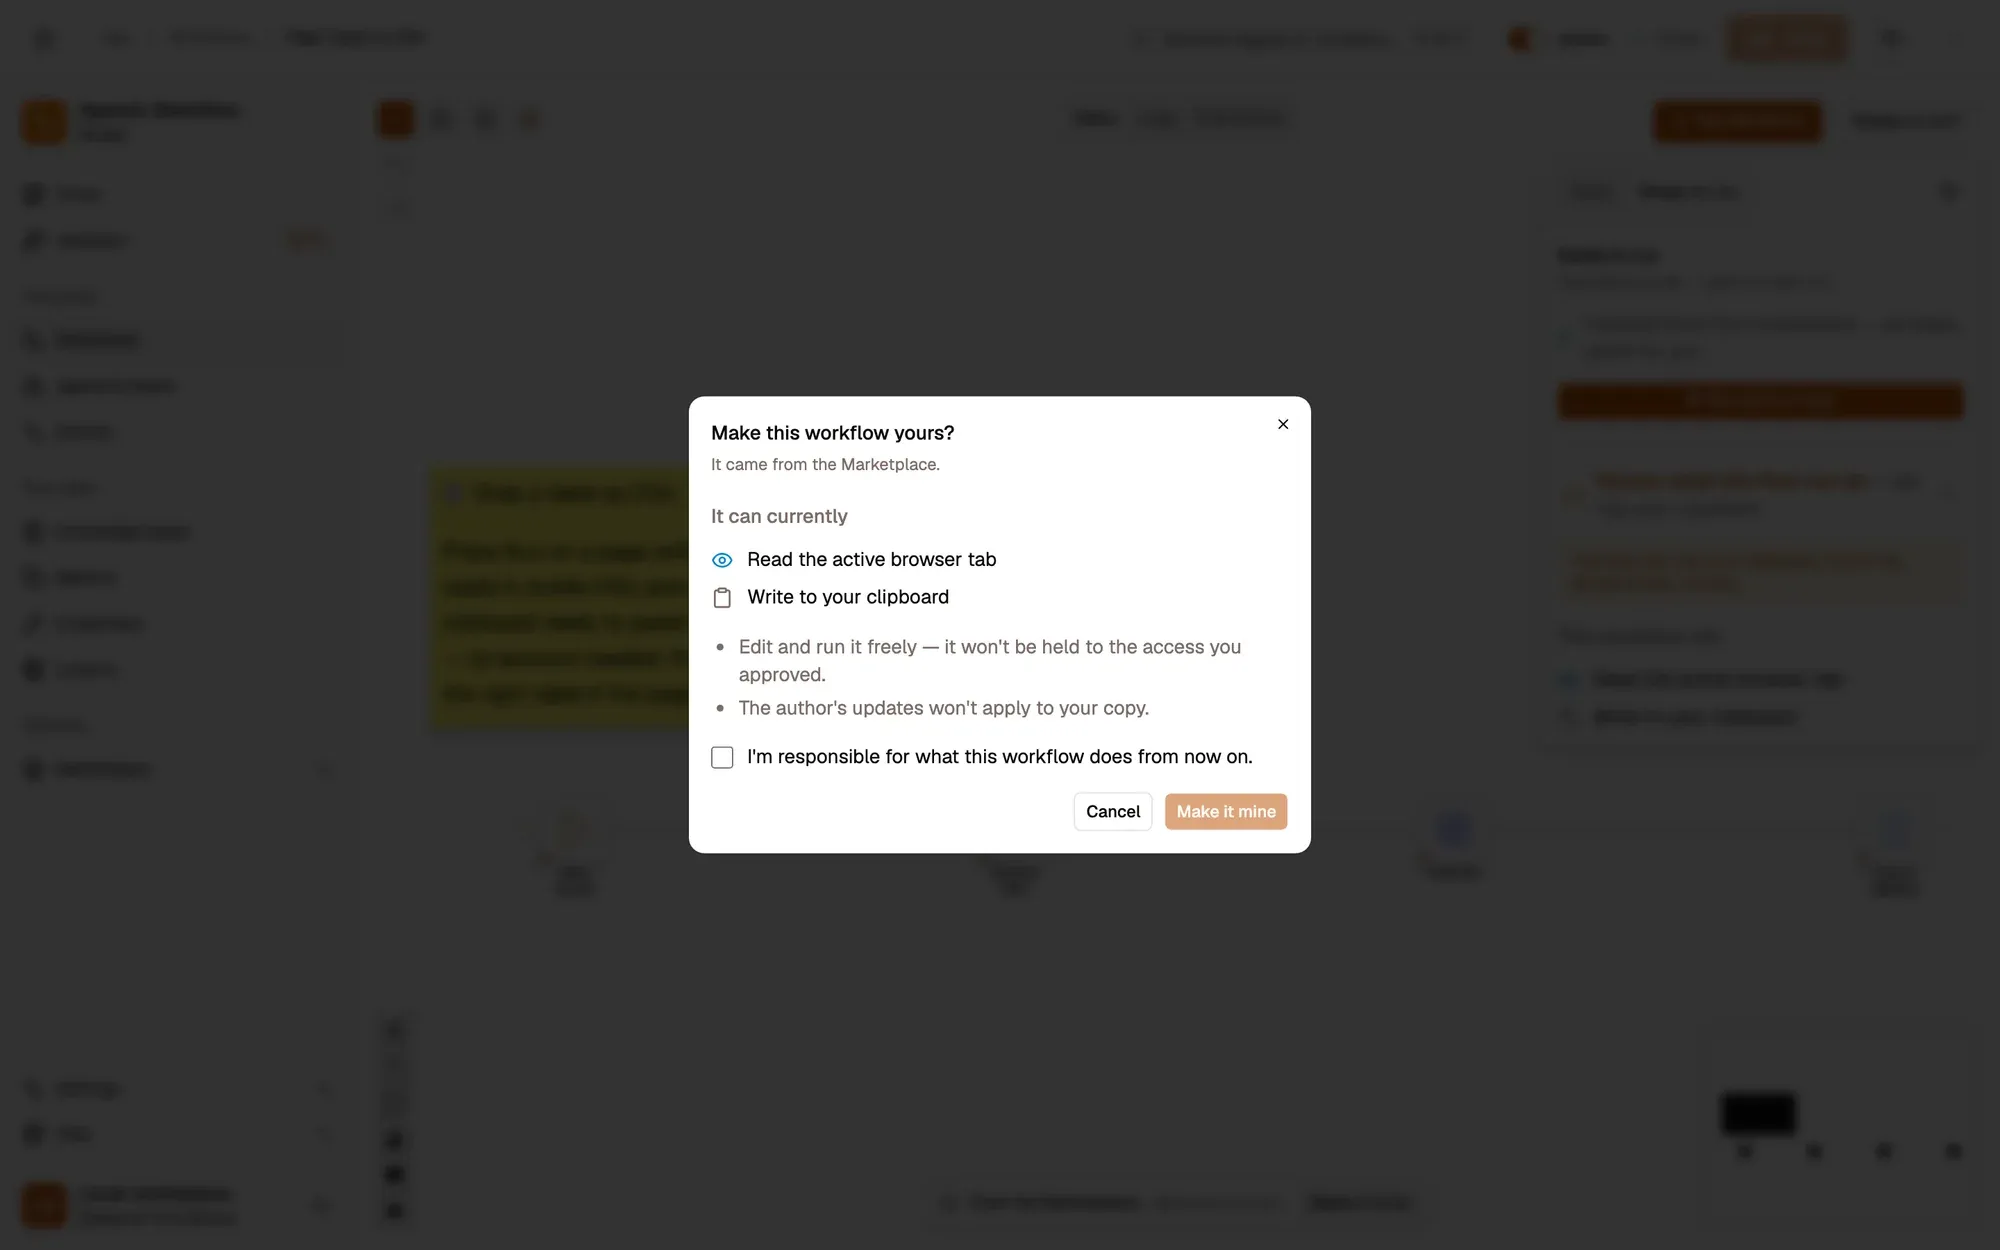
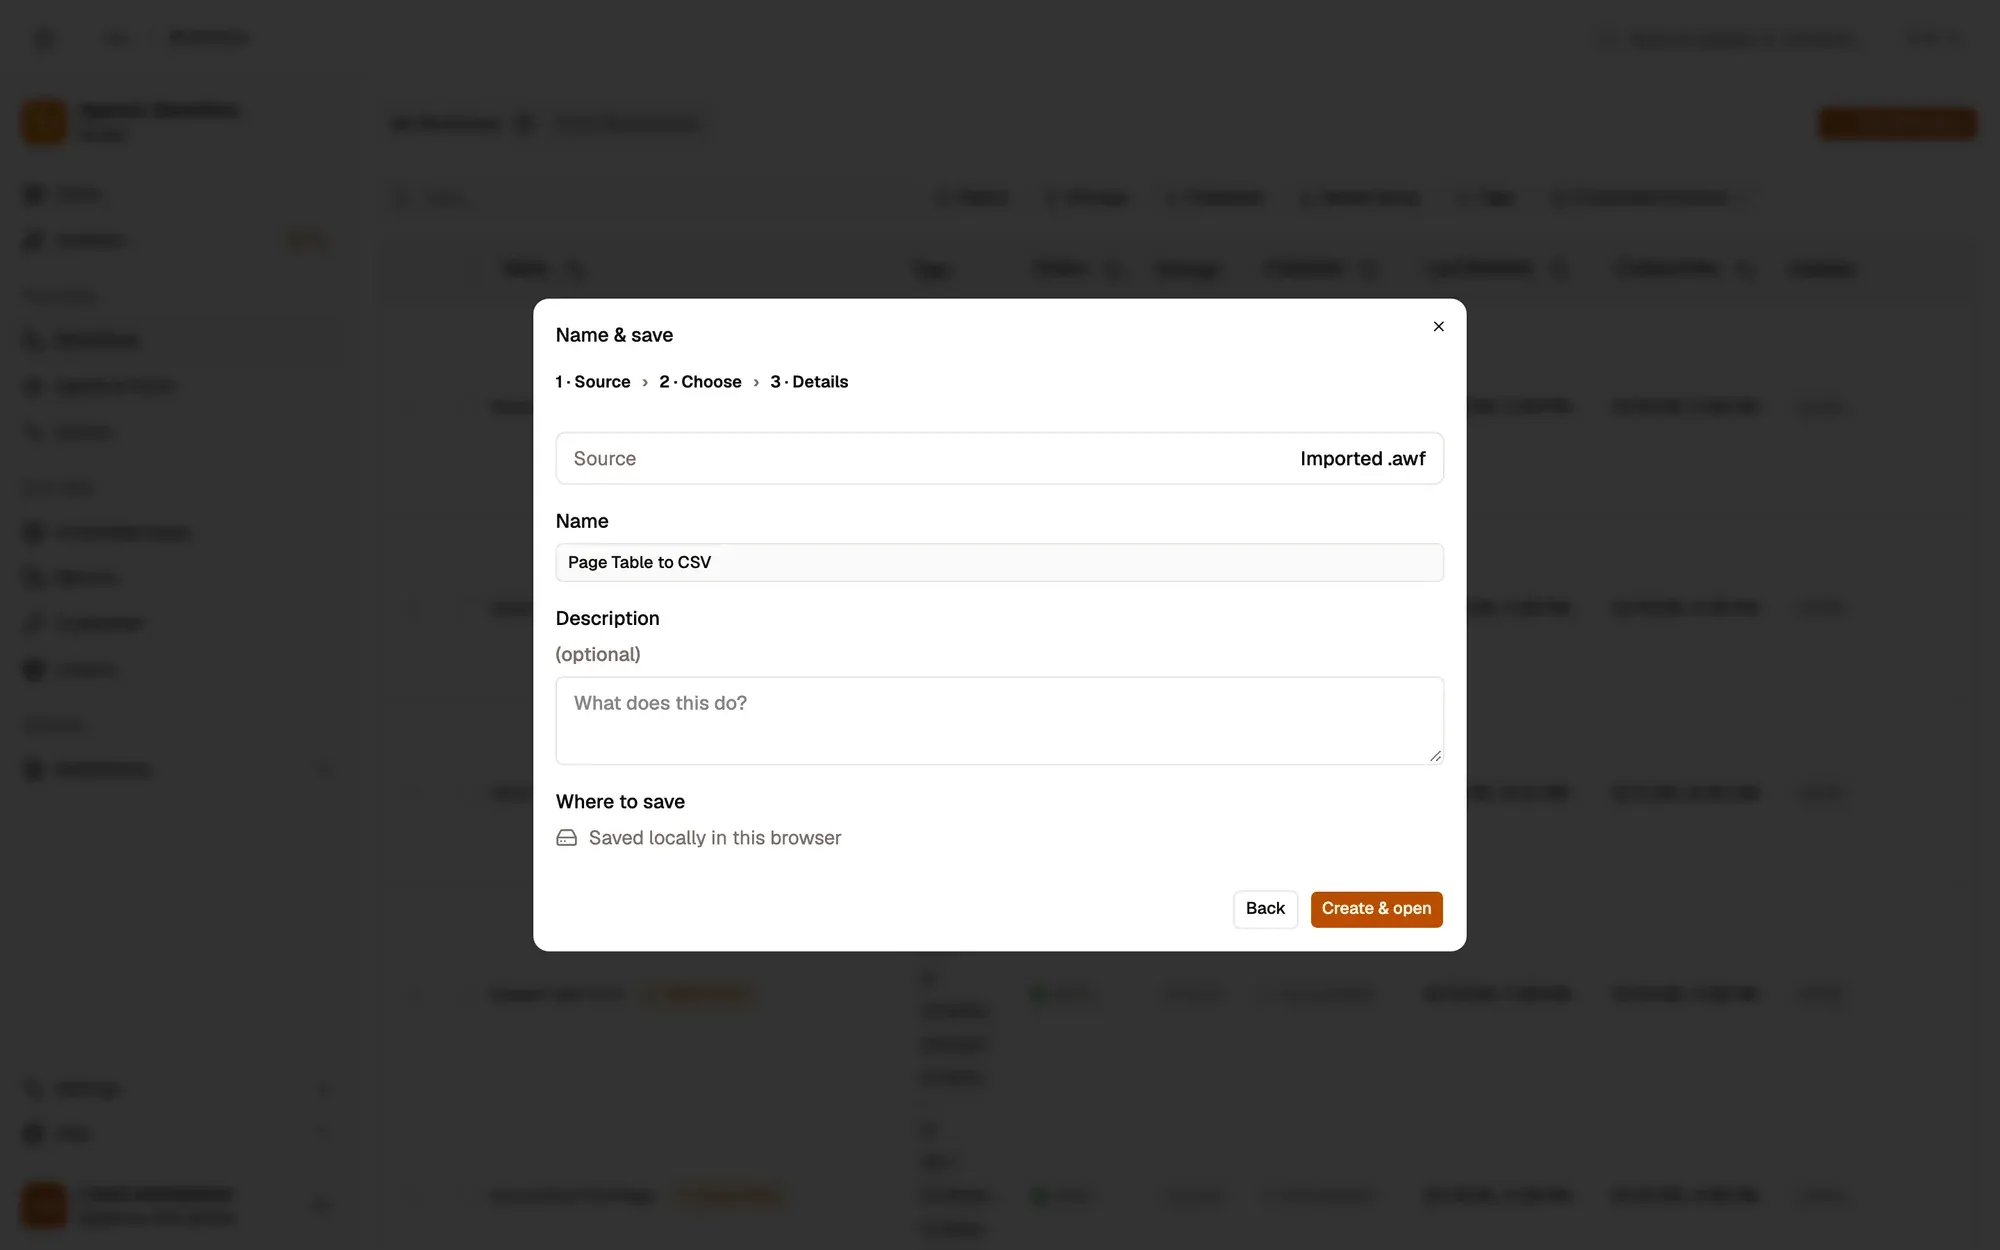
  1. Install the recipe and save it. No setup is needed. To import the file yourself, use Add Workflow › Import, choose the .awf and click Create & open. Then click Make it mine at the bottom of the canvas, tick the box and confirm, so you can edit it.

    Create & open
    The Create a workflow dialog at step 3, Name & save, after importing table-to-csv.awf: Source Imported .awf, Name “Page Table to CSV”, an optional Description, Where to save “Saved locally in this browser”, and the Back and Create & open buttons.The Create a workflow dialog at step 3, Name & save, after importing table-to-csv.awf: Source Imported .awf, Name “Page Table to CSV”, an optional Description, Where to save “Saved locally in this browser”, and the Back and Create & open buttons.
    Make it mine
    The Make this workflow yours? dialog over the Page Table to CSV workflow: it came from the Marketplace, It can currently lists what the workflow may access, two notes on what changes, the “I'm responsible for what this workflow does from now on.” checkbox, and Cancel and Make it mine.The Make this workflow yours? dialog over the Page Table to CSV workflow: it came from the Marketplace, It can currently lists what the workflow may access, two notes on what changes, the “I'm responsible for what this workflow does from now on.” checkbox, and Cancel and Make it mine.
  2. Open a page with a table, such as a Wikipedia list.

  3. Right-click it and choose Agentic Workflow › Personal Workflows › Page Table to CSV.

  4. Paste into a new spreadsheet: each column lands in its own cell.
Variation What to change Level
Send rows to a sheet Replace CSV and Clipboard Write with Google Sheets Append. Intermediate
Keep only some rows Add Filter or Sort between the table and the CSV. Beginner
Lists instead of tables Set Get Structured Data Mode to list for ul or ol lists. Beginner
  • The wrong table is copied. The page has several tables. Set DOM Selector to the one you want; the data extraction guide shows how to find a selector.
  • Column names are the first data row. The table has no header row. Turn off Table first row is header.
  • Nothing is copied. Run it from the right-click menu on the page itself, not from the canvas.
Ask Aria