≈ 3 min
Extension
Web app
Bearer Token
Ask Aria⌘IBefore you start
Section titled “Before you start”- An Airtable account with access to the bases you want to use.
Used by
Section titled “Used by”Set it up
Section titled “Set it up”-
Create the token. On Airtable, open Builder hub › Personal access tokens (airtable.com/create/tokens) and click Create token.
-
Add scopes and bases. Add the scopes
data.records:read,data.records:writeandschema.bases:read, then under Access add the bases (or the workspace) it may use. Click Create token and copy it. -
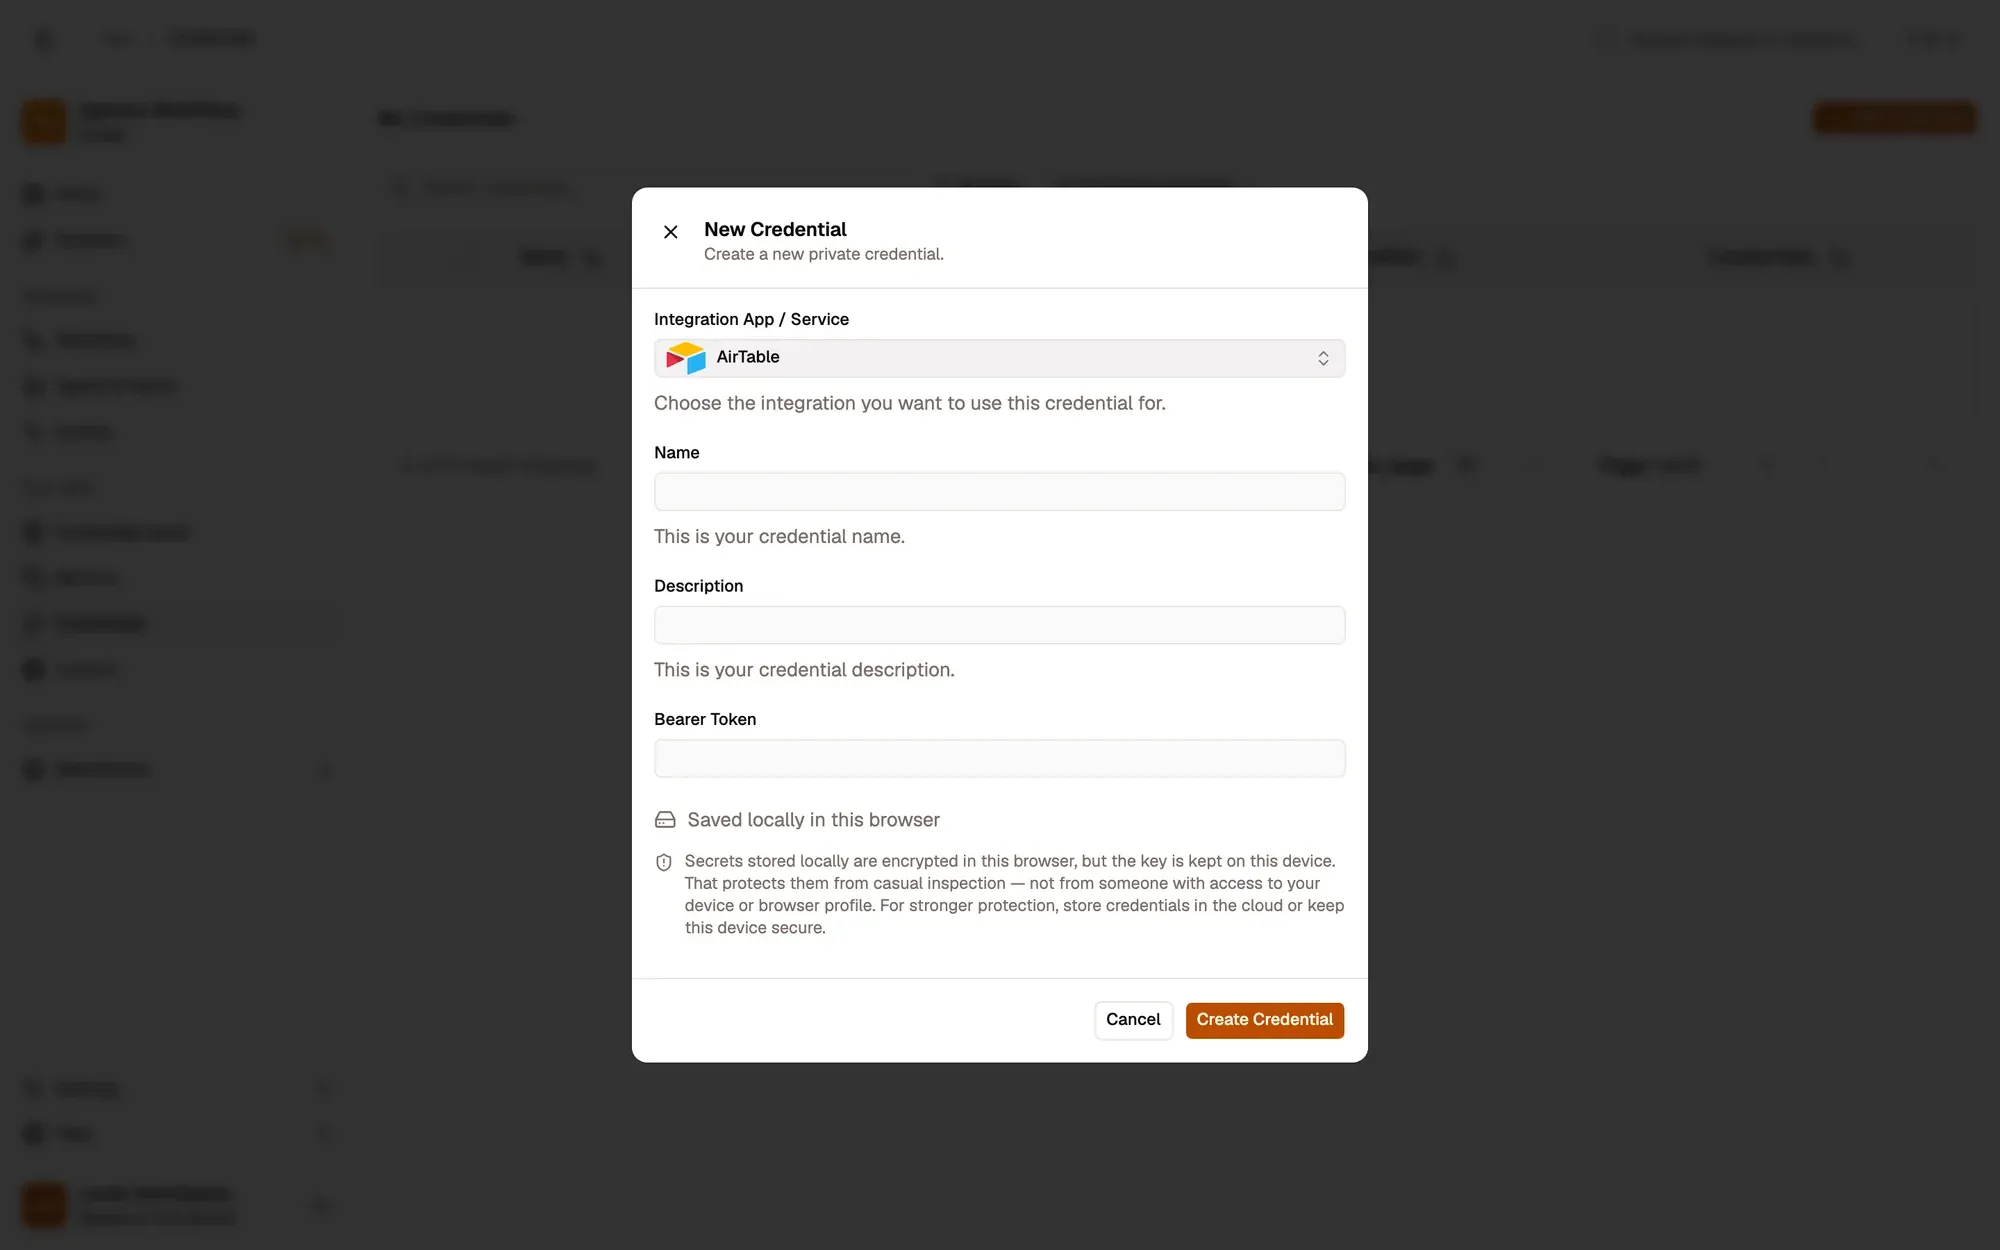
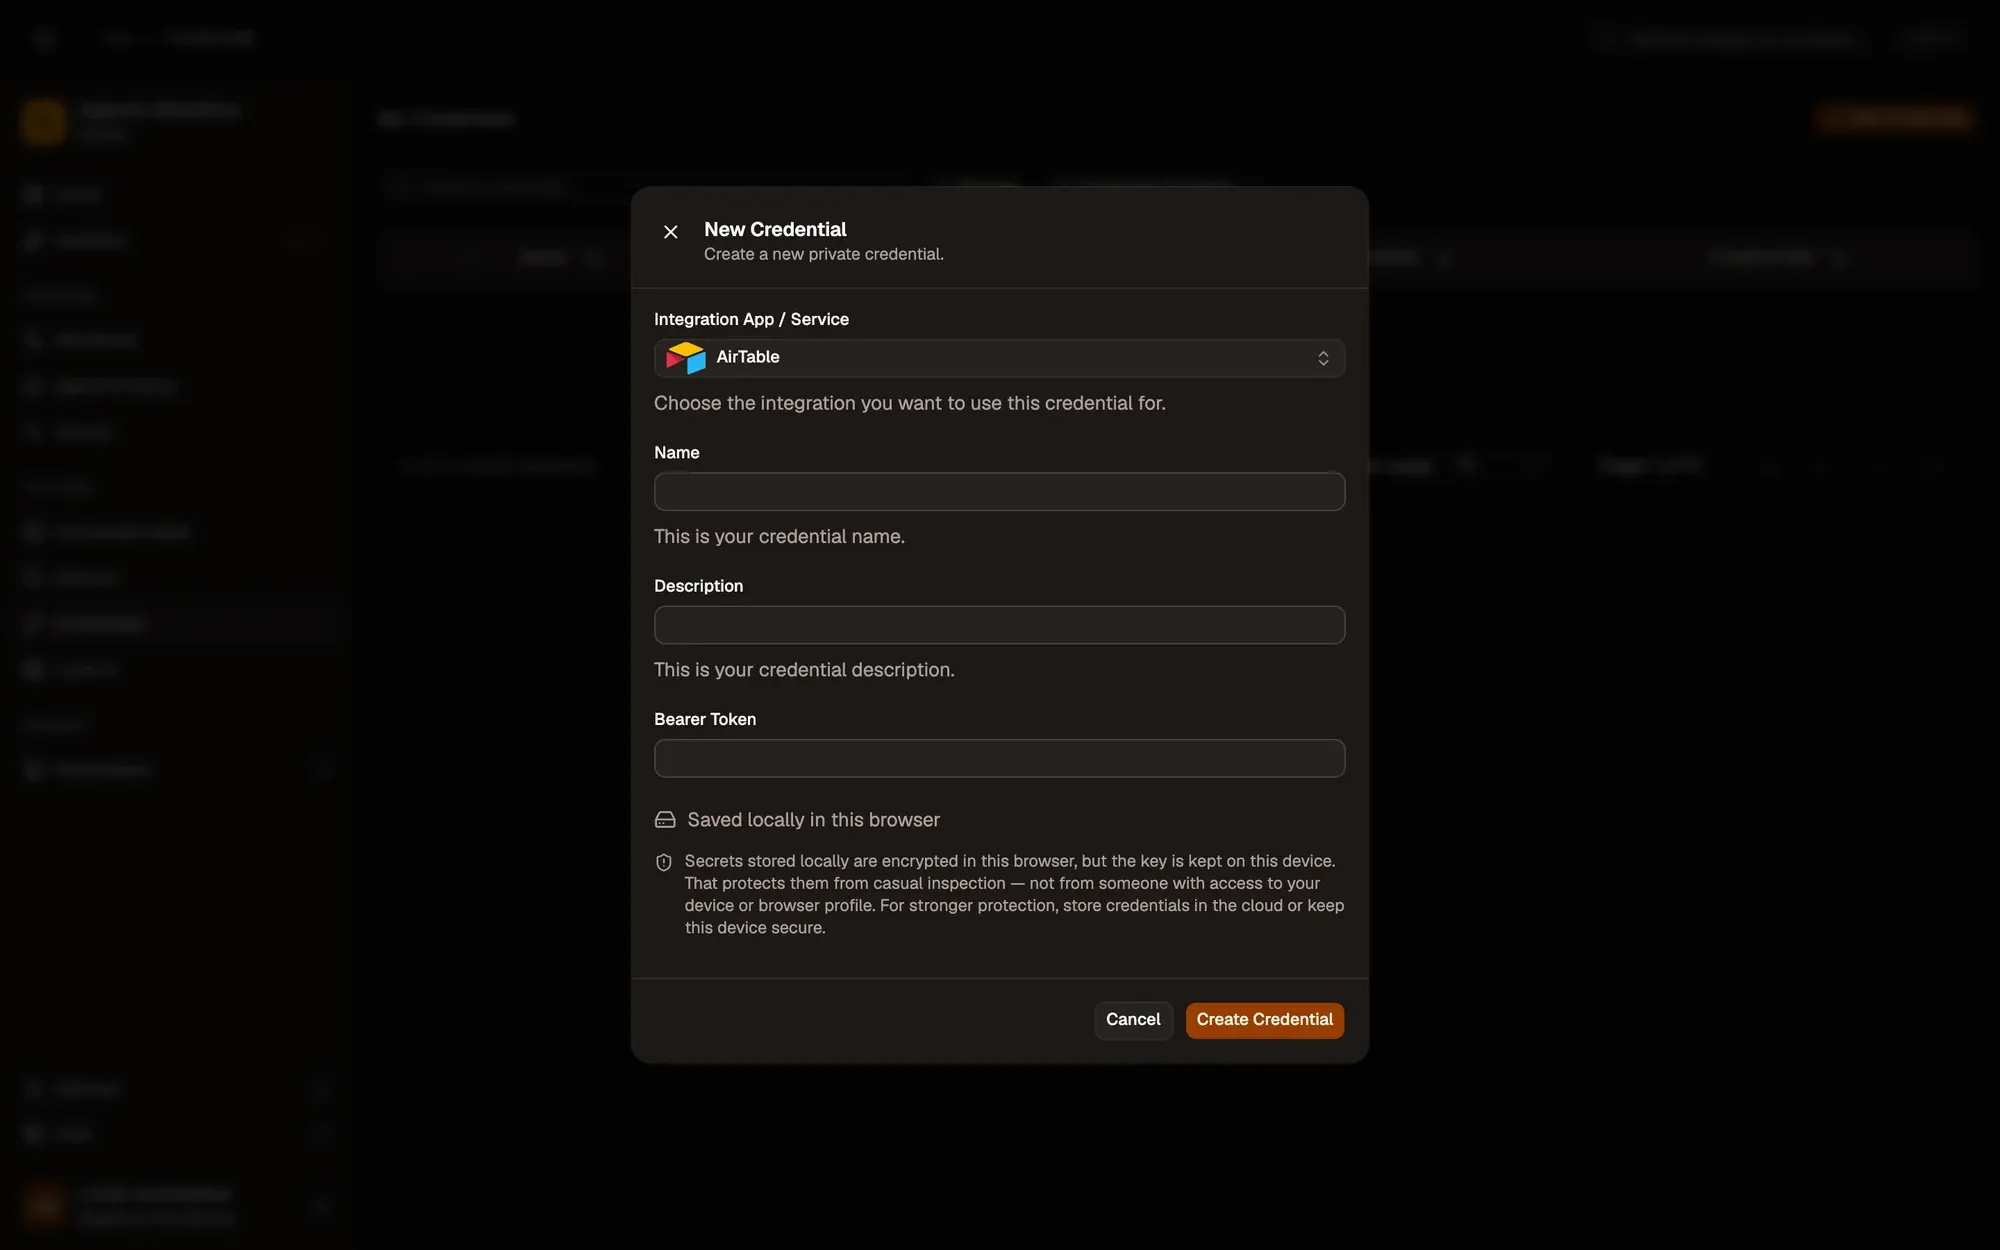
Save it in AWFlow. Open Credentials and click Add Credential (or + Add Credential in a node’s Credential field), then fill the New Credential form. In the browser side panel the form comes in two steps: tap AirTable in the list, then fill the rest.
Numbered areas in the screenshot: 1. Integration App / Service: AirTable; 2. Name; 3. Bearer Token; 4. Where the secret is stored (here, locally in this browser); 5. Create Credential.
Where your token lives
Section titled “Where your token lives”Permissions each operation needs
Section titled “Permissions each operation needs”| Operation | Scope |
|---|---|
| Base · Get many, Get schema | schema.bases:read |
| Record · Get, Search | data.records:read |
| Record · Create, Update, Delete | data.records:write |
Common issues
Section titled “Common issues”- “Invalid permissions, or the requested model was not found”. The token has no access to this base, or lacks a scope. Edit the token on Airtable and add the base or scope.
- The Base list is empty. No base was added under Access when the token was created.
- “Missing base ID” or “Missing table ID”. Pick Base first, then Table.