On the Local AI page, click Add custom model. It takes two steps.
Step 1:The model
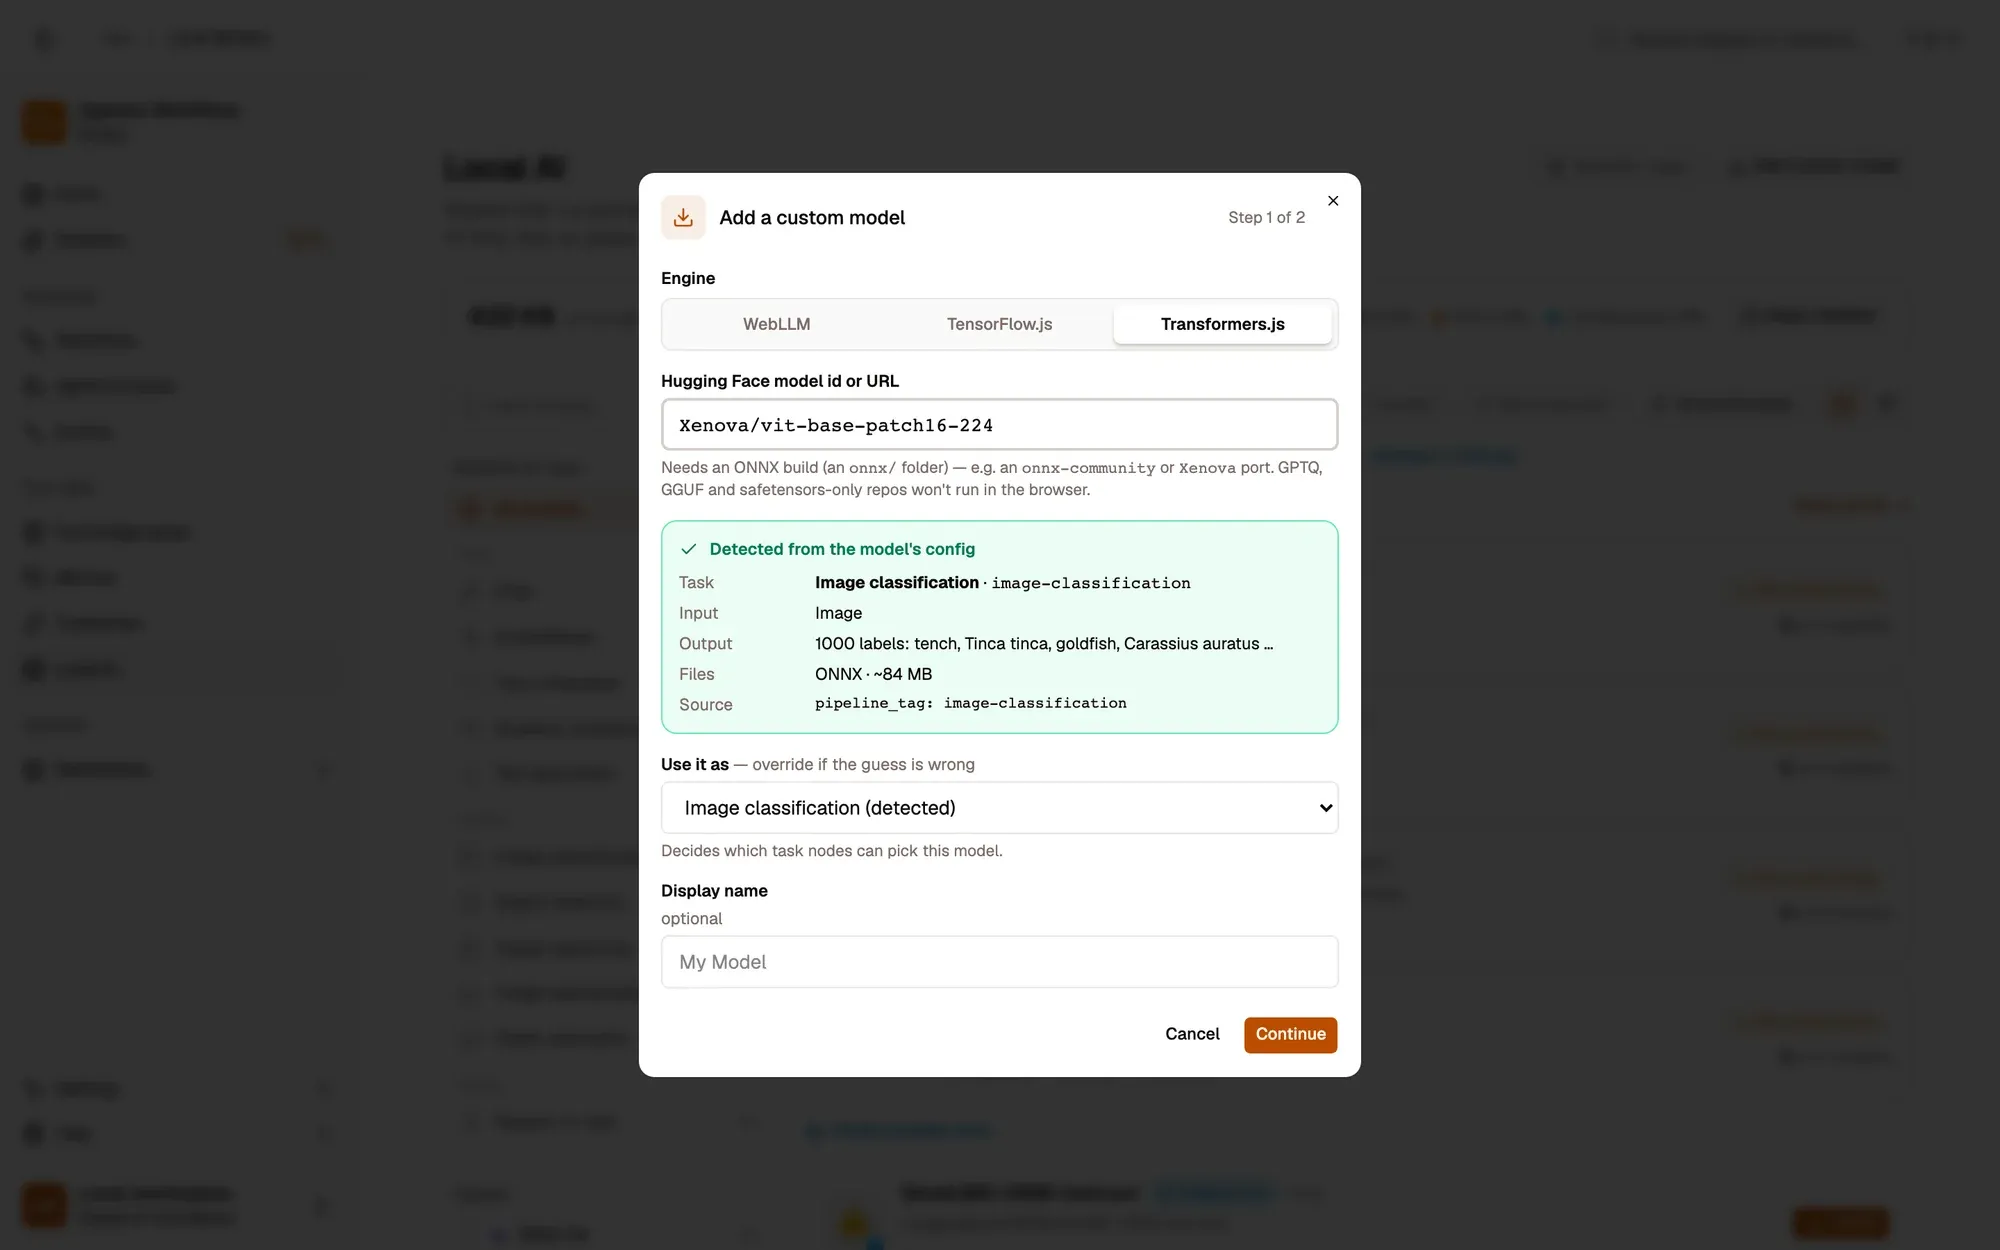
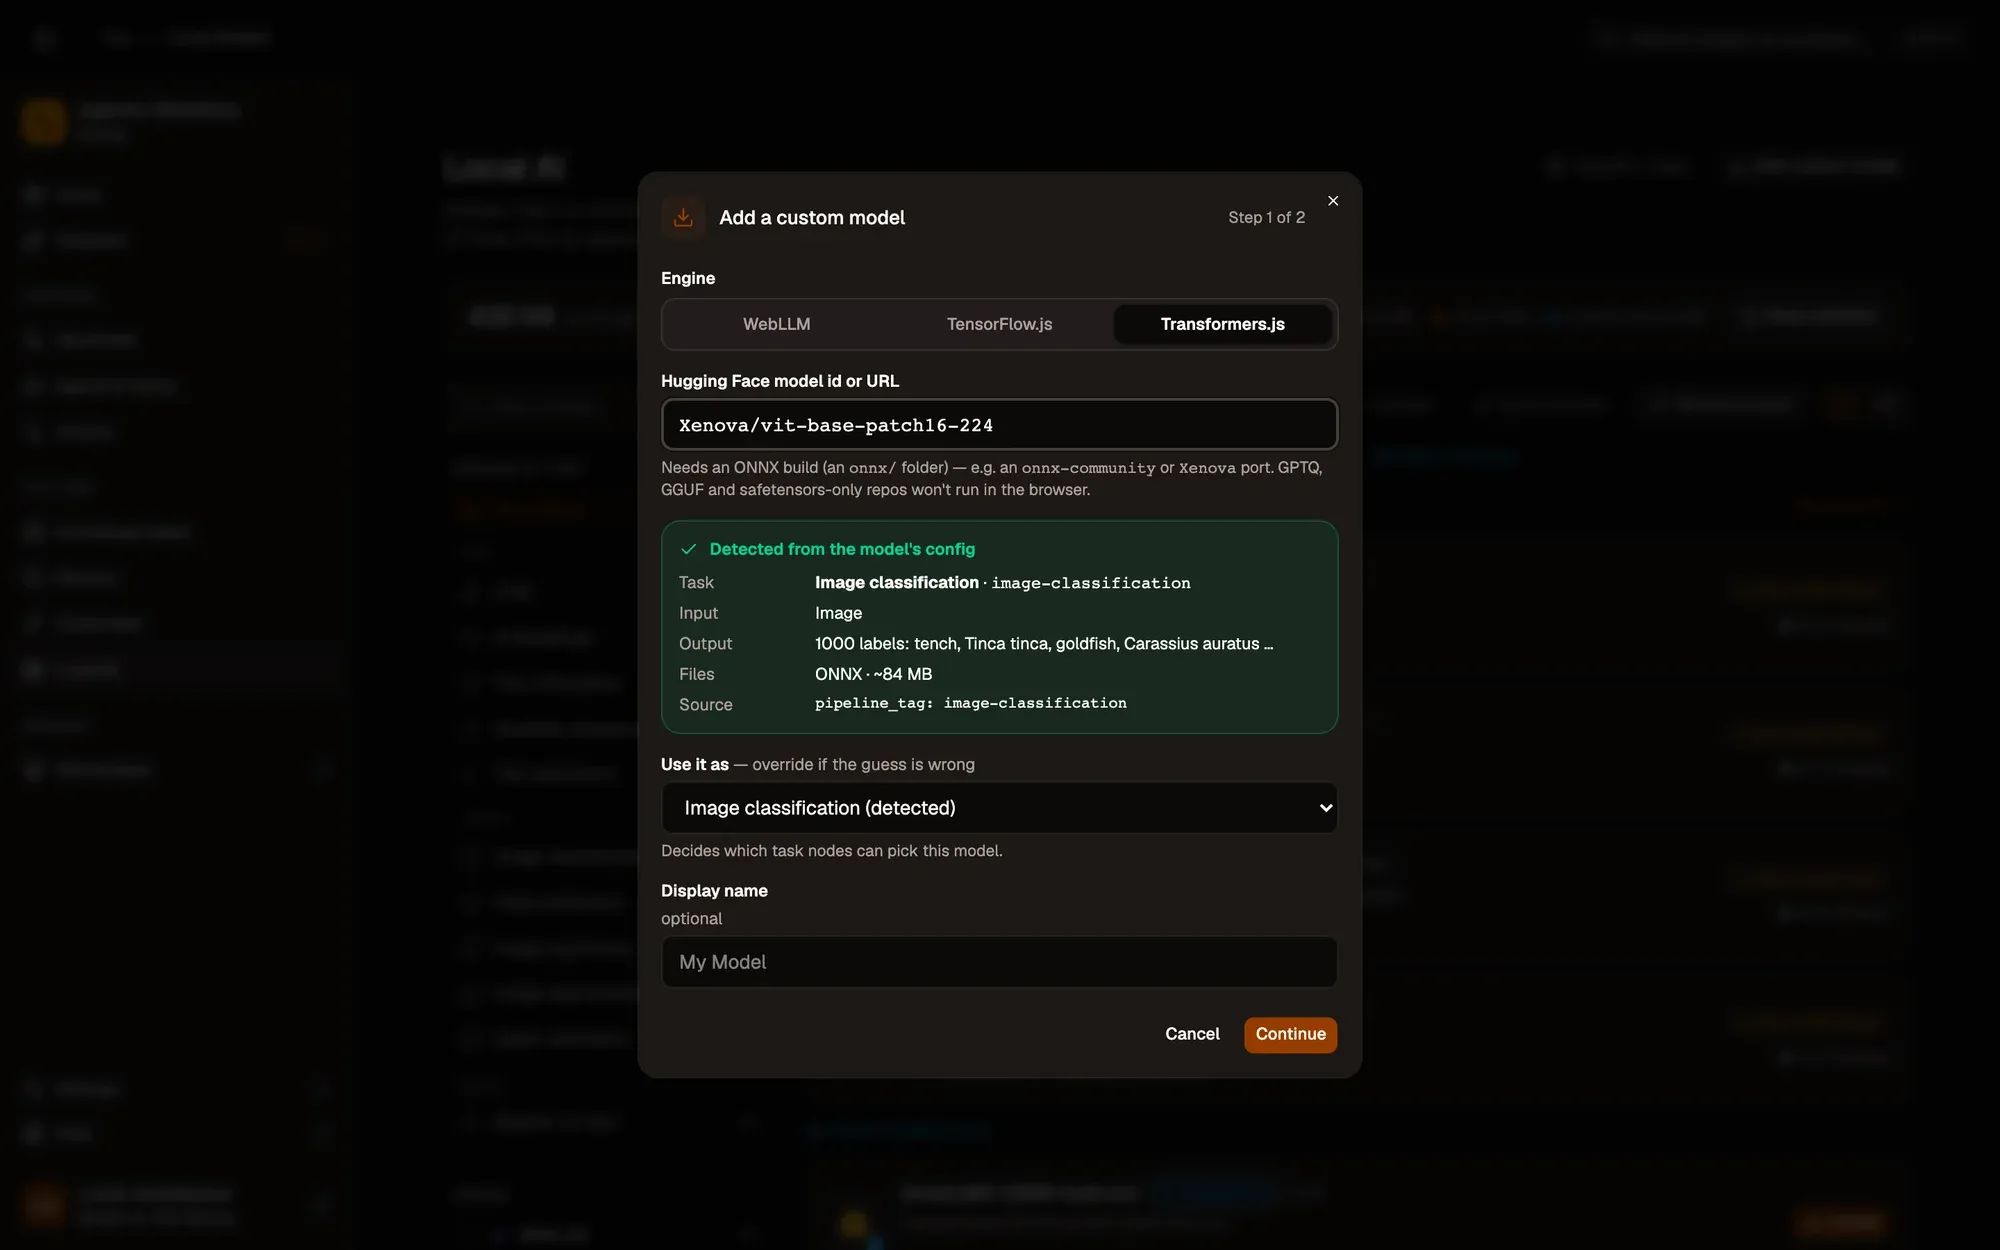
Pick the engine; the dialog asks for exactly what it needs:
- WebLLM: an MLC-compiled model, with its weights URL and its compiled model library (
.wasm). WebLLM models are always chat models, and WebLLM can’t load a raw.gguf: it needs the MLC build. - TensorFlow.js: the model URL of a graph or layers model (a
model.json). - transformers.js: the Hugging Face model id (for example
Xenova/vit-base-patch16-224). It needs an ONNX build (anonnx/folder); repos with only GPTQ, GGUF or safetensors weights won’t run in the browser.
Check: the fields for that engine are filled in.
Step 2:Check the task, then Continue
As you type, the dialog detects the model’s task and shows what it found: task, expected input and output, file size where known, and where the guess came from. For transformers.js it reads the model’s hub metadata; for a TensorFlow.js model.json it reads the input and output shapes (for example [1,224,224,3] → [1,1001] means image classification). If the guess is wrong, or nothing was detected (for example offline), choose the task under Use it as. The task decides which nodes can pick the model. Then click Continue.
Check: Use it as shows the task you want.
Step 3:Confirm you trust the source
Tick I trust this source and want to add the model. Then click Add & download.
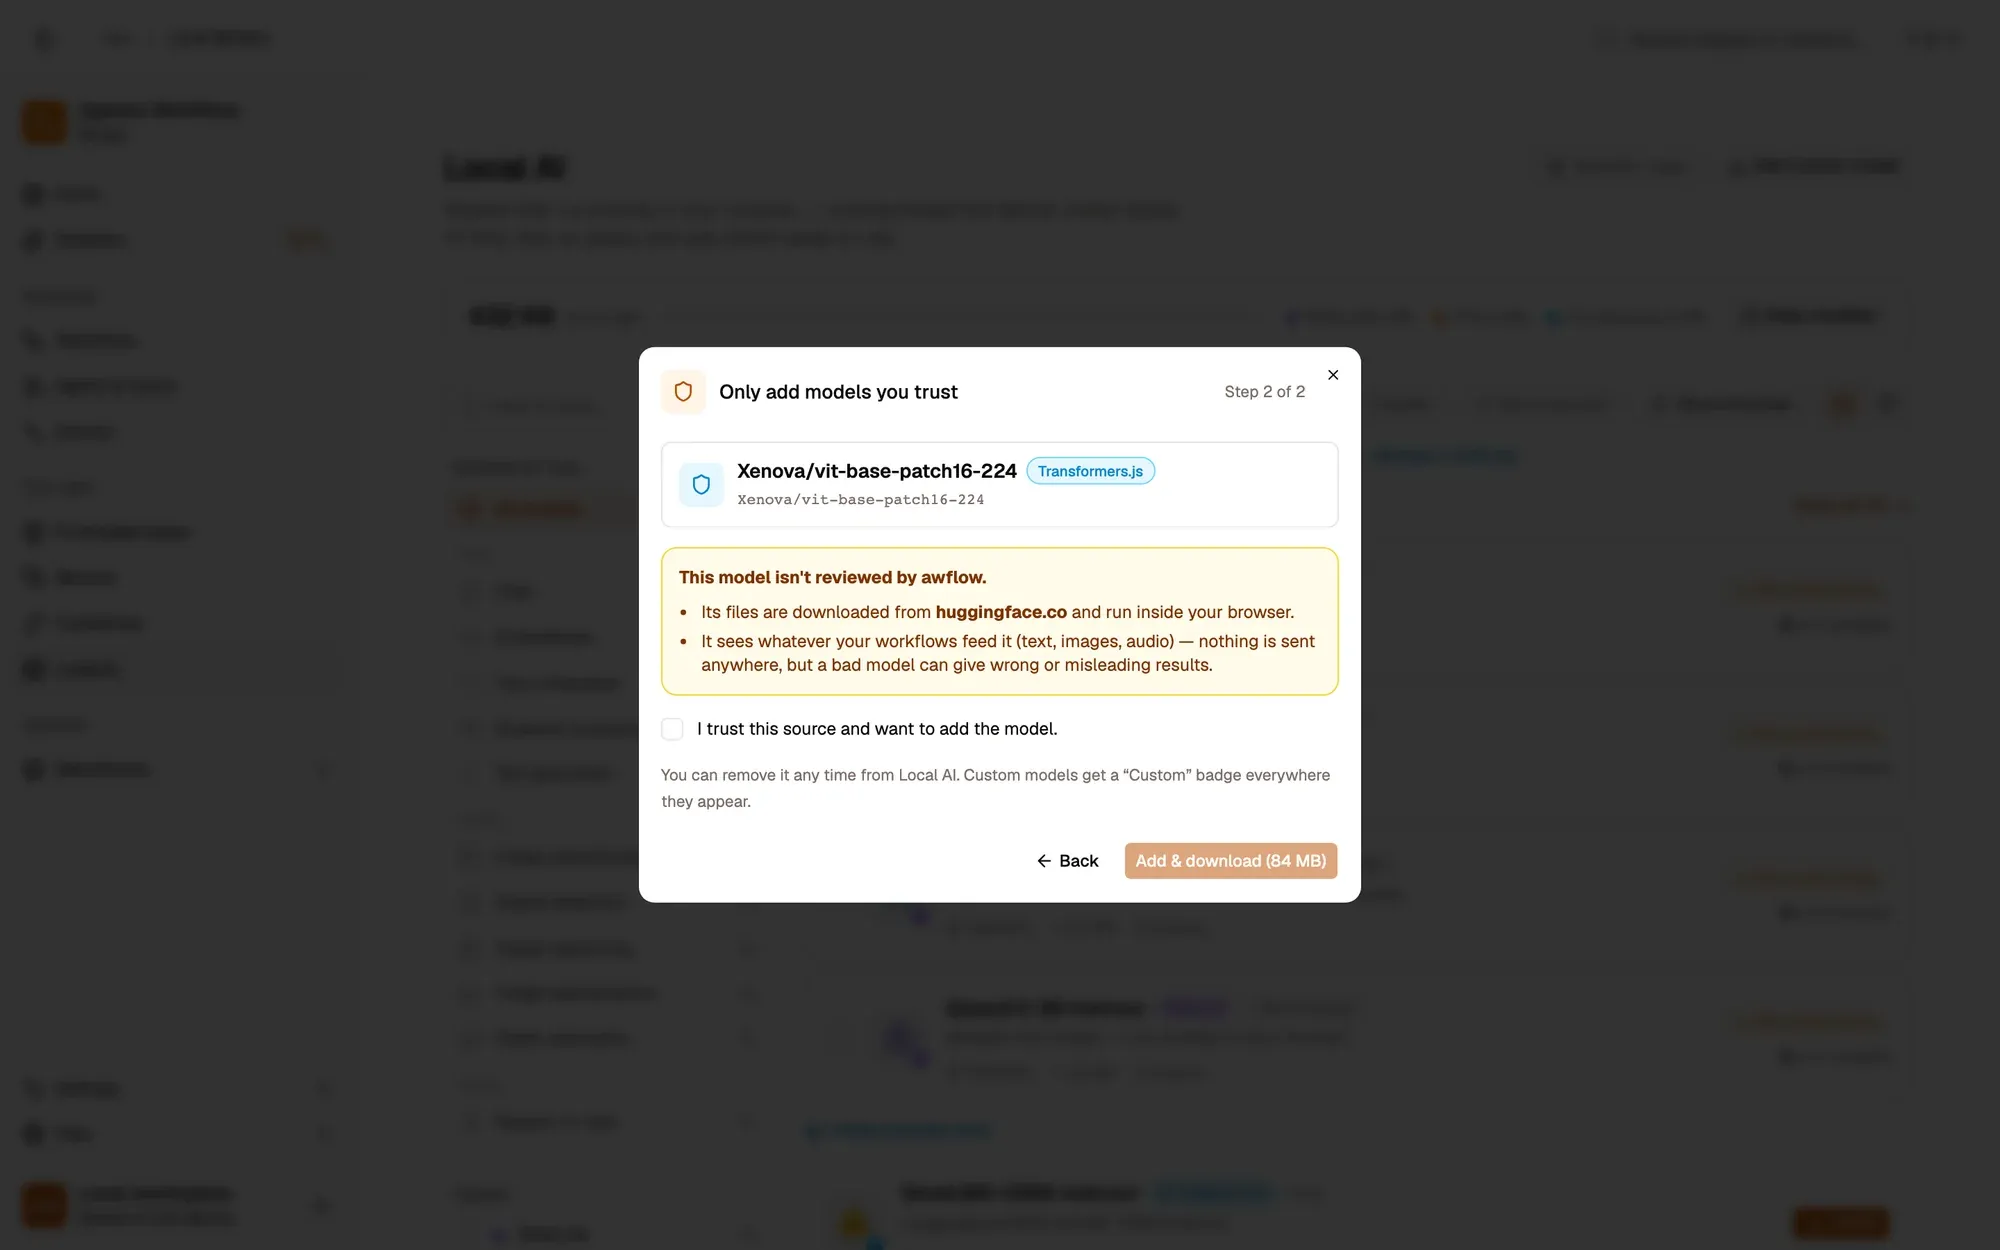
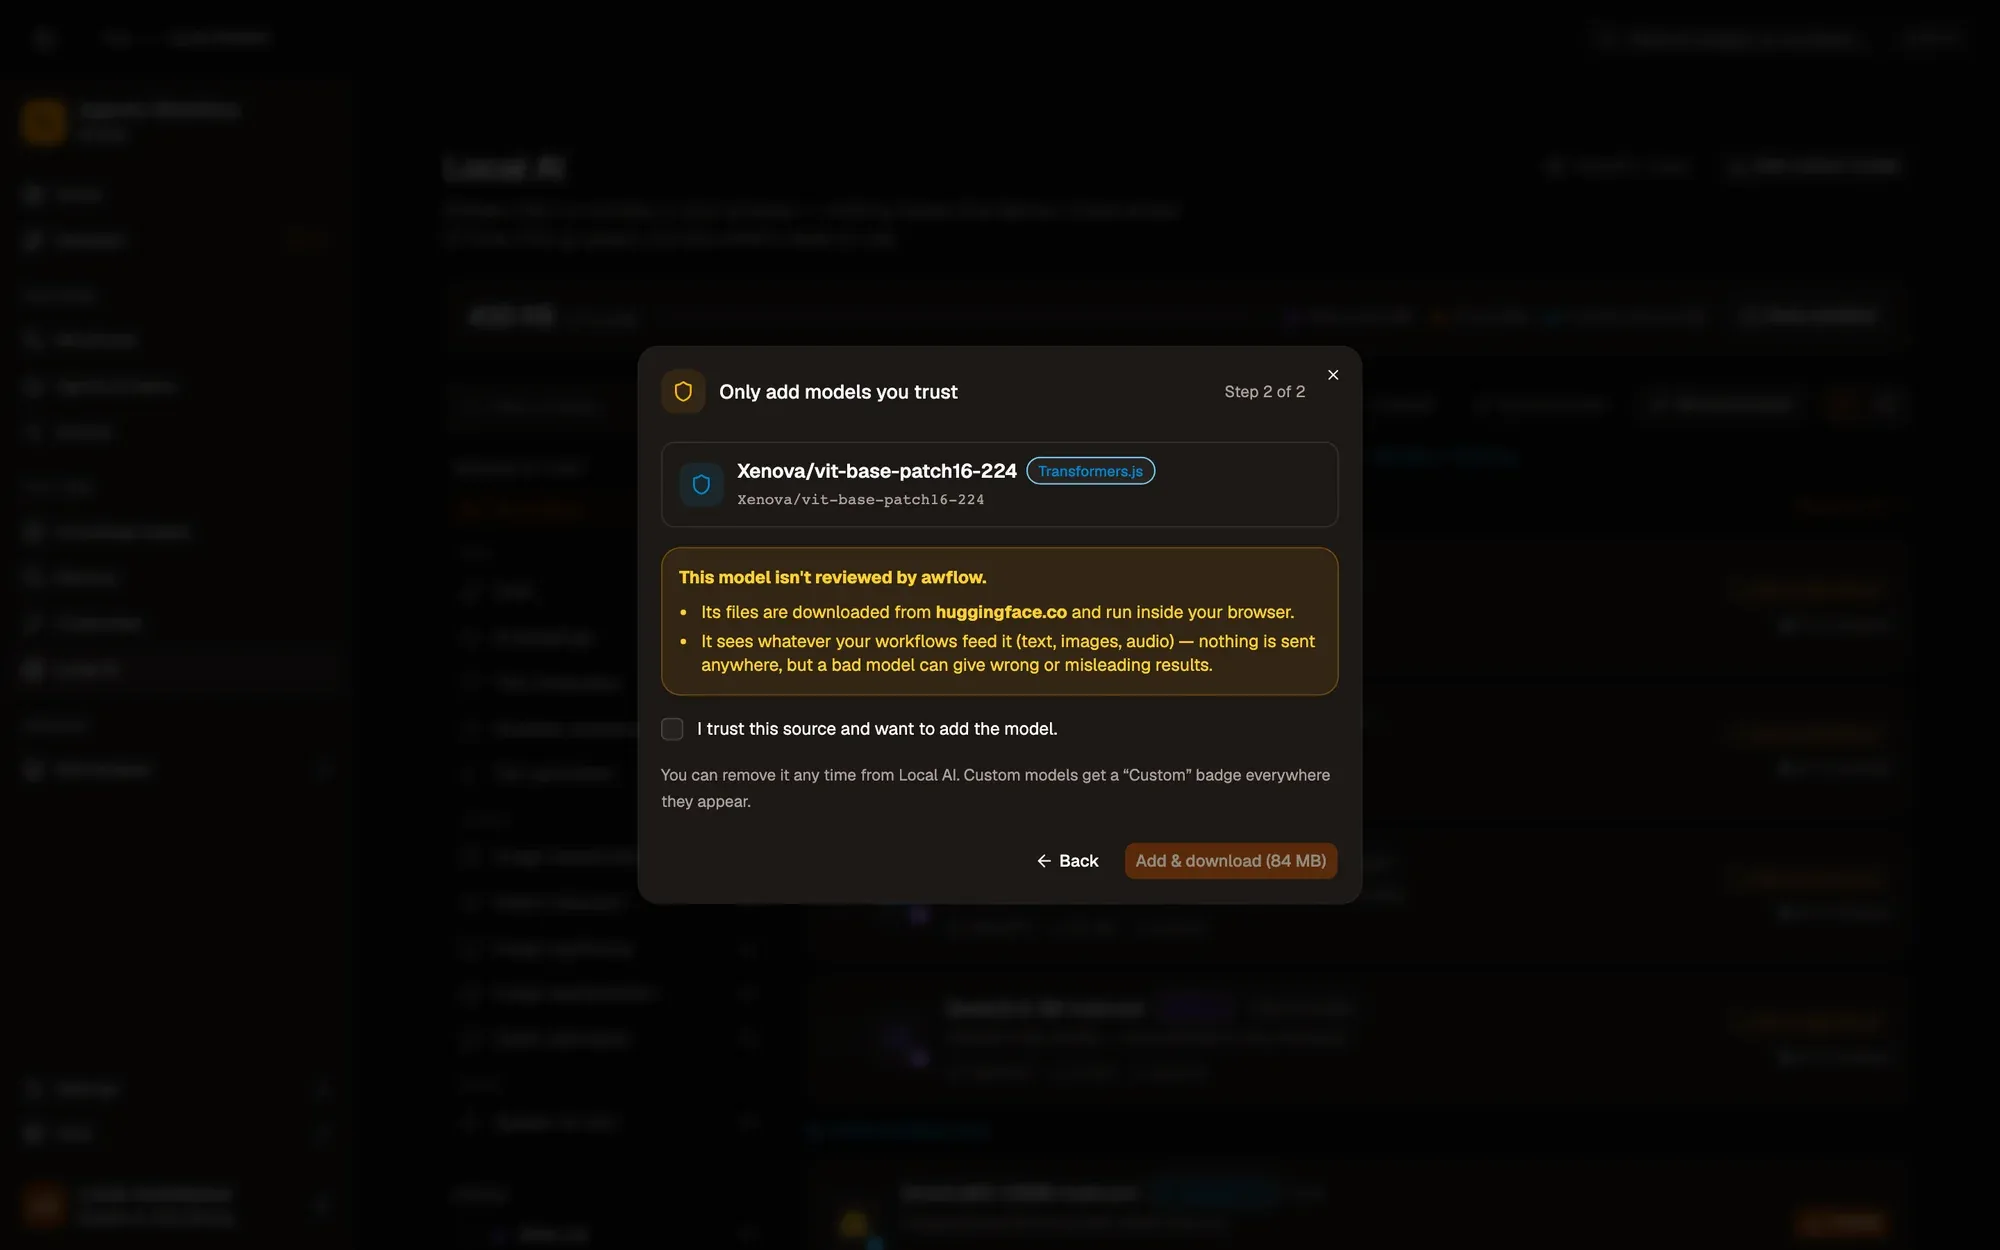
Check: the model is listed with a Custom badge and starts downloading.
Once added, a custom model gets a Custom badge and behaves like a built-in one: install, test, use it in a workflow (including the Run Local Model node, whose Custom model (raw output) task runs a model of any other kind), and remove it, which deletes both its weights and the entry.