Before you start
Section titled “Before you start”- The Obsidian desktop app, open while the workflow runs.
- The Local REST API community plugin.
- The AWFlow browser extension. These steps run in the extension (the web app hands them to it).
Used by
Section titled “Used by”Set it up
Section titled “Set it up”-
Install the plugin. In Obsidian, open Settings › Community plugins, browse for Local REST API, install it and enable it.
-
Turn on the HTTP server. In the plugin’s settings, enable the non-encrypted (HTTP) server on port
27123. The HTTPS port27124uses a self-signed certificate that the browser rejects. -
Copy the API key from the plugin’s settings.
-
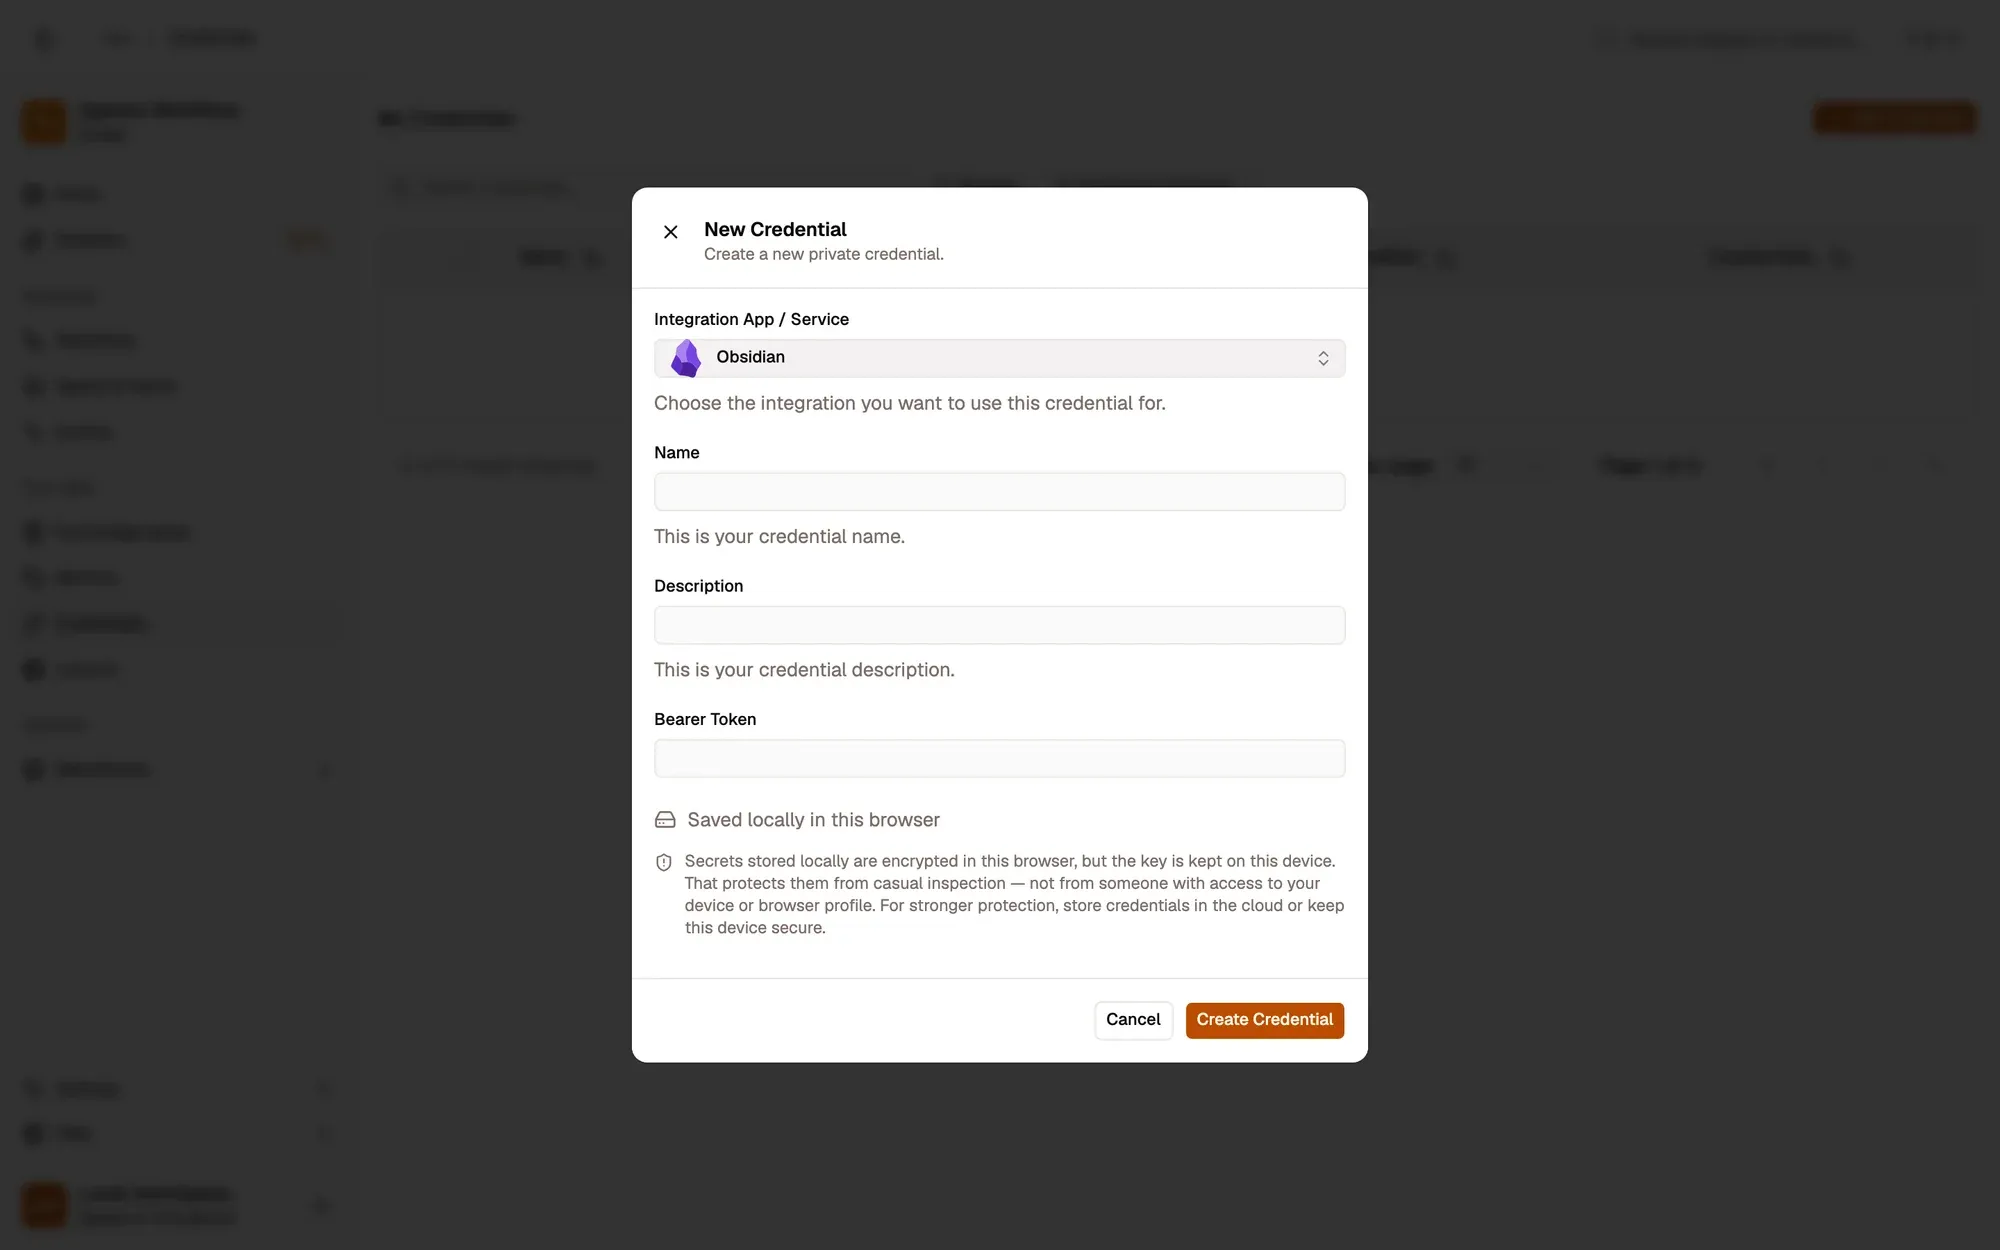
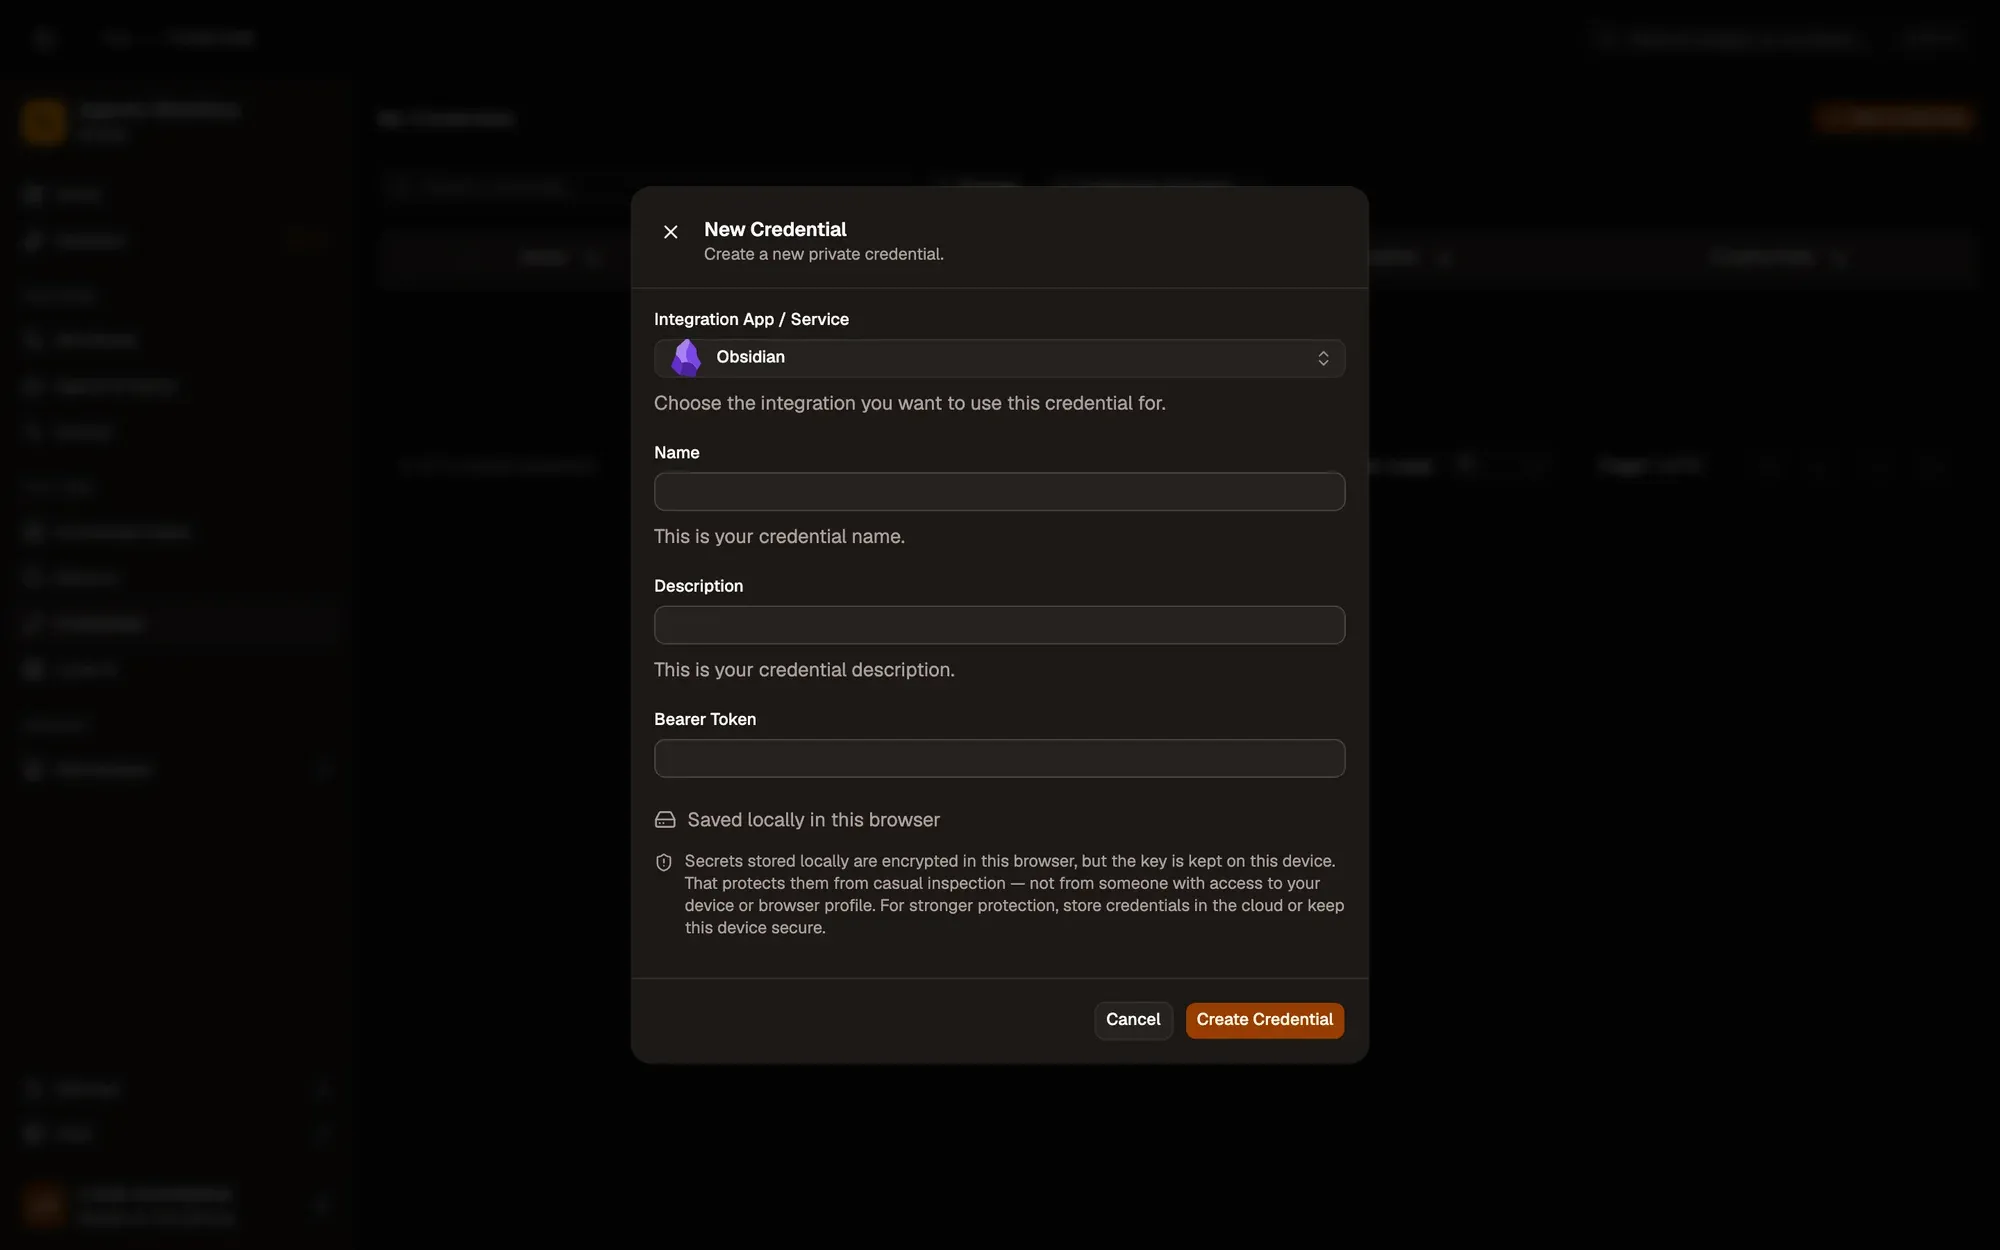
Save it in AWFlow. Open Credentials and click Add Credential (or + Add Credential in a node’s Credential field), then fill the New Credential form. In the browser side panel the form comes in two steps: tap Obsidian in the list, then fill the rest.
Numbered areas in the screenshot: 1. Integration App / Service: Obsidian; 2. Name; 3. Bearer Token; 4. Where the secret is stored (here, locally in this browser); 5. Create Credential.
Where your token lives
Section titled “Where your token lives”Common issues
Section titled “Common issues”- “Could not reach the Obsidian Local REST API at…”. Obsidian is closed, the plugin or its HTTP server is off, or Server URL doesn’t match the port.
- “401 … check the API key from the plugin settings”. The key was regenerated in the plugin. Copy it again.
- The run is blocked in the web app. Obsidian runs through the browser extension. Install the extension and allow Obsidian for this workflow when asked, or run the workflow from the extension. See Extension-only integrations in the web app.