AWFlow can send you an occasional email newsletter with product updates. This page covers how the opt-in works, how to change your mind later, and — for workspace admins — how to compose and send an issue.
Opting in
Section titled “Opting in”If you’re signed in, you may occasionally see a small “Stay in the loop” card in the bottom-right corner of the app inviting you to subscribe (in the narrow side panel it appears as a card along the bottom edge, one notice at a time). It’s a discreet card, not a full-screen popup — it doesn’t block what you’re doing, and you can keep working while it’s shown.
- Subscribe — opts you in immediately.
- Not now (or the dismiss ✕) — hides the card without subscribing. You may see it again later, but it backs off automatically and stops appearing after a few dismissals.
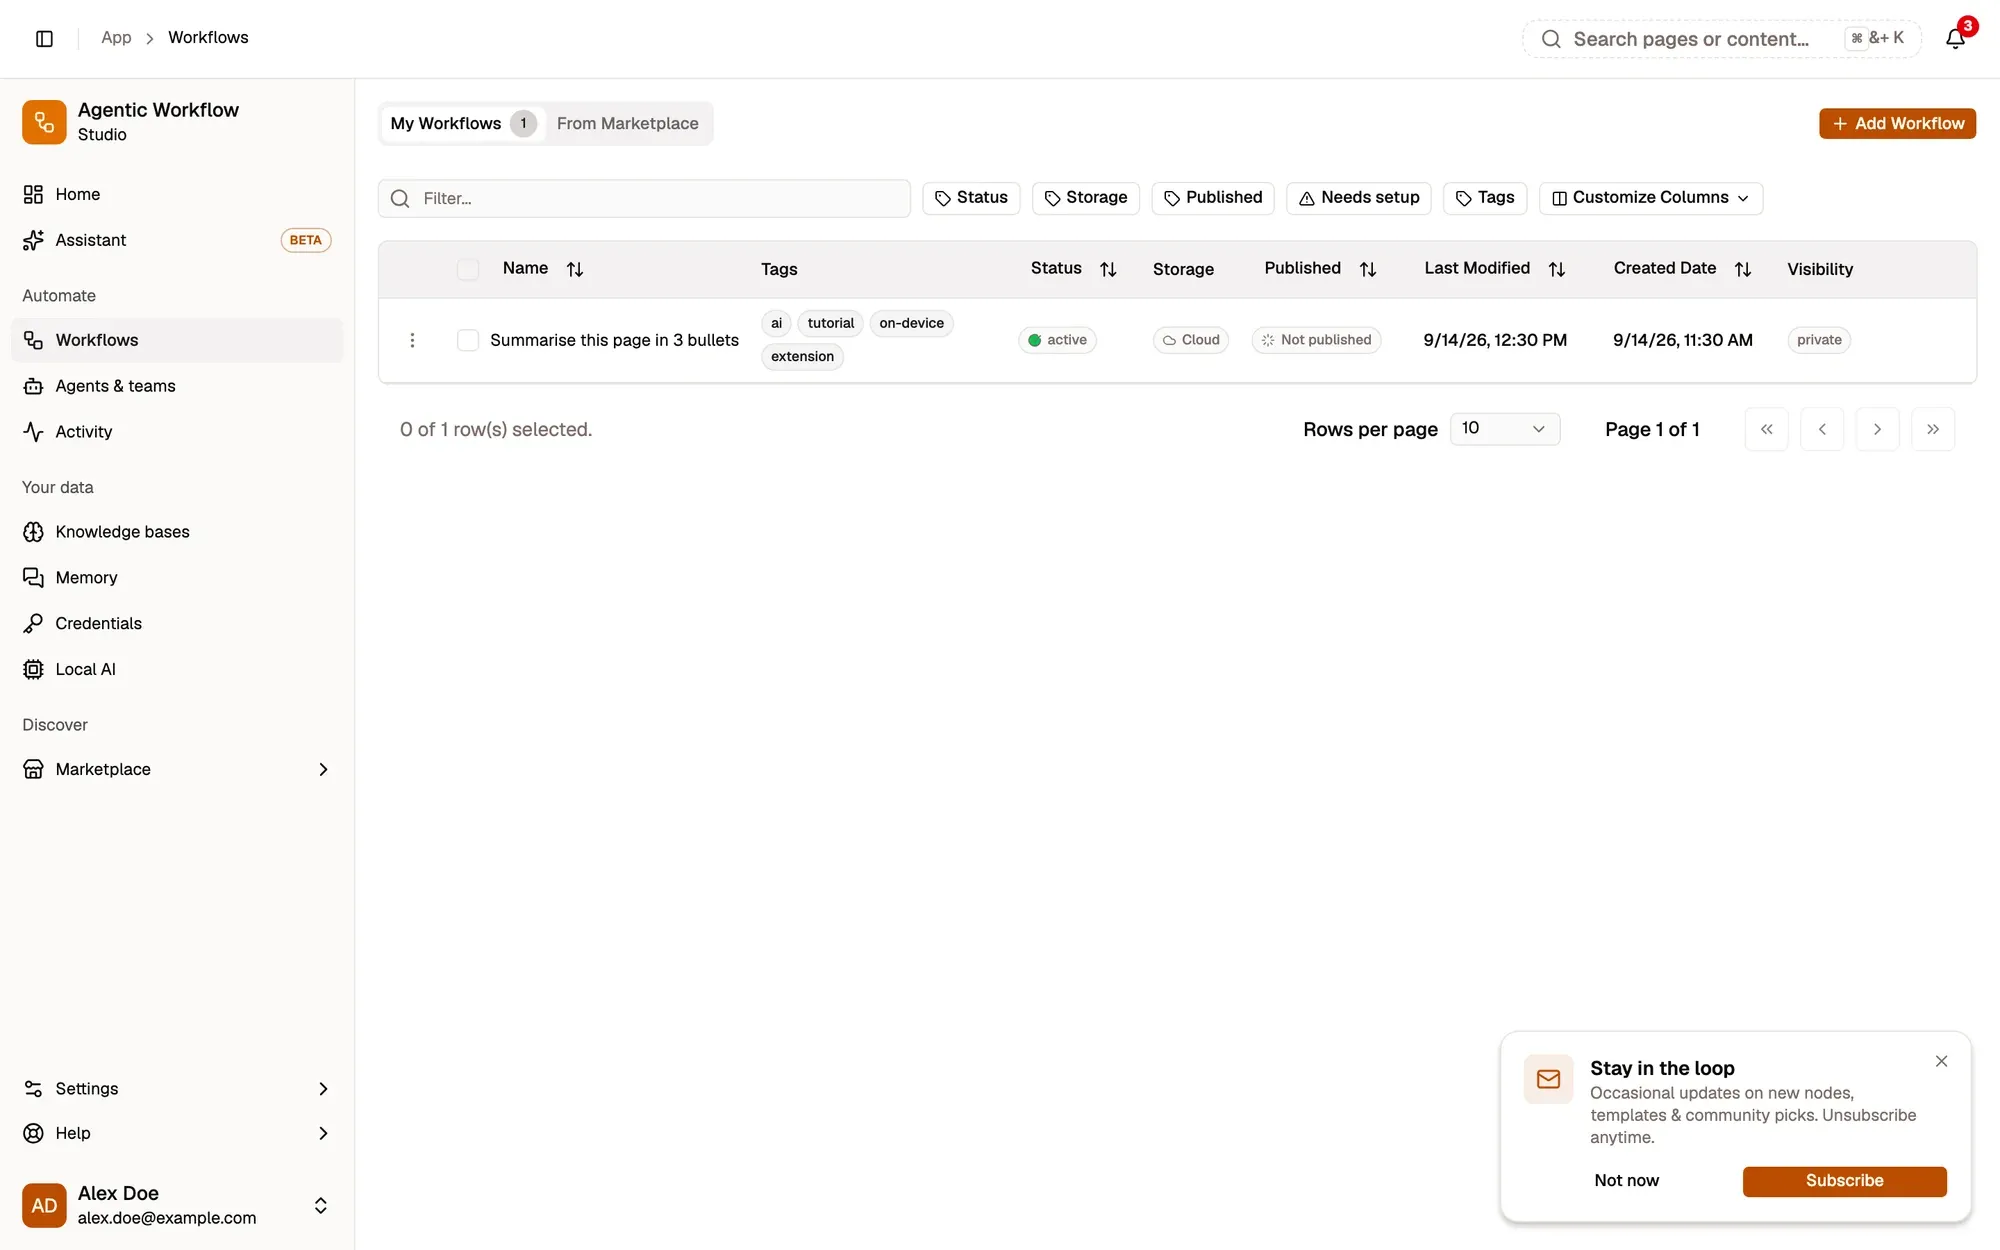
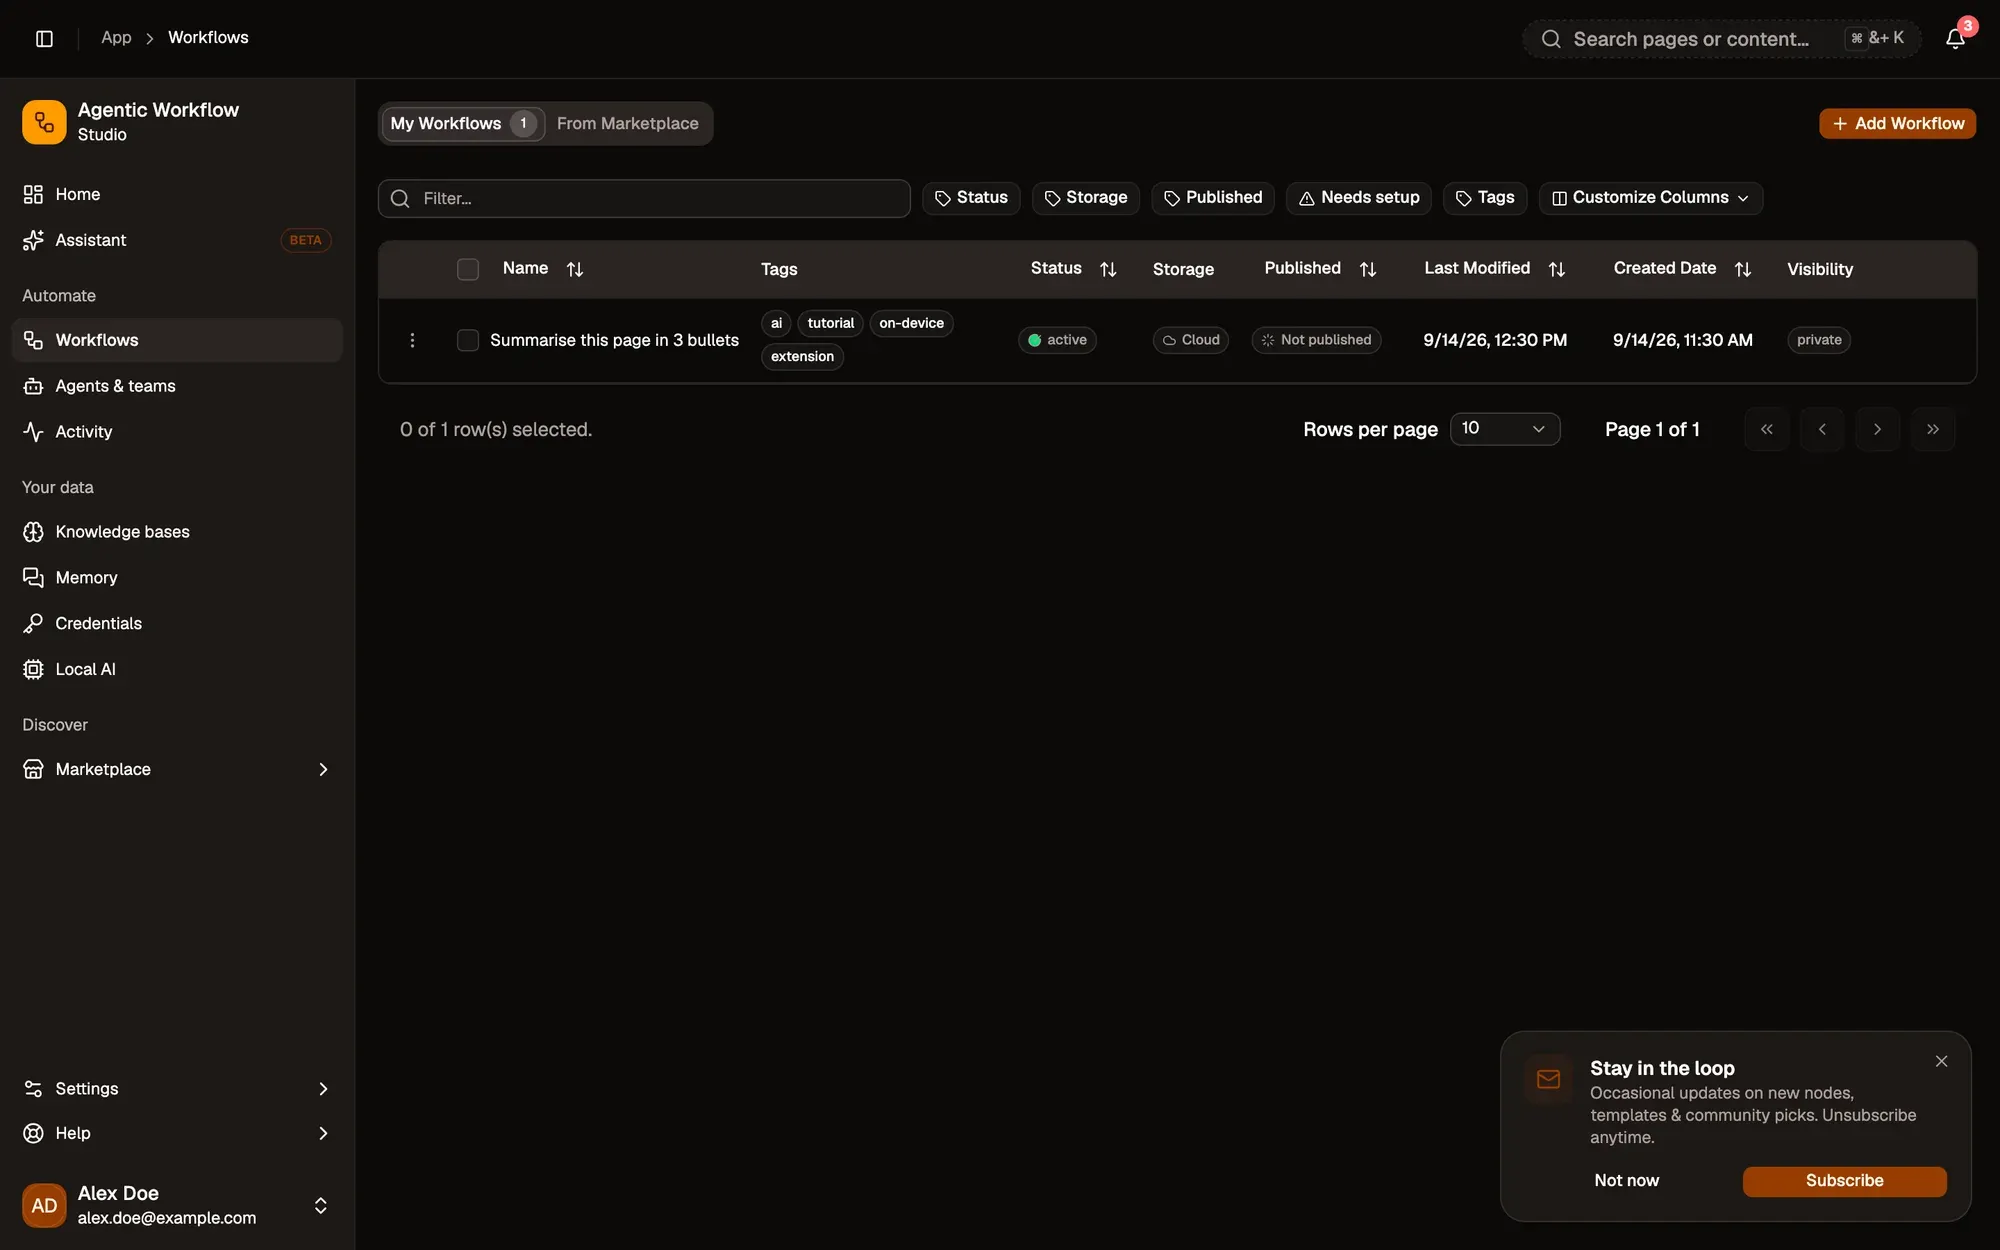
Numbered areas in the screenshot: 1. Subscribe; 2. Not now; 3. Dismiss.
You’ll only ever be prompted if you haven’t already made a choice (subscribed or unsubscribed). Once you’ve decided — either way — the card won’t ask again.
Managing your subscription
Section titled “Managing your subscription”You don’t need to wait for the card. You can subscribe or unsubscribe at any time from Settings → General, in the Newsletter section (you need to be signed in). The Subscribe to the newsletter toggle shows your current status and saves instantly.
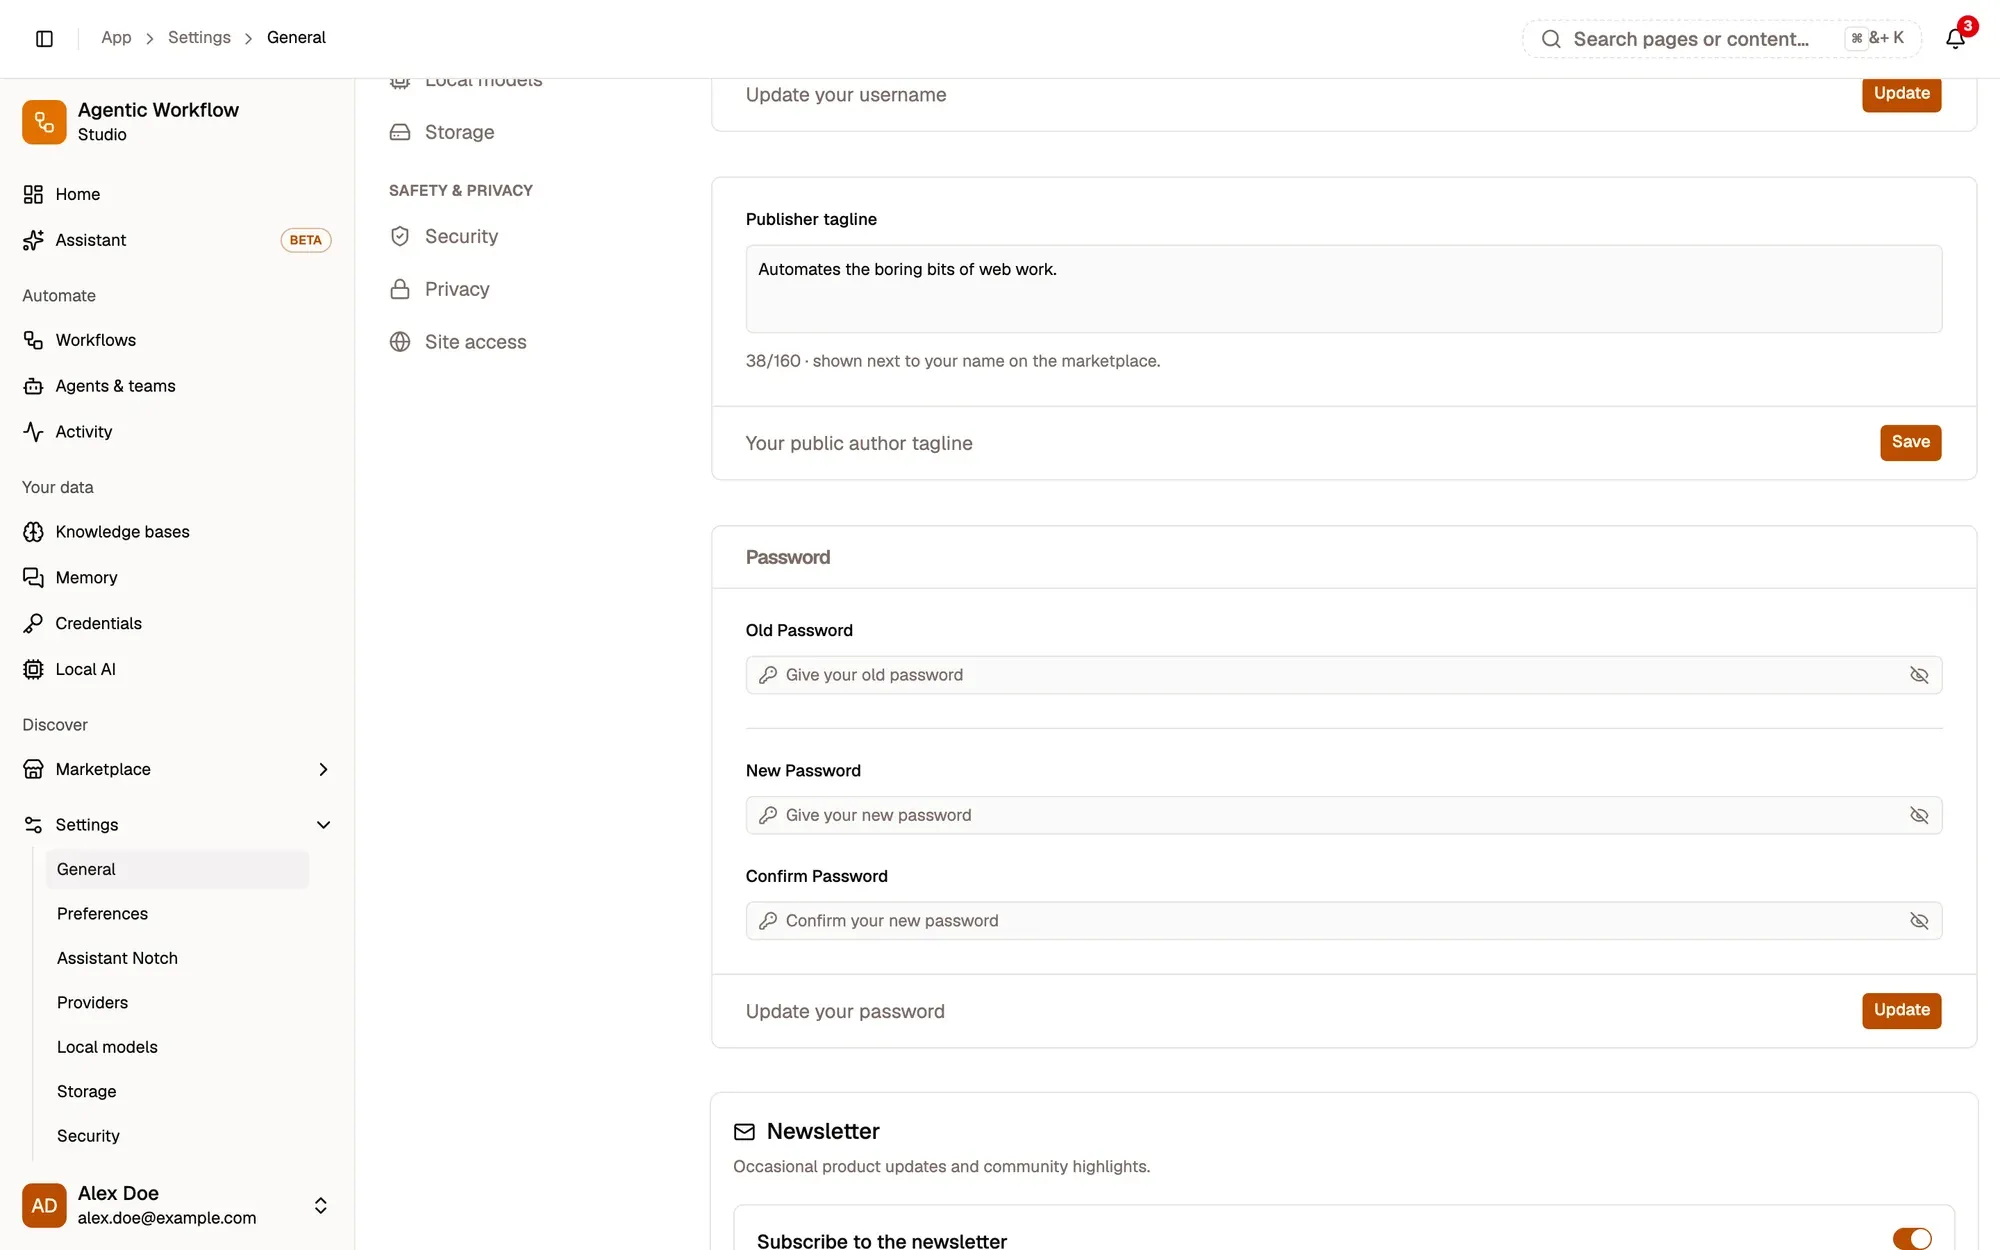
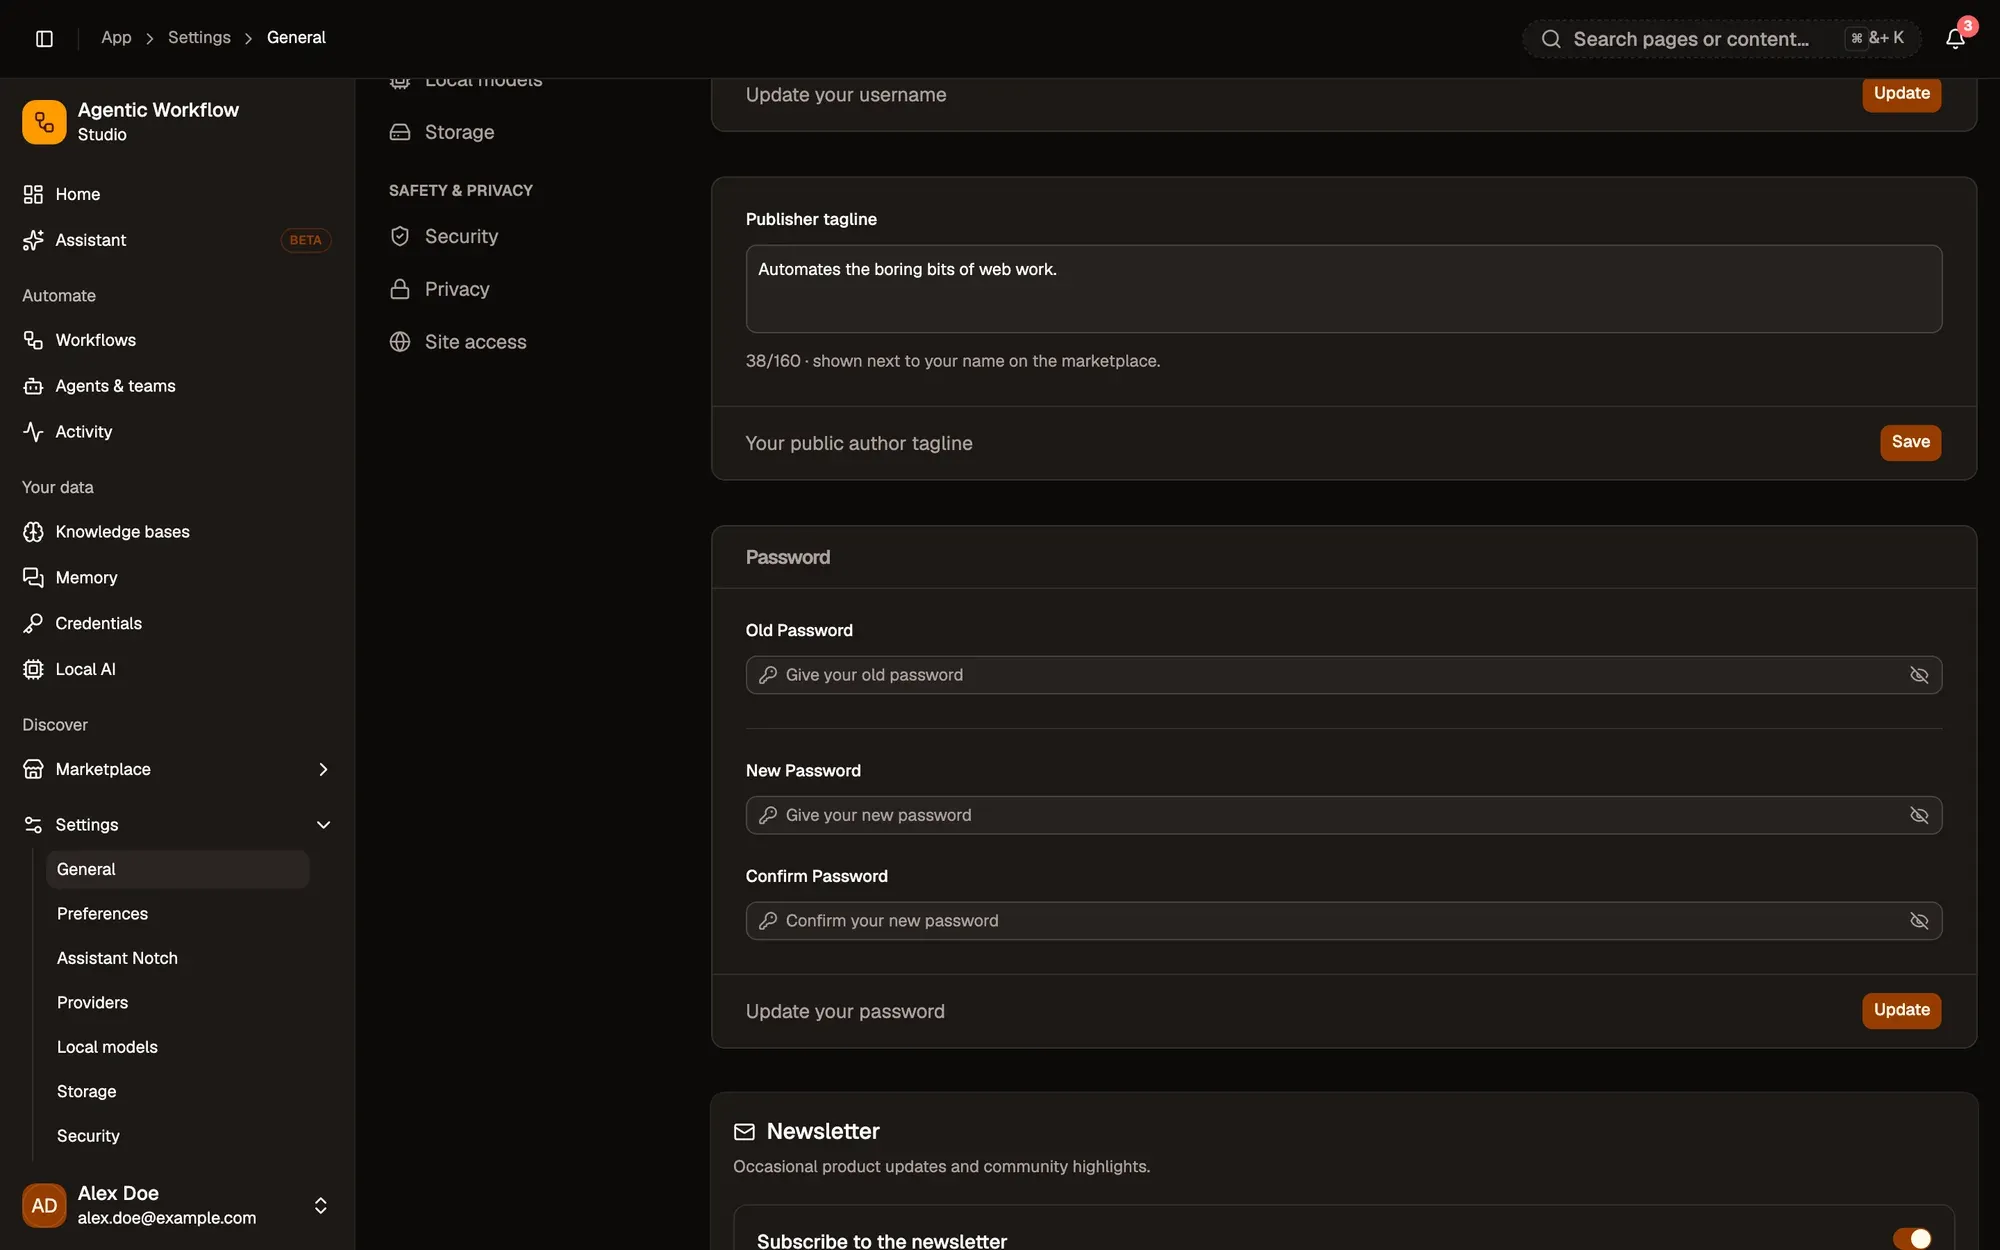
Unsubscribing from an email
Section titled “Unsubscribing from an email”Every newsletter email includes a footer with:
- Unsubscribe — a one-click link that opts you out immediately, no login required. It confirms on a simple landing page and offers a way to resubscribe if you changed your mind.
- Manage preferences — a link to a preferences page (on
app.awflow.io) where you can view your current status and switch it, also without logging in — the link itself is your authentication for that page.
Both links work even if you’re not signed in on that device, since they use a personal token embedded in the email.
Admin: composing and sending an issue
Section titled “Admin: composing and sending an issue”Workspace admins compose and send newsletter issues from #/admin/newsletter.
The steps are in Admin › Newsletter:
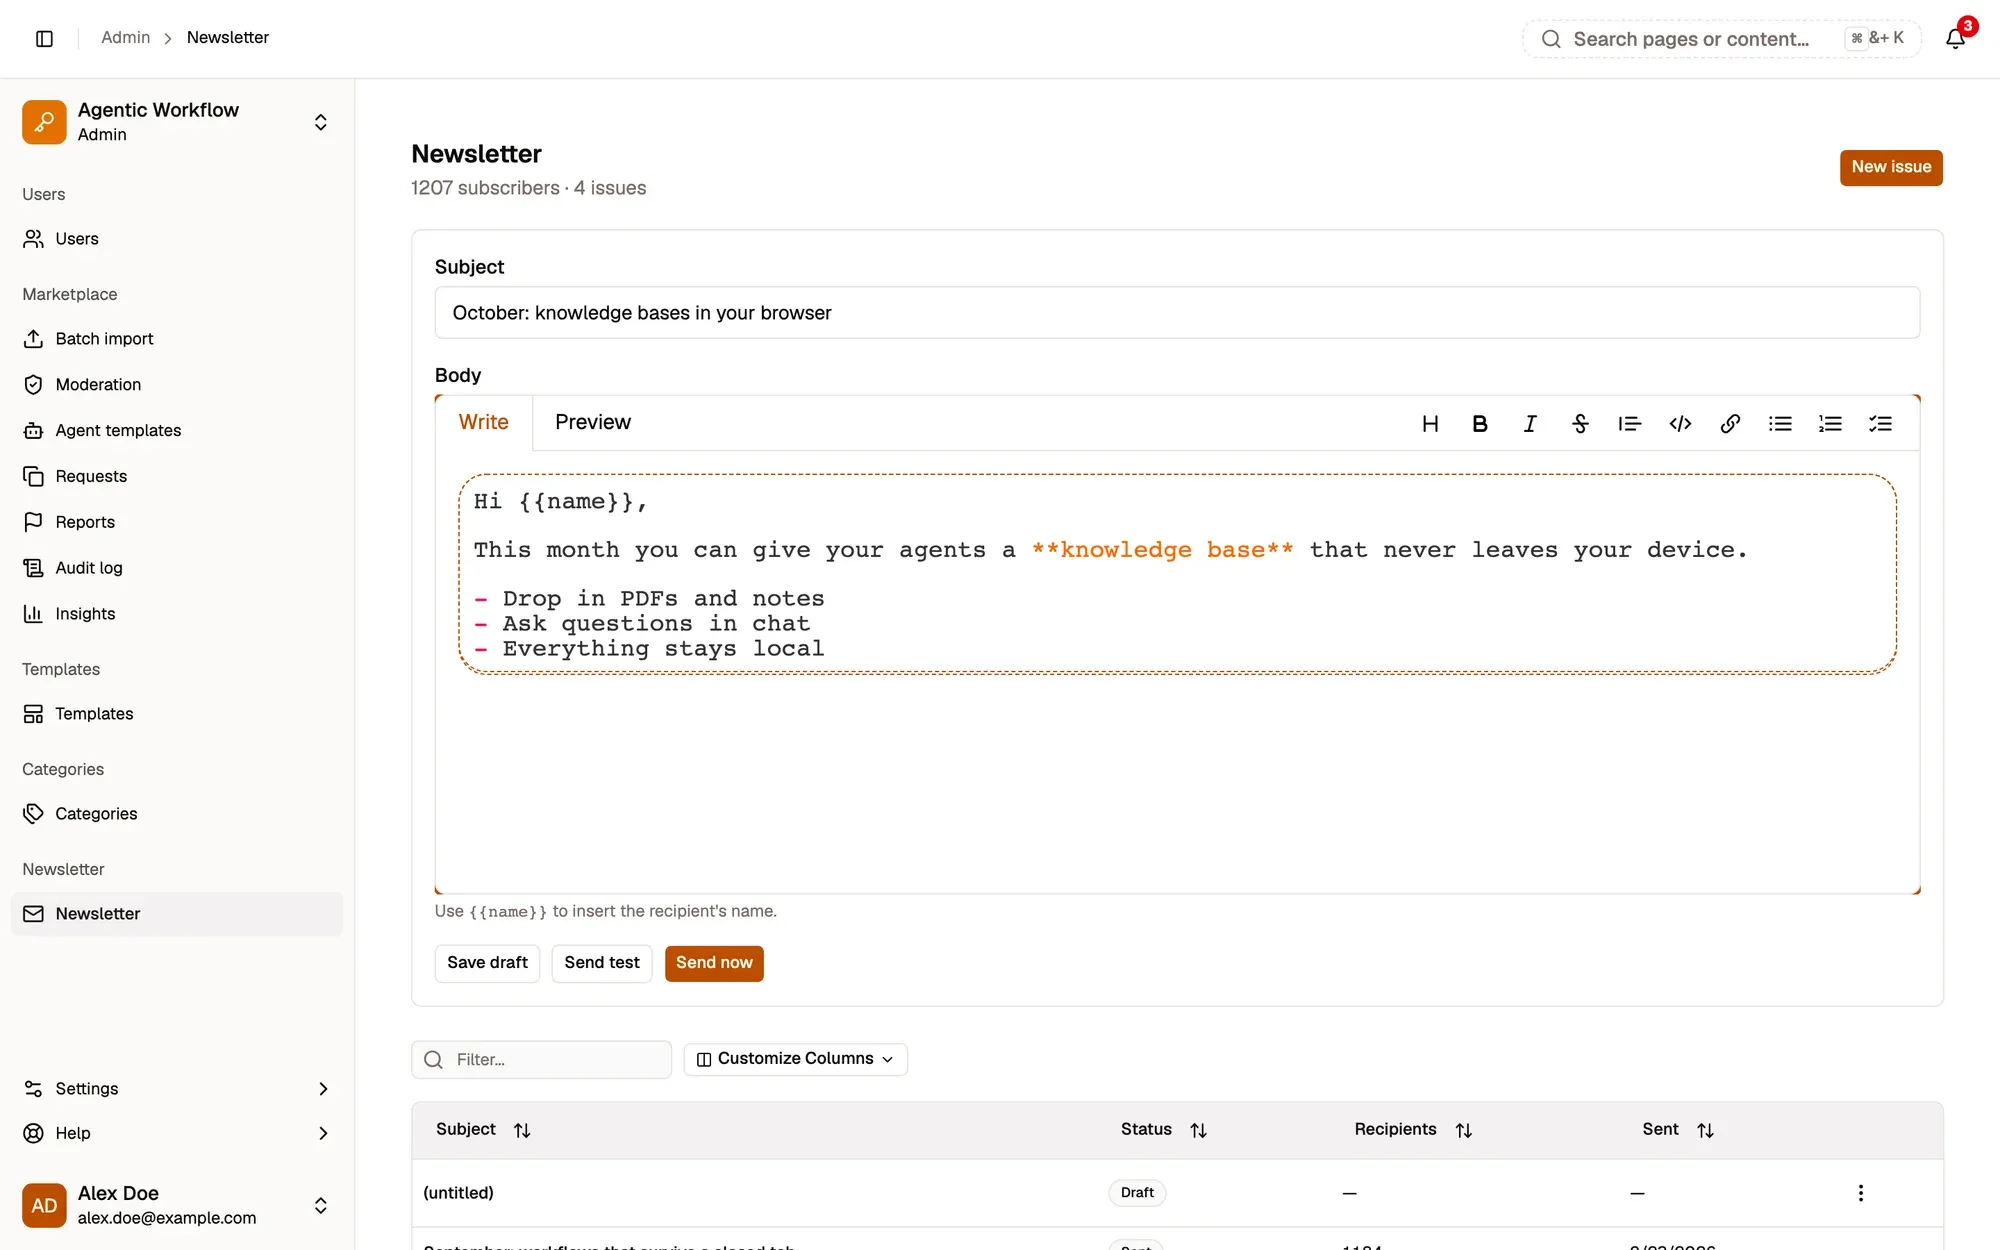
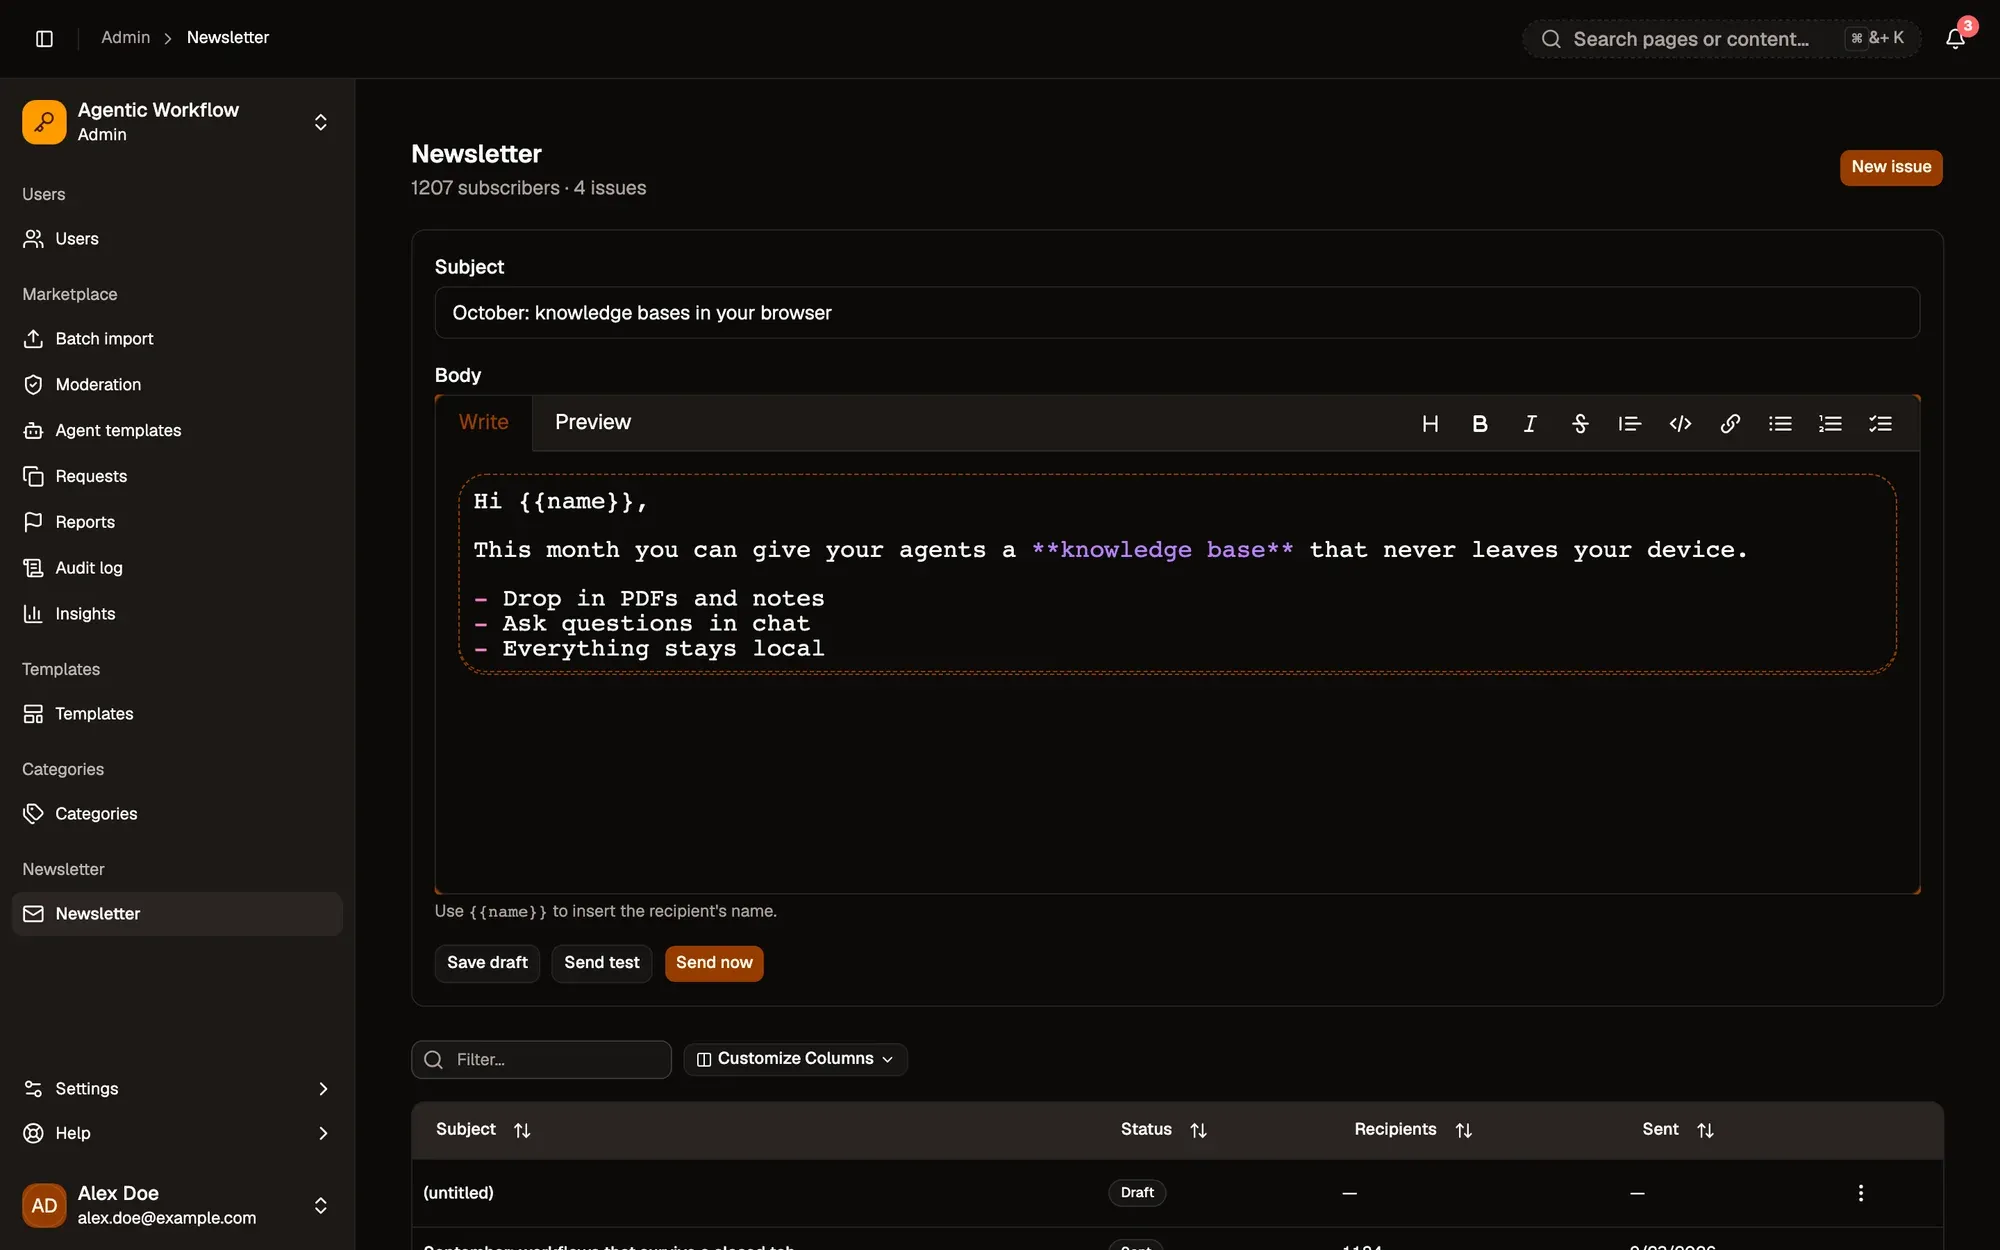
Numbered areas in the screenshot: 1. New issue; 2. Subject; 3. Body (Markdown); 4. Send test; 5. Send now.
Issues list
Section titled “Issues list”The newsletter admin page lists existing issues with their subject, status (draft, sending, or sent), recipient count, and send date, along with a summary of how many members are currently subscribed. Use New issue to start a draft.
Composing
Section titled “Composing”Each issue has:
- Subject — the email subject line.
- Body — written in Markdown, using the same editor as other content in the app. It’s rendered to HTML when the email is sent.
You can use the merge variable {{name}} anywhere in the body — it’s replaced with each recipient’s name when the email goes out, so a body like Hi {{name}}, becomes personalized for every subscriber.
Drafts can be edited or deleted freely. Once an issue has been sent, its subject and body are locked.
Send test
Section titled “Send test”Send test renders the issue and emails it to your own address only, so you can check formatting, the merge variable, and links before sending to everyone. You can send a test at any point, including after the issue has already gone out.
Send now
Section titled “Send now”Send now delivers the issue to every currently subscribed member. Before it goes out, a confirmation dialog shows exactly how many people will receive it and warns that the action can’t be undone.
A few things to know about sending:
- There’s no scheduling — sending is immediate.
- An issue can only be sent once its status is draft; sending flips it to sending and then sent, which prevents accidentally sending it twice.
- If delivery to an individual recipient fails, it doesn’t stop the rest of the batch — the final recipient count reflects successful sends.
- Every email automatically includes the unsubscribe and manage-preferences links described above, plus your organization’s sender identity in the footer.