A workflow is saved as a .awf file: a small JSON text file with its steps, connections and notes.
- Export a workflow to back it up or share it.
- Import a
.awffile (or a link to one) to use a workflow you downloaded or got from a teammate.
Your credentials (keys, tokens, sign-ins) are never part of the file.
Export a workflow
Section titled “Export a workflow”Step 1:Open the workflow's menu
On the Workflows page, click the ⋮ at the start of the workflow’s row.
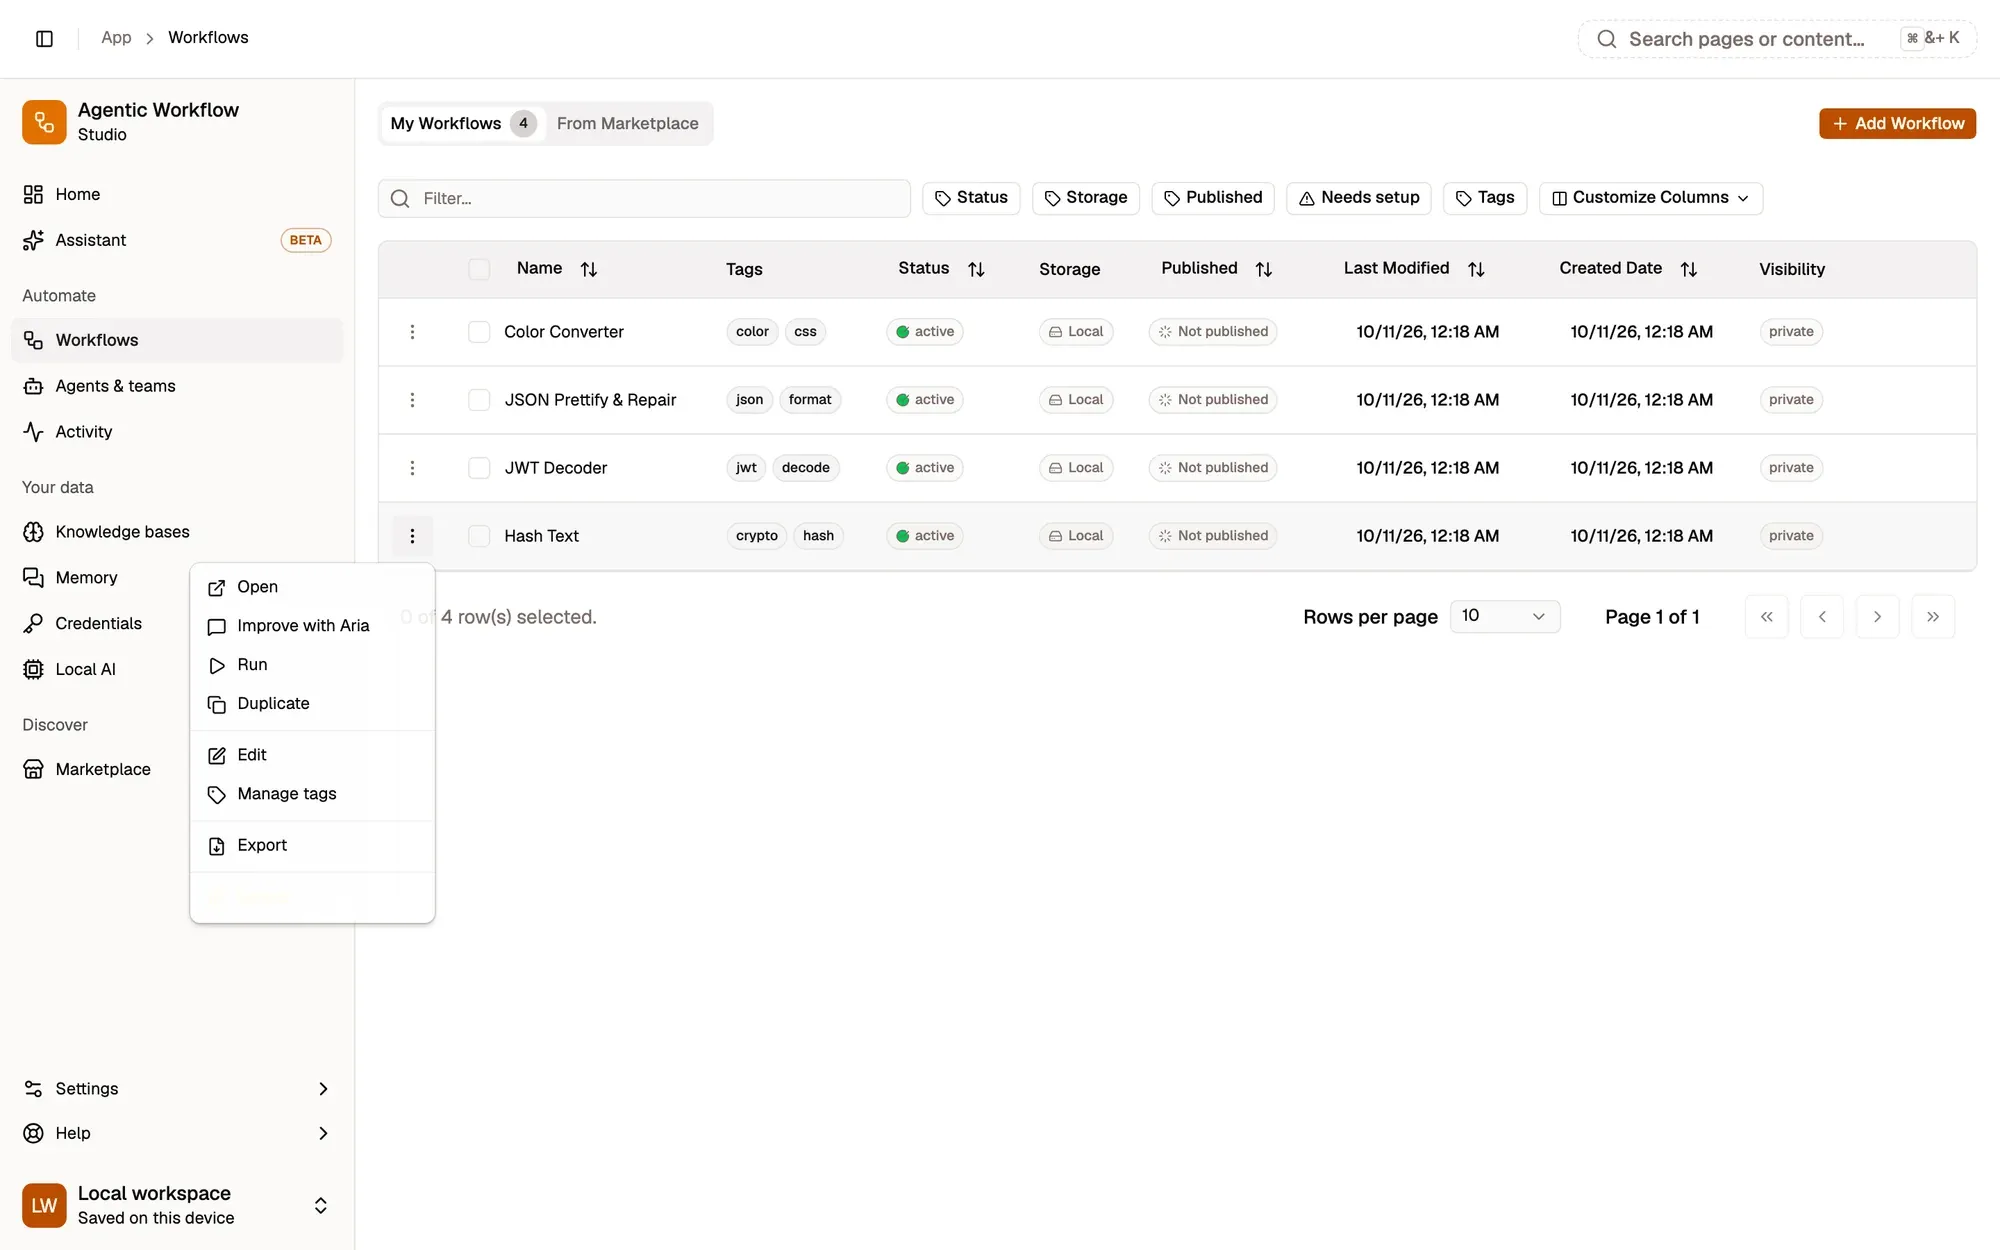
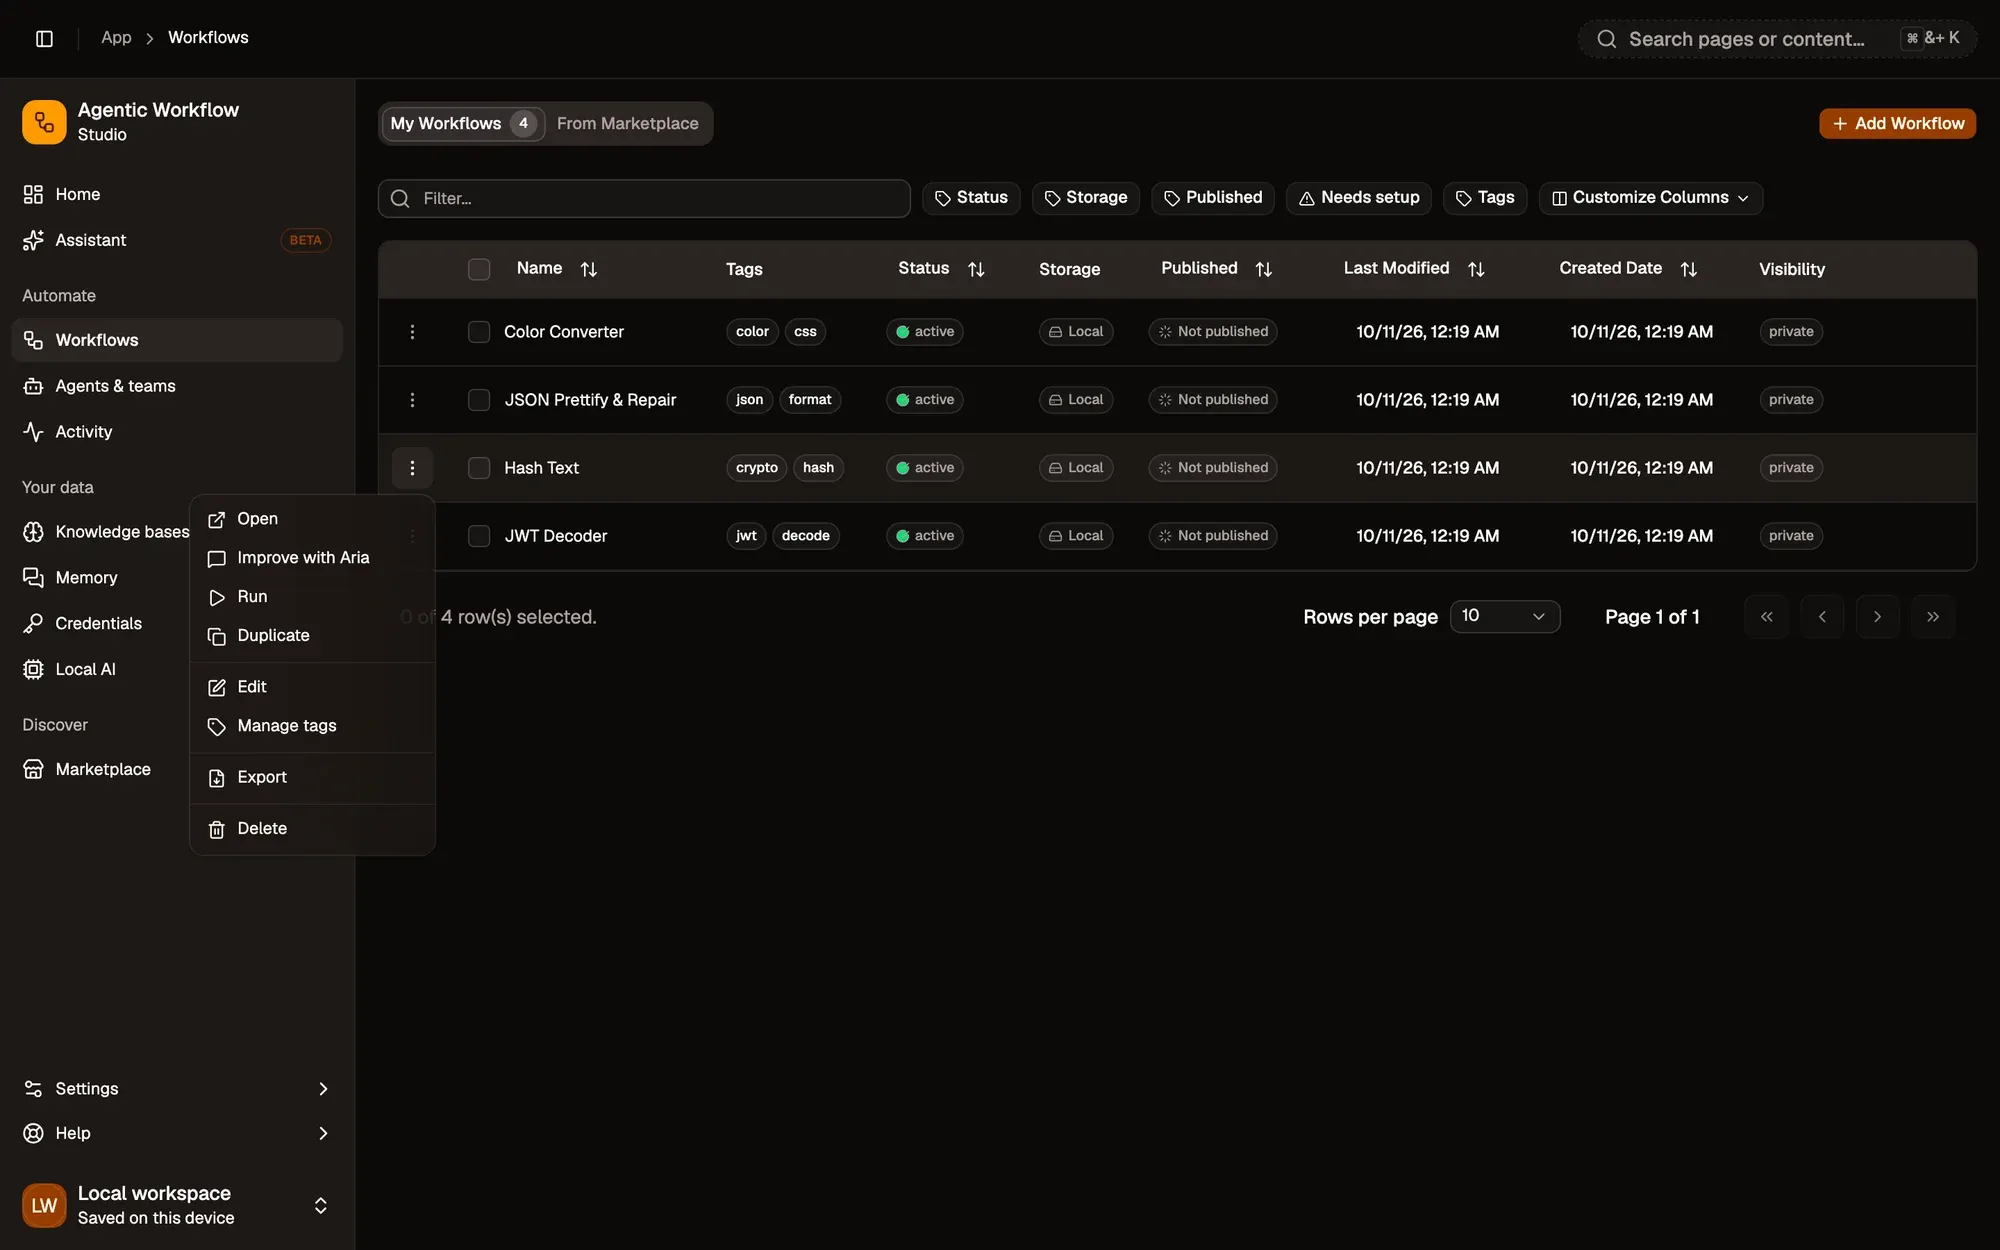
Step 2:Click Export
Check: your browser downloads a file named after the workflow, ending in .awf.
In the editor, the ⋮ at the top right has the same Export item. To export many workflows at once, select them in the list and click Export in the toolbar at the bottom (see Bulk actions).
If AWFlow finds a secret typed into a step (an API key pasted in a field, for example), it tells you before downloading and offers to export the workflow with the secrets removed.
Copy and paste steps
Section titled “Copy and paste steps”To share only a few steps, select them on the canvas and press Ctrl C (⌘ C on a Mac), then press Ctrl V (⌘ V) in another workflow.
Import a workflow
Section titled “Import a workflow”An import always creates a new workflow; it never changes one you already have.
Step 1:Start an import
On the Workflows page, click Add Workflow, pick Import, then click Continue.
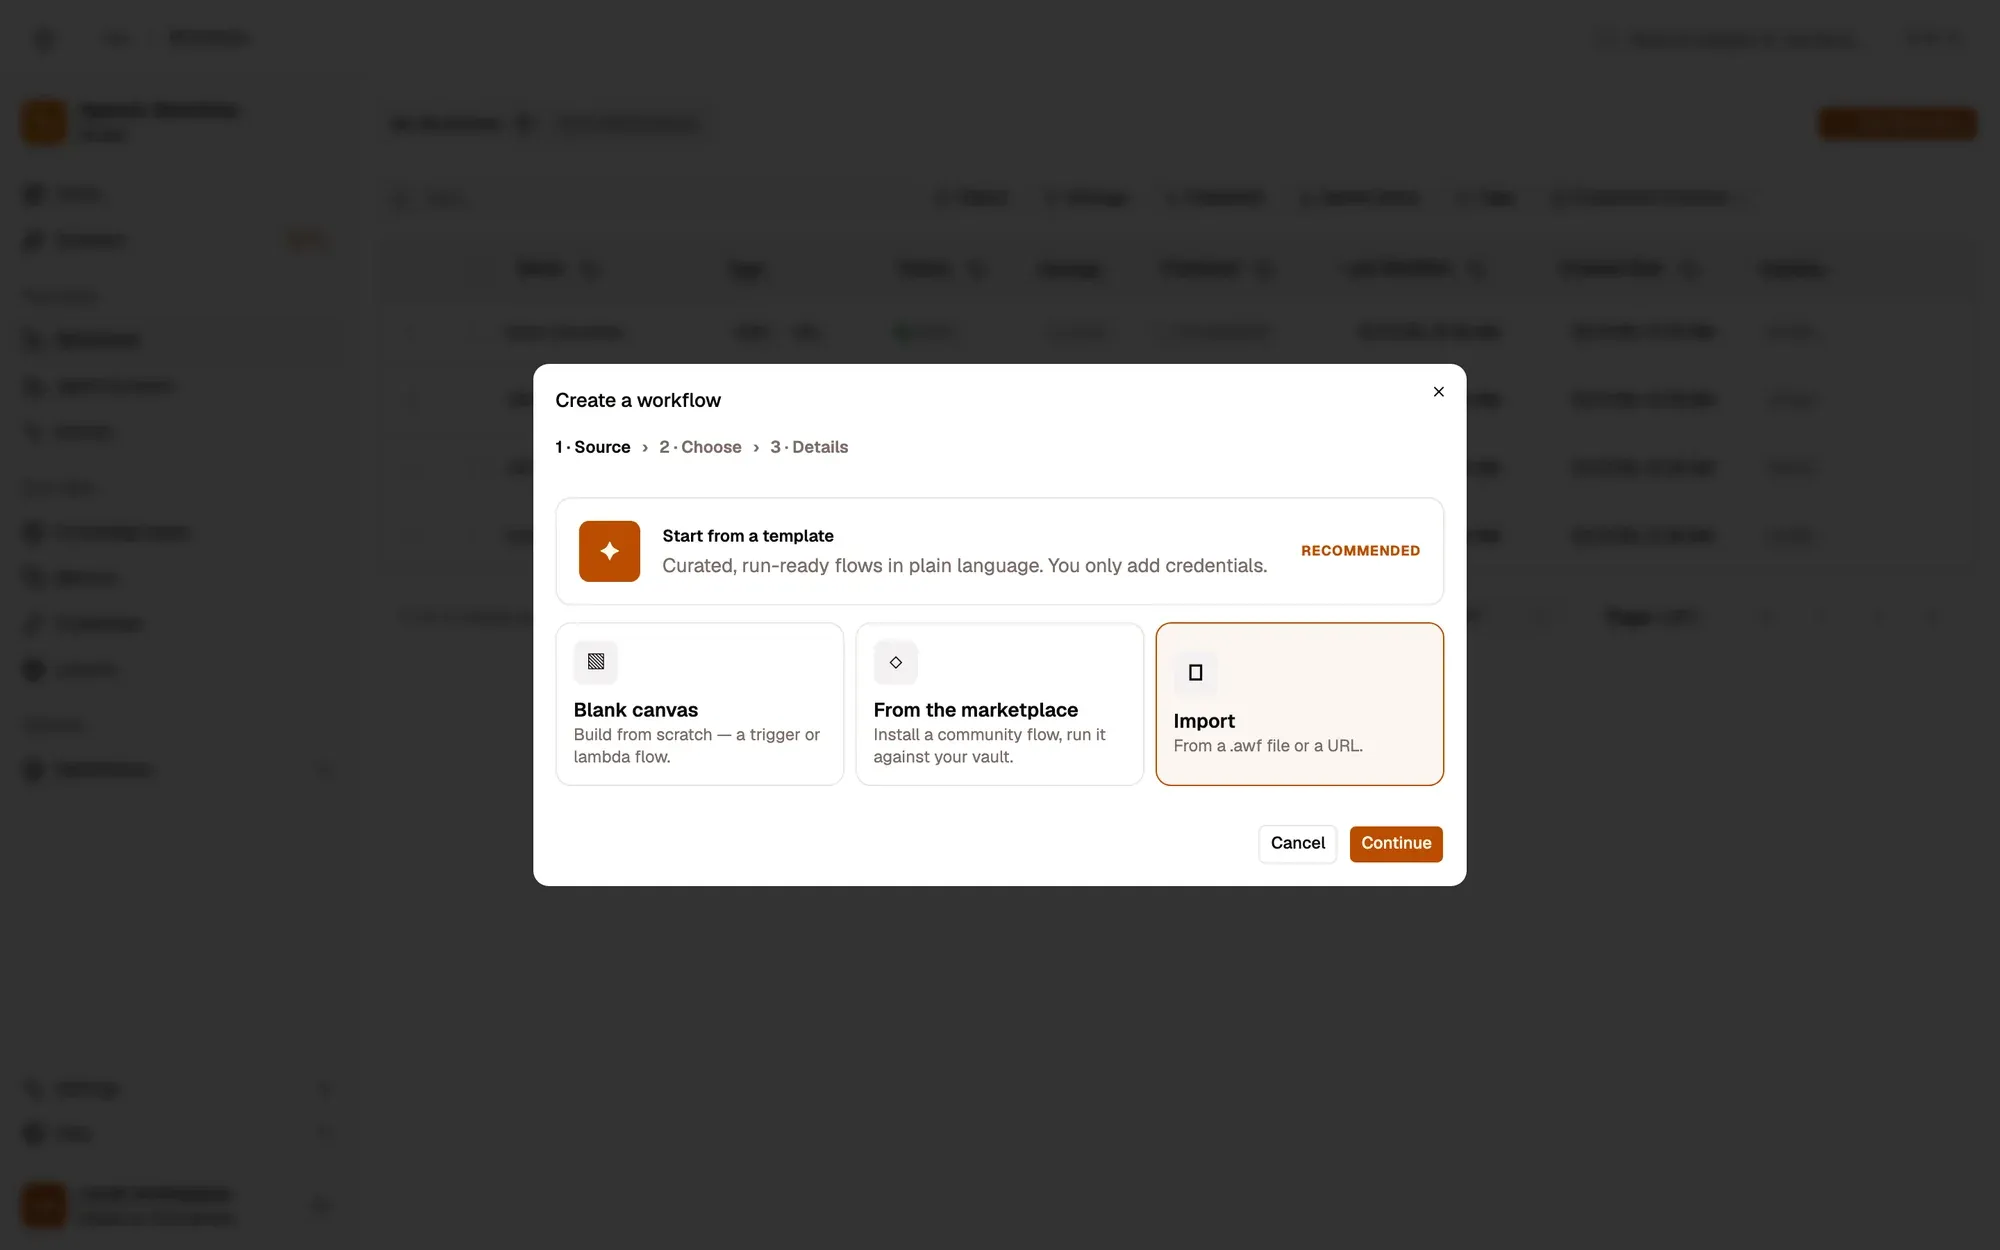
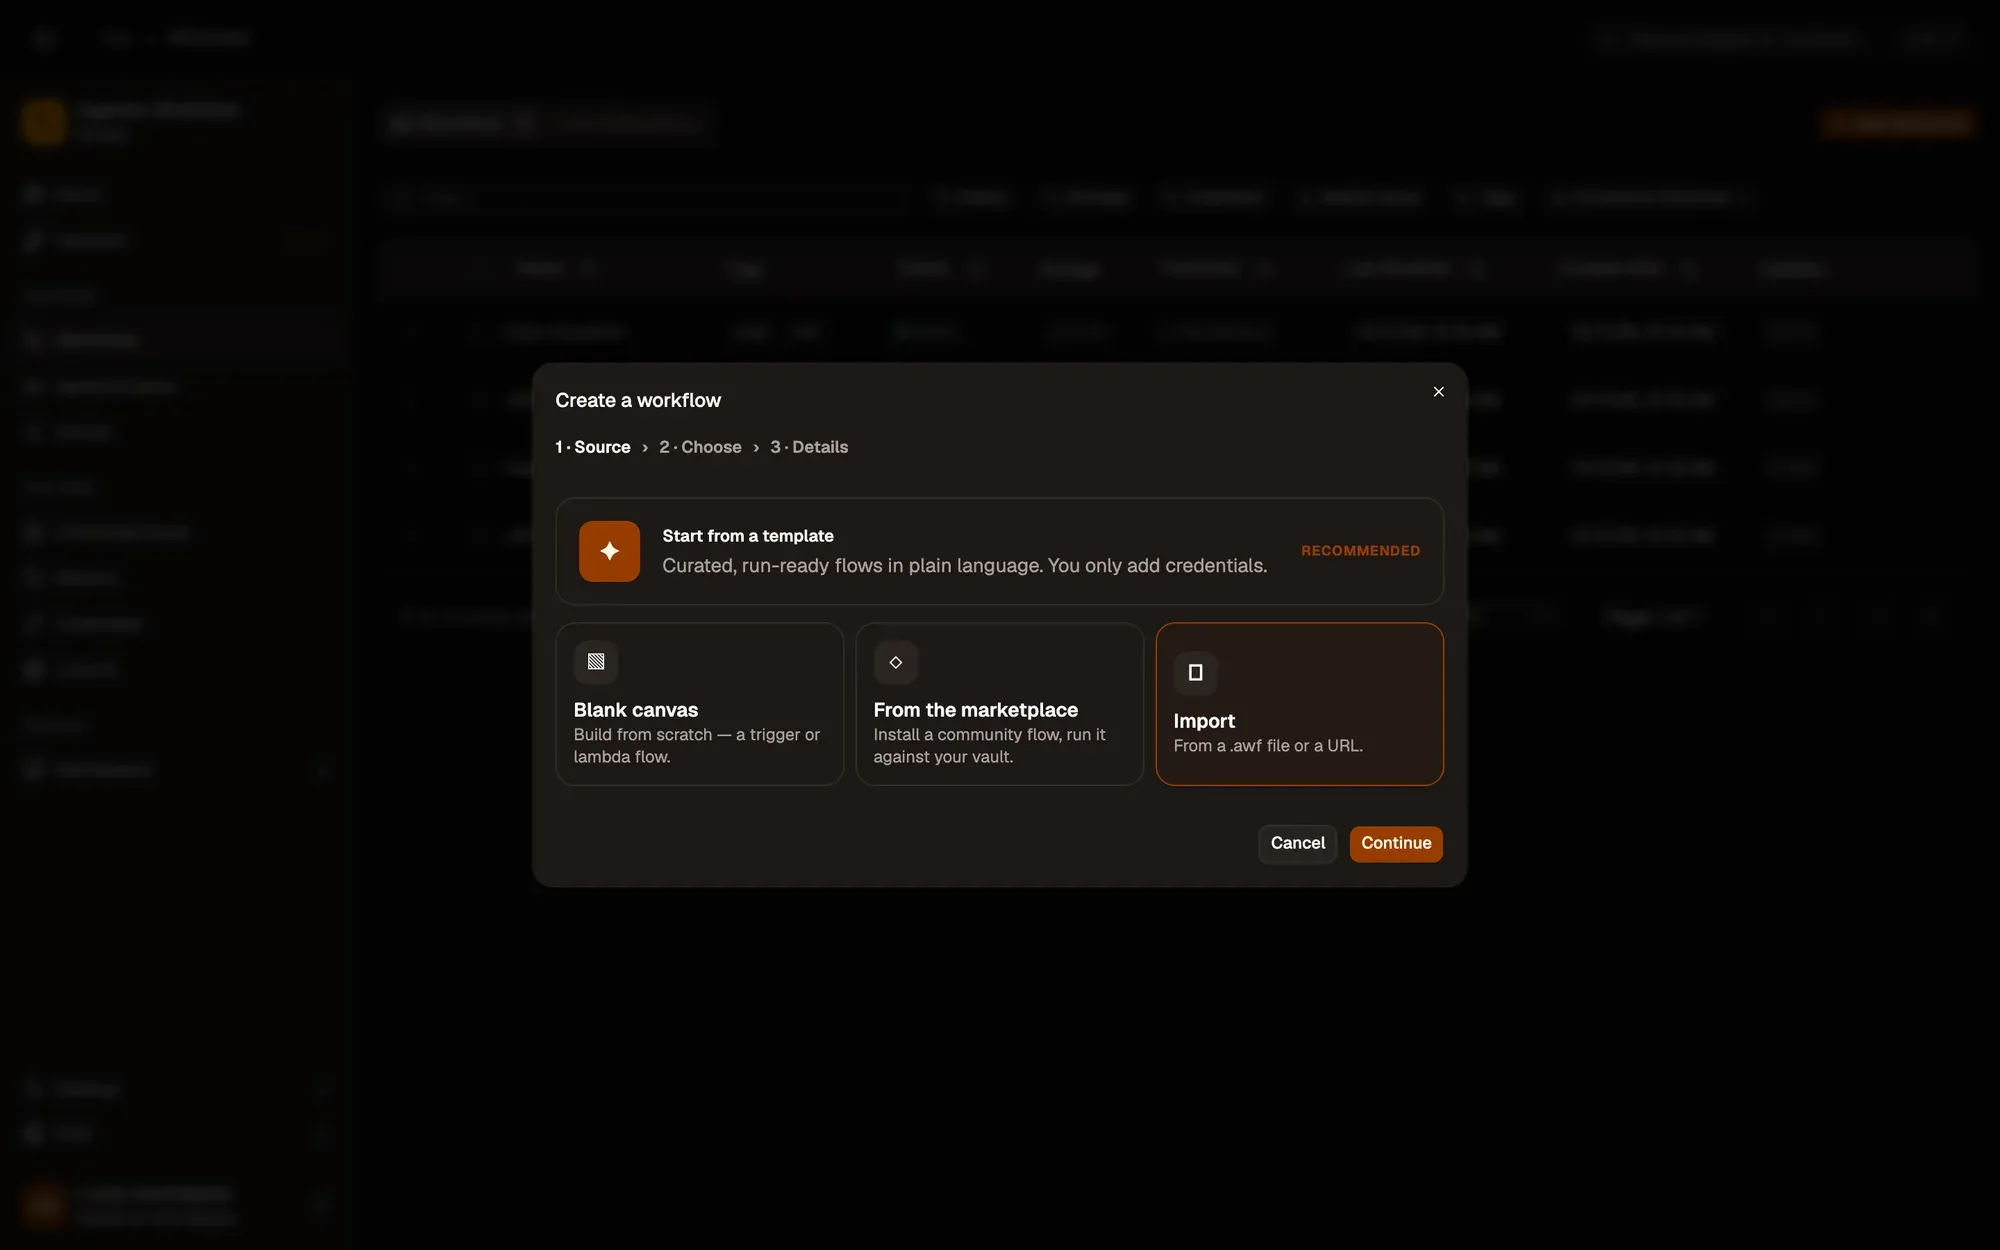
Step 2:Choose the file or the link
Under From a file, click Choose a .awf file and pick it. Under From a URL, paste the link and click Fetch & validate. Then click Continue.
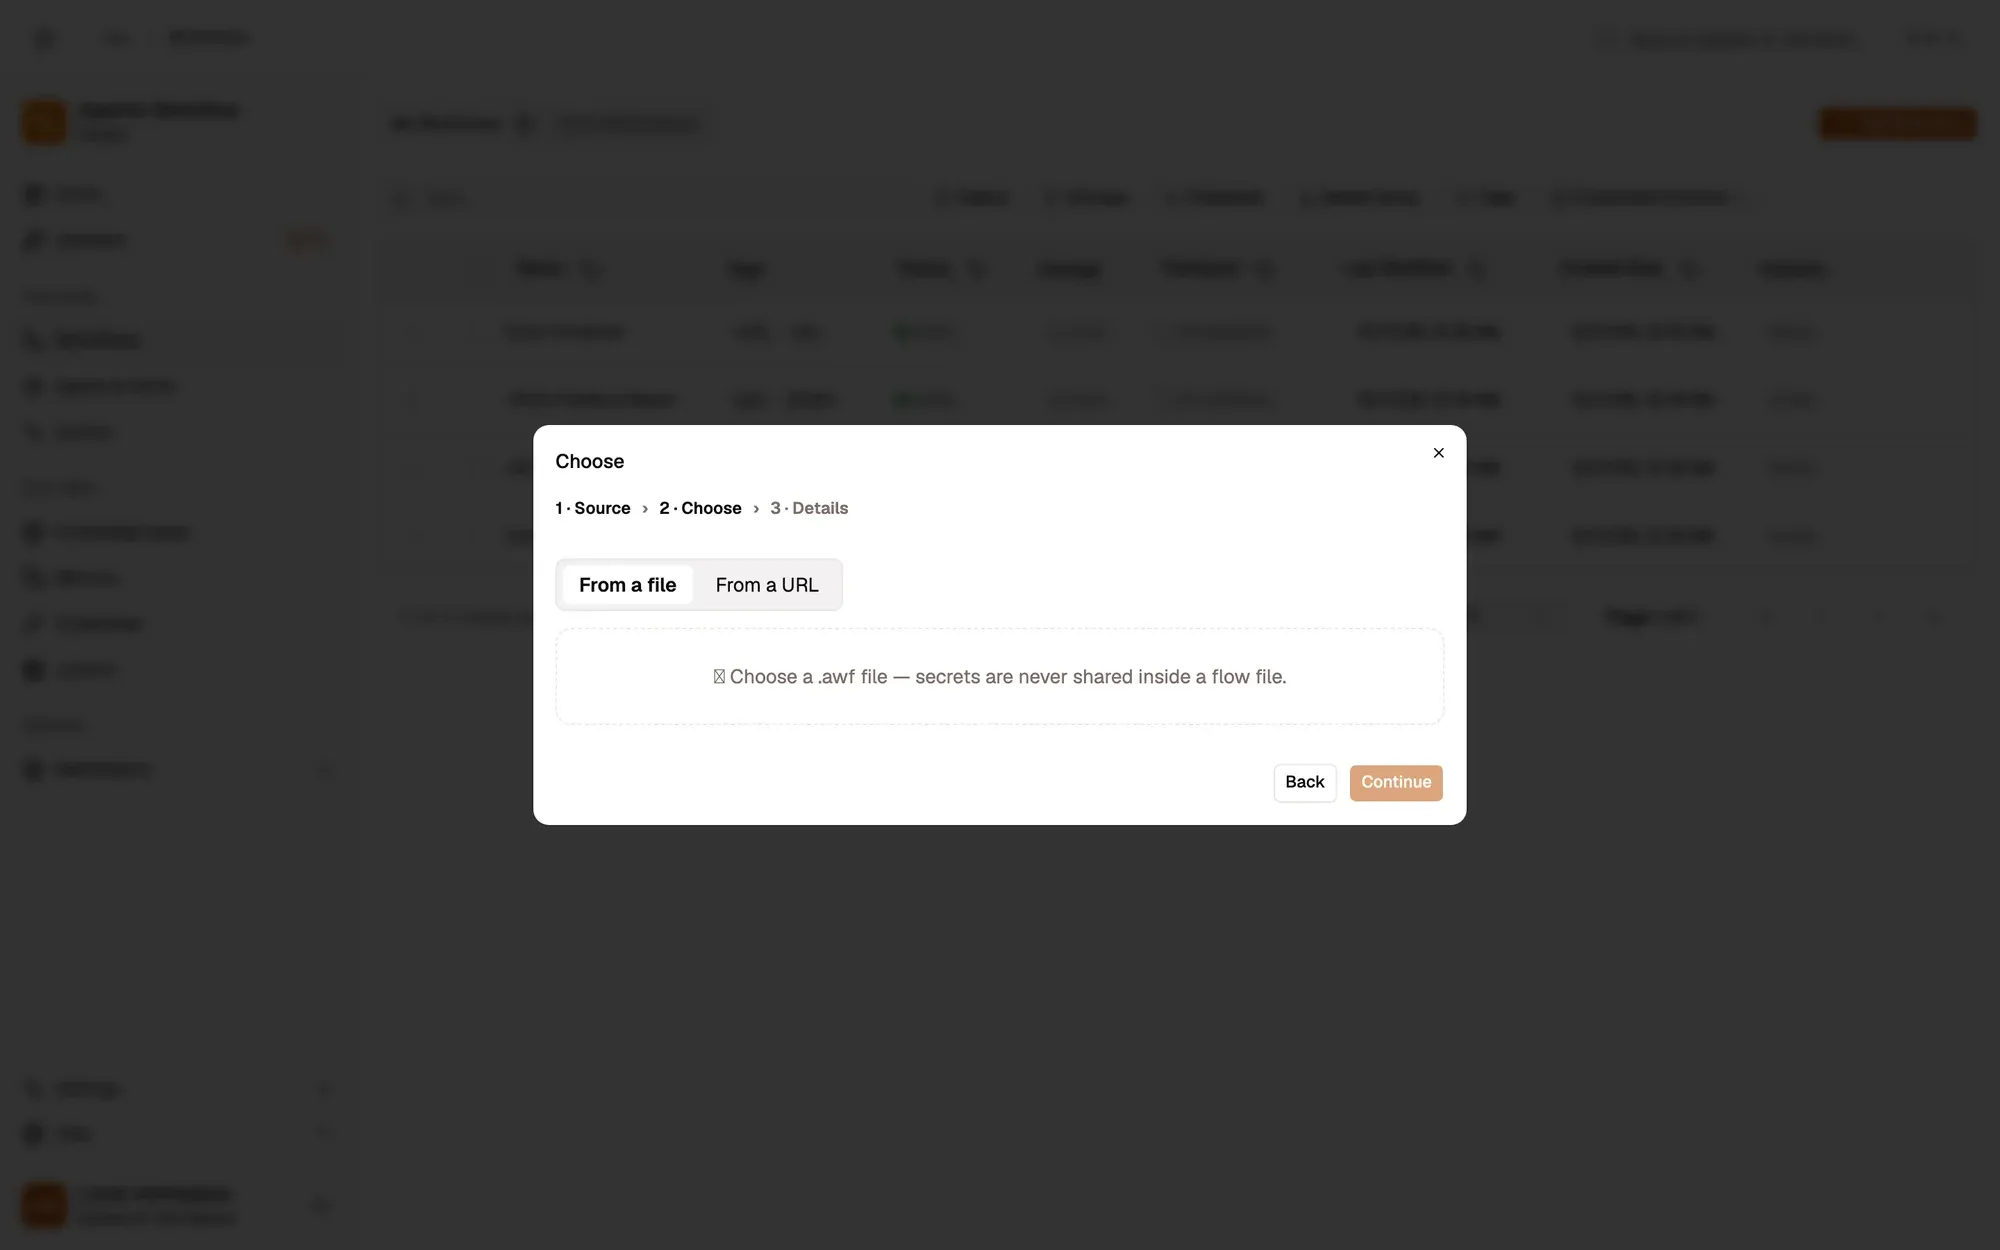
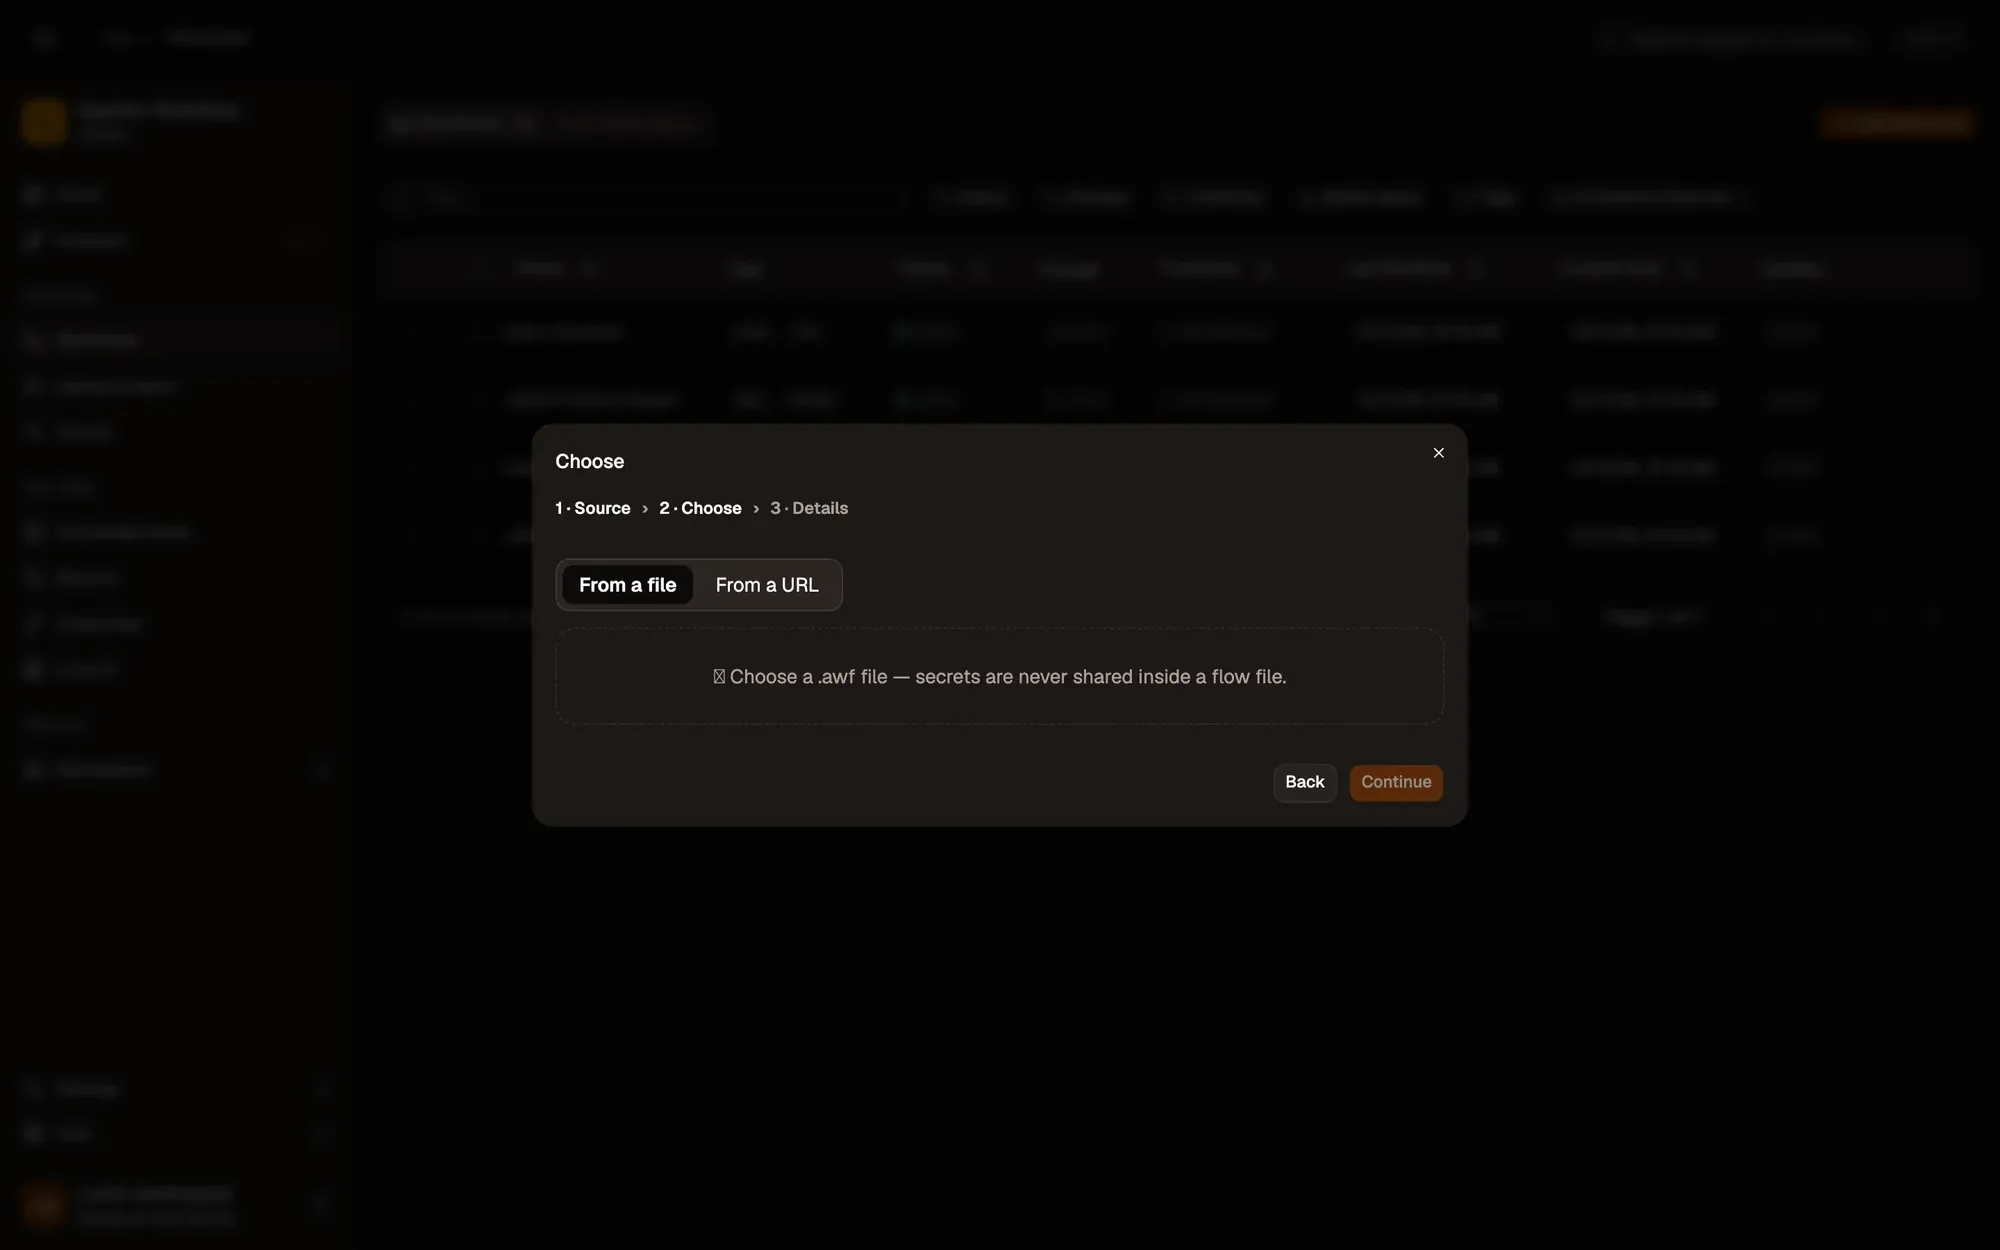
Step 3:Name it and create it
The Name comes from the file; change it if you like, add a Description, then click Create & open.
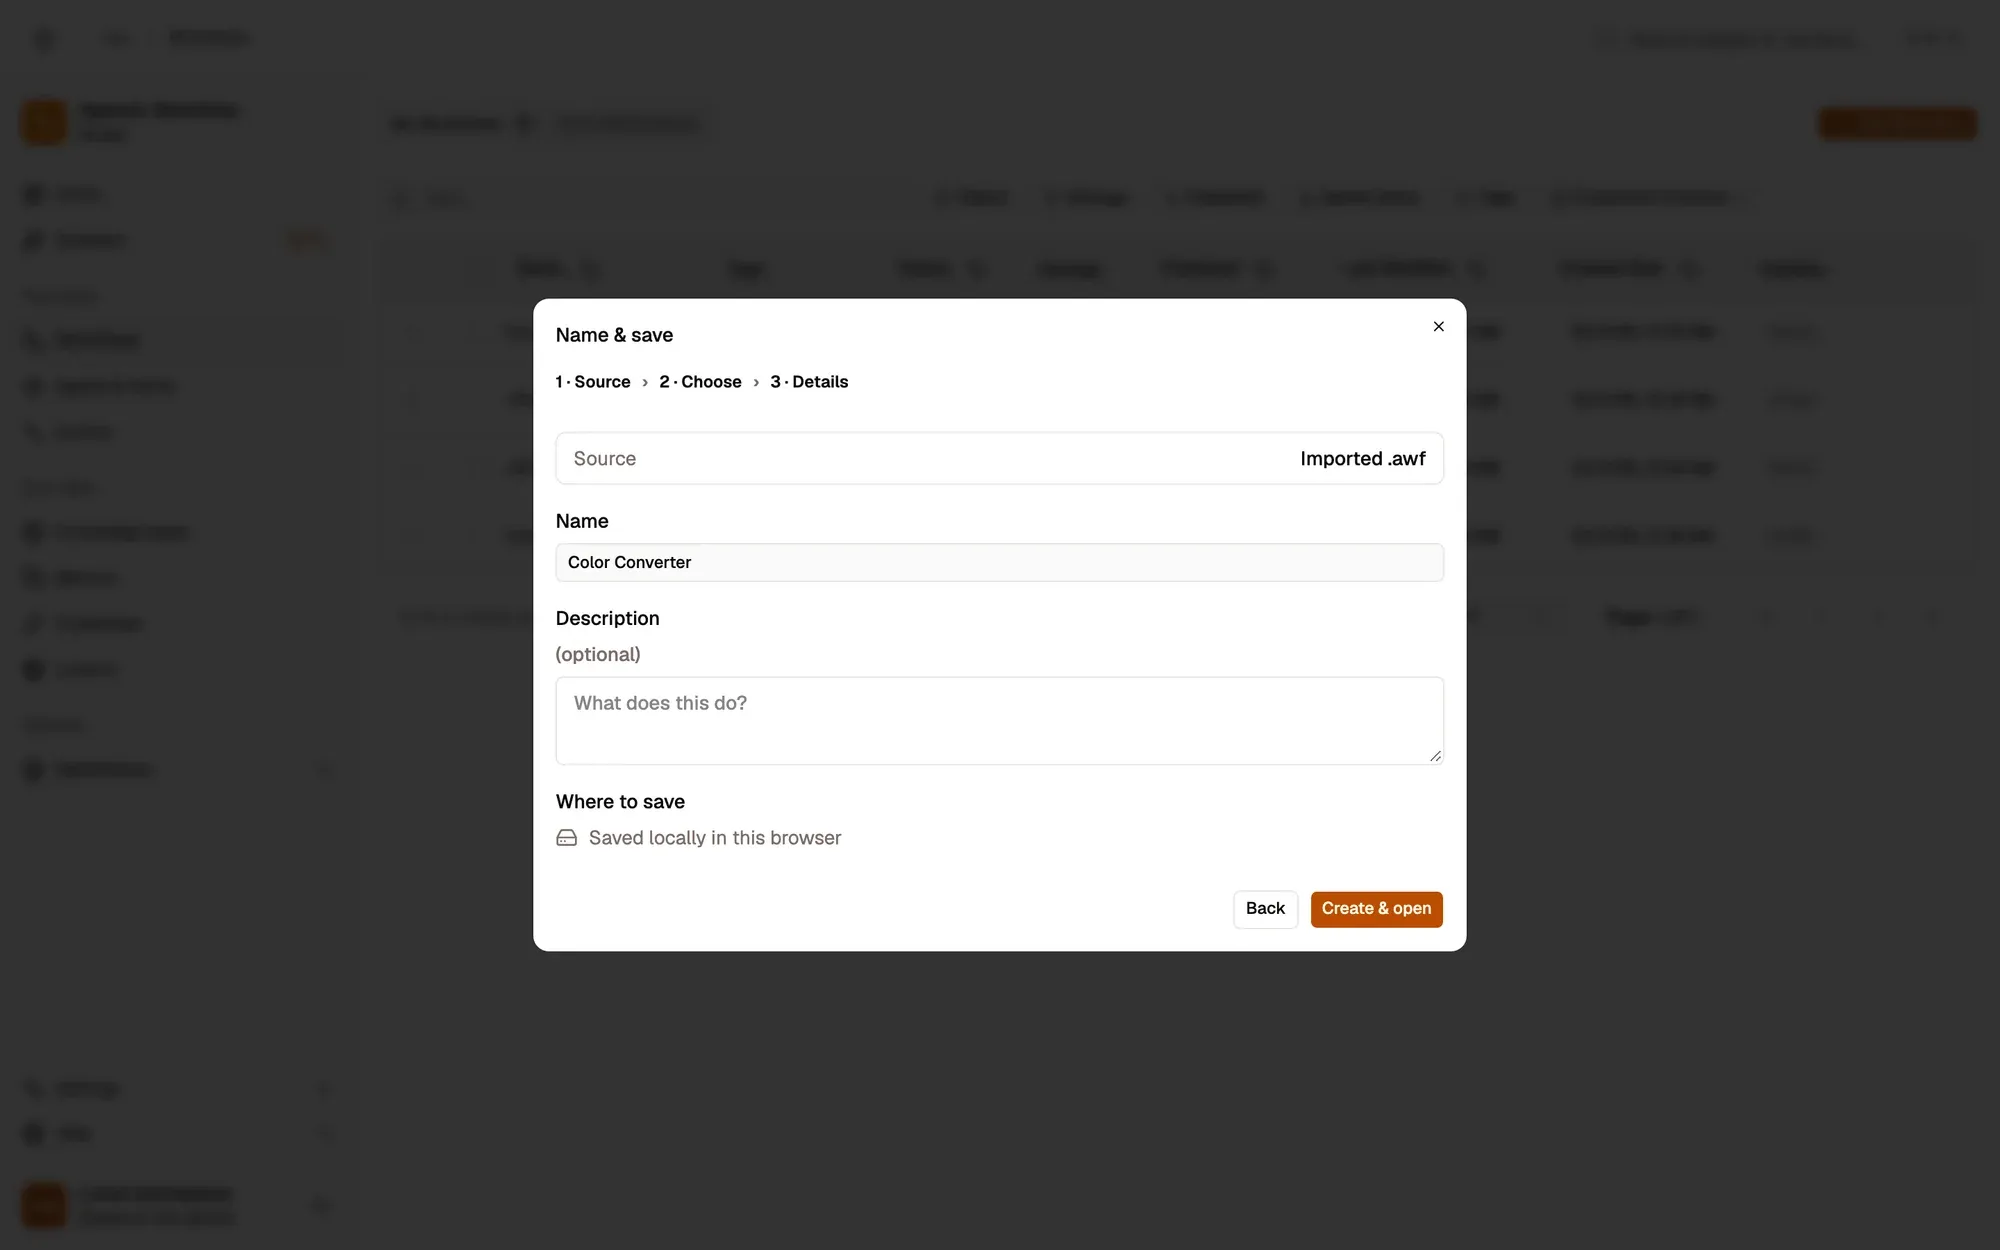
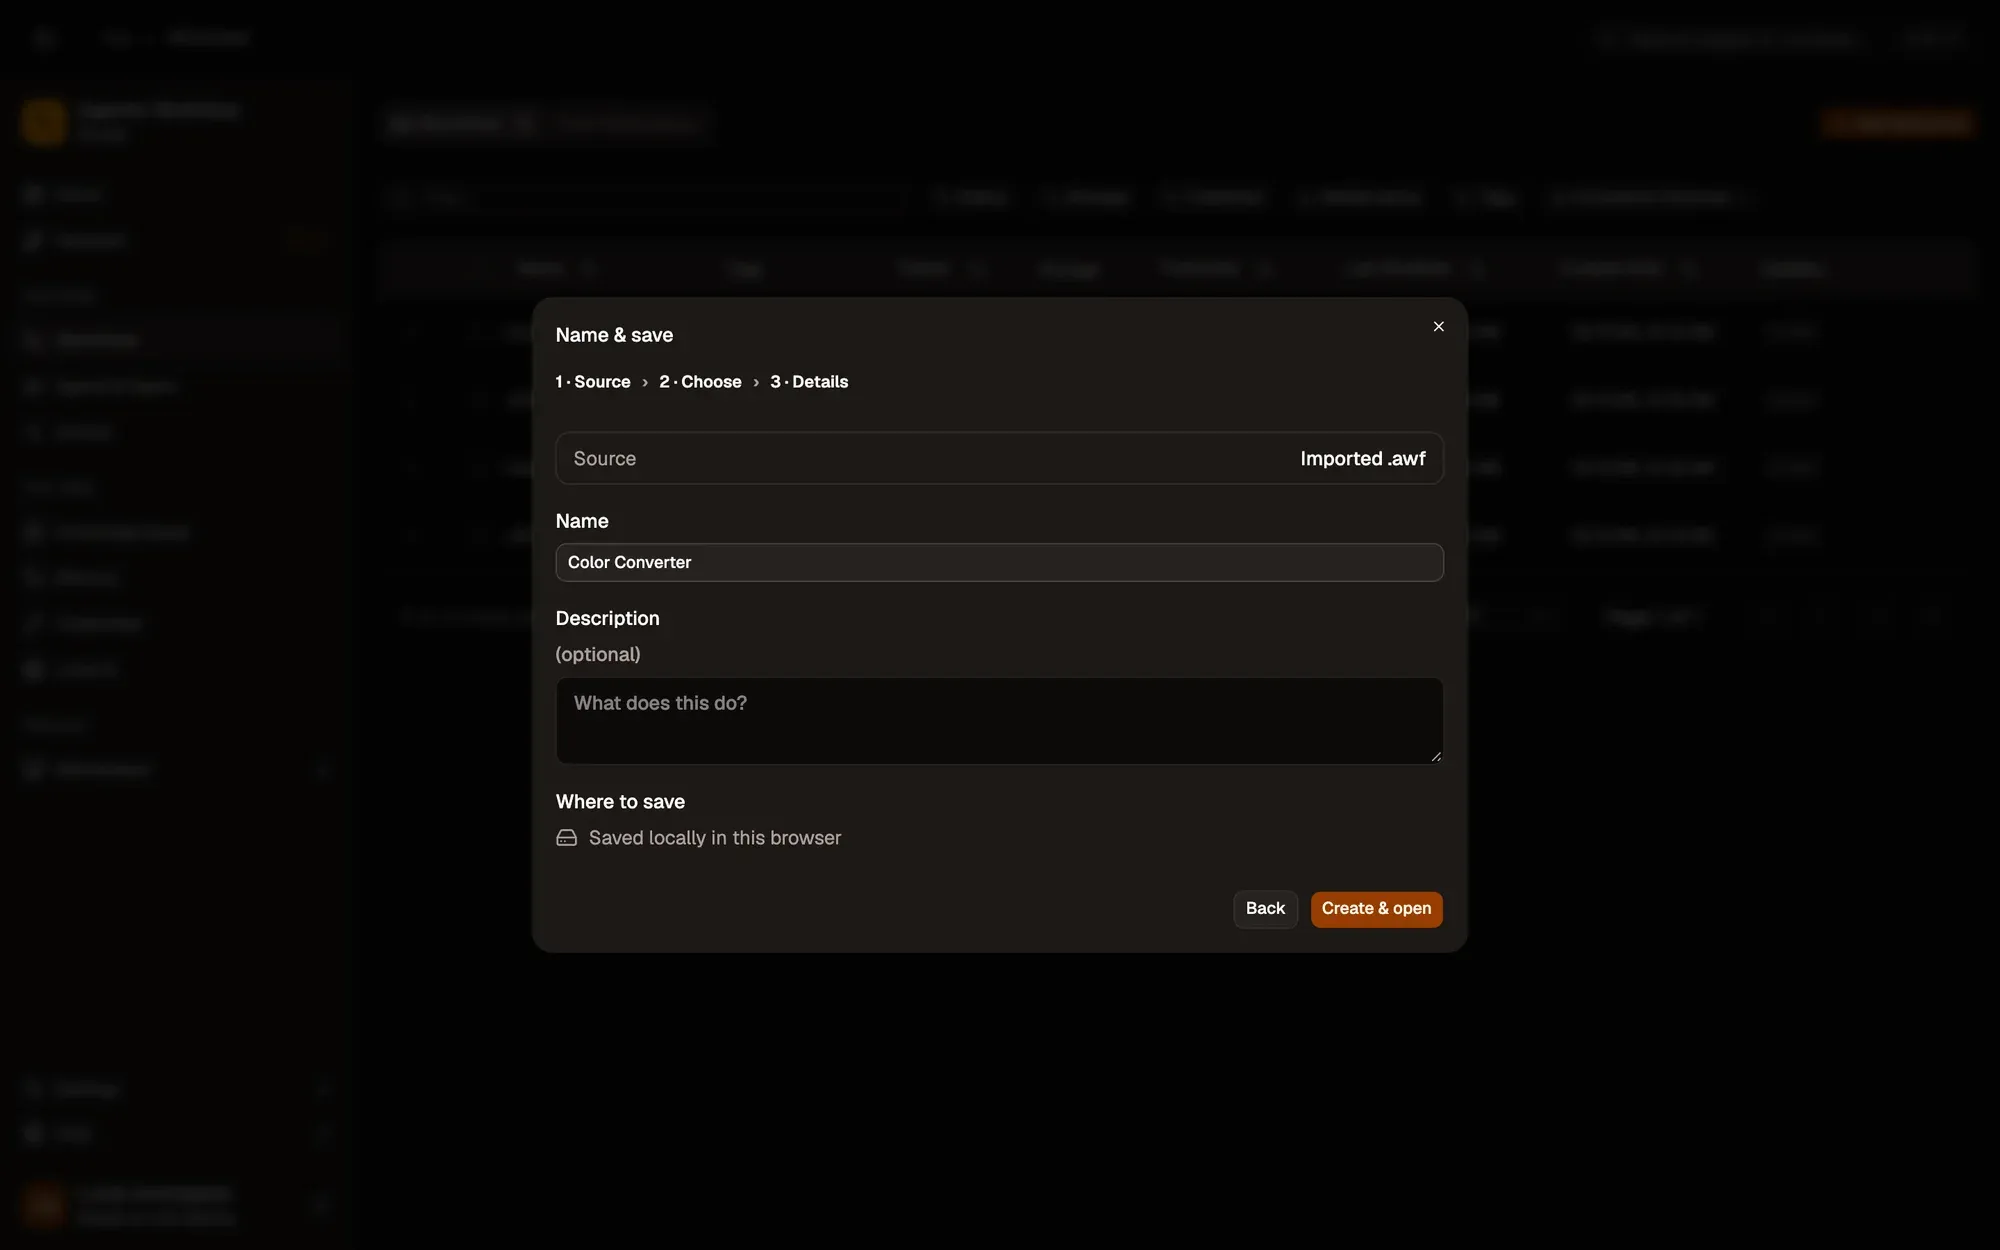
Check: the imported workflow opens in the editor.
After the import, review the steps, especially the ones that use a credential: pick your own credential where one is needed, then test it.
From the editor
Section titled “From the editor”When a workflow is open, its ⋮ menu can import too:
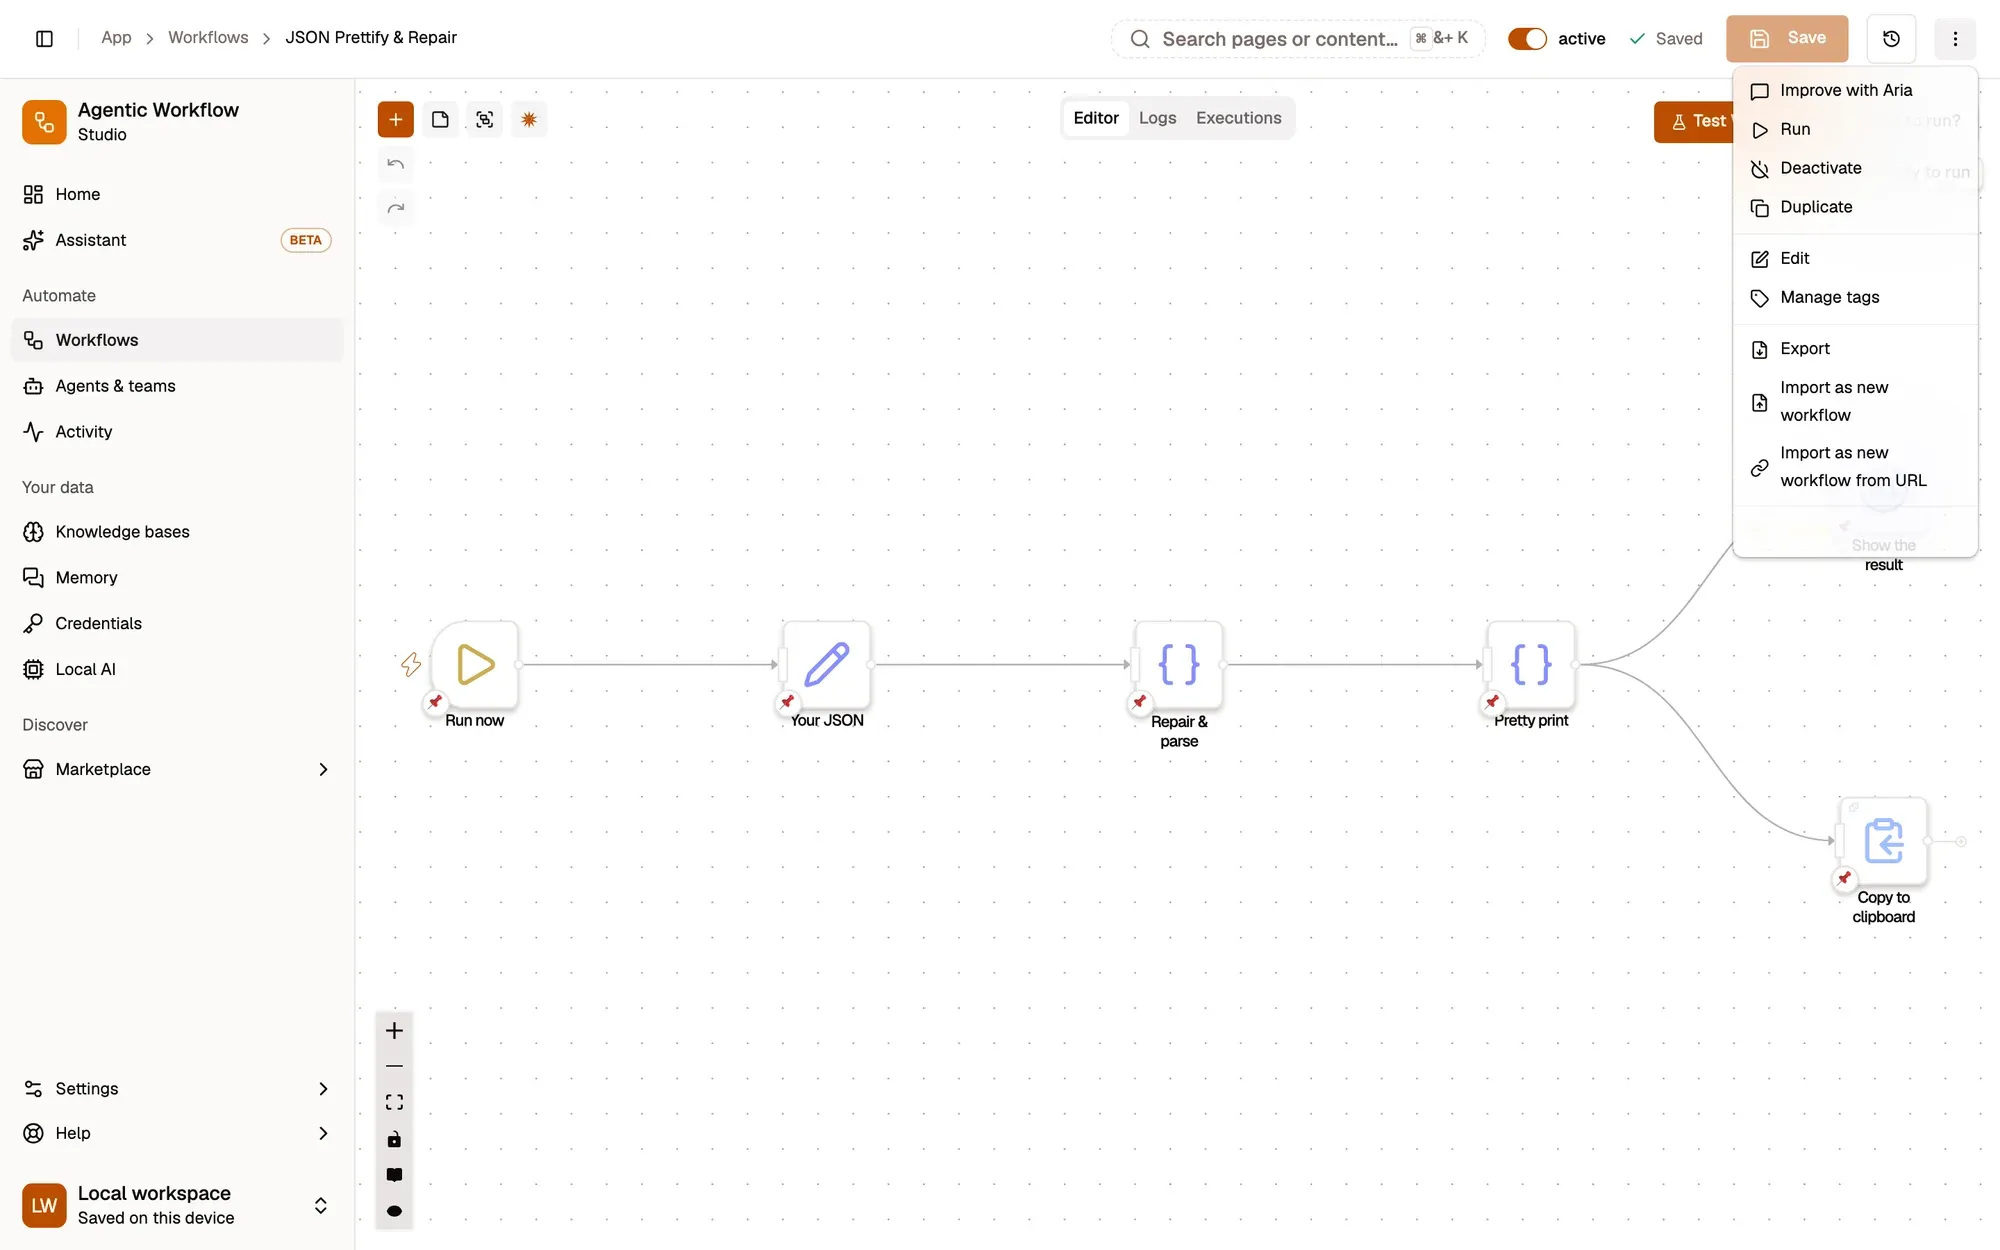
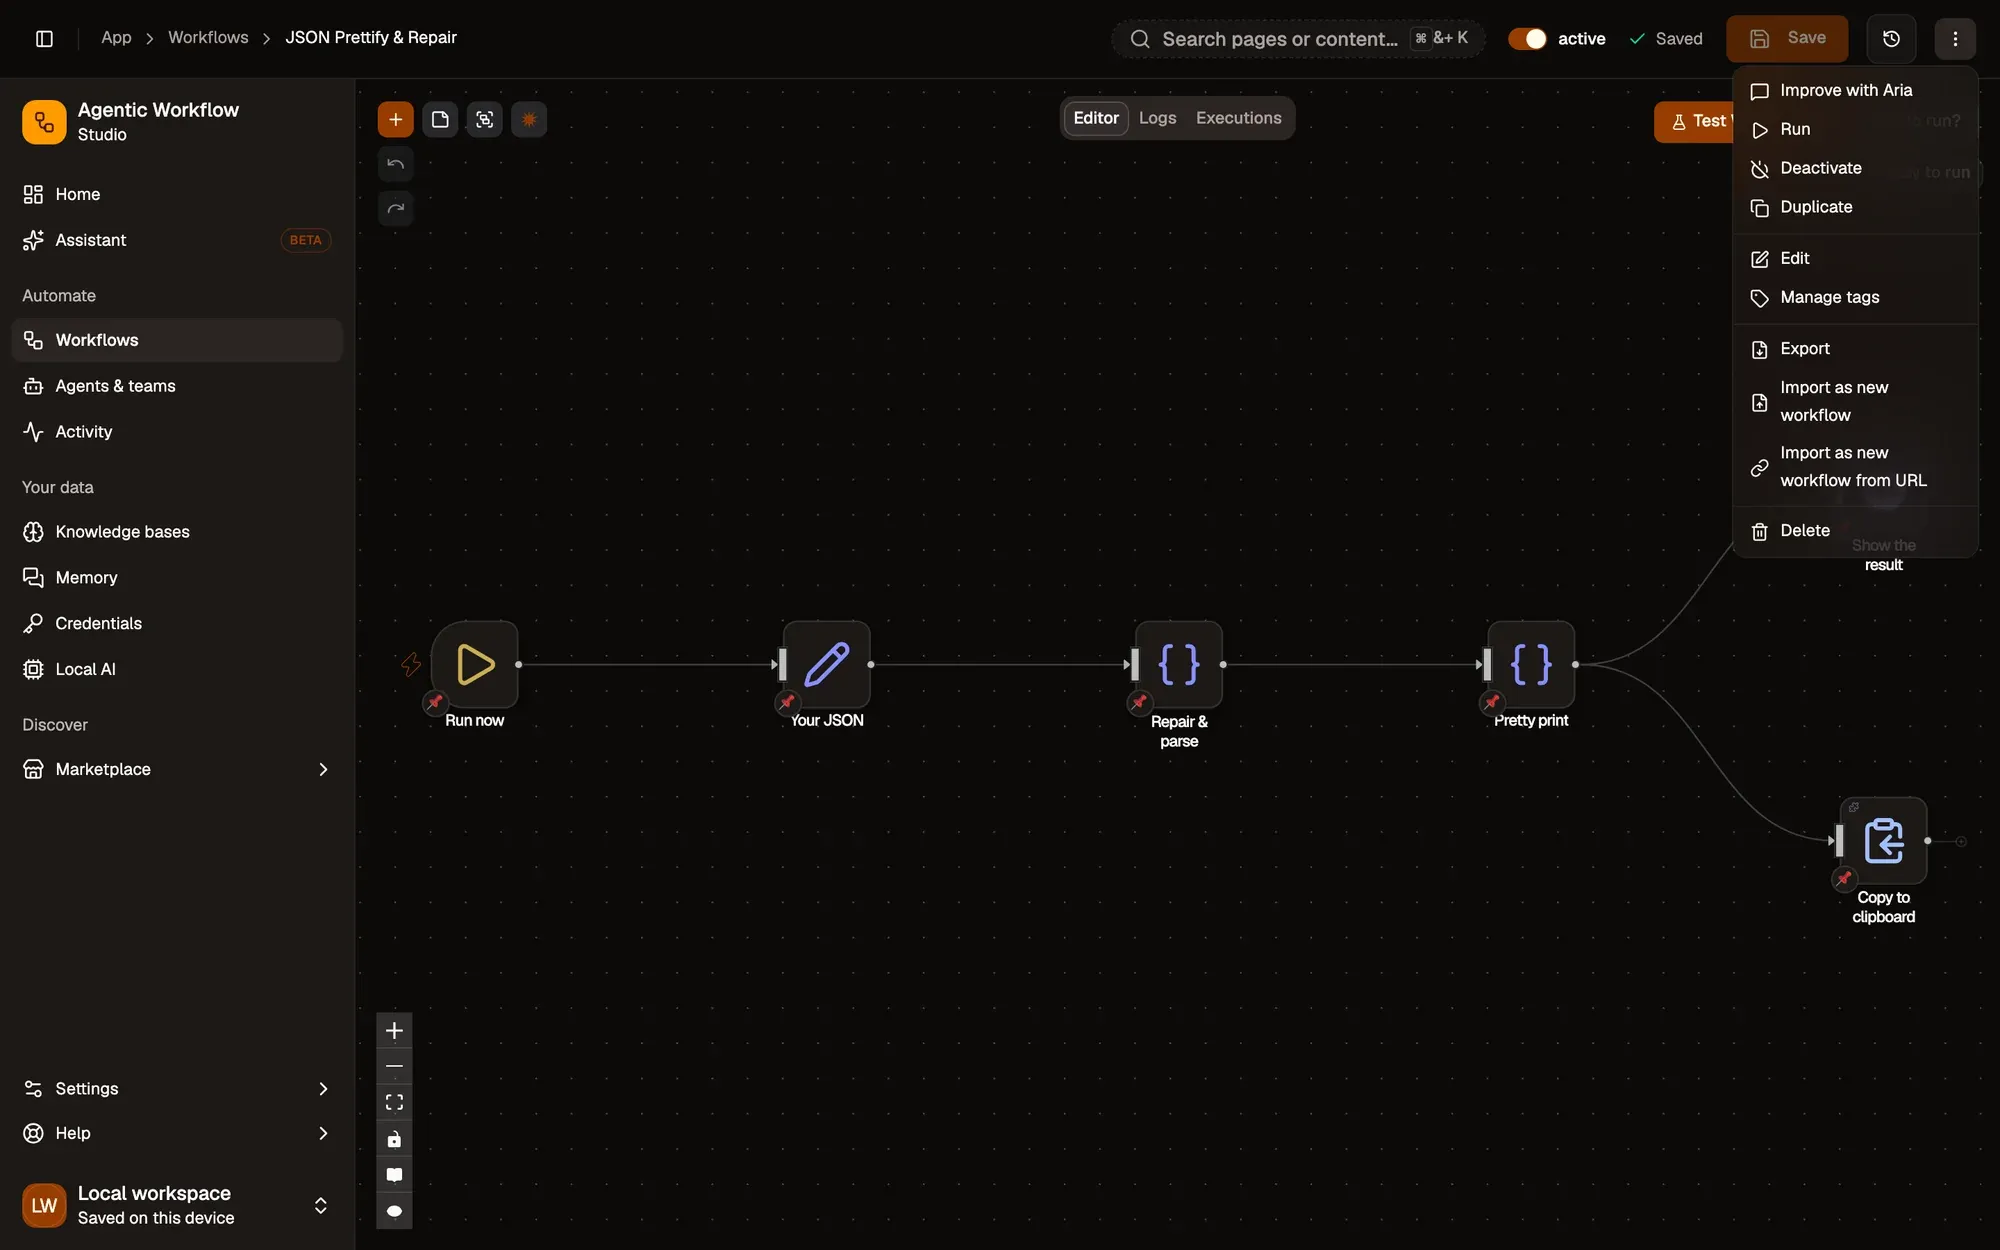
Numbered areas in the screenshot: 1. The workflow menu (⋮); 2. Import as new workflow (from a file); 3. Import as new workflow from URL; 4. Export.
Good habits
Section titled “Good habits”- Export important workflows from time to time, and keep the files somewhere safe (a private folder, a team drive or version control).
- After an import, run the workflow once by hand (see Run from the canvas) to check it works.
- Before sharing, rename steps clearly and add notes (see Sticky Notes and Notes & “How this flow works”) so the next person understands it.