Workflow tags let you label your workflows so you can organise and find them quickly. Tags are per workflow: each workflow keeps its own list of tag labels; there is no shared list of tags across workflows.
Add or edit tags on a workflow
Section titled “Add or edit tags on a workflow”Step 1:Open the row menu
On the Workflows page, click the ⋮ at the start of the workflow’s row.
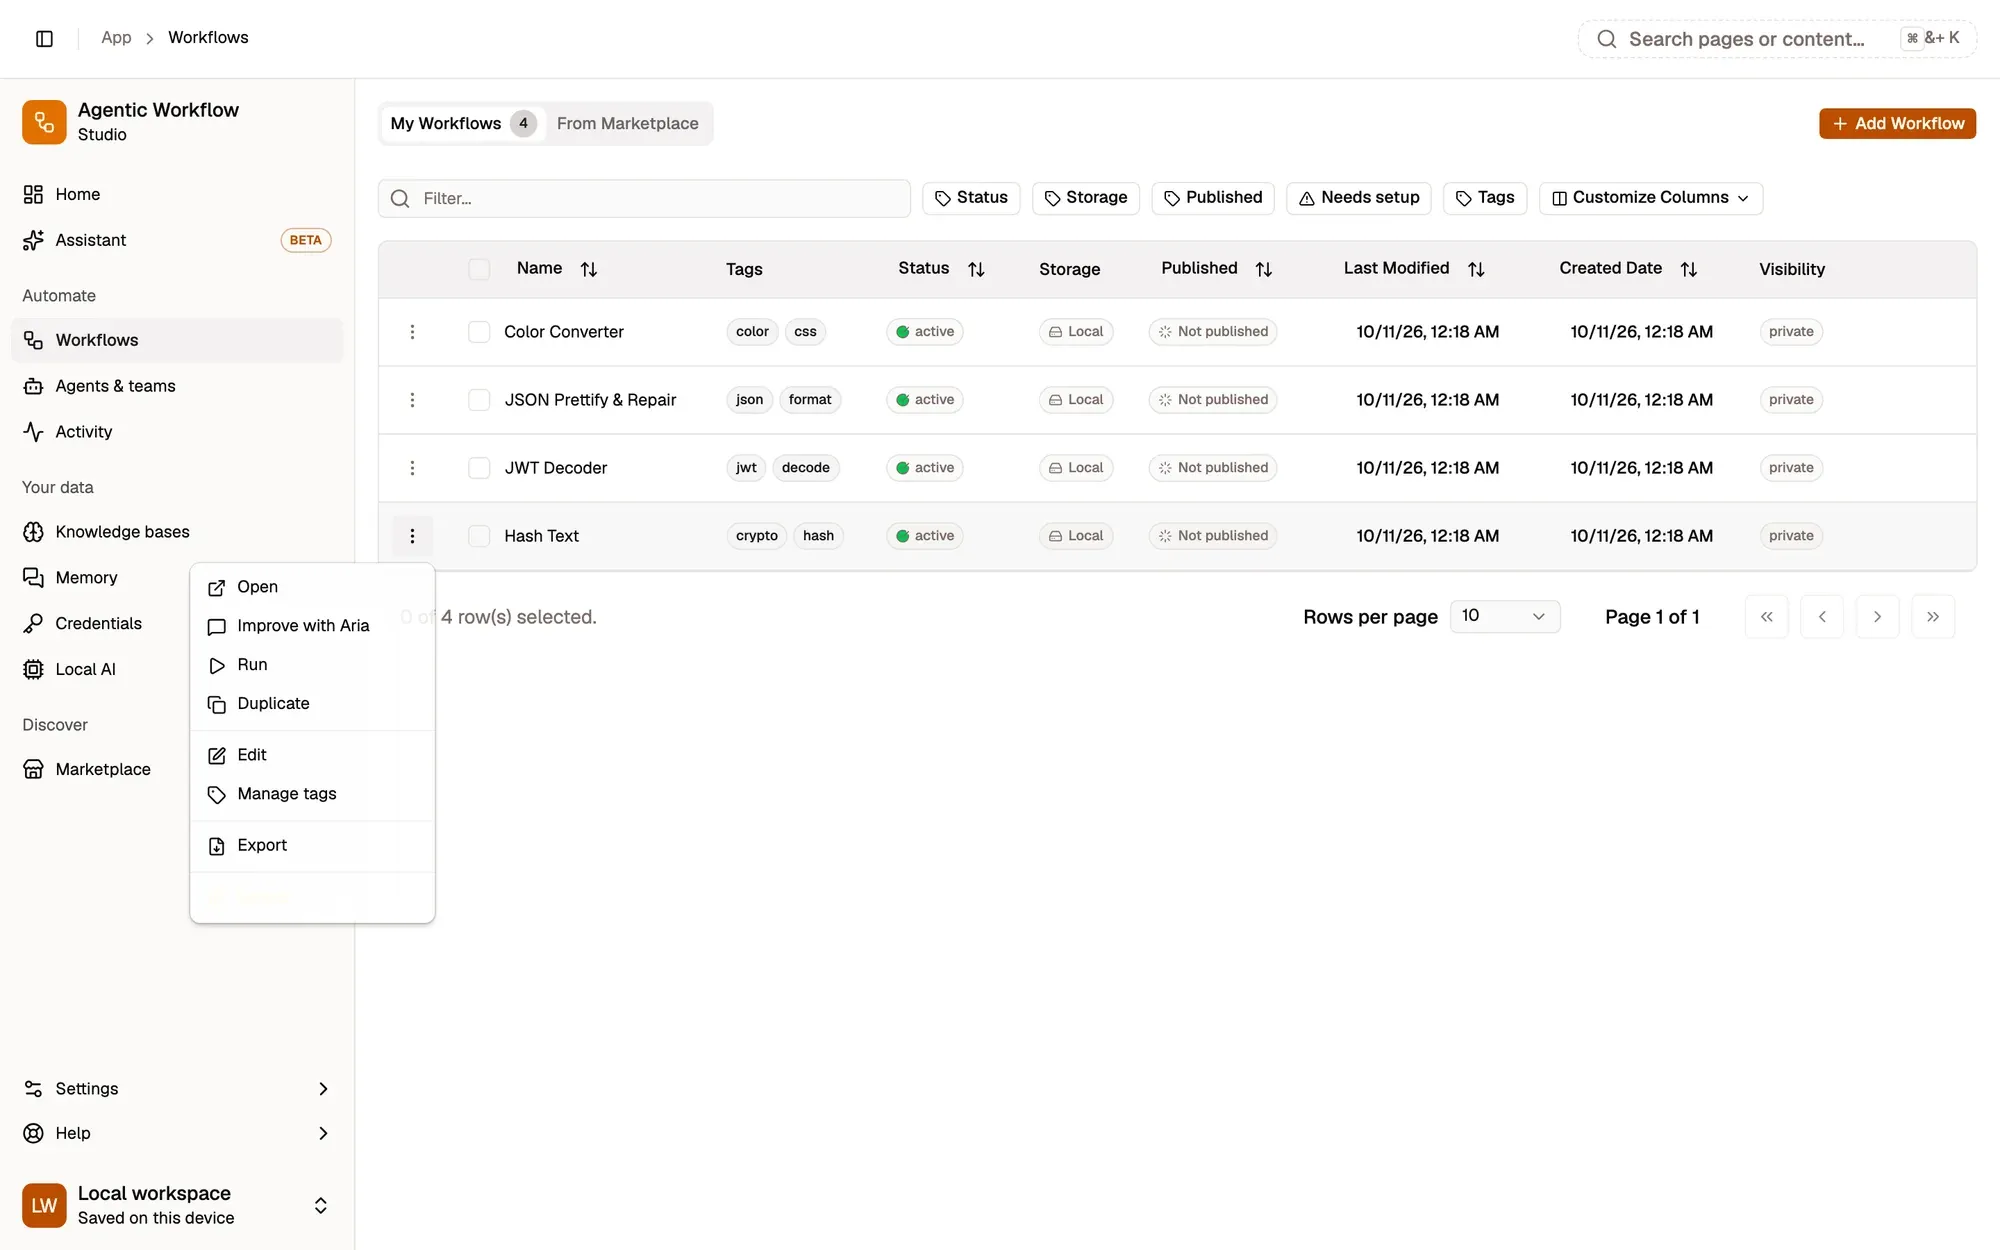
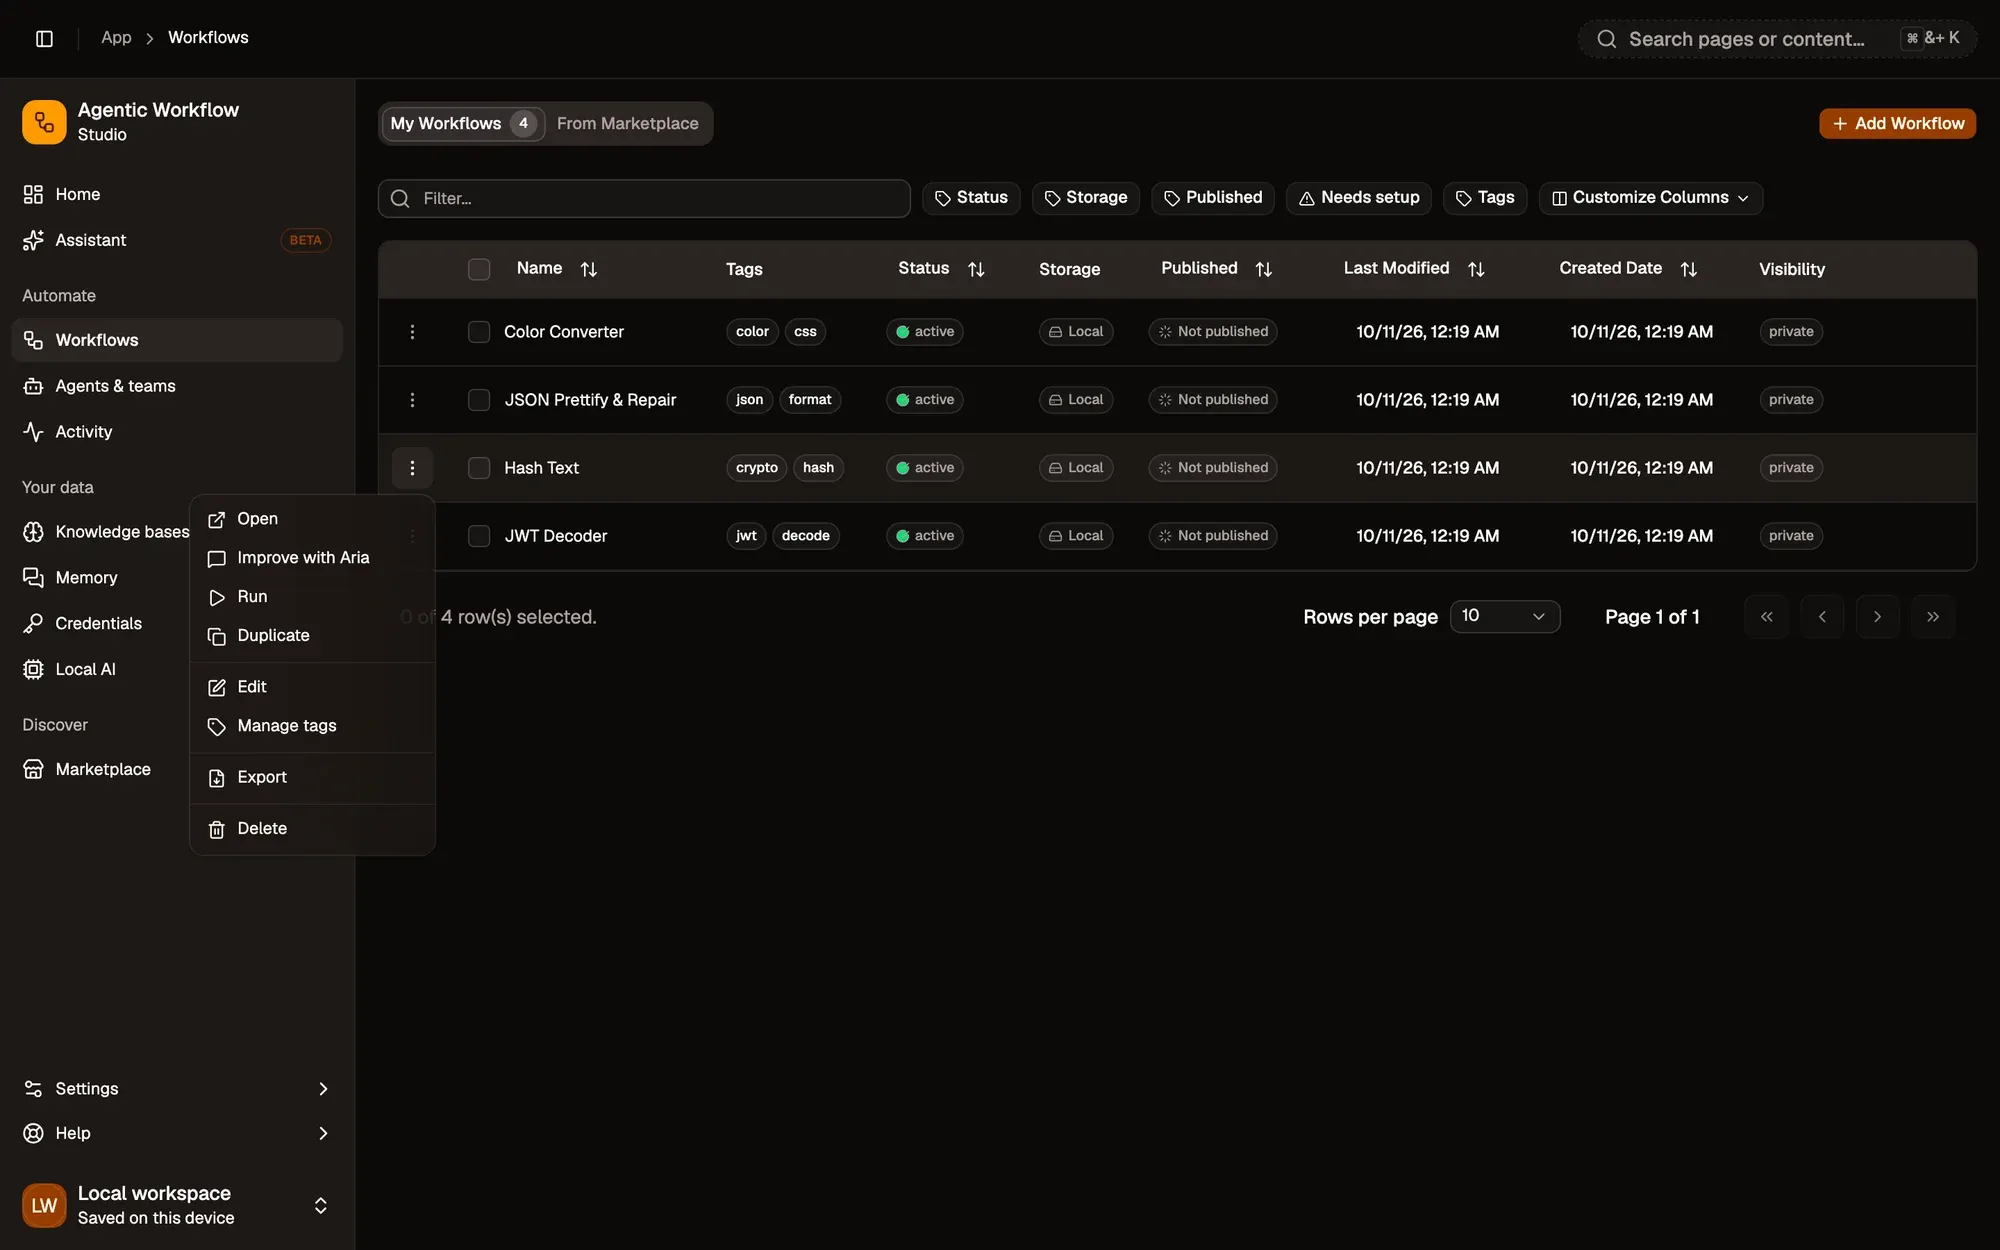
Step 2:Click Manage tags
Step 3:Add or remove tags
In the Manage tags dialog, type a tag and press Enter to add it. Click the × on a tag to remove it. A workflow can have as many tags as you like.
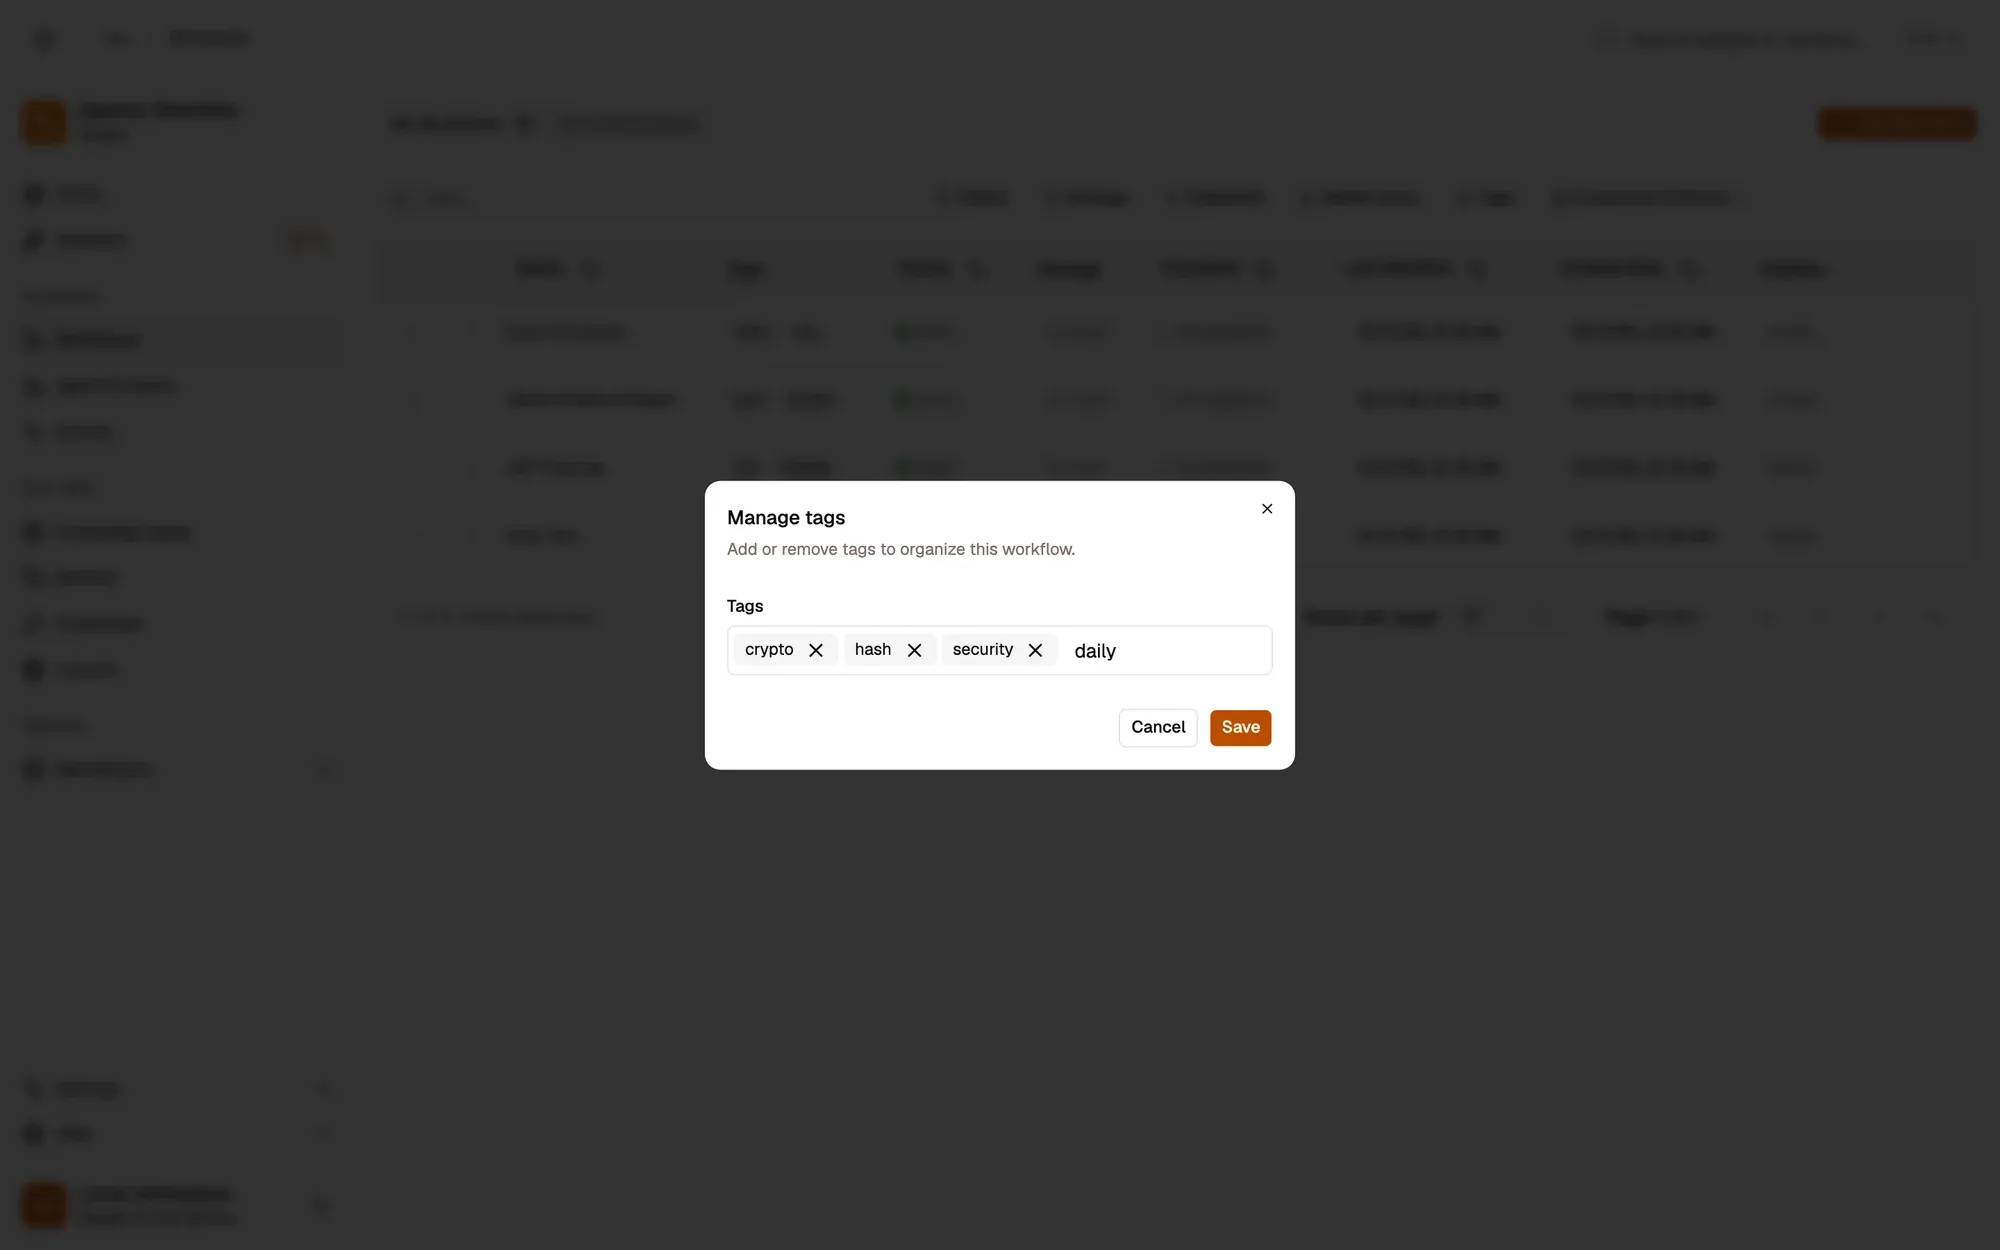
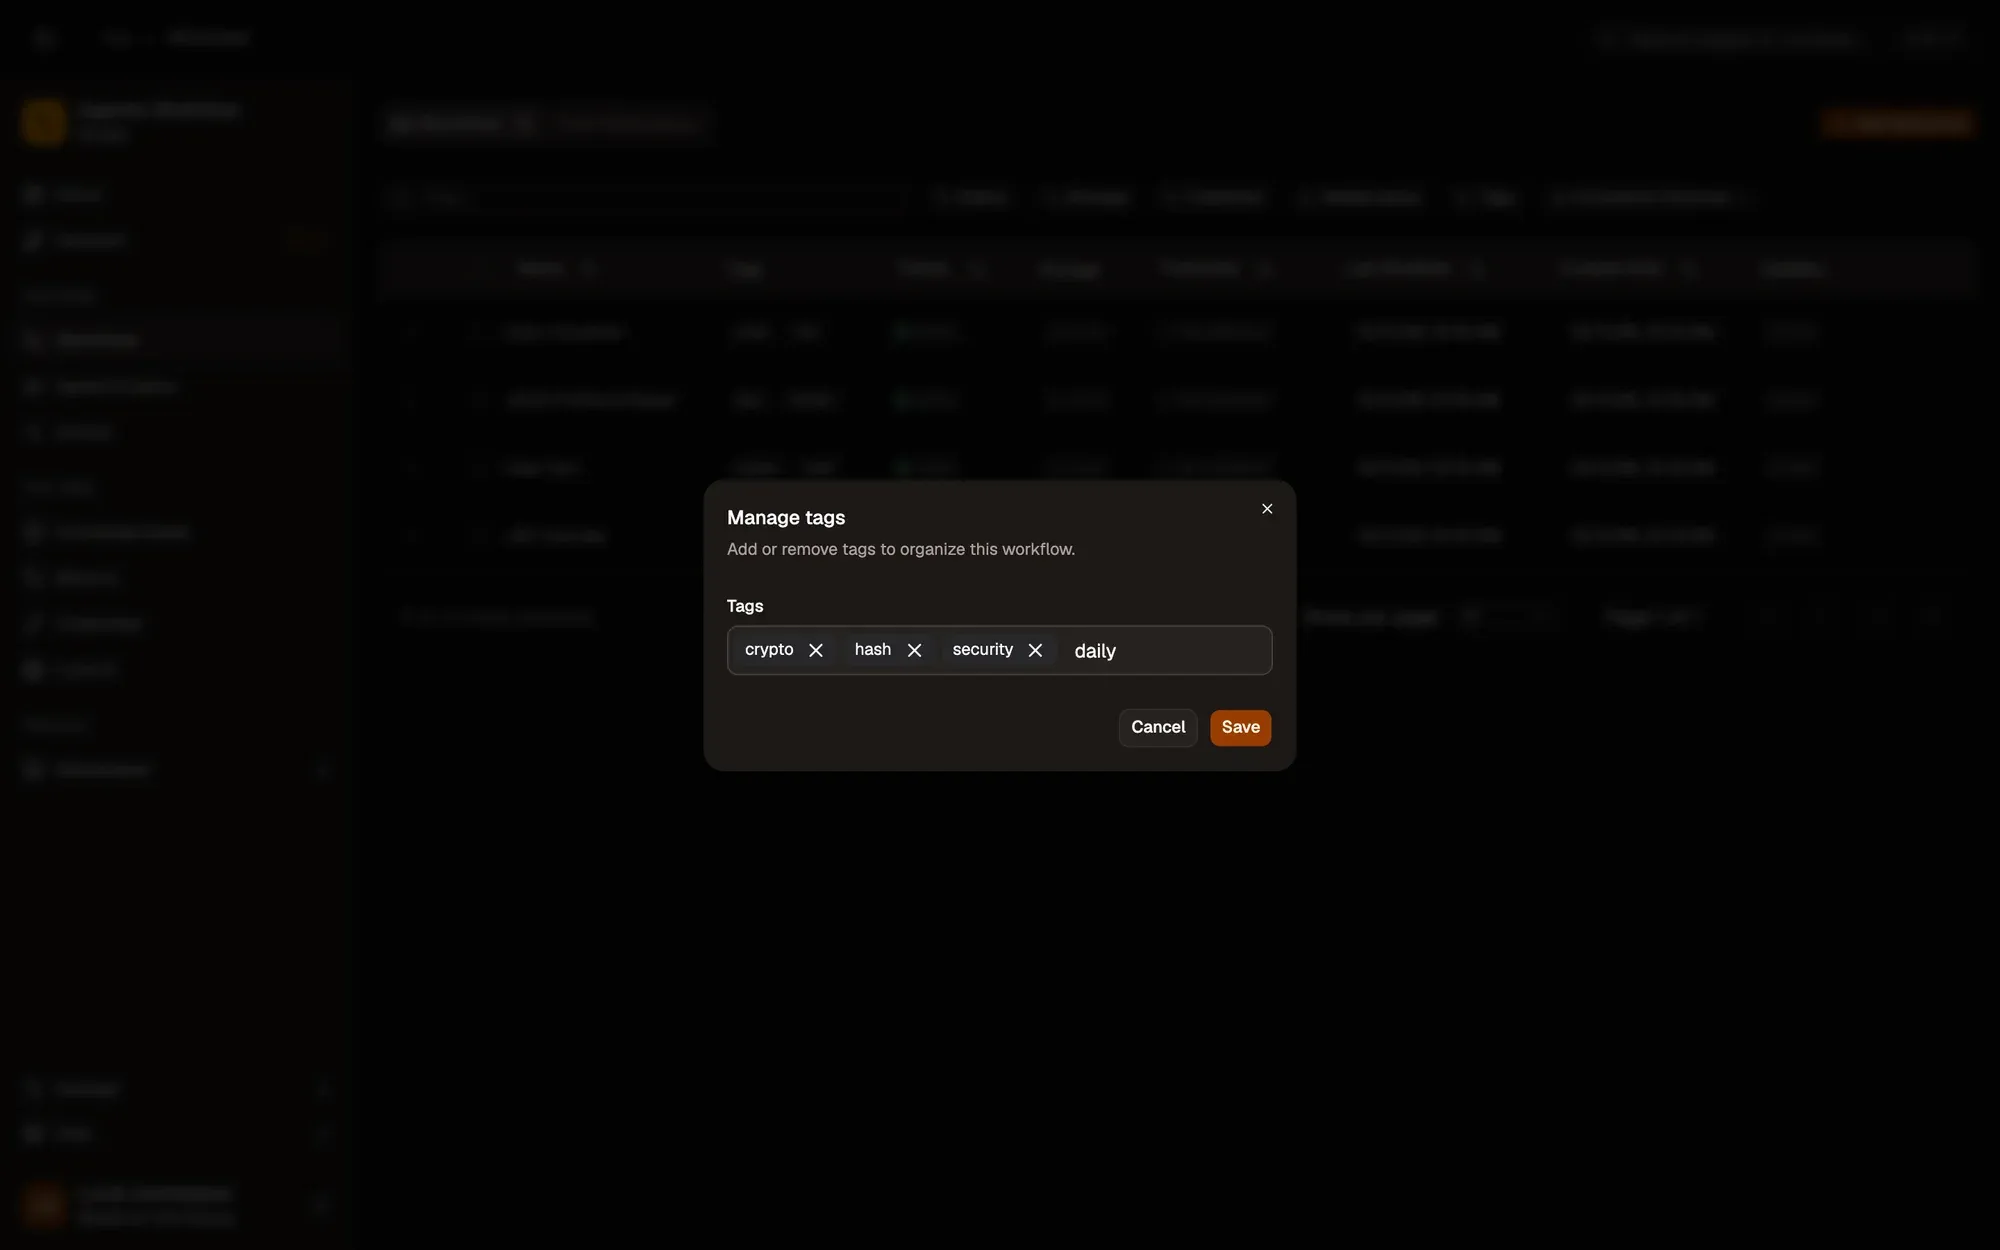
Step 4:Click Save
Check: the new tags show in the workflow's Tags column.
You can also manage tags from the editor: the ⋮ menu at the top right of the canvas has the same Manage tags item.
Note: Tags are also editable when you publish a workflow to the marketplace, from the publish form.
Tag many workflows at once
Section titled “Tag many workflows at once”Tick the checkbox of each workflow on the Workflows page, then click Tags in the toolbar that appears at the bottom. The dialog applies to every selected workflow:
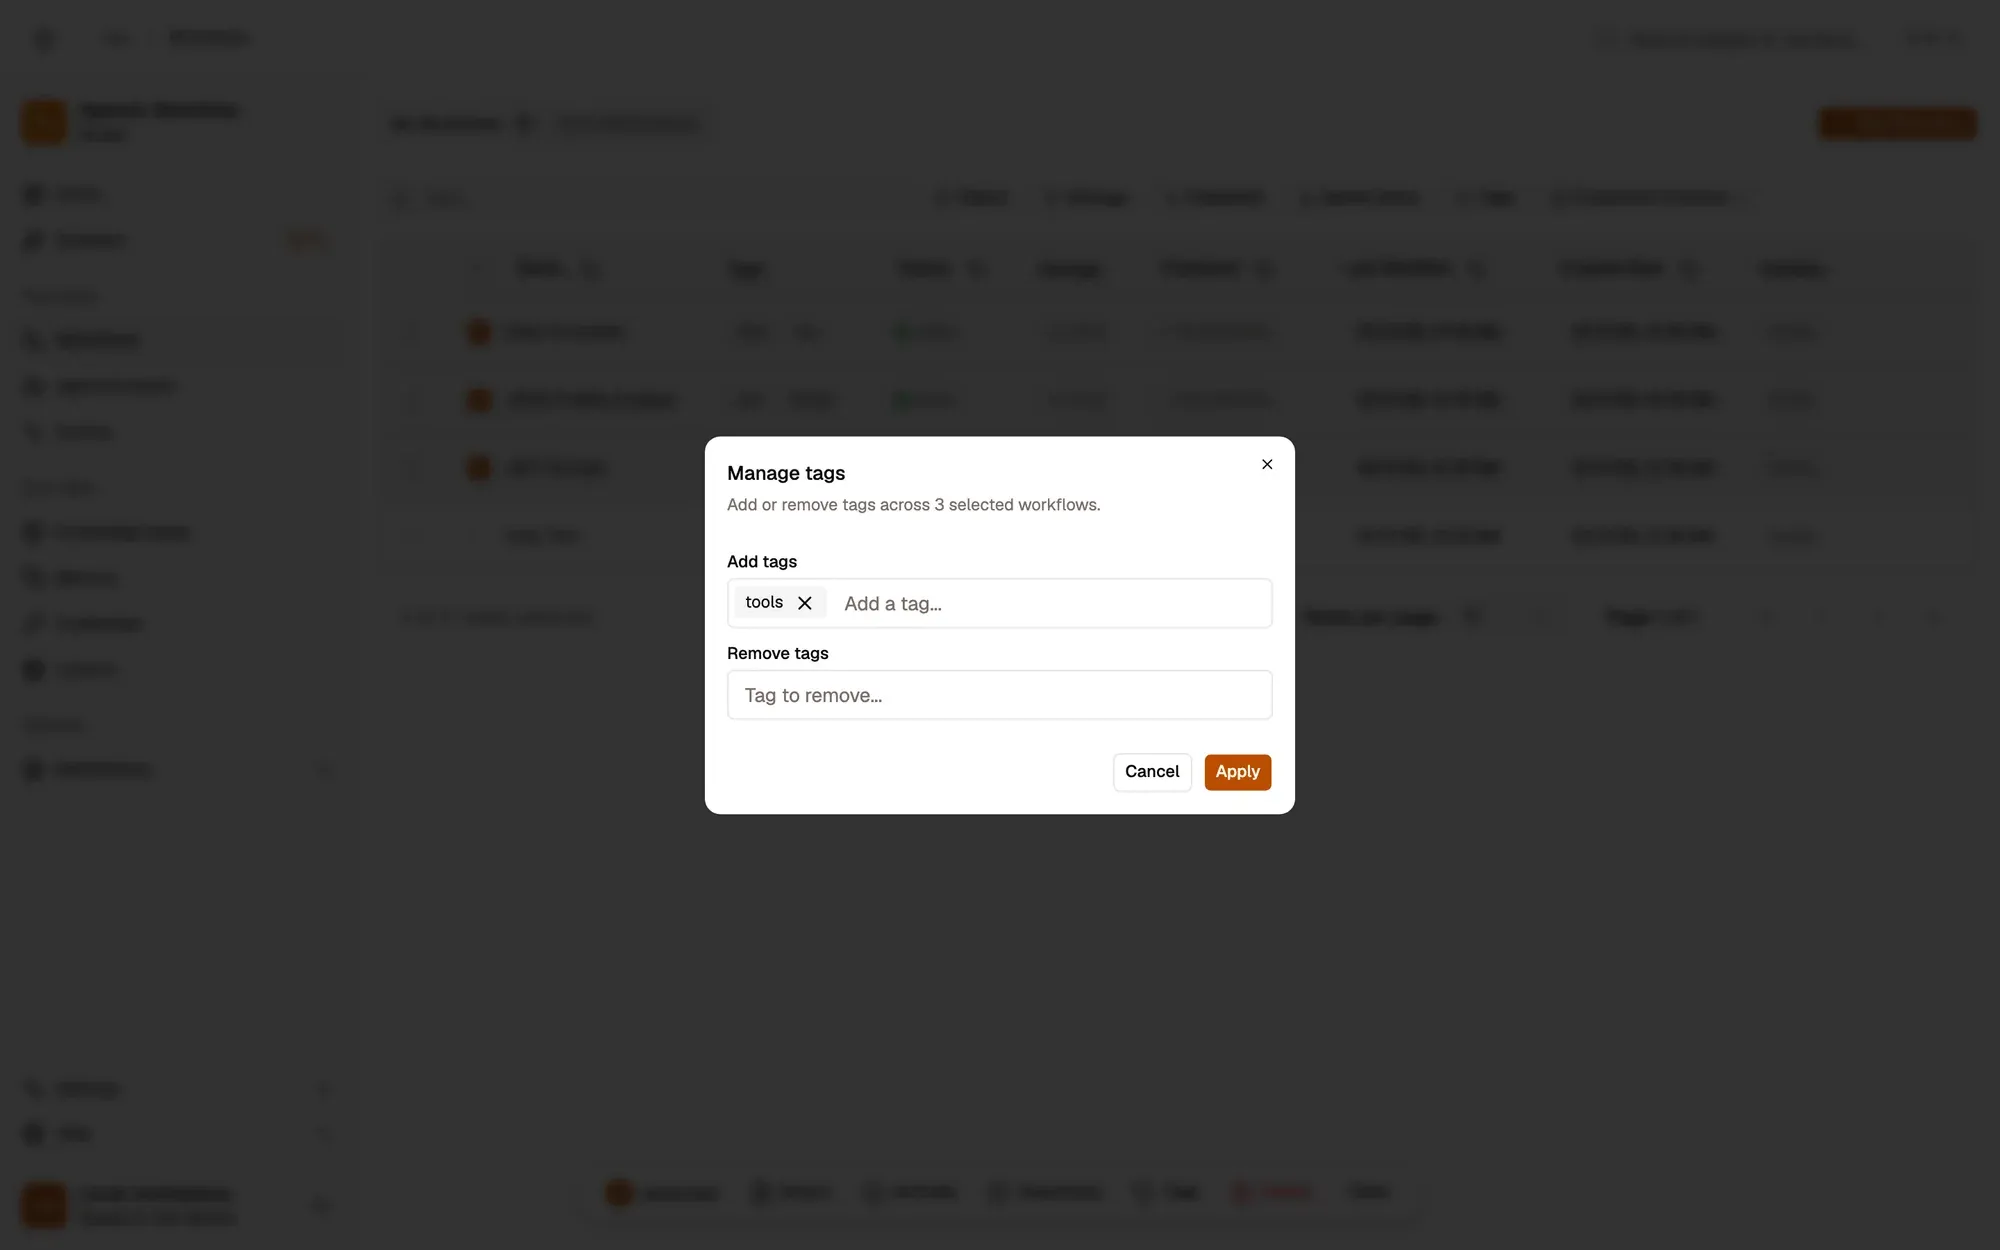
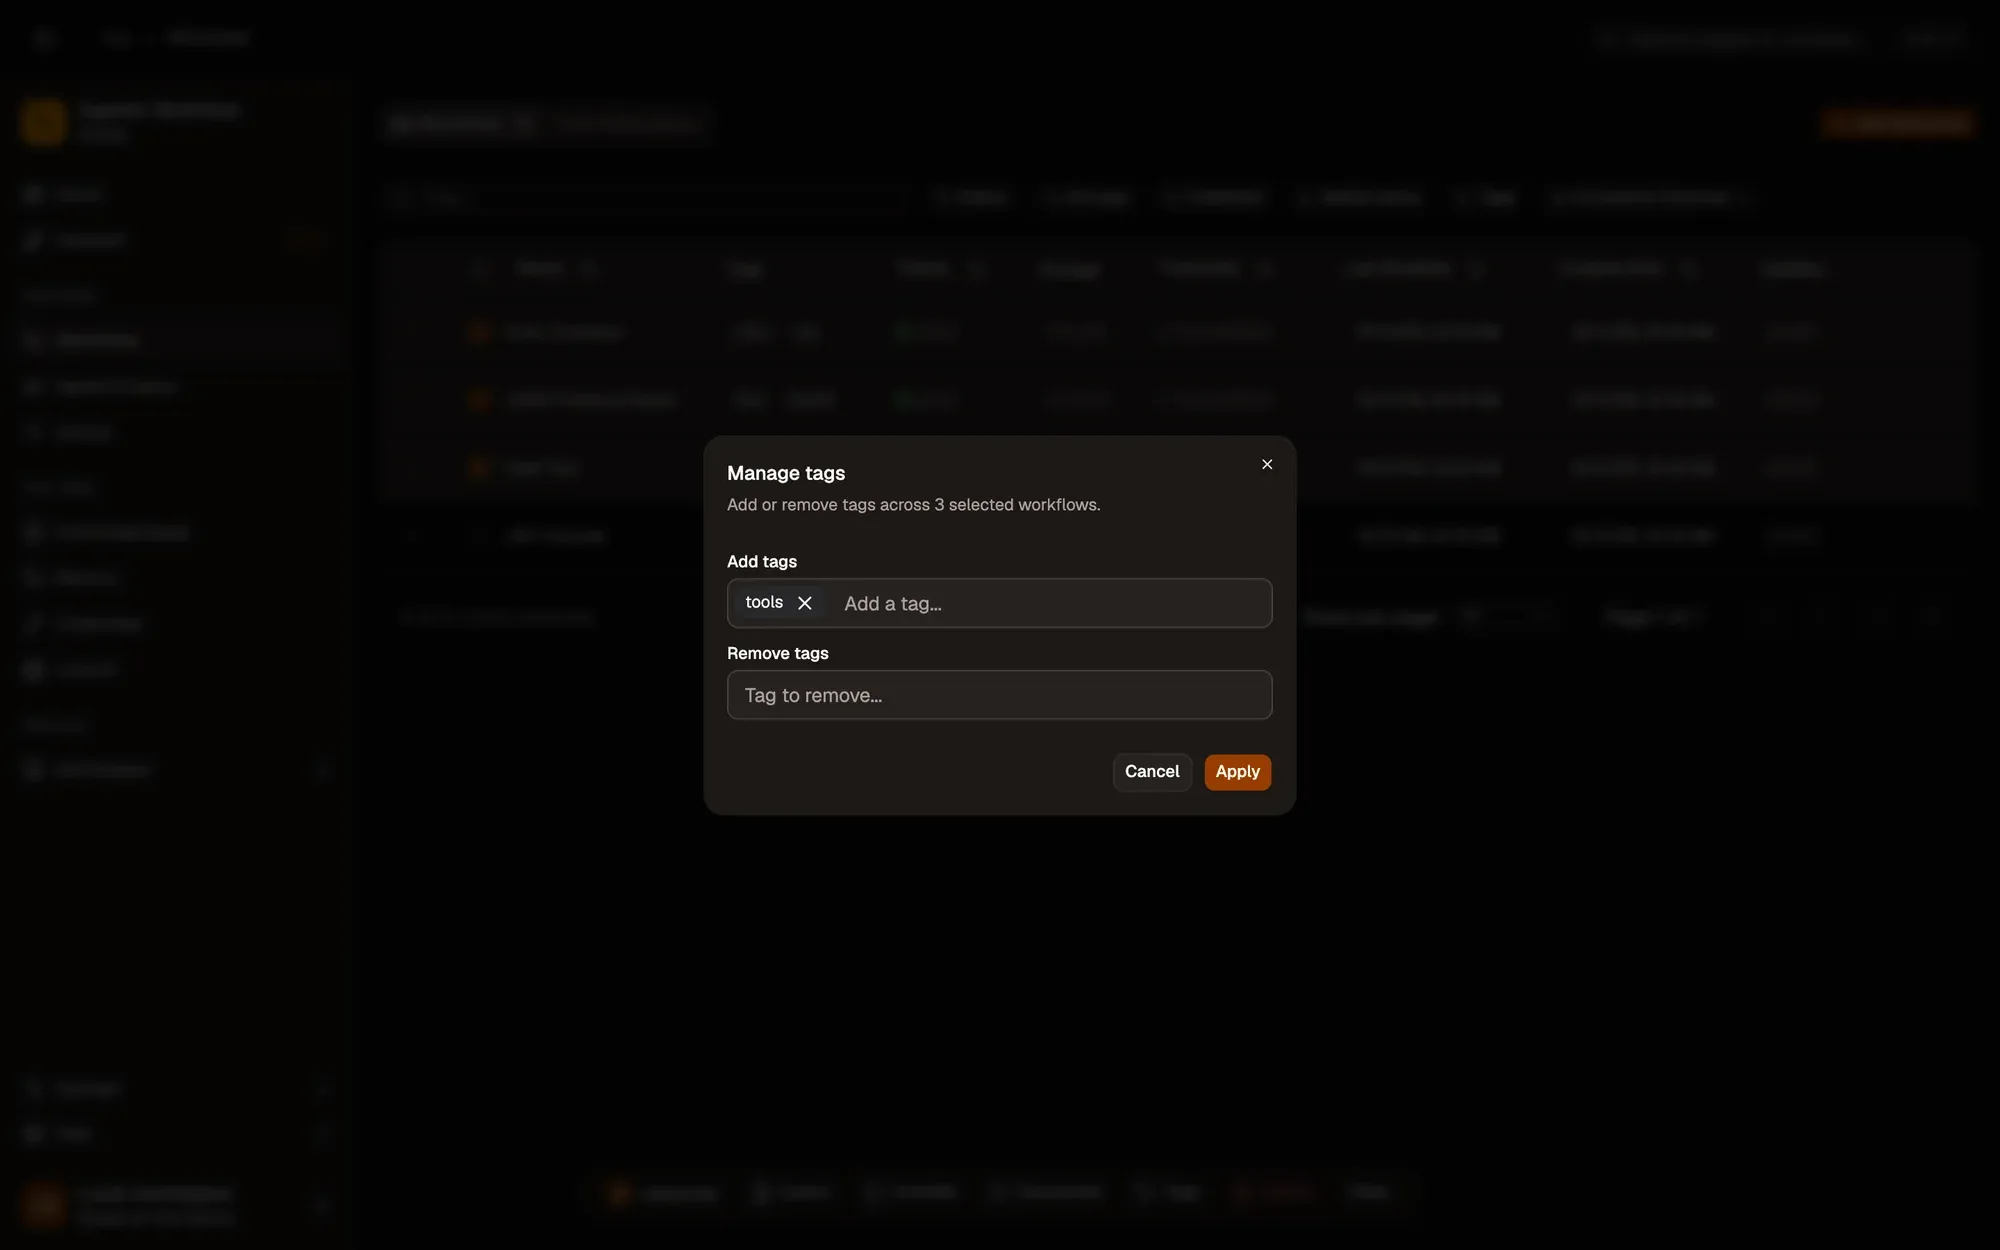
Numbered areas in the screenshot: 1. Add tags; 2. Remove tags; 3. Apply.
Filter the list by tag
Section titled “Filter the list by tag”On the Workflows page, open the Tags filter above the table. It only appears once at least one workflow has a tag.
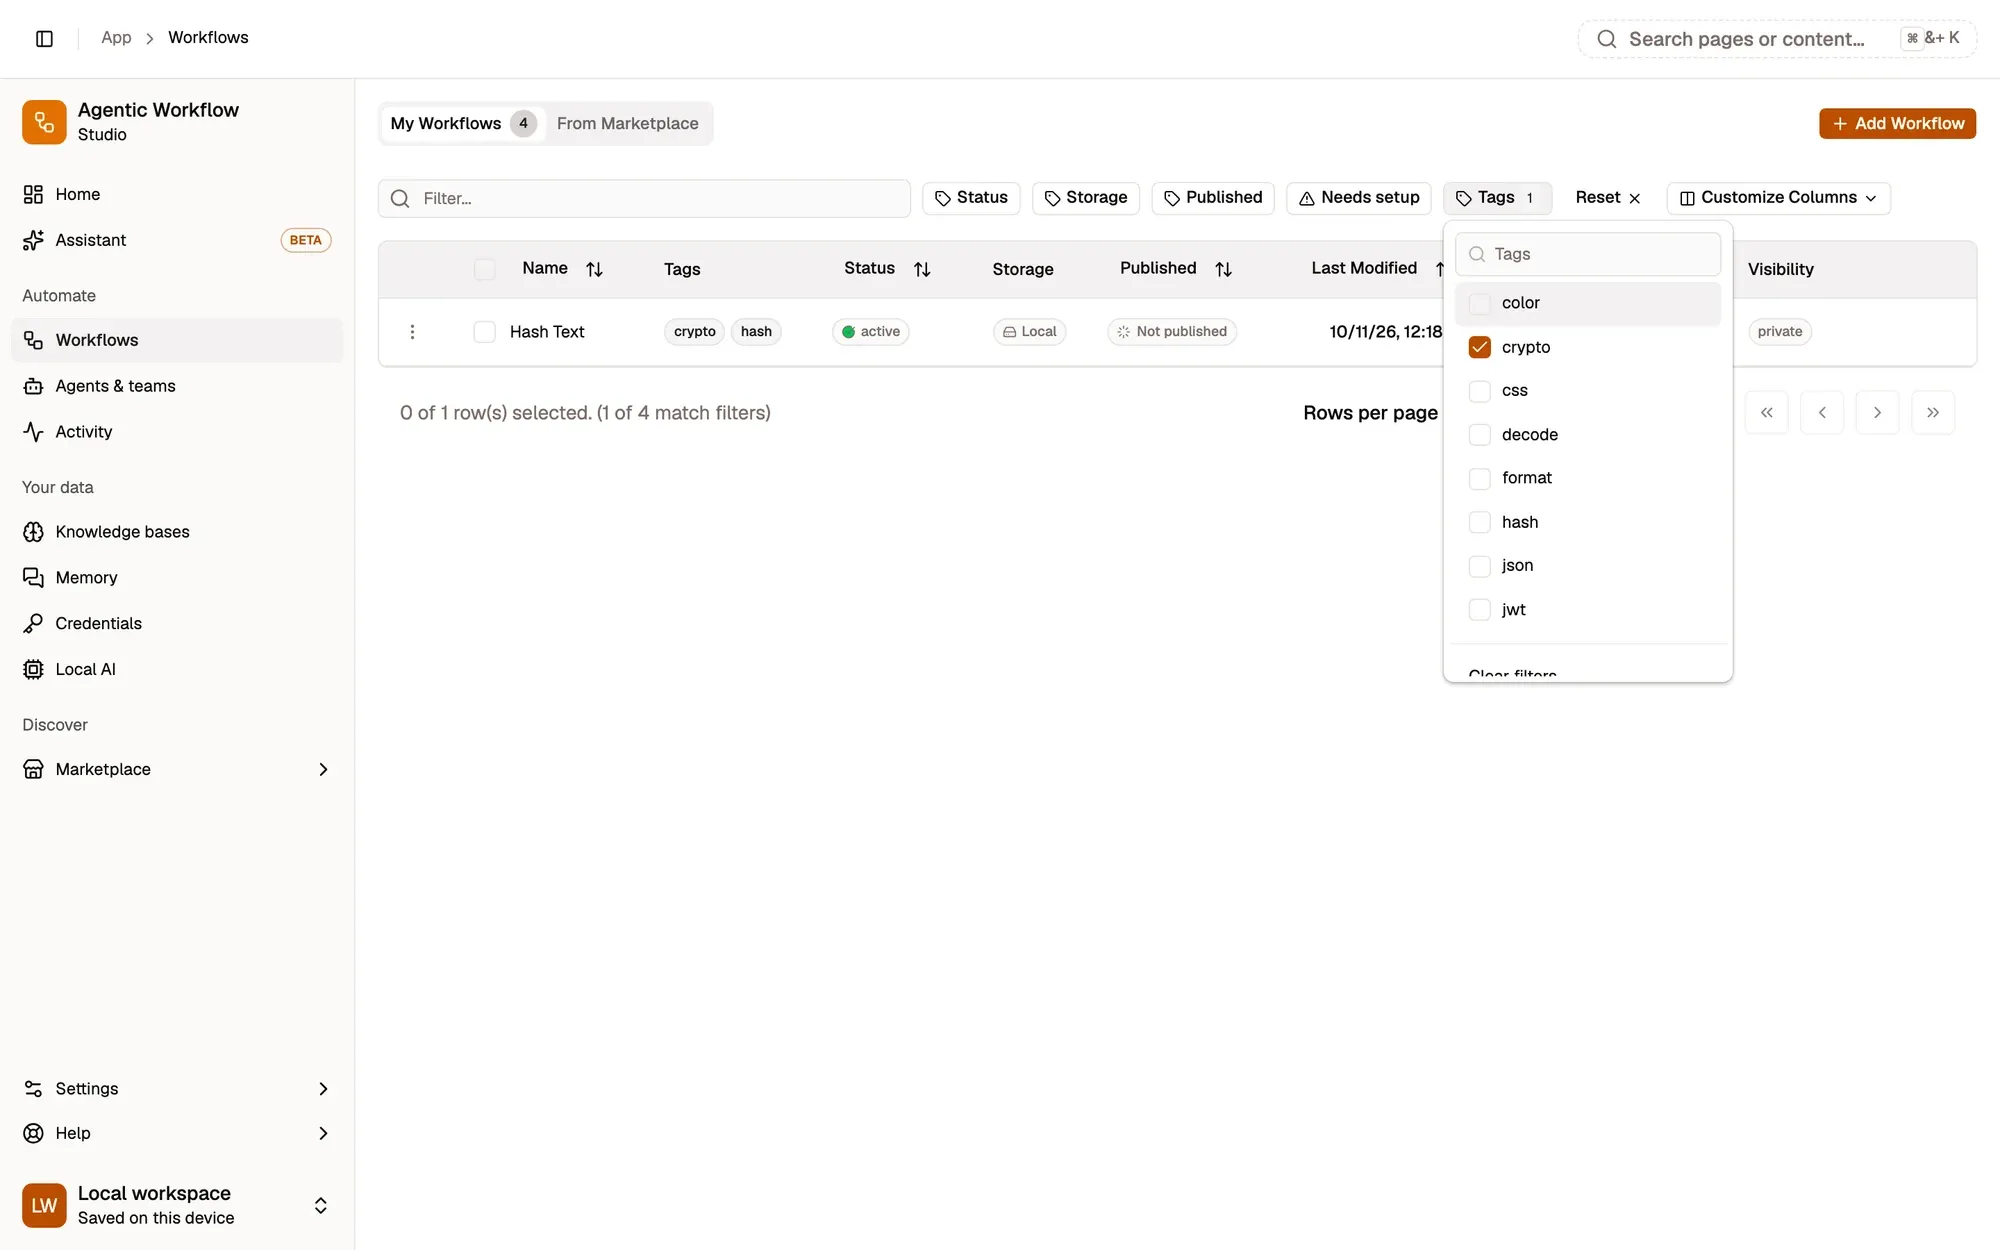
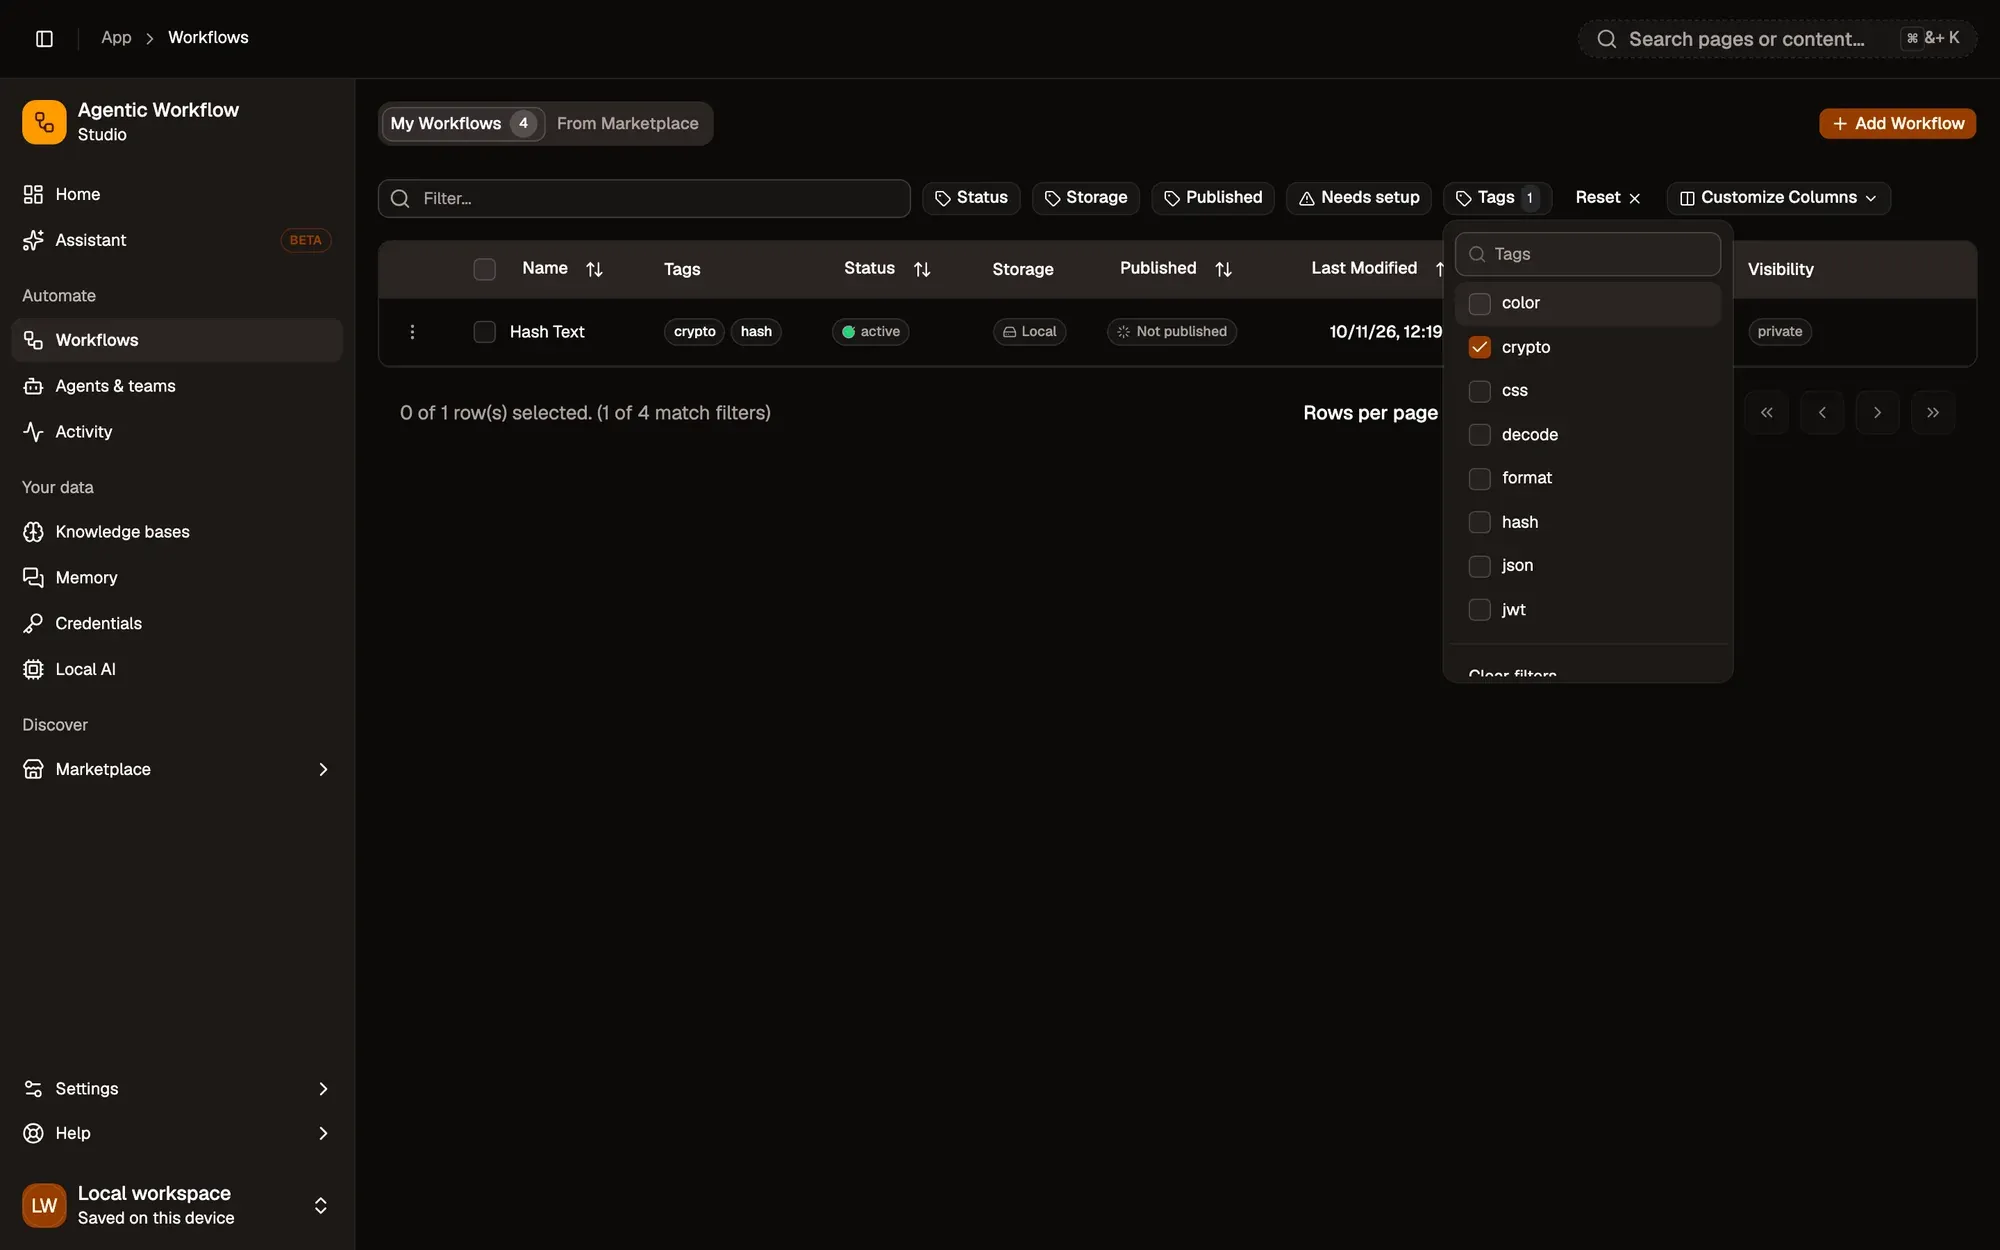
Numbered areas in the screenshot: 1. A filter, with the number of values picked; 2. Tick one or more values; 3. Reset: clear every filter.