Publishing lets you share your workflow in the Marketplace so other people can use it as a template.
After you publish, others can browse it, import it, and adapt it to their own needs.
Why publish a workflow?
Section titled “Why publish a workflow?”- Showcase your workflow skills and ideas.
- Help others by sharing a ready-made automation.
- Encourage reuse of proven solutions rather than reinventing from scratch.
- Receive feedback, contributions, or improvements from the community.
Before you publish
Section titled “Before you publish”Make sure your workflow meets these key conditions:
- It’s saved, stable and tested (run it a few times to confirm it works). See Run from the canvas.
- Nodes are clearly named and organized.
- Sticky Notes or documentation are added to explain the workflow logic. (See Sticky Notes)
- Sensitive credentials or data are removed—replace them with placeholders or variables.
- If your workflow uses browser nodes, ensure the selectors and paths are generic or documented.
- Exported workflow JSON works as a standalone template when imported.
How to publish
Section titled “How to publish”Only cloud workflows can be published, so you need to be signed in. Each Next saves the step to your draft, so you can close the wizard and pick up where you left off.
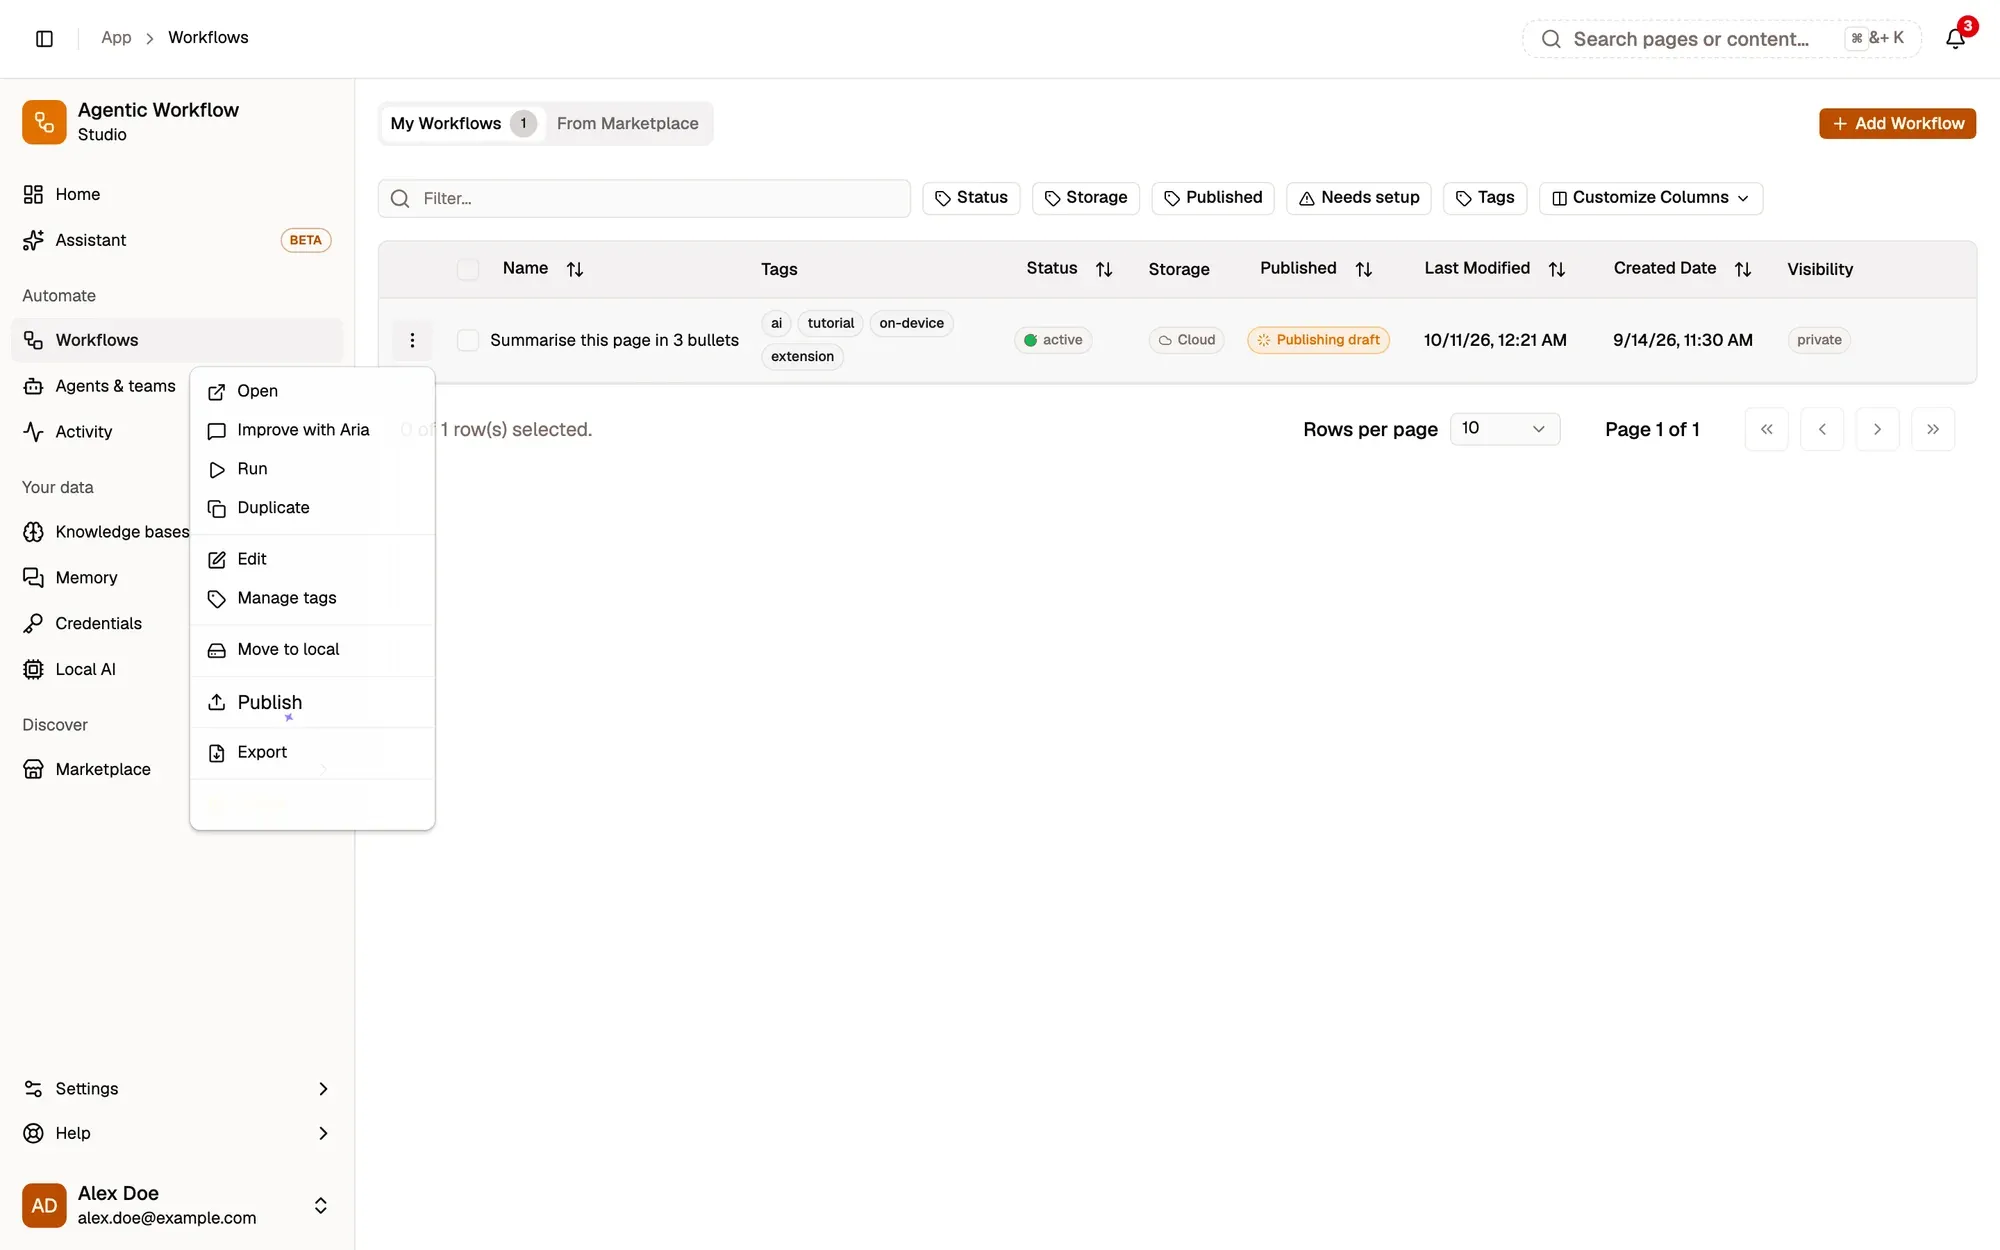
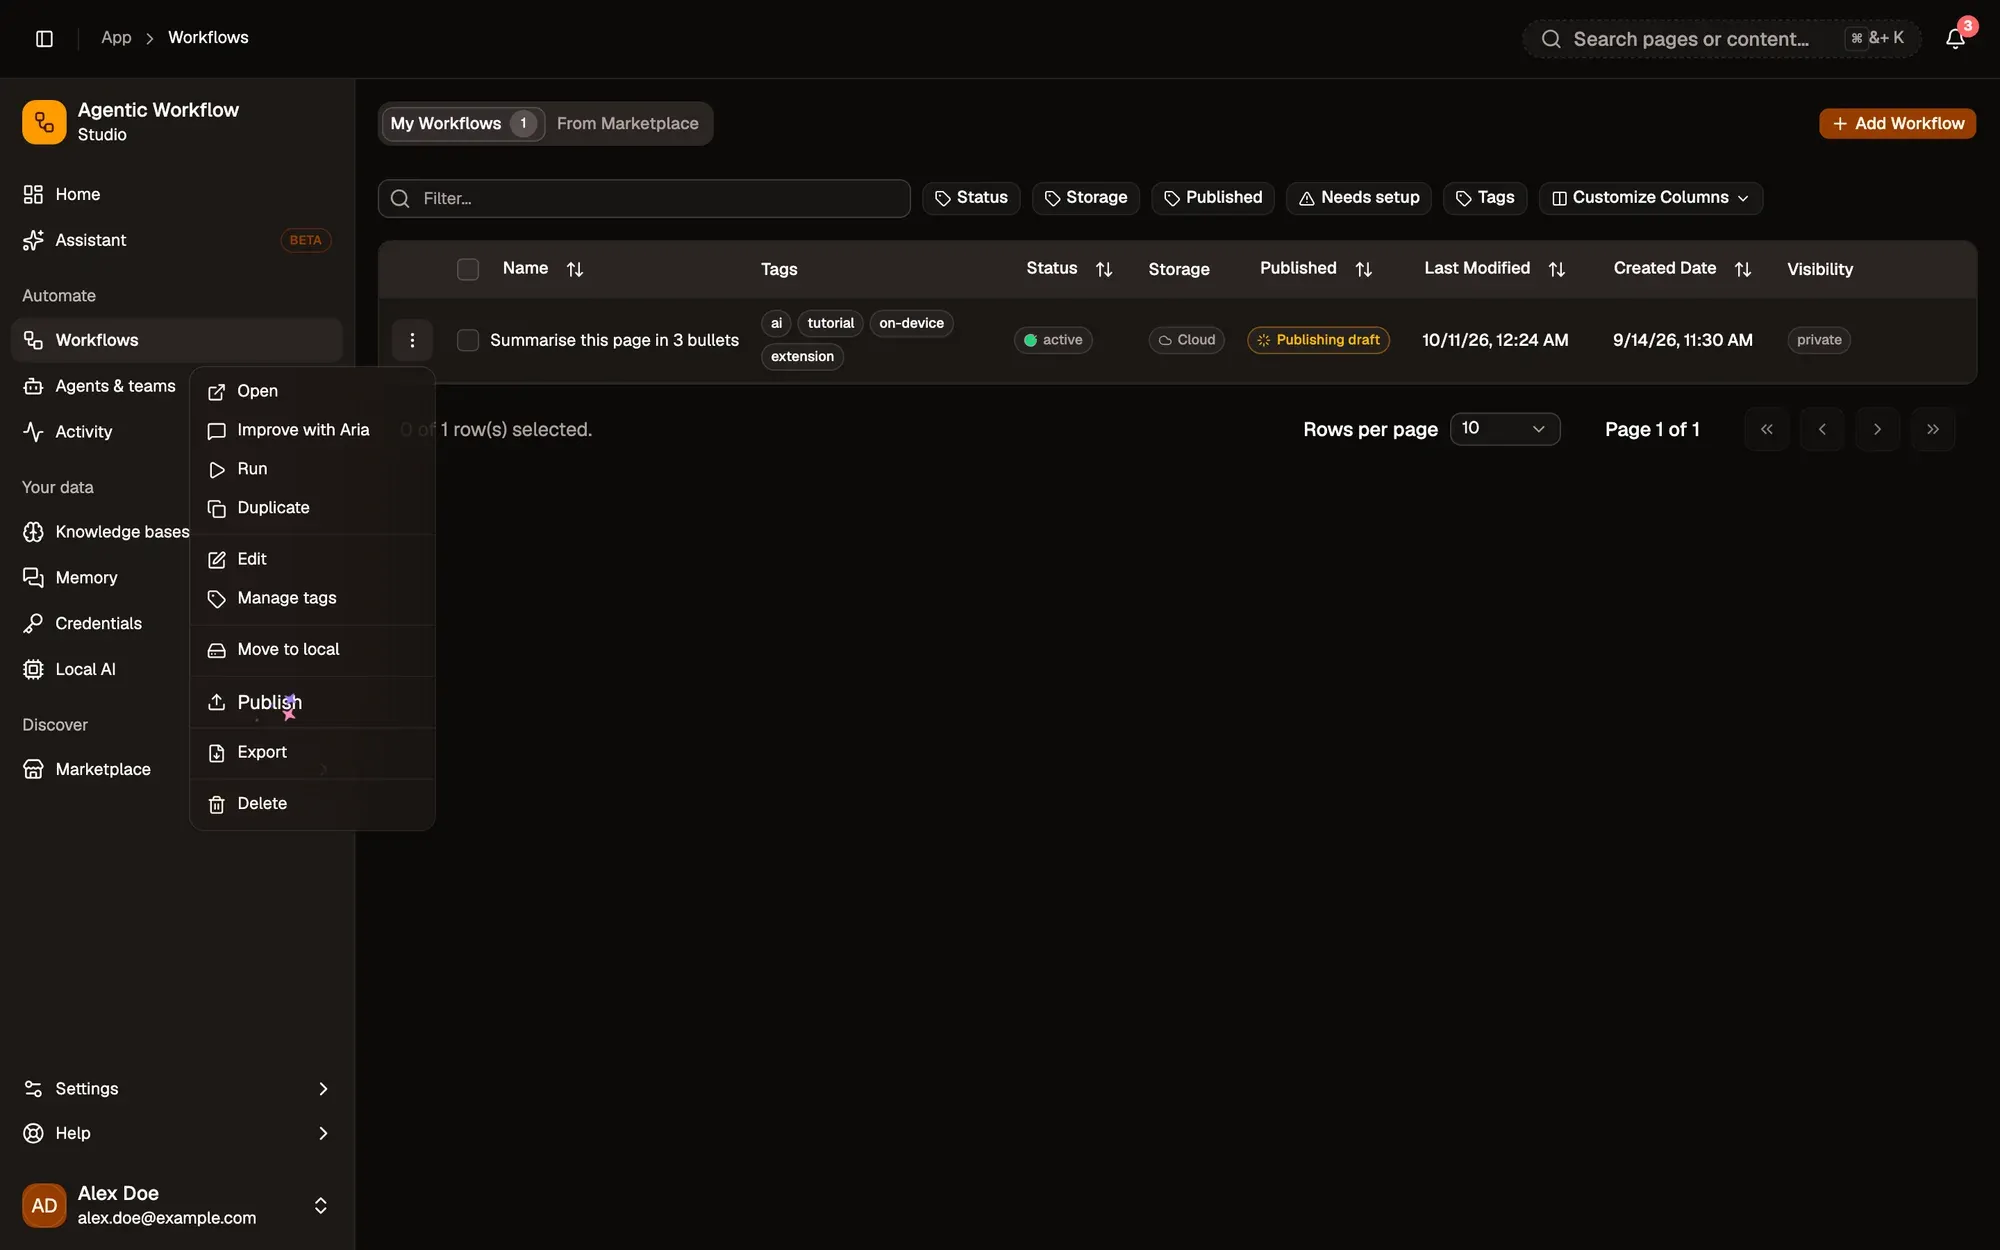
Step 1:Open Publish on the workflow
On the Workflows page, open the ⋮ menu at the start of the workflow’s row and click Publish.
Step 2:Basics: name and description
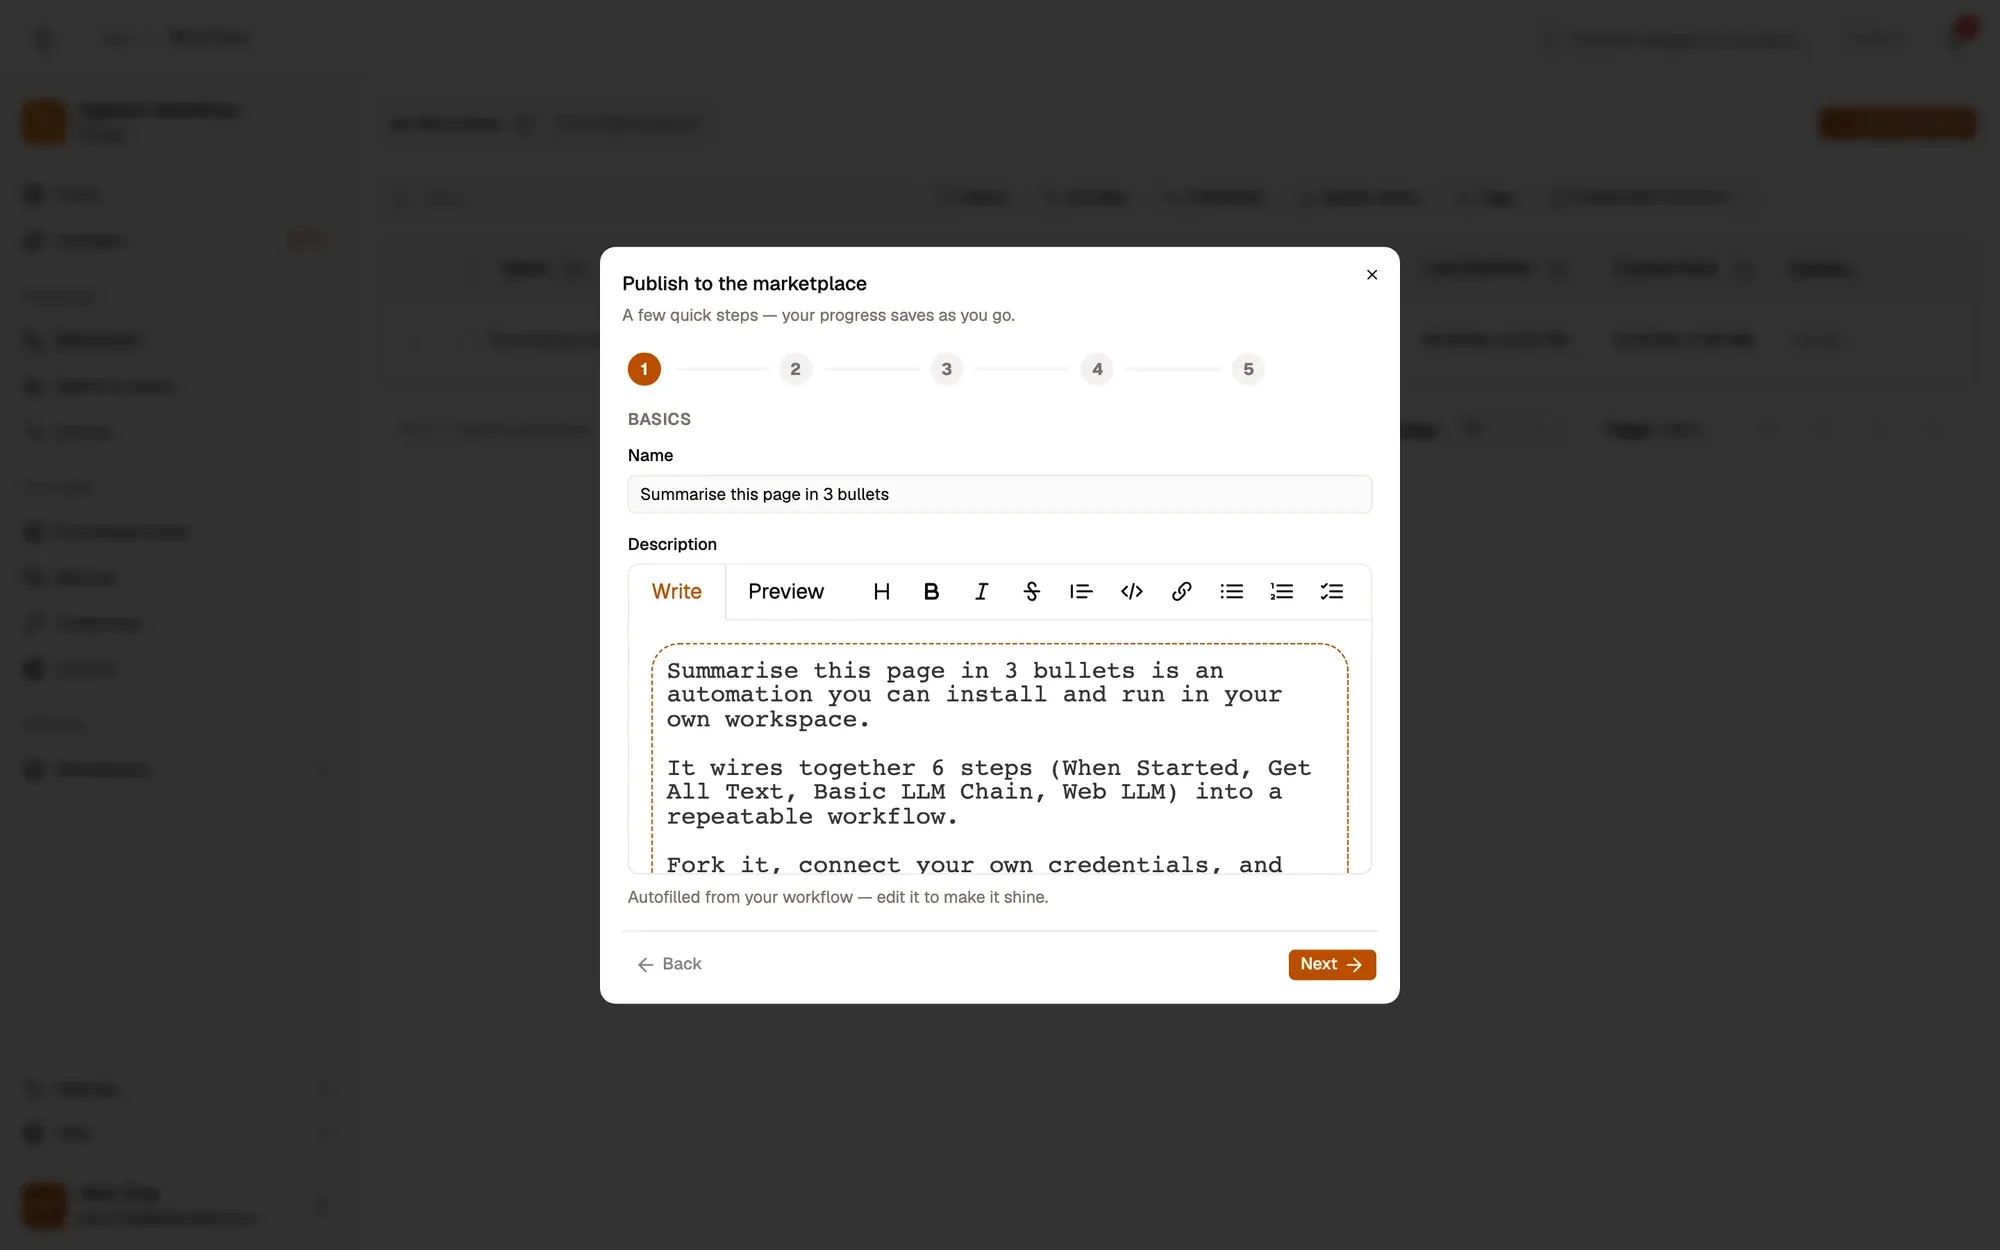
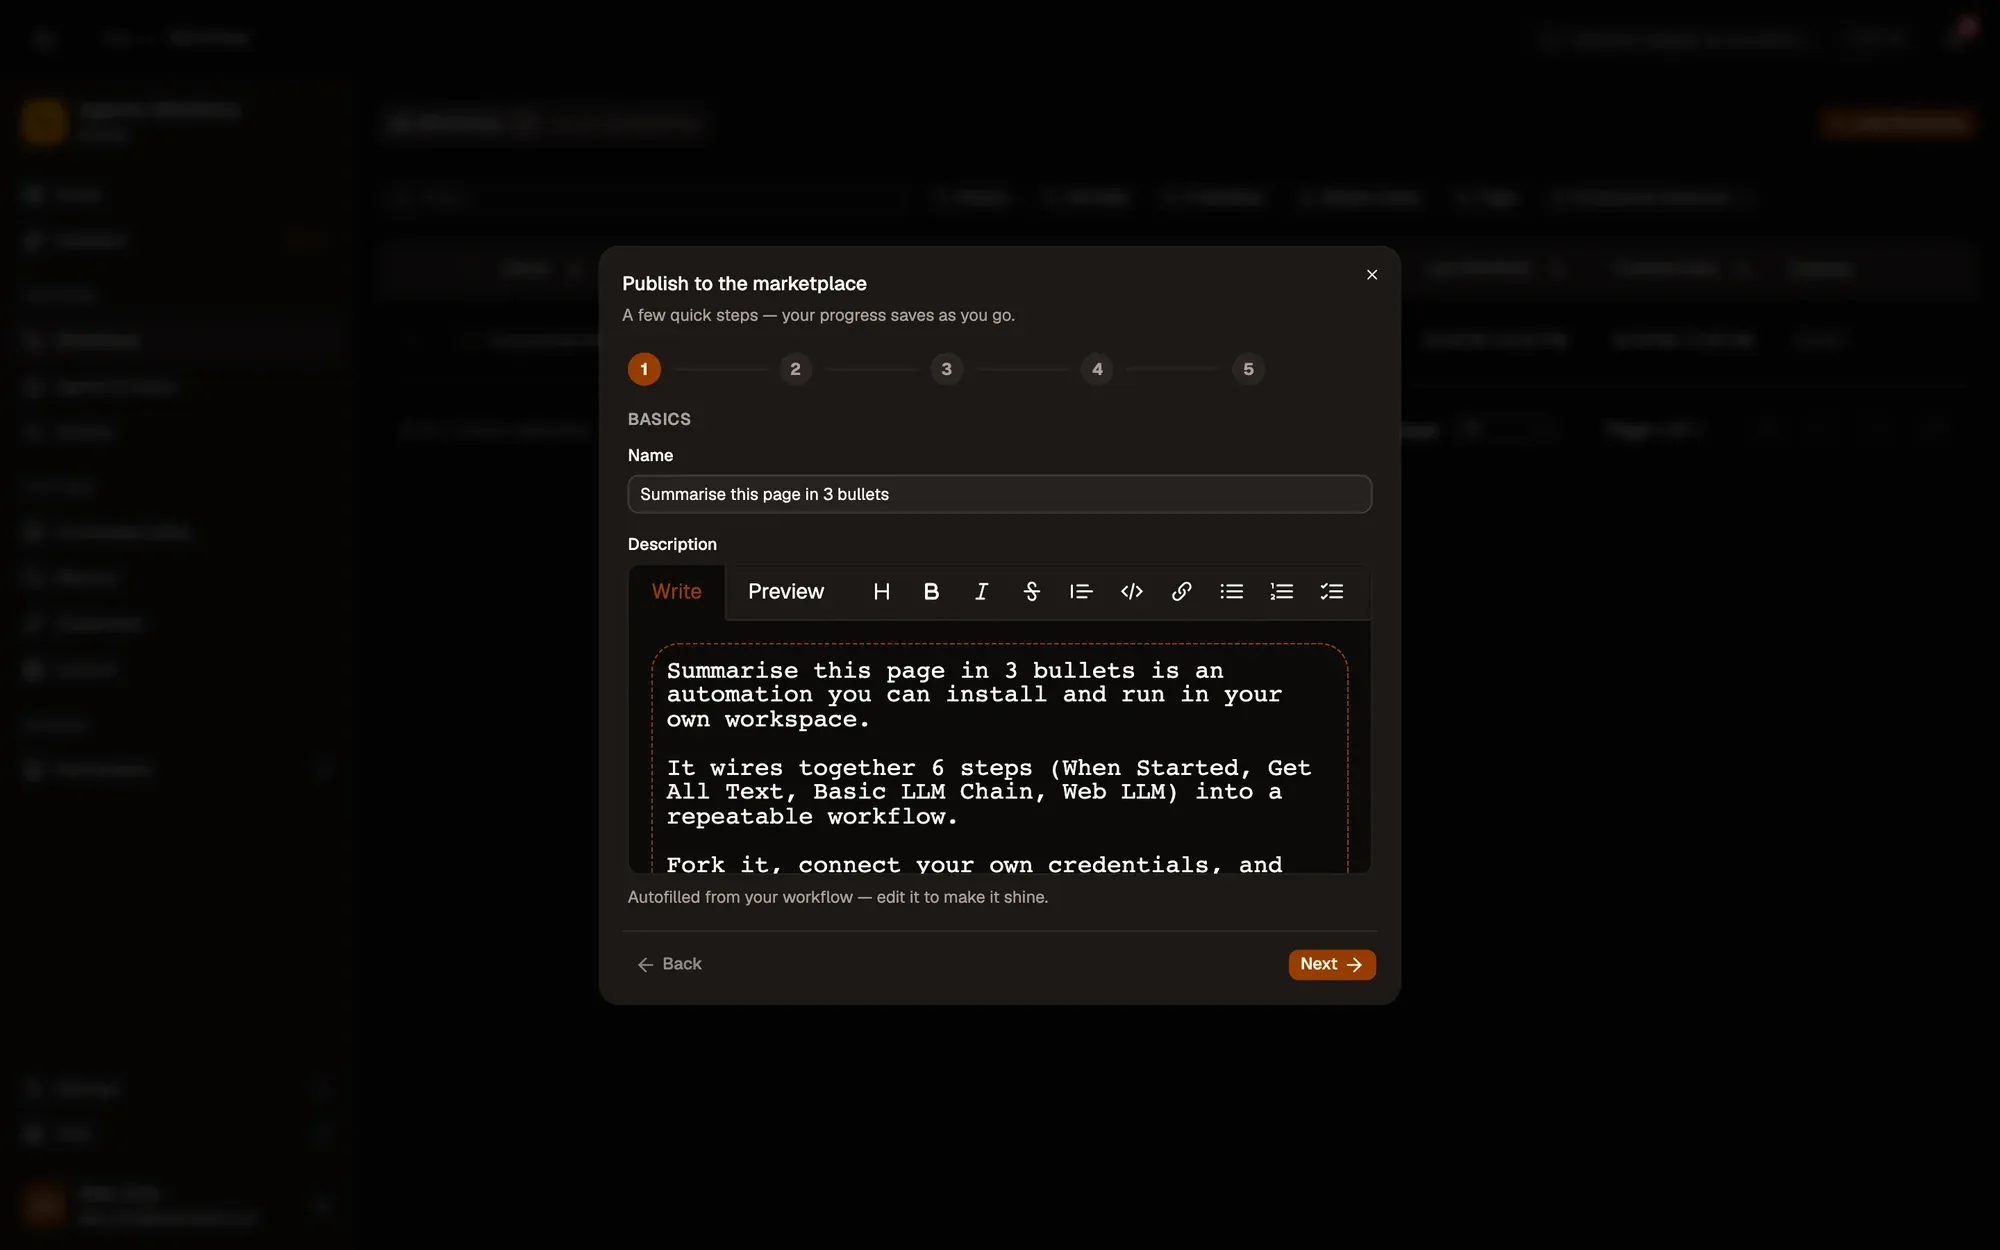
The name and a starter description are filled in from your workflow. Edit them so a stranger understands what it does, then click Next.
Step 3:Media: icon and preview images
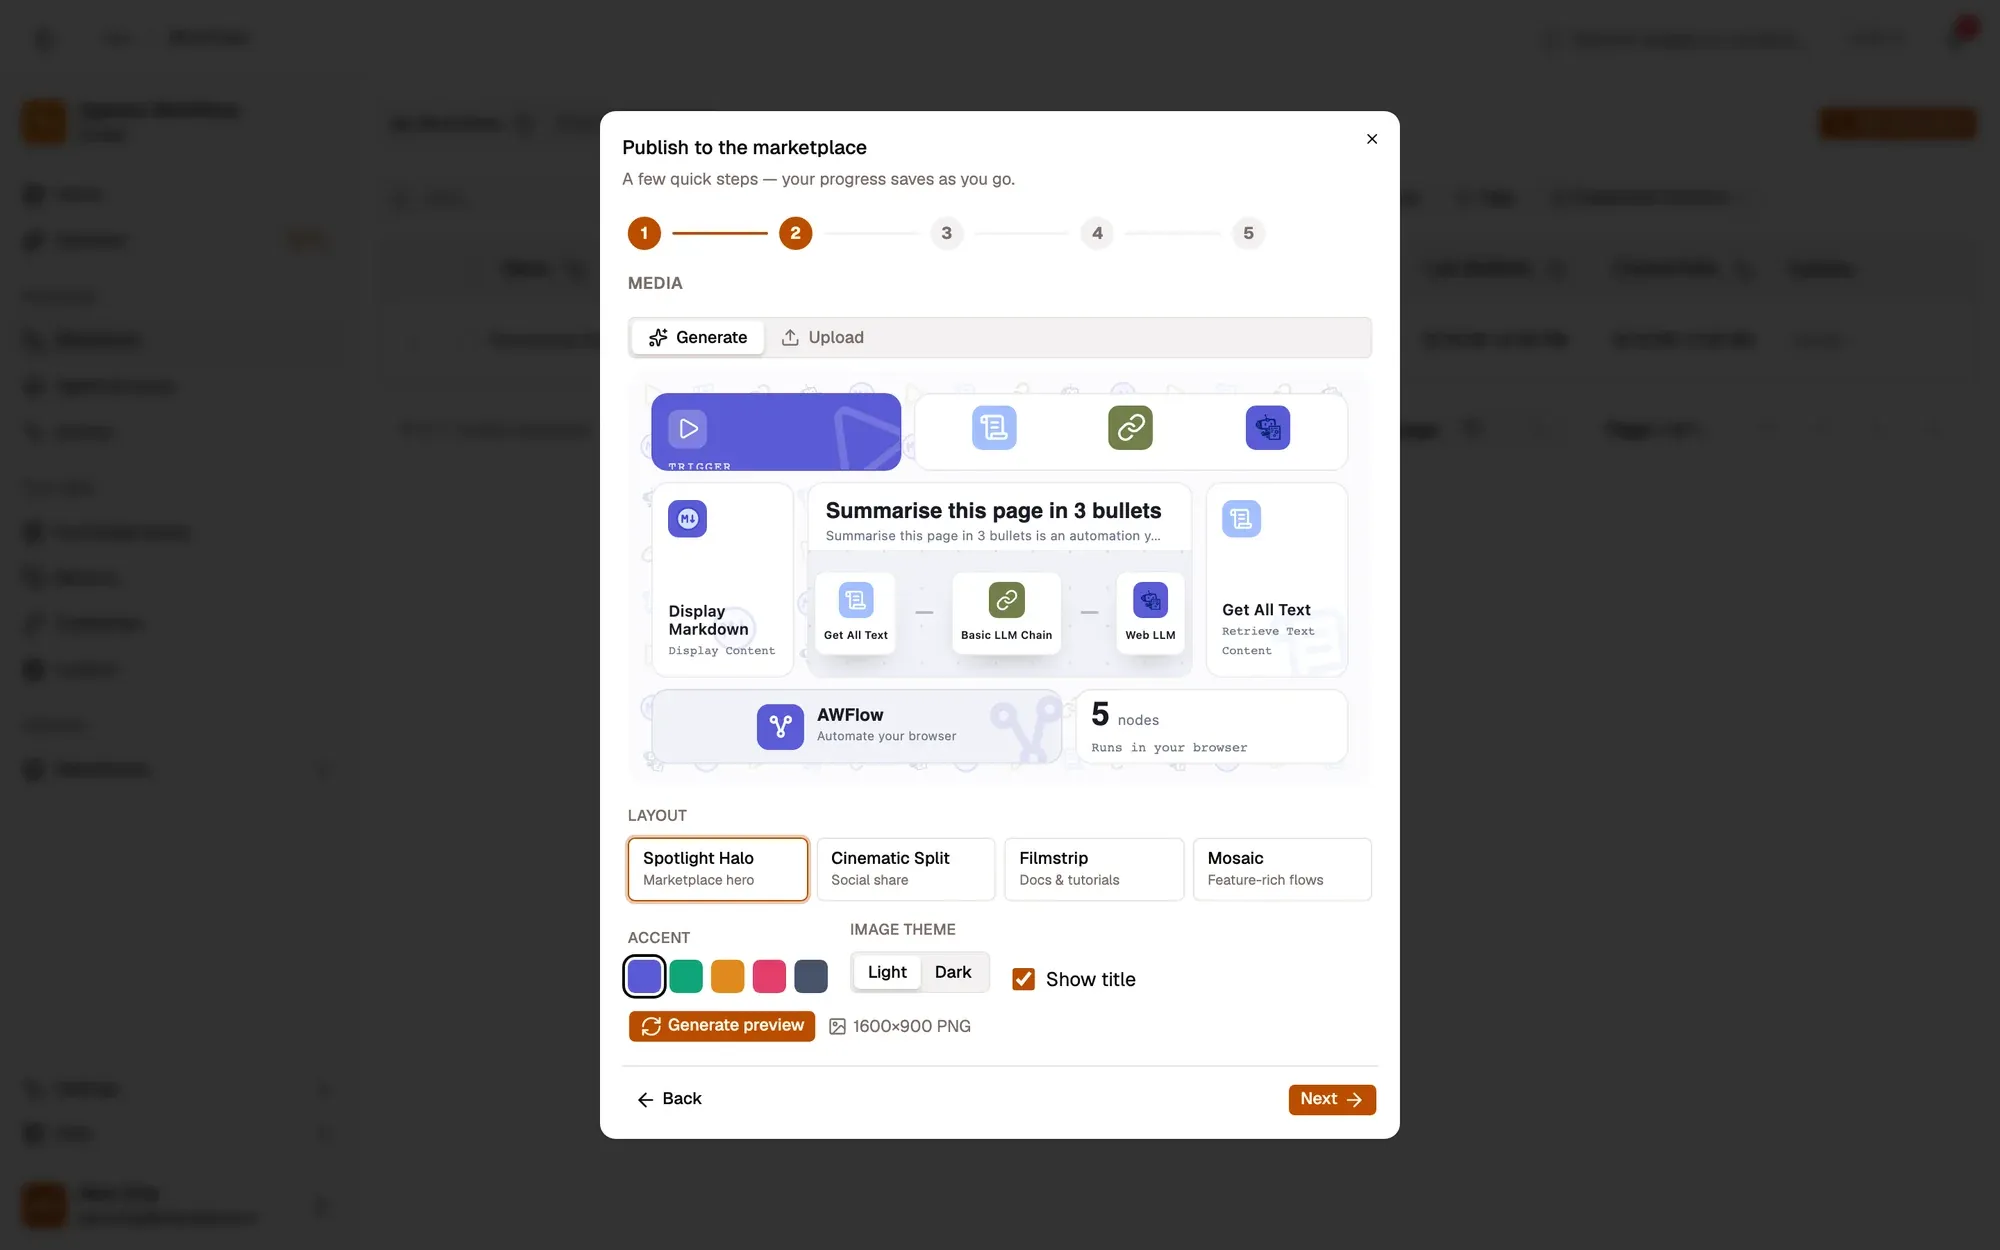
Pick an icon (an emoji or an image), then upload screenshots or generate a preview image (see below). Click Next.
Step 4:Details: categories, tags and language
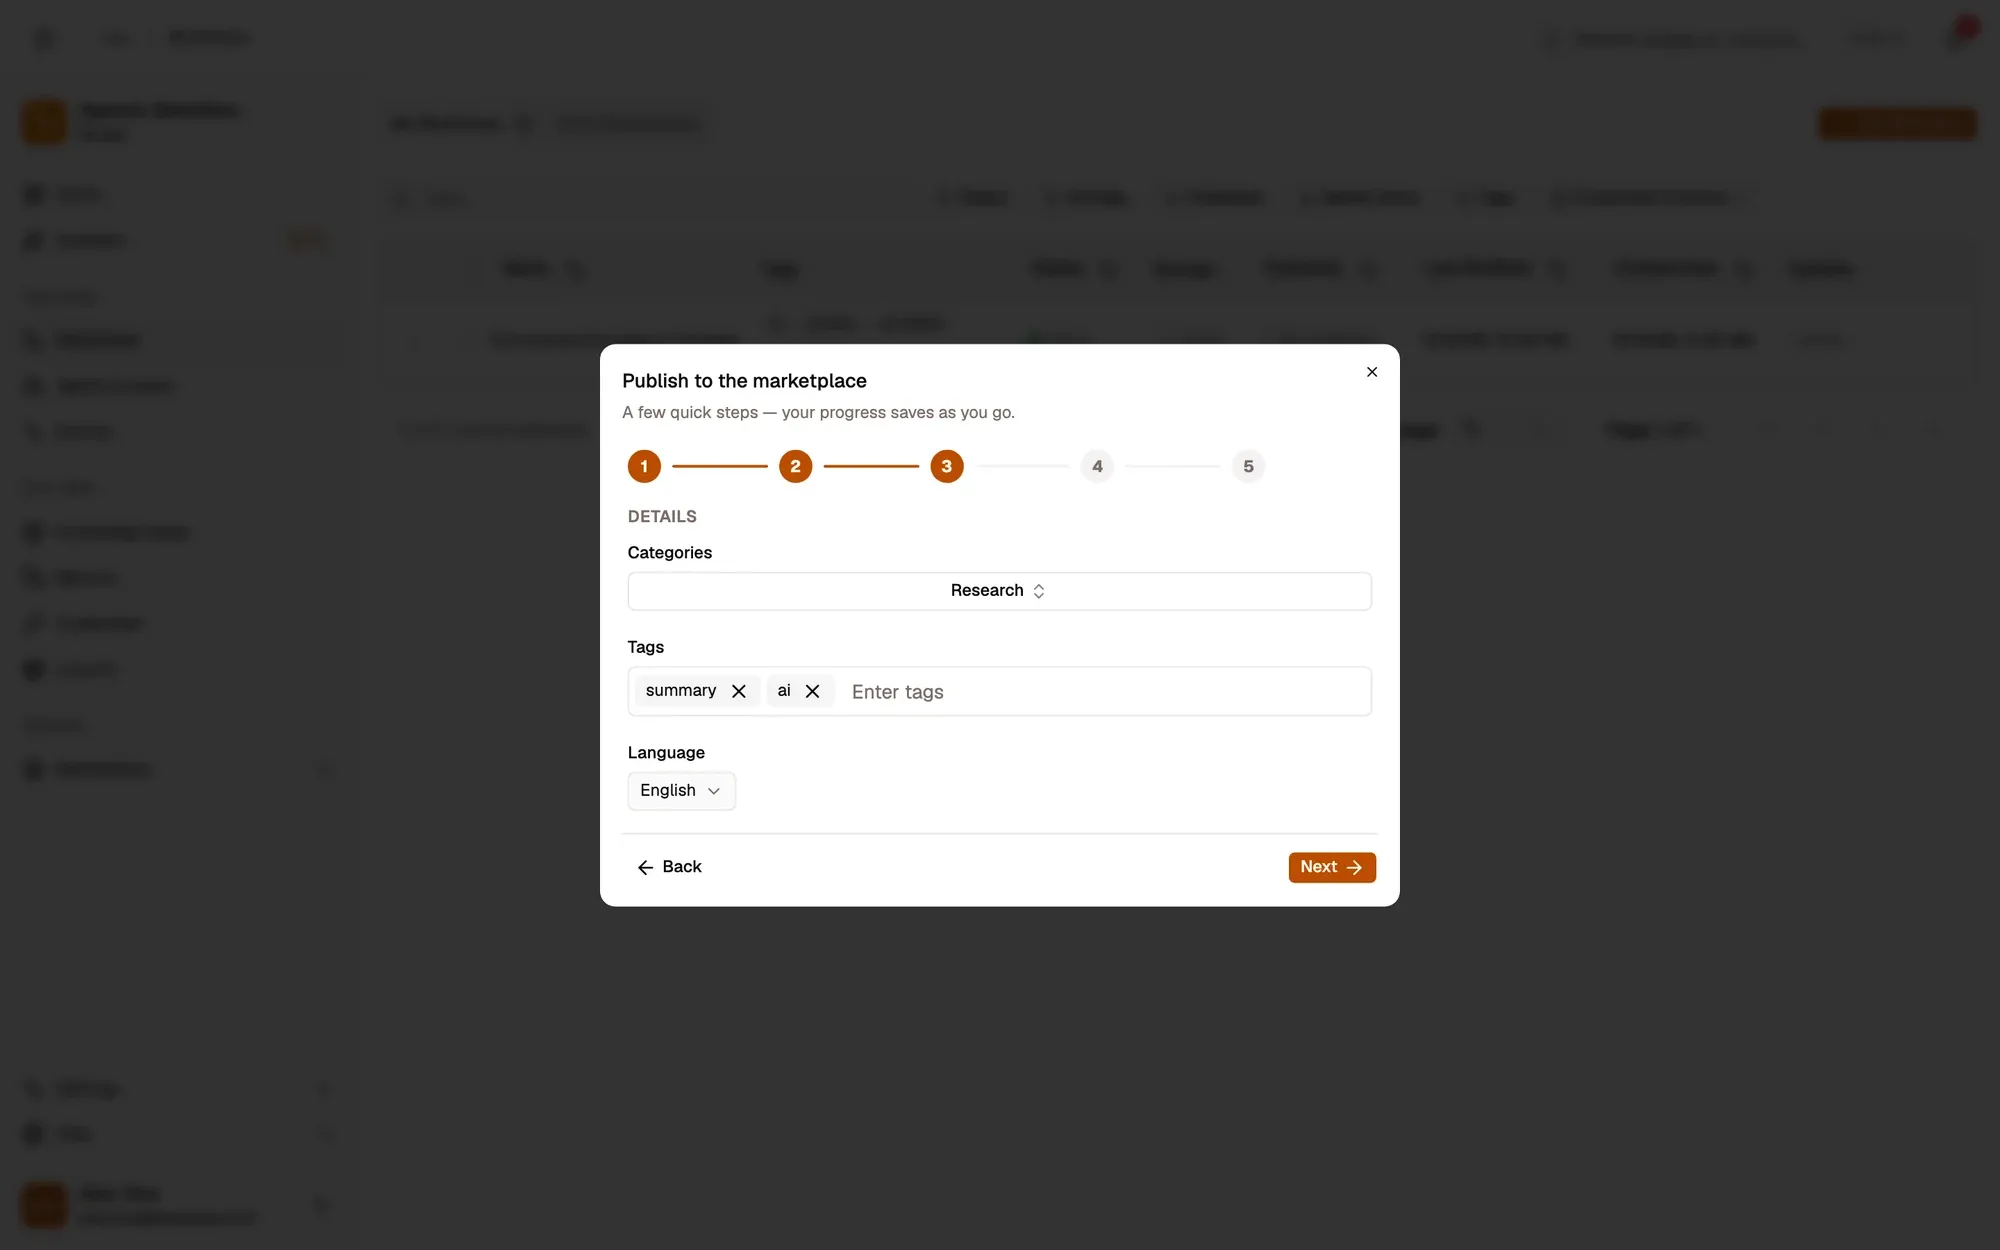
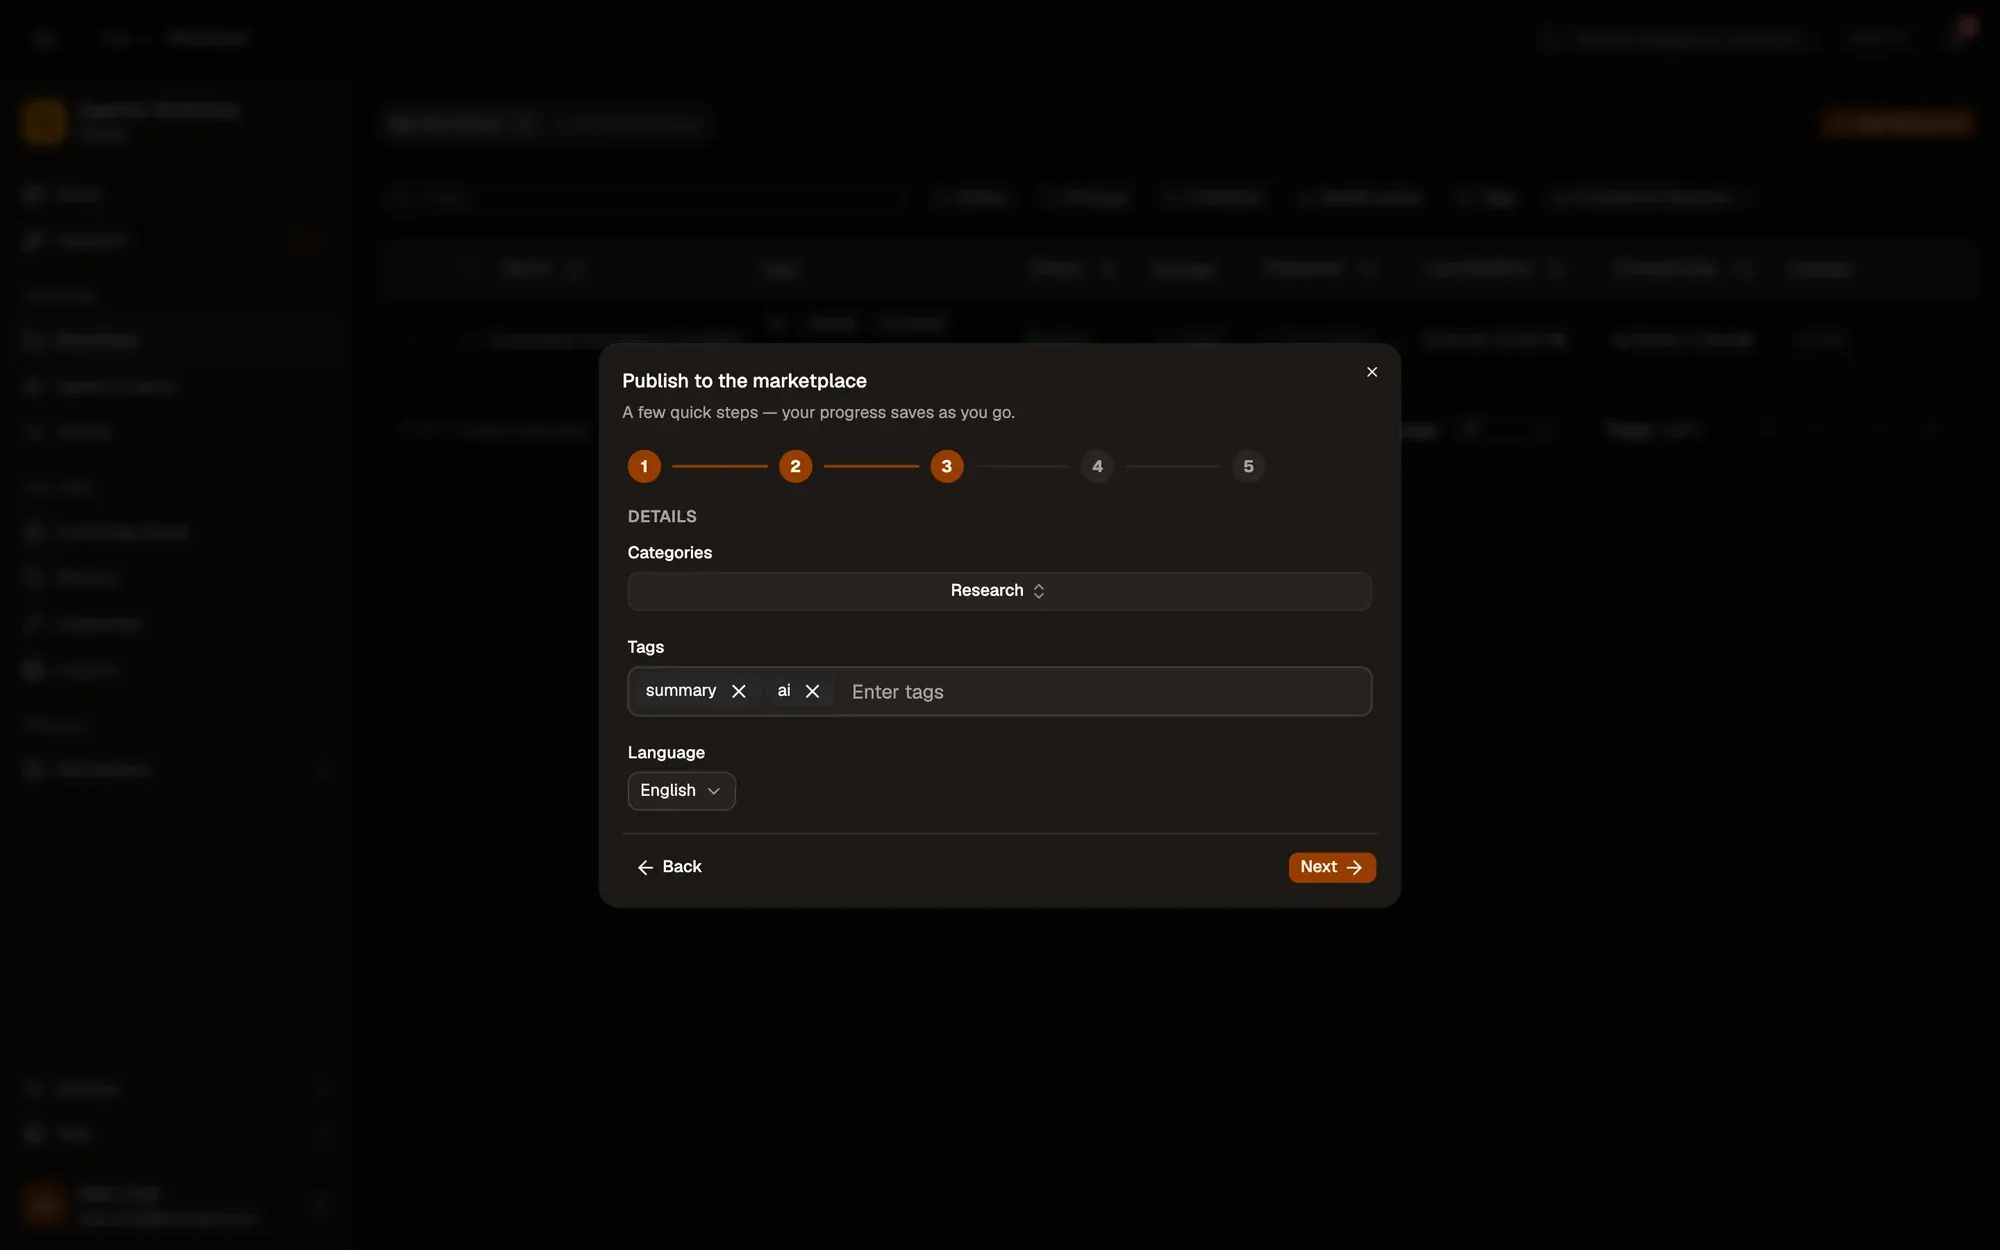
Pick at least one category, add tags (press Enter after each) and check the language. Click Next.
Step 5:Explain the steps
Write one plain sentence per step: what it does and why. Notes already on the canvas are filled in. Next stays disabled until every step has a note.
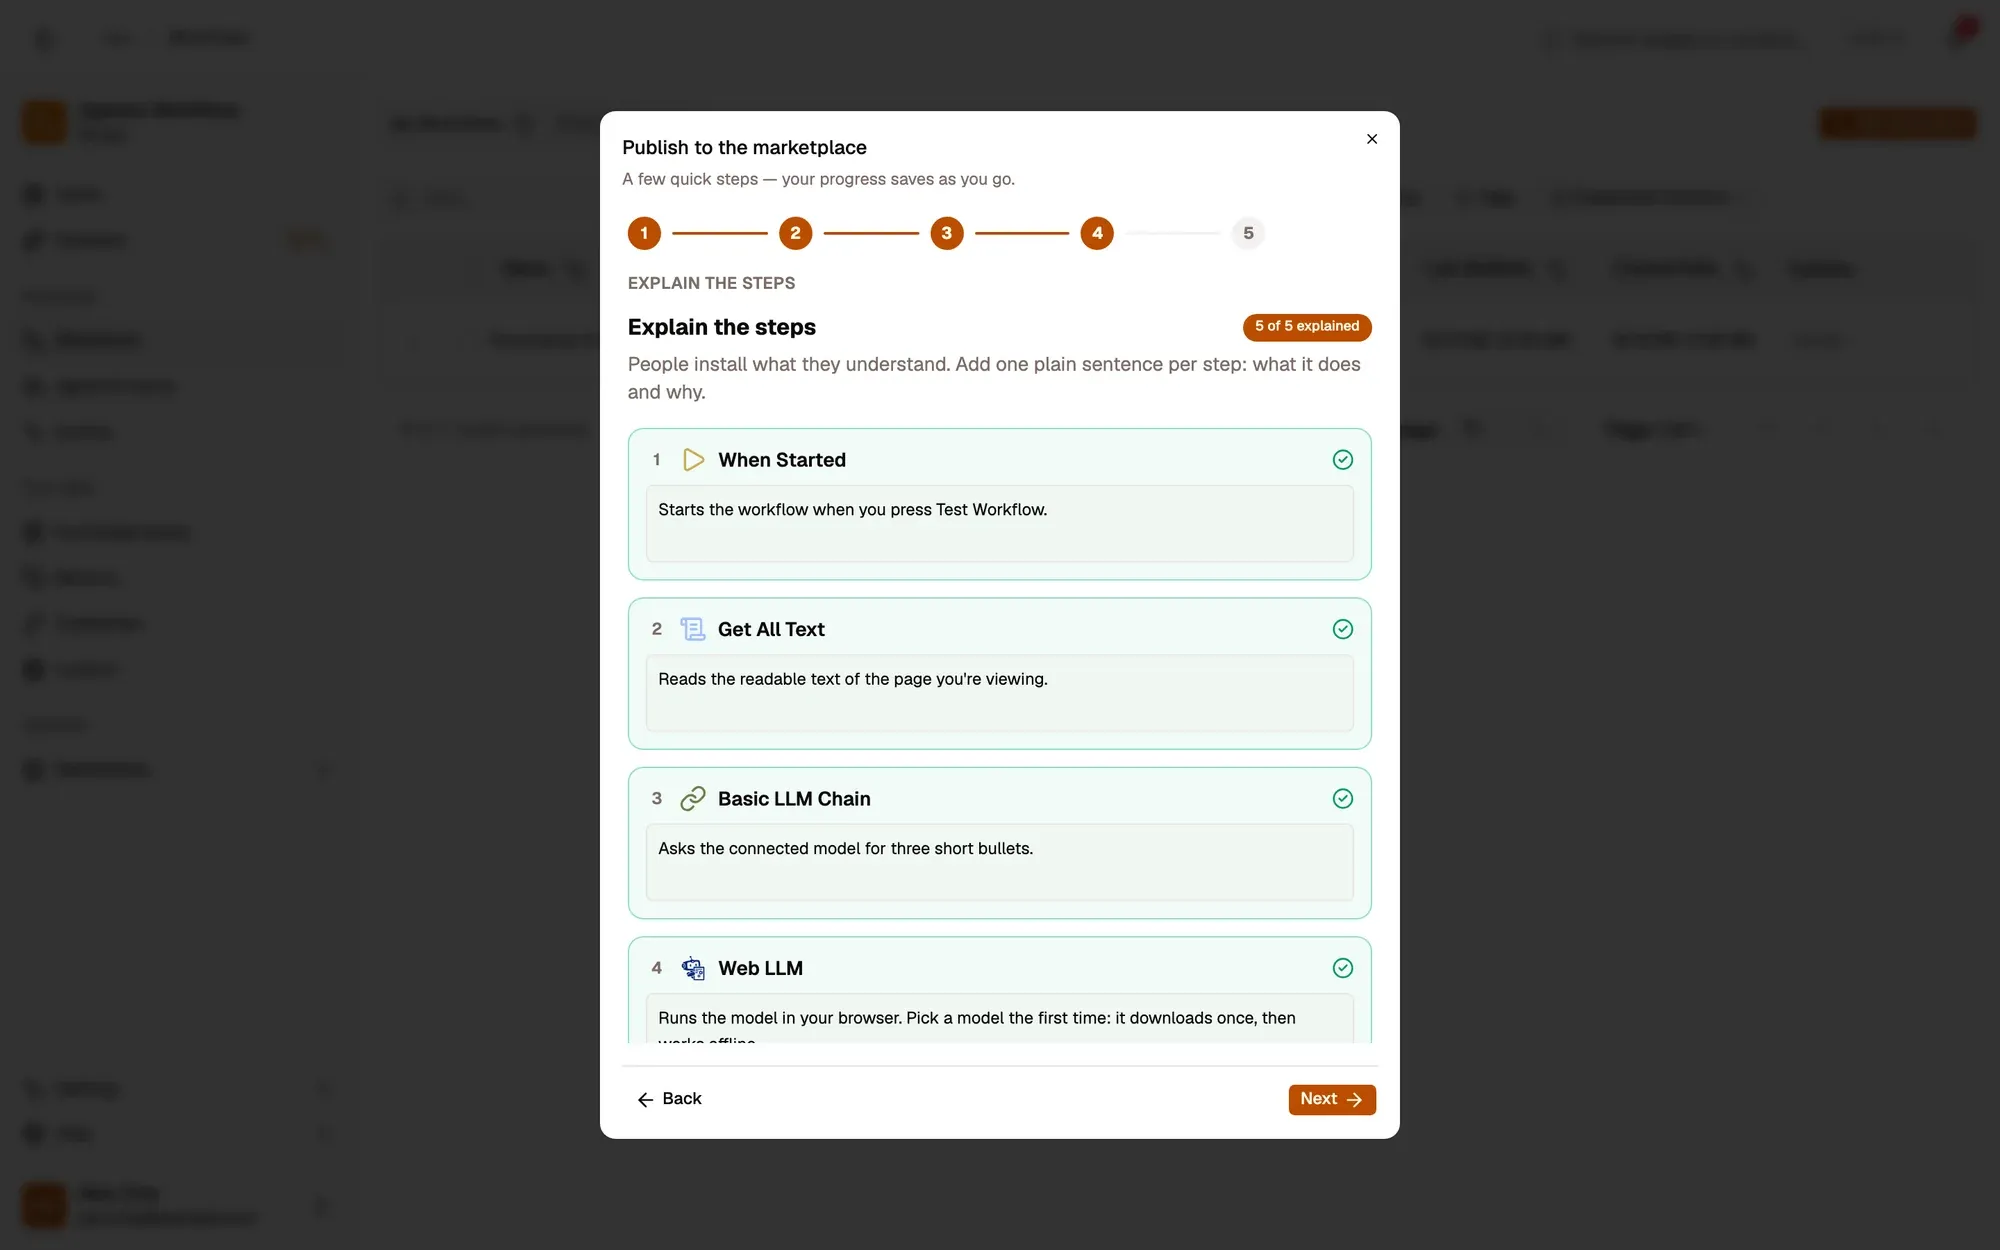
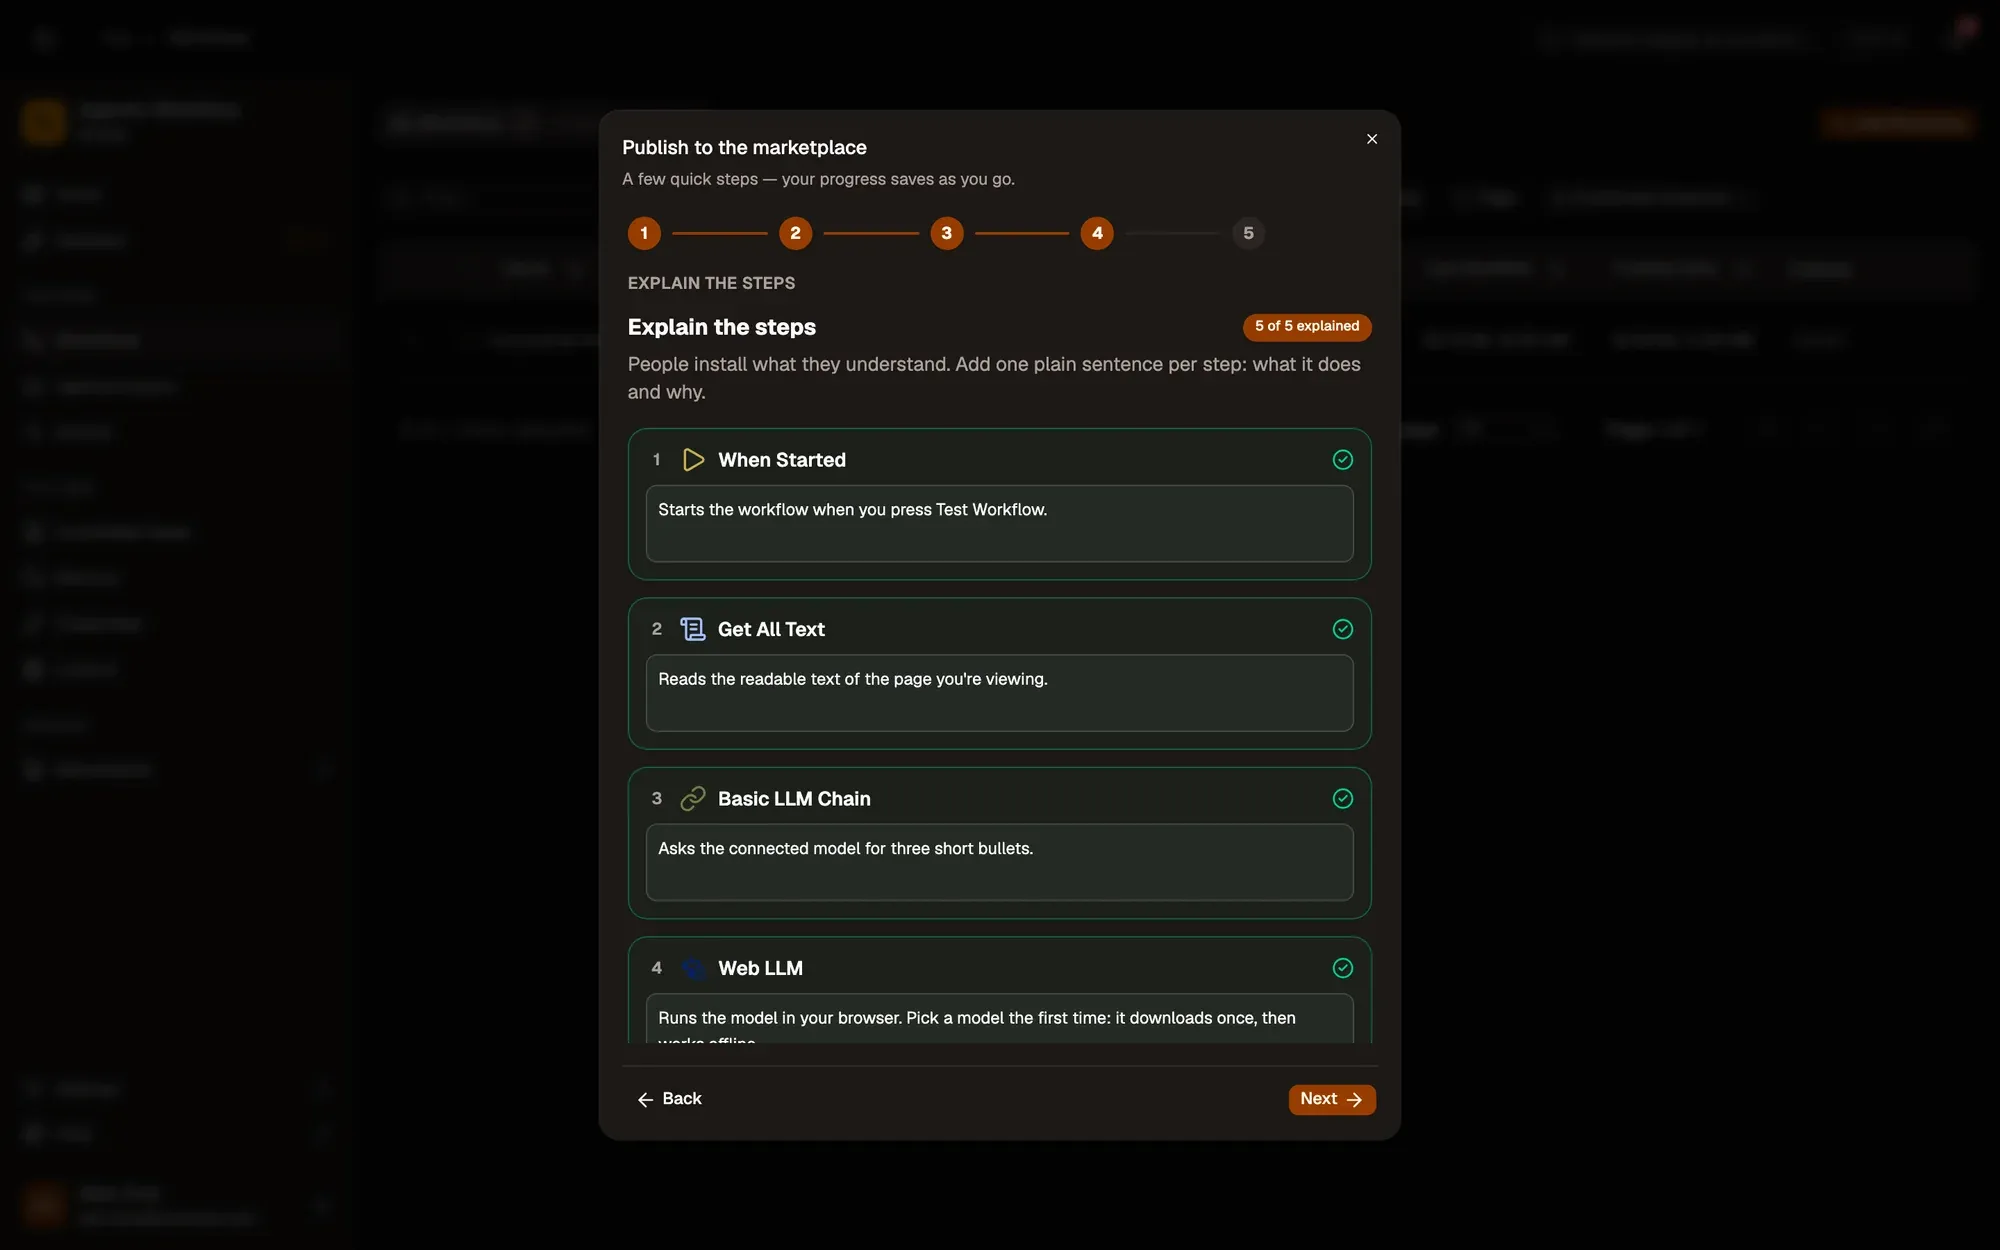
Step 6:Review & publish
Check the secret scan, the values you share and Permissions & Safety, derived from the steps. Then click Publish. Your listing goes to a quick review, then appears in the Marketplace.
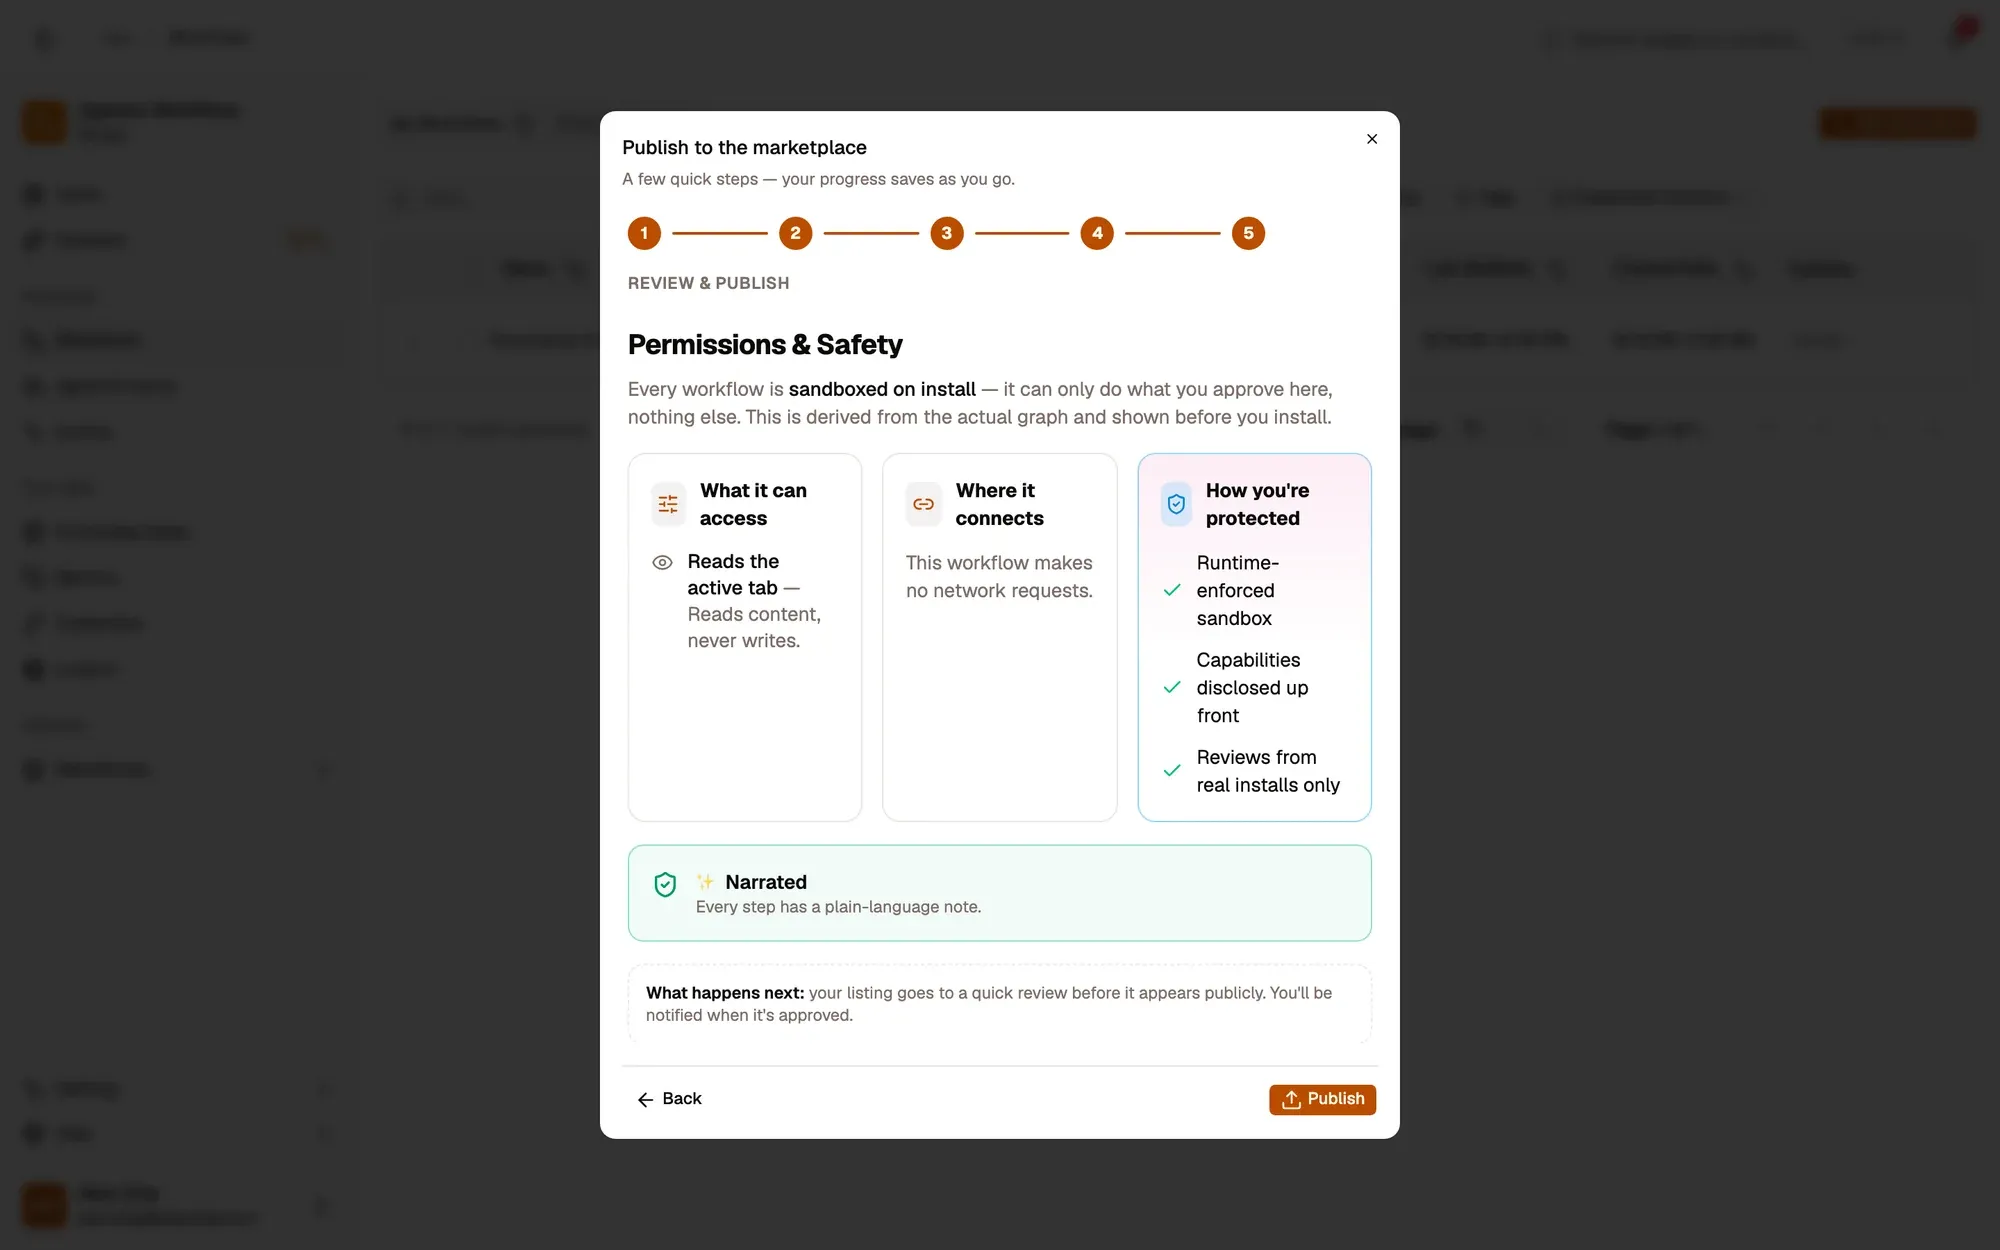
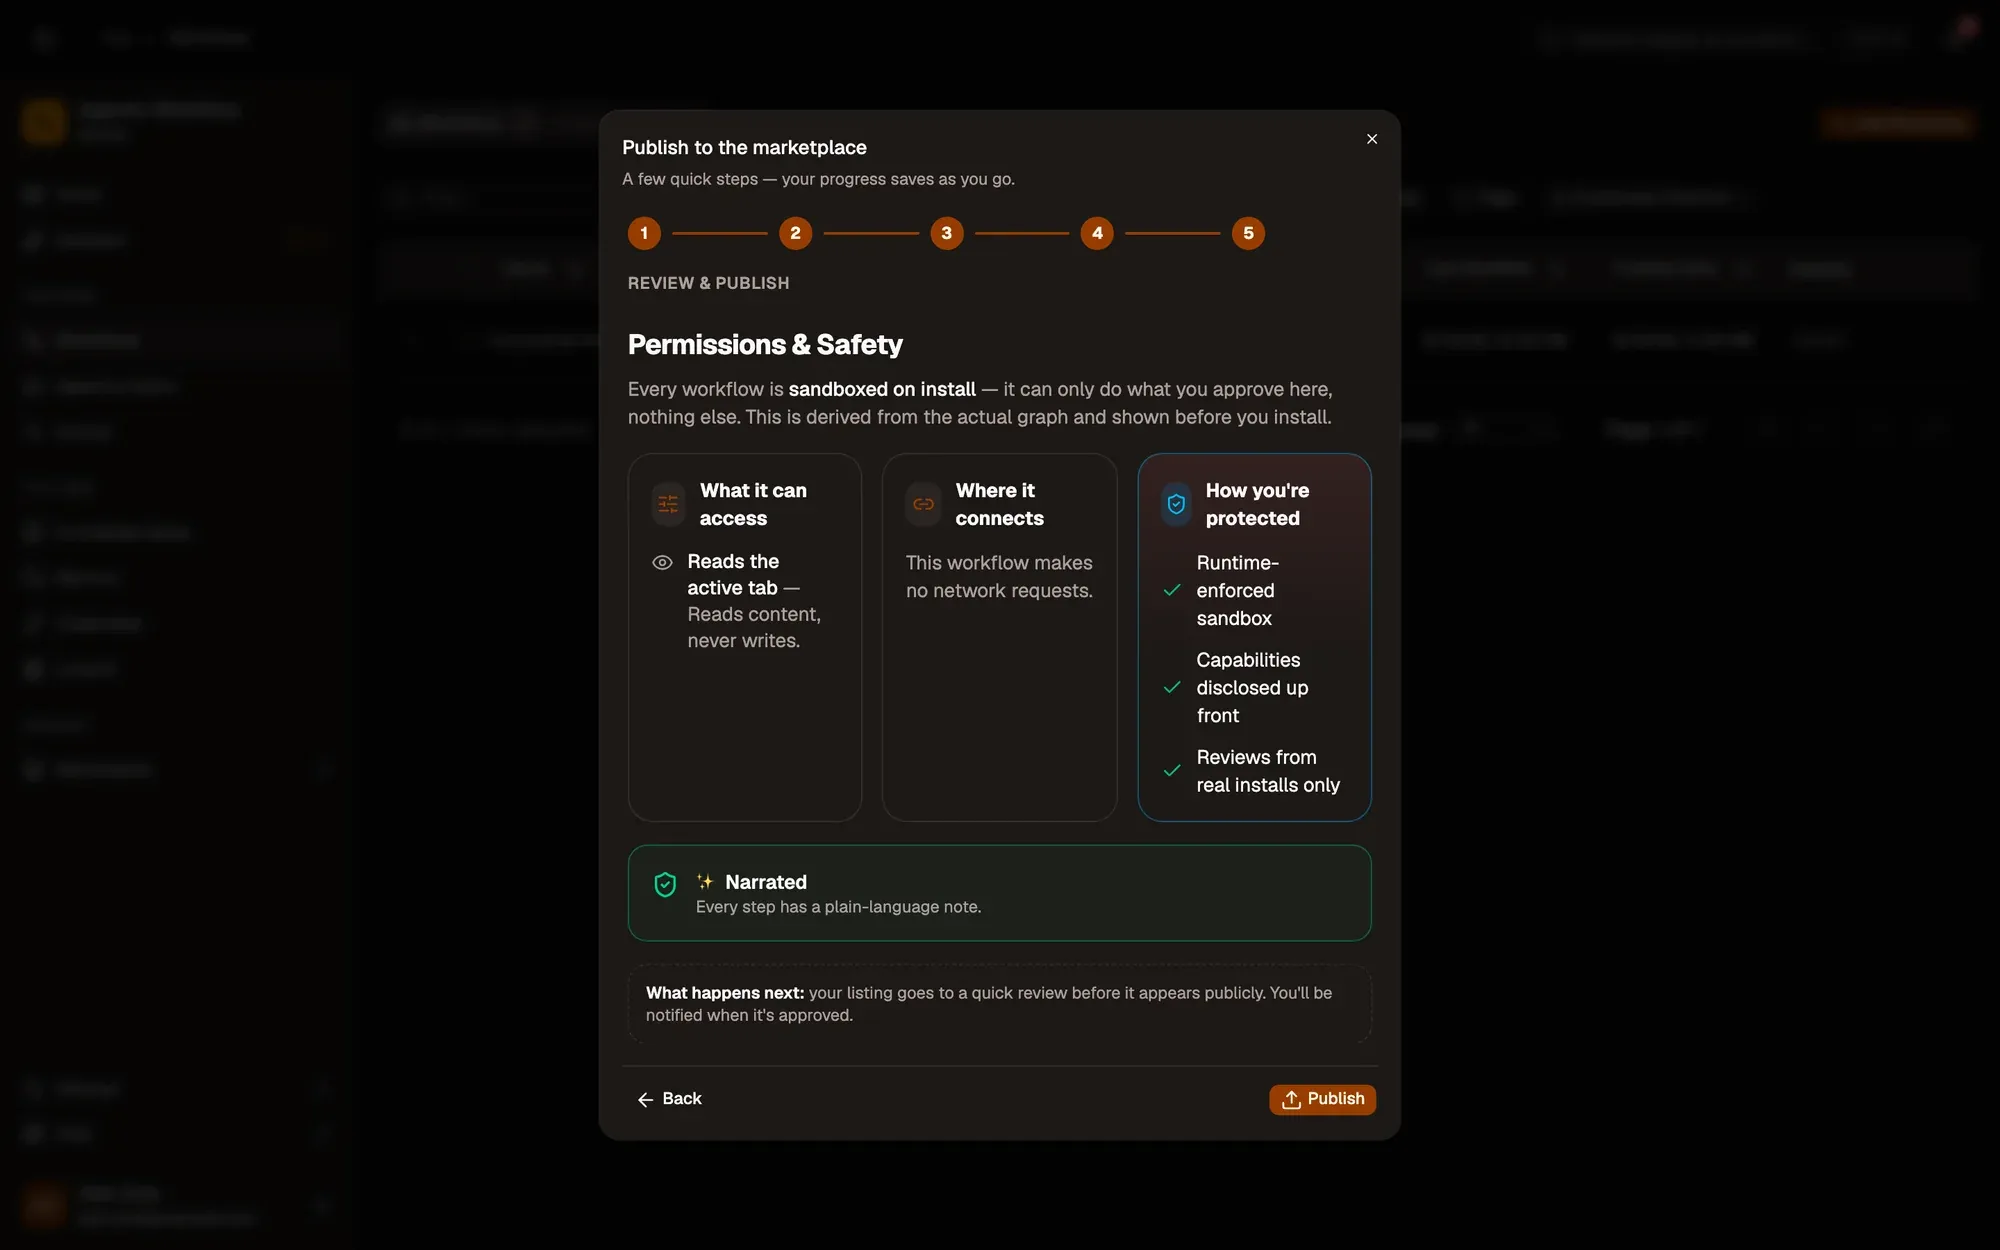
Check: your listing shows In review in My published workflows.
Generate a preview image
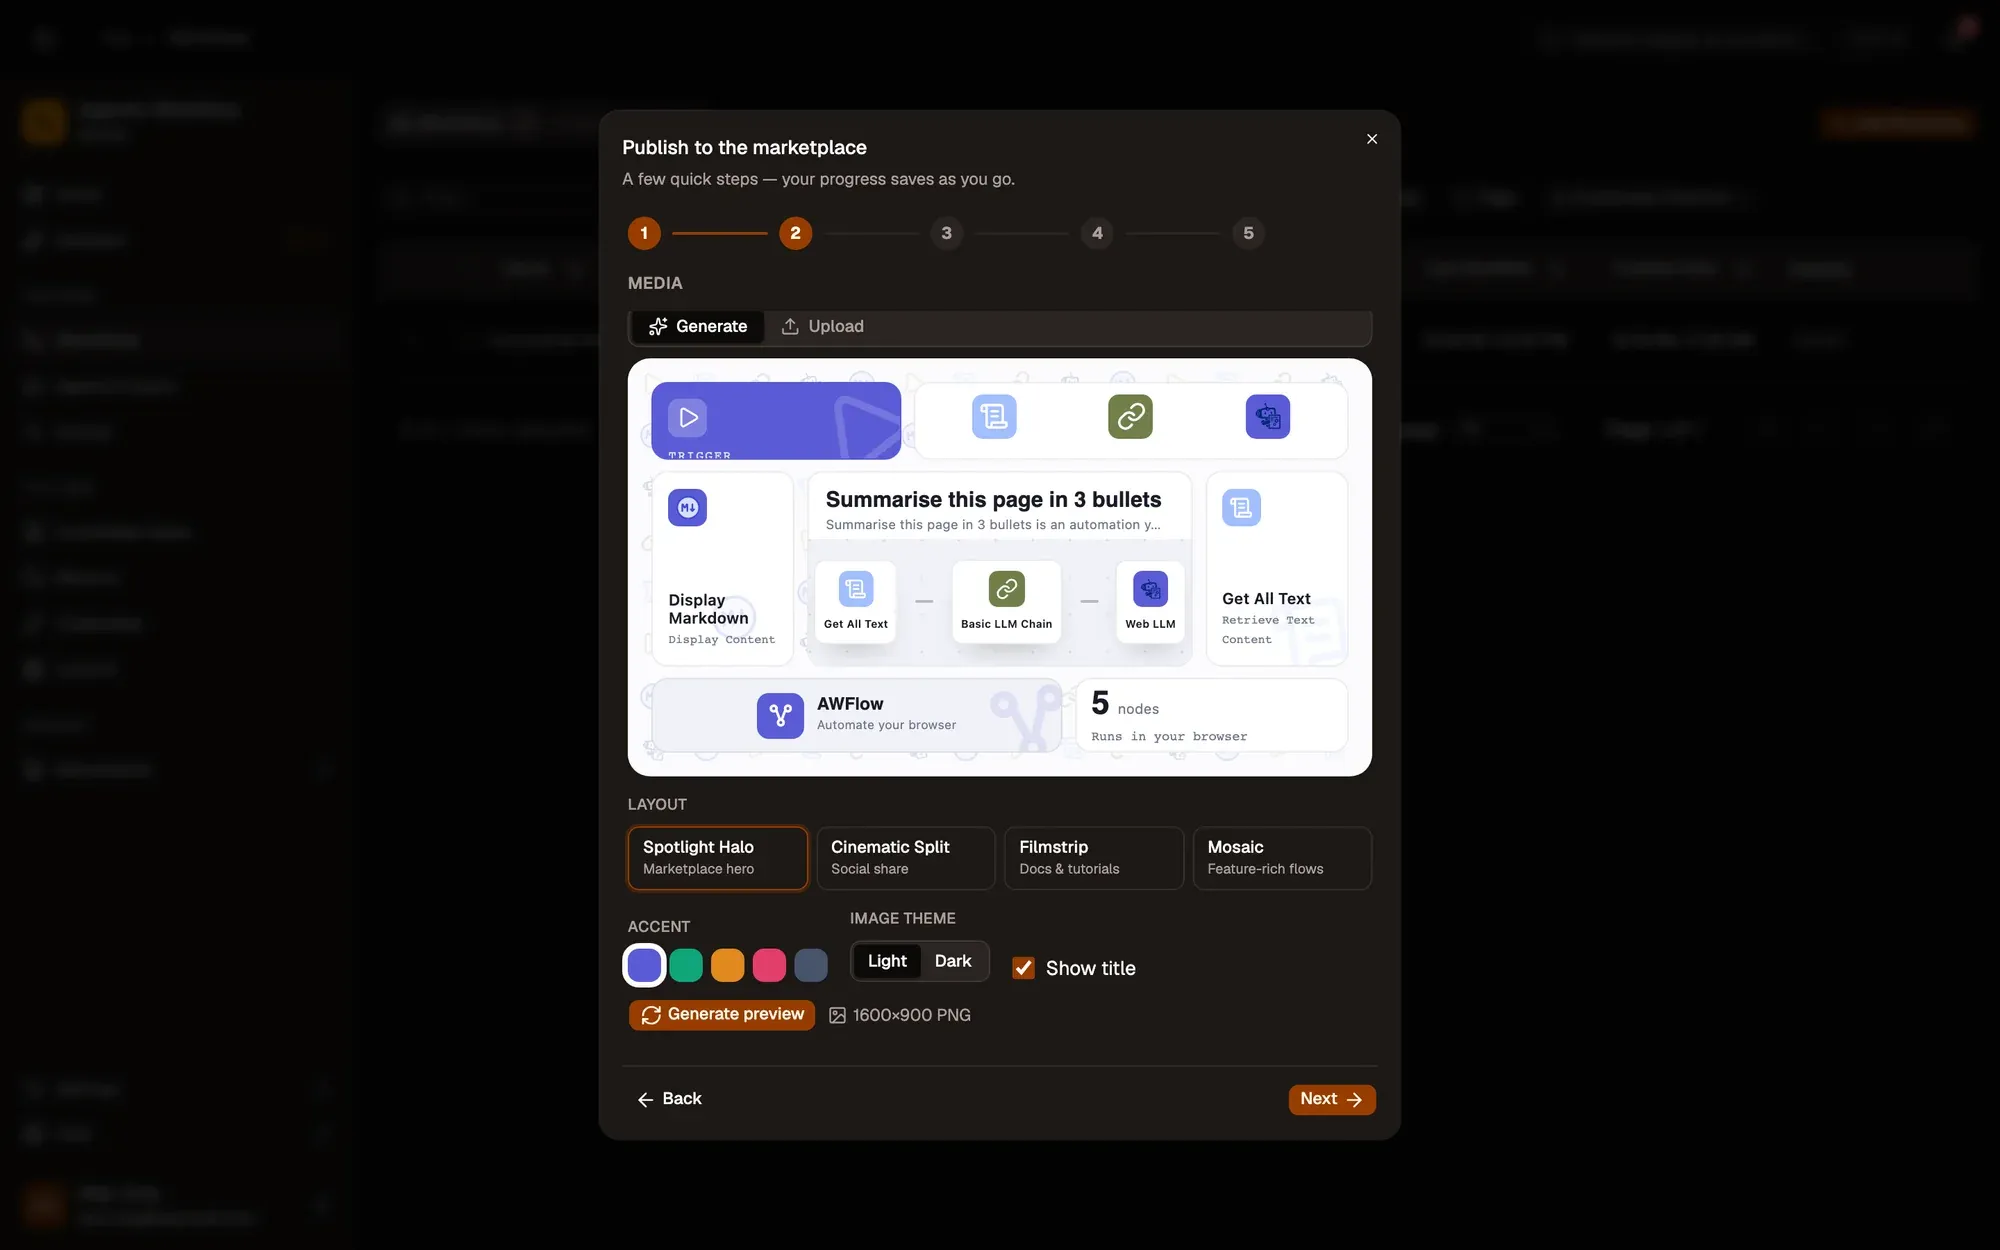
Section titled “Generate a preview image”On the Media step you can upload your own screenshots, or let the app build one for you. Under Screenshots & video, use Generate a preview image to compose a shareable 16:9 image from your workflow — a snapshot of the flow plus the nodes it uses, its trigger, a few quick stats and an AWFlow mark, arranged in a bento layout.
Numbered areas in the screenshot: 1. Generate a preview image, or Upload your own; 2. Layout; 3. Accent colour, image theme and title; 4. Generate preview adds the image to your previews.
It’s one click, then a few optional tweaks:
- Layout — pick one of four arrangements (Spotlight Halo, Cinematic Split, Filmstrip, Mosaic).
- Accent — choose the highlight color.
- Image theme — render the image light or dark.
- Show title — include the workflow name on the image, or hide it.
Click Generate preview to add the image to your previews. Generate as many as you like (up to the four-preview limit) and remove any you don’t want. The generated image uploads with the rest when you continue.
After publishing
Section titled “After publishing”- Your listing goes to a quick moderation review. Once it’s approved it’s visible in the Marketplace.
- To share a new version of your workflow, use Release in the workflows table. Write what’s new; the release dialog shows the changes since the last version, any new access it needs, and the fields that stay blank for installers. Fields you chose to blank when you first published stay blank in every later version.
- A release of a live listing is reviewed while the current version stays live. You’ll see “v3 sent for review — v2 stays live” and get a notification when it’s decided.
- Reply to reviews and keep the description up to date as people use it.
- You get a notification when a listing is approved (““X” is live”), sent back with the moderator’s note (““X” needs changes”), or suspended, and when someone leaves a review.
- The review step checks for private keys again every time you tick Blank for installers, and marks each fixed value ✓ Fixed. Values that can’t be blanked (for example in the listing text) need to be moved into a credential or removed.
- Step notes you write while editing a live listing are only saved to your workflow once the update is submitted.
- If something blocks publishing, the wizard tells you exactly what: the step and field that look like a private key, or which listing details are still missing, with a button to jump to that step.
- Changing the preview images of a live listing goes through the same quick review as other edits; the current images stay until it’s approved. Only images uploaded to AWFlow can be used.
Stop sharing a listing
Section titled “Stop sharing a listing”In My published workflows, Stop sharing takes a live listing out of the Marketplace:
- It’s hidden from the Marketplace, search and your author page.
- Everyone who installed it keeps it working. They see “No longer listed” next to it.
- Reviews, versions and the link are kept. Click Share again at any time to bring it back exactly as it was, without a new review.
- You can’t release new versions while it isn’t shared.
A listing still waiting for review (or sent back with changes requested) can be withdrawn back to a draft instead, and a draft that was never shared can be deleted.
Edit a listing
Section titled “Edit a listing”To change a live listing’s name, description, icon, previews, categories, tags or language, open it in the Marketplace and click Edit listing (only you, the publisher, see this button).
- The same five-step wizard opens with every step prefilled with what’s live now. Jump to any step with the numbered stepper.
- Nothing is saved while you edit. The last step, Review changes, lists which parts you changed and notes that a new version is snapshotted from your current workflow.
- Submit update sends everything in one go; Discard changes closes the wizard without touching the listing.
Every update goes to a quick moderation review. The current version stays live while it’s reviewed: the listing remains visible and installable in the Marketplace, and your listing page shows Update in review. People who already installed it keep their version either way.
- Approved: your changes (and the new version) replace the live listing.
- Not approved: the live version stays exactly as it was, and your listing page shows the moderator’s note. Edit the listing again to submit a new update.
You’ll get a notification either way. If you open Edit listing while an update is still in review, the wizard continues from that update, and submitting again replaces it.
Explain the steps
Section titled “Explain the steps”Every step of a published workflow needs a short, plain-language note (see Notes & story) — what the step does for the person running it, and why. People install what they understand.
The Explain the steps wizard step lists each step of your workflow in order, with its note:
- A step counts as explained once its note has at least 8 words; it gets a green check.
- ✨ Draft with AI writes a note for every step that doesn’t have one yet, using your configured AI provider (or a local model). You can edit every draft.
- The notes are saved back onto the steps themselves, so the canvas Story tab and node notes show the same text.
- Next stays disabled until every step is explained — the counter next to it tells you how many notes are still missing.
See Narration style for tips on writing good notes.
The “Narrated” badge
Section titled “The “Narrated” badge”A flow where every step has a note earns a ✨ Narrated badge on its Marketplace card and listing — a signal that it teaches on open, not just runs.
Review & publish
Section titled “Review & publish”The last step shows your listing as people will see it, then what gets checked before you publish:
- Secret check. Every step’s settings are scanned for anything that looks like a key, token or password. If something is found, publishing is blocked until you blank it or move it into a credential.
- These values won’t be shared. Fields that are always left blank for installers, and other values you can choose to blank. Whoever installs the workflow fills them in.
- Permissions & Safety. What the workflow can access (for example, reading the active tab) and where it connects, worked out from its steps. Installers see the same summary before they install.
Numbered areas in the screenshot: 1. What it can access, derived from the steps; 2. Where it connects; 3. Narrated: every step has a note; 4. Publish sends it to review.
How listings get discovered
Section titled “How listings get discovered”Once approved, your listing can surface in a few places on the Marketplace:
- Featured — a hand-picked selection the AWFlow team highlights in the hero banner at the top of the Marketplace. Featuring is editorial: it isn’t earned automatically, and there’s nothing to opt into. Well-documented, reliable, clearly-scoped flows are the best candidates.
- Trending now — a rail showing flows that are gaining installs this week. This is computed automatically from recent install activity over a rolling window, so a burst of interest can put your flow here without any curation.
- Top / search — everywhere else, ordering blends rating, install count, and recency (with a Trending sort option on the search page if you want to see the same recent-activity view).
Using shared workflows
Section titled “Using shared workflows”- Open a listing in the Marketplace and click Install. Before anything is installed you see everything the workflow can do — the pages it reads or changes, the sites it reaches, and the connections it uses — and you confirm it once.
- The listing shows How it works — a read-only preview of the steps (a list of steps in the side panel) — plus the apps it works with and how many setup steps it needs, so you know before installing.
- Prefer an editable copy? Click Use as a template instead. The copy keeps the access you approved; if you change it so it needs more, choose Make it mine to take responsibility for it — after that it runs freely, the author’s updates no longer apply, and the credit (“Based on …”) stays.
- If a workflow needs a newer AWFlow extension, the button says Needs extension vX+; update the extension first.
- After installing, the canvas opens with a Ready to run checklist: connect your own accounts and fill in the fields the author left blank, then test it.
- When the author releases a new version, you see Update available in your workflows list and on the listing, plus one notification. Update shows what’s new and whether the new version needs more access; you only have to approve again if it does. Your settings carry over, and any new fields to fill are listed.
- If the author stops sharing it, your copy keeps working and shows “No longer listed”. If AWFlow removes it for safety, it stops — see Installed Marketplace Workflows.
Admin: maintaining templates in the canvas
Section titled “Admin: maintaining templates in the canvas”Workspace admins curate the built-in Marketplace template library from #/admin/templates.
The templates list shows each template’s title, category, price, and an Editing column that indicates when another admin currently has it open — hover it to see who and since when.
- New template opens a dialog to set a title, slug, summary, icon, category, price, sort order, and tags, then creates a draft and opens it directly in the canvas.
- Clicking a template opens it for editing on the same visual canvas used for regular workflows, plus a metadata panel for the fields above.
- Test-running a template while editing doesn’t create an execution history entry — it’s a scratch run, not a real automation execution.
Edit locking
Section titled “Edit locking”Only one admin can edit a given template at a time. When you open a template for editing, you acquire a lock that’s automatically renewed while you stay on the page and released when you leave or save.
- If someone else is already editing, you’ll see a read-only banner naming them and how long they’ve held the lock.
- Force unlock takes over the lock immediately — use it only when you’re sure the other admin’s session is stale, since it interrupts them and any of their unsaved changes are lost.
- If your own lock is taken over while you’re mid-edit, a banner warns you that your changes since the last save weren’t submitted, with a way to reacquire the lock or go back to the list.
Admin: featuring a listing
Section titled “Admin: featuring a listing”Moderators can feature an approved listing from its review screen in the
moderation queue (#/admin/marketplace/moderation). Featuring is the
editorial lever behind the Marketplace Featured banner:
- Feature / Unfeature promotes or removes the listing from the Featured banner. Featured listings sort ahead of the normal ranking everywhere they appear.
- An optional rank orders featured listings relative to each other (lower numbers first); leave it blank to let them fall back to the normal score.
- Every feature/unfeature is written to the moderation audit log alongside approvals and rejections, so curation stays accountable.
Trending is not a moderator action — it’s computed from recent installs and needs no curation.