Connections are the lines between nodes.
They tell the workflow what to run next, and what data to pass along.
Create a connection
Section titled “Create a connection”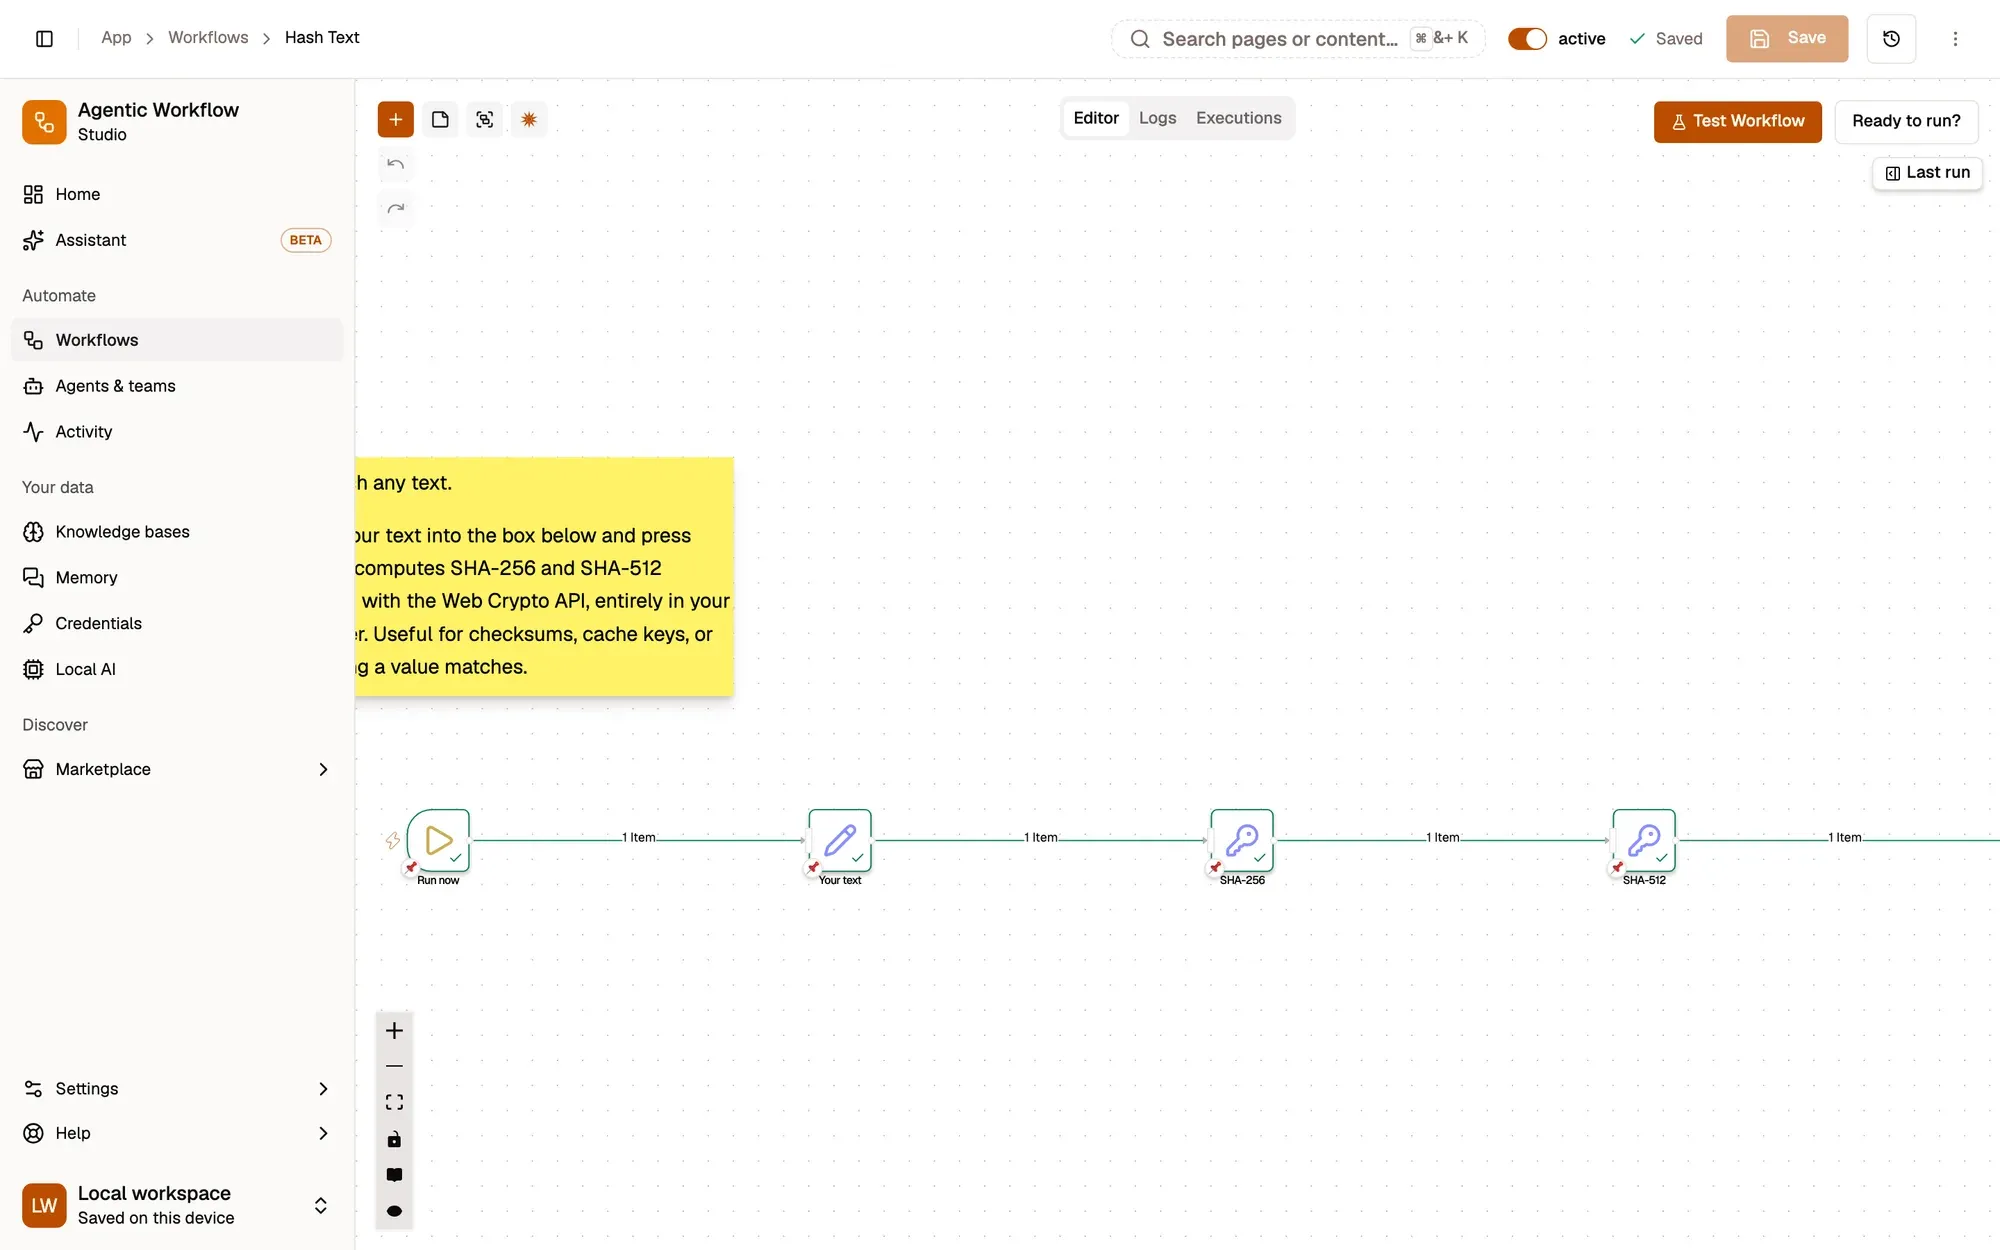
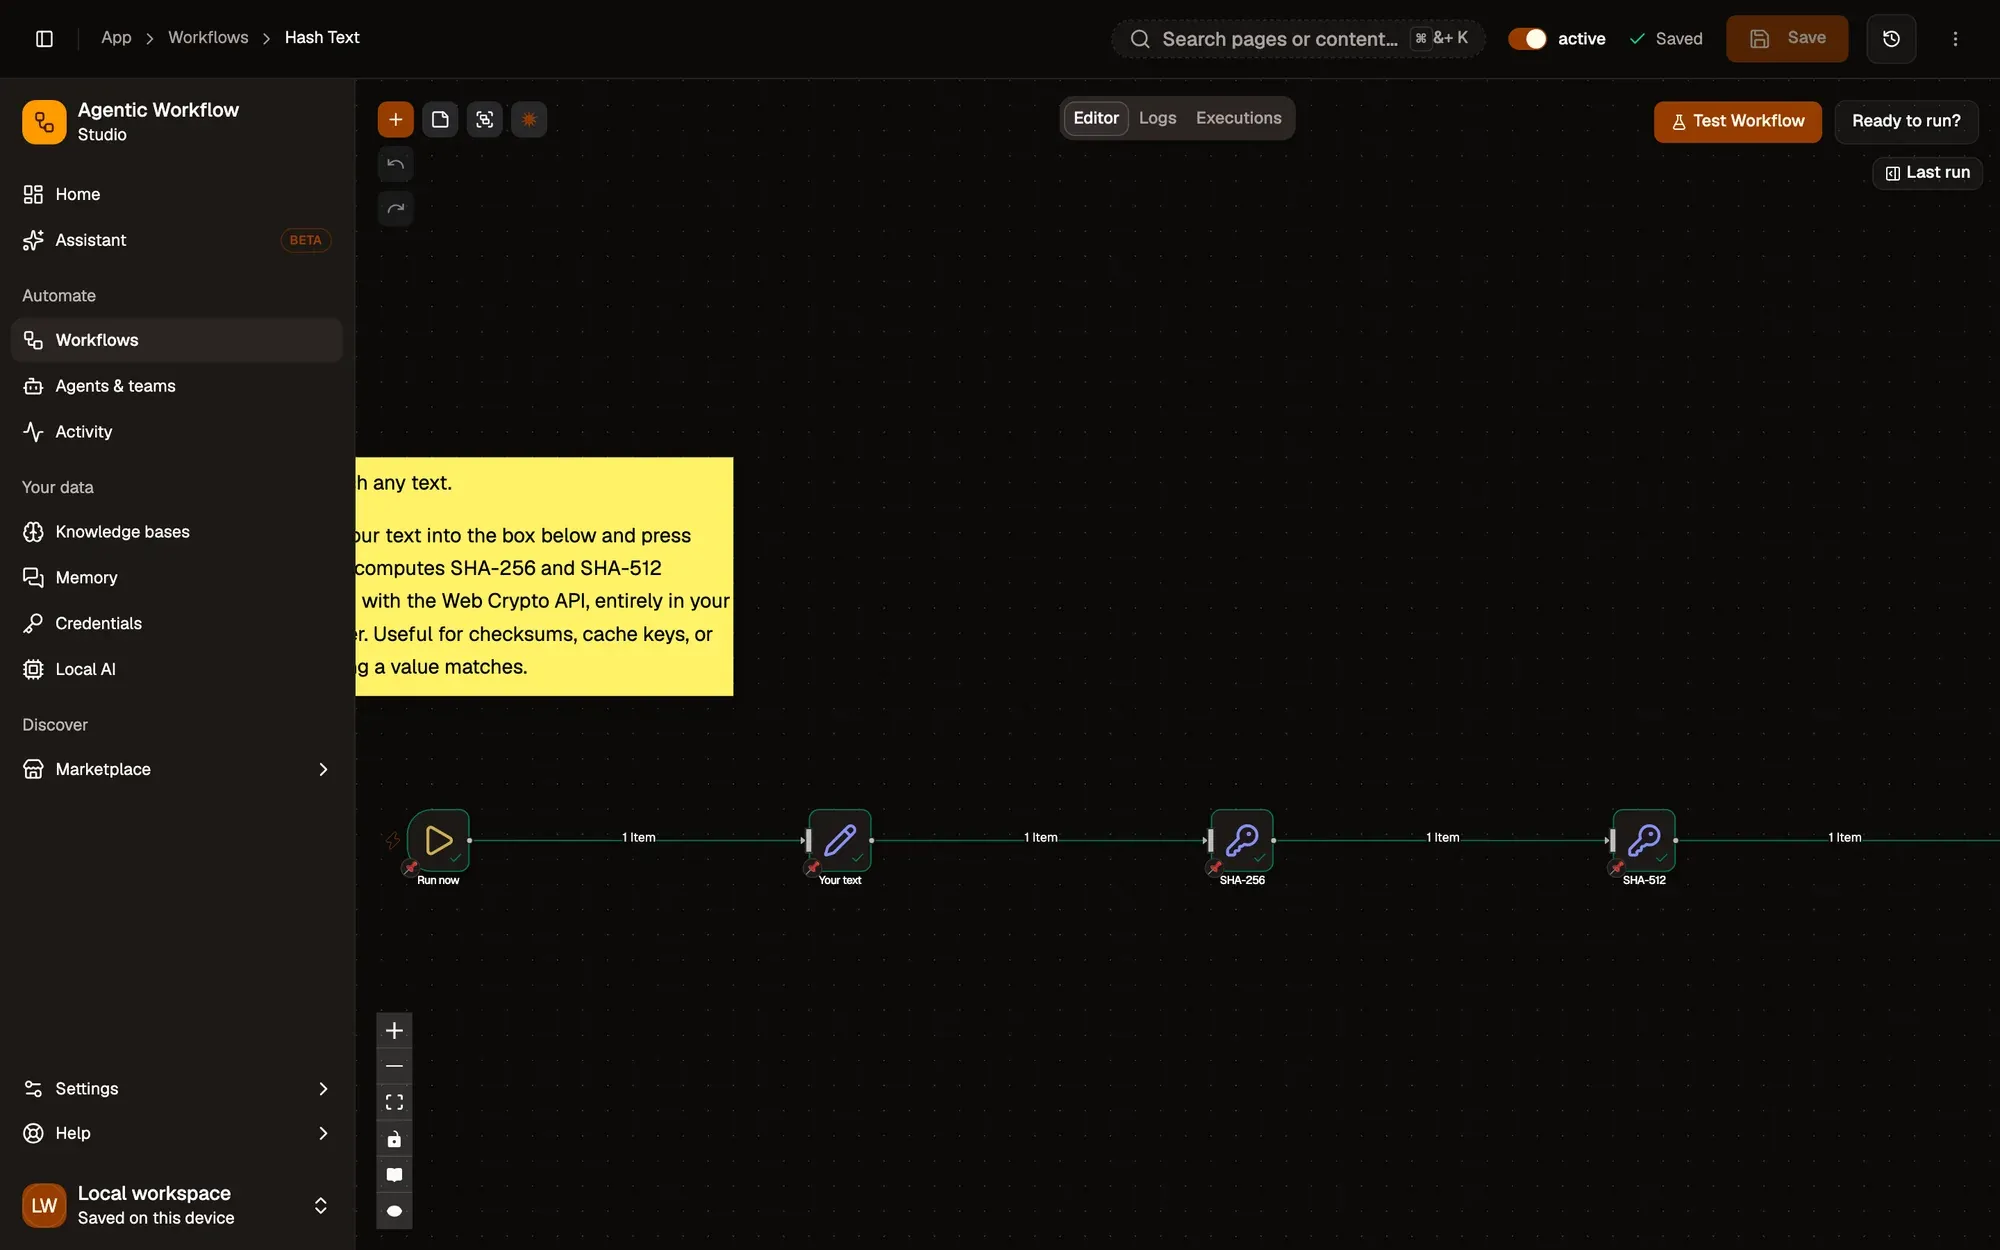
Numbered areas in the screenshot: 1. Output port: drag from here; 2. Input port of the next step: drop here; 3. The connection, with the number of items it passed.
Tip: if you drop on an empty area, the “Add node” panel may open so you can insert a new step there.
Remove a connection or insert a step
Section titled “Remove a connection or insert a step”Hover over a connection: two buttons appear in its middle. Delete connection (the bin) removes it; Add a step here (the +) inserts a new step between the two.
Named outputs on branching nodes
Section titled “Named outputs on branching nodes”Branching nodes — If and Switch — expose more than one output port, and each port has a name (the branch or rule it routes to). When you connect a branch, the edge attaches to that specific named port.
Because an edge binds to the port name rather than its position:
- Reordering branches or rules keeps every edge pointing where it was. Moving a rule up or down does not rewire anything.
- Renaming an output disconnects the edge that left it. The canvas removes the now-dangling edge and tells you it did so, rather than silently leaving it pointing at a branch that no longer exists.
Best practices and tips
Section titled “Best practices and tips”- Keep the flow easy to read (left to right works well).
- After you connect nodes, test step by step to make sure the output looks right.
- Use nodes like Edit Fields or If to clean or filter data before sending it to the next step.
If you’re unfamiliar with how node output and input data is structured, refer to Data concepts for a deeper explanation.